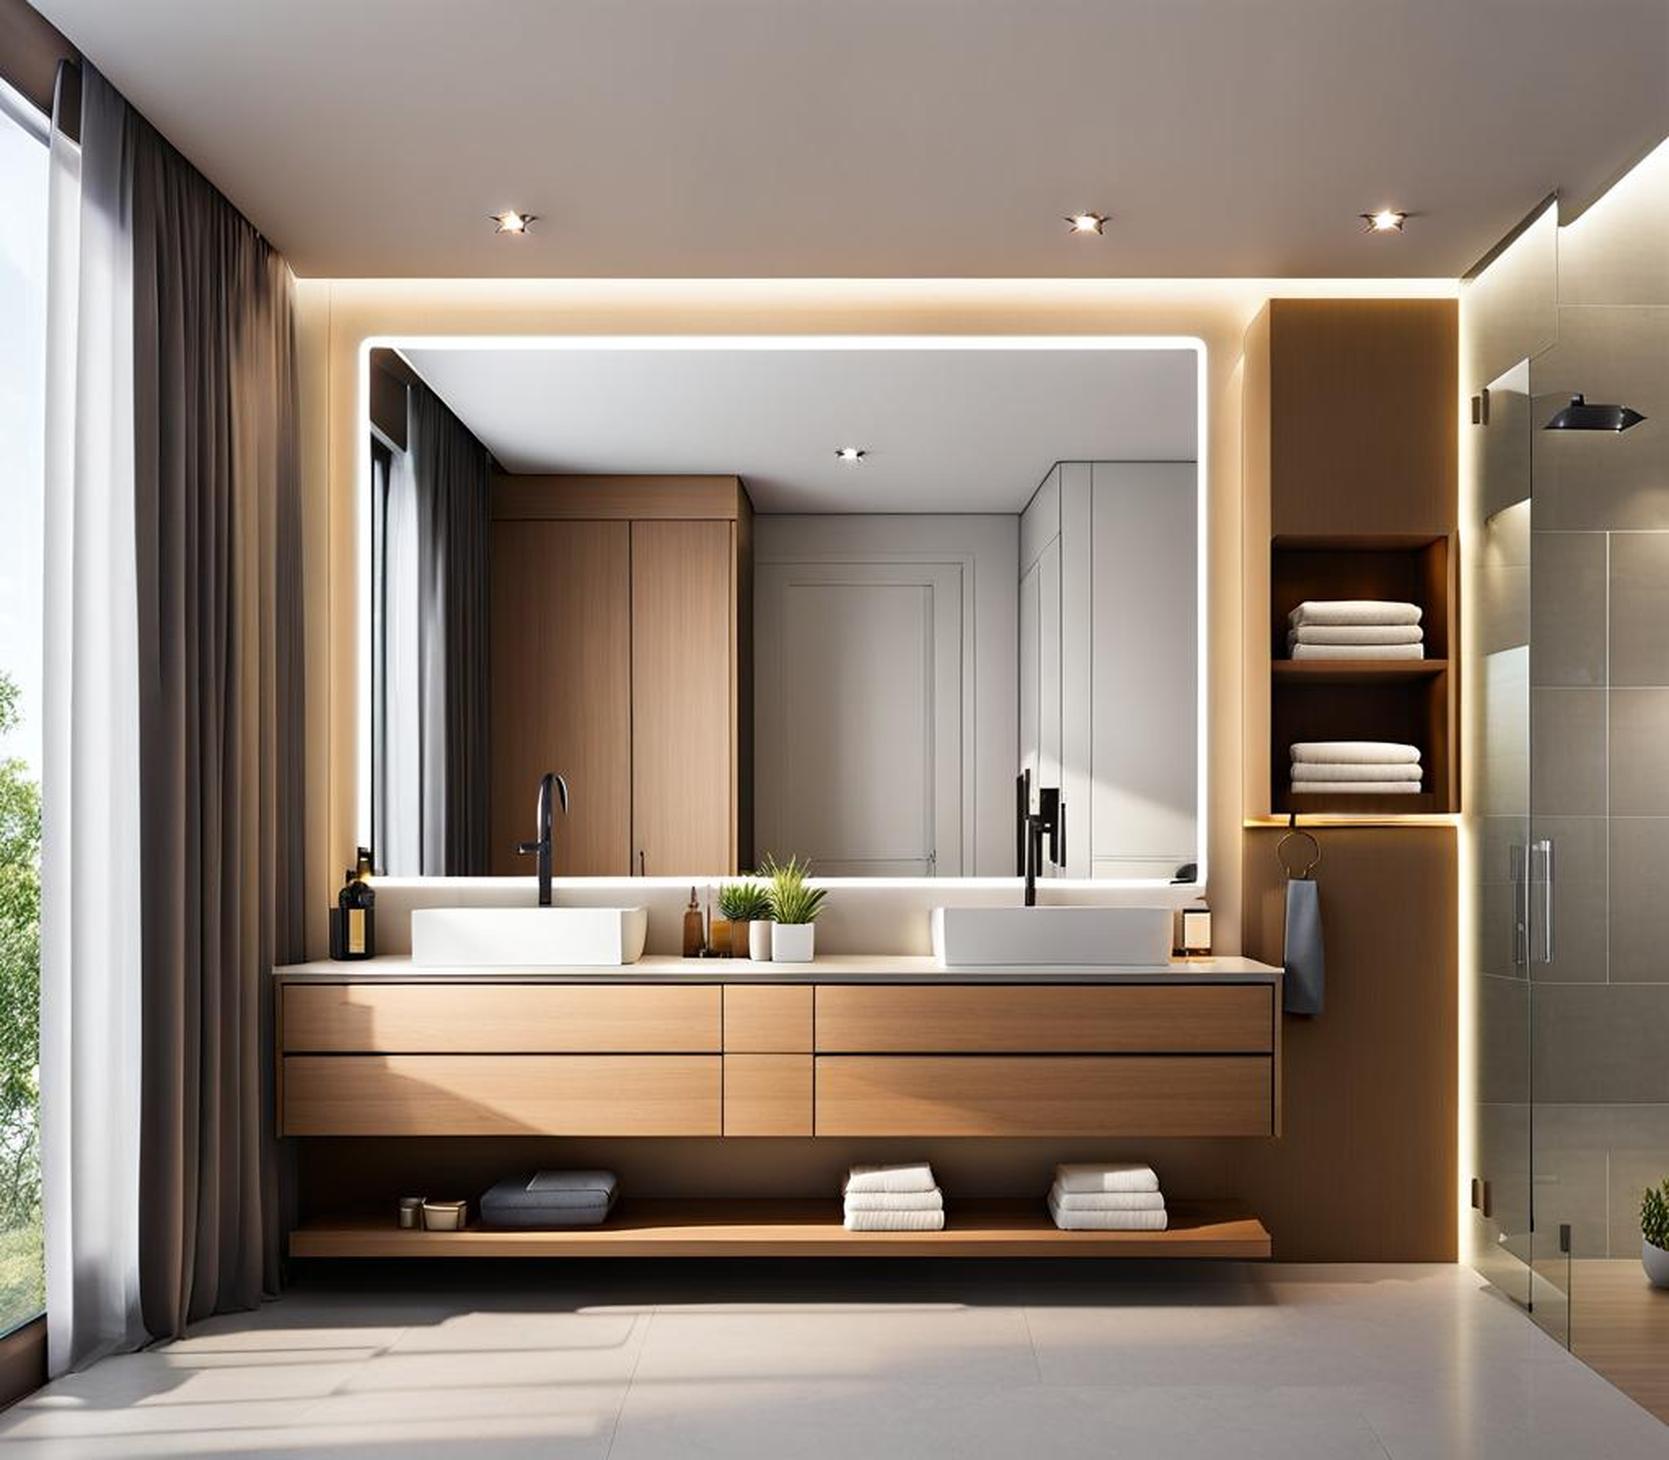
Frameless mirrors are an elegant and trendy addition to any contemporary home decor. Their clean, modern look creates an illusion of space and light in a room. However, despite their beauty, mounting frameless mirrors properly can be frustrating. Without a frame for support, the delicate glass needs special hardware and care during installation to avoid cracks, chips, or having the mirror come crashing down.
Don’t let the difficulties deter you from incorporating these lovely mirrors into your interior design. With the right tools and techniques, you can install frameless mirrors that will stay safely and securely on the wall for years of hassle-free enjoyment.
## Gather the Necessary Tools and Hardware
The specialized mounting equipment required is the key difference when hanging frameless mirrors. You’ll need heavy duty anchoring materials to support the weight on the wall or adhesive to bond the mirror directly to the surface. Here are the essential tools and hardware for frameless mirror mounting success.
### Stud Finder
Locating the wood studs behind your wall is crucial, as they provide the strongest attachment points for screws and anchors in drywall. Stud finders detect and mark stud locations so you can center mirror hardware over them.
- Electronic stud finders use sensors to locate studs precisely, while magnetic ones rely on magnets reacting to the nails in studs.
- Carefully move the stud finder across the wall surface until it indicates a stud, then mark the center with a pencil.
- Repeat to mark all studs, as multiple may be needed to mount larger mirrors.
### Heavy Duty Wall Anchors
For added drywall support, use special anchors rated for heavier loads. Look for polyurethane or toggle bolt styles made for mirrors and engineered to hold significant weight without sagging or pulling out.
- Match the anchor weight rating to your mirror’s size and thickness.
- The diameter must fit the mounting hardware screws being used.
### Power Drill
A power drill simplifies drilling holes into studs or drywall for anchors. You’ll also need the appropriate drill bits.
- Cordless drills offer flexibility, while corded models provide continuous power.
- Use a bit slightly narrower than your wall anchor diameter for a snug fit.
### Mirror Mounting Clips or Adhesive
Finally, specialized mirror hardware secures the glass. Adhesives bond the mirror directly to the wall, while clips grip the sides without sticking.
- Adhesives form a tight grip but can damage walls upon mirror removal.
- Sturdy clip types include Z-clips, French cleats, and J-clips.
## Prep the Mounting Surface
With your hardware assembled, properly preparing the mounting area is the next key step for smooth frameless mirror installation.
### Locate and Mark Wall Studs
Use your stud finder to detect studs in the desired mirror location and mark them.
- Mark the stud’s center for accurate drill hole placement.
- Space marks evenly to align mirror hardware for secure support.
### Determine Mounting Locations
Decide on precise hardware placement based on mirror size, weight distribution, and viewing height.
- Position the top of the mirror at eye level height for you.
- Space multiple clips or adhesive blobs evenly to disperse the mirror’s weight.
### Drill Anchor Holes
With positions marked, use a power drill to bore holes for anchors in the studs or drywall.
- Drill slowly and carefully to avoid hitting pipes or wires within walls.
- Stop when the hole depth matches the anchor specifications.
## Install the Mounting Hardware
Now, it’s time to securely install the anchors and mirror hardware into the holes you’ve prepped.
### Secure Anchors in Holes
If using wall anchors, insert them into the holes and tighten until flush with the wall surface.
- Squeeze polyurethane anchors before insertion, then release to expand in the hole.
- Tighten toggle bolts using a wrench so the bars expand and lock behind the drywall.
### Attach Clips to Anchors
Screw mirror clips, cleats or brackets into your installed wall anchors or studs.
- Don’t fully tighten yet so the mirror can slide into the clip easily.
- Check for level and alignment across clips to prevent tilting.
### Apply Adhesive to Mirror Back
If using adhesive, apply blobs evenly across the backside after cleaning it thoroughly first.
- Spread large globs rather than a thin, even layer for strongest bonding power.
- Place temporary support nails beneath to hold the mirror during curing.
## Mount and Finalize the Frameless Mirror
You’re so close now! Just a few final steps to mount the mirror and complete the installation.
### Carefully Lift Mirror into Place
Have someone assist with positioning larger mirrors to avoid cracks and chips.
- Align the mirror’s edges into clips and slide down to interlock in place.
- Or press onto adhesive blobs and hold for 30 seconds of initial grabbing.
### Allow Adhesive to Cure
Leave the adhesive undisturbed during the full curing phase, which can take 1-2 days.
- The mirror will feel secure in the first few hours as adhesive begins to set.
- Support nails distribute weight until the adhesive fully hardens.
### Clean Mirror Surface
Remove any fingerprints, dust, or grime with a glass cleaner and microfiber cloth.
- Spray the cleaner onto the cloth rather than directly on the mirror.
- Gently polish in a circular motion until the surface sparkles.
## Conclusion
With the right preparation and hardware, permanently mounting your gorgeous frameless mirror is very achievable. Follow these steps carefully to avoid frustrations and enjoy a beautiful, completed project that will decorate your home for years.
Just remember to have patience during adhesive curing time. If your mirror ever needs adjusting or removal, use fishing line behind the mirror to separate it from adhesive. And take pride in your decorative skills and stunning new frameless mirror!
