Have you ever suffered from an aching back after washing dishes? Or found yourself playing an endless game of tetris trying to fit pots, pans, and colanders in and around your sink? An incorrectly sized kitchen sink cutout could be to blame. But fret not – with some simple measurements and the tips in this article, you can determine the perfect sink cutout dimensions for your kitchen remodel or upgrade.
When installing a new sink, accurately measuring the existing cutout space is the crucial first step. With precise measurements in hand, you can then shop confidently for a sink that will fit the available cutout snugly. The result? A beautifully installed sink that looks built-in, provides ample workspace, and improves your kitchen experience. Read on as we outline the complete process for measuring your cutout and finding sink sizes guaranteed to fit.
Why Proper Sink Cutout Size Matters
You may be wondering if a slight size discrepancy really makes a difference. But precisely matching your sink to the existing cutout has several advantages that can enhance both form and function.
Aesthetics
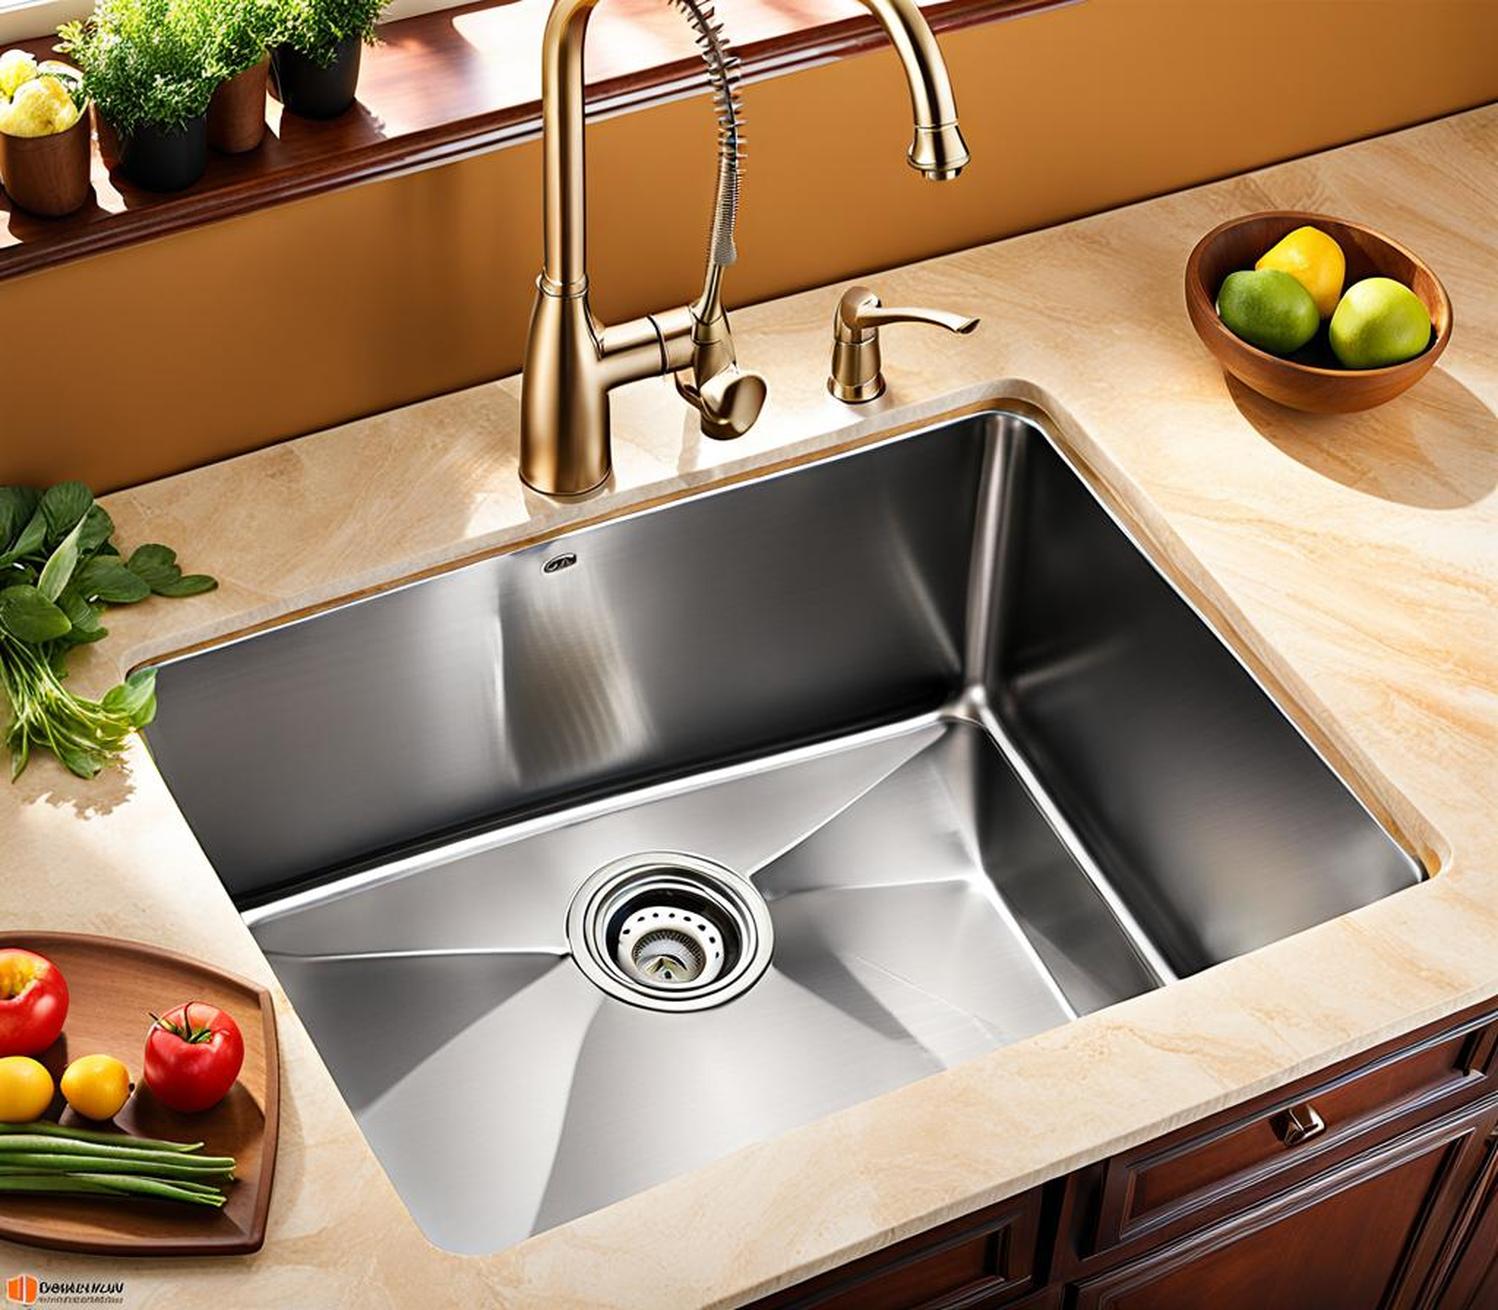
An imperfectly sized cutout leads to unsightly gaps or awkward sink overhang. But when the sink fits just right, it appears beautifully integrated into your countertop design.
Functionality
A properly sized sink maximizes usable workspace around and inside the basin. This allows you to easily prep ingredients, wash large pots, and even hide small appliances like sponges and soap dispensers.
Longevity
Cutouts that are slightly too small put stress on sink and countertop materials, which could ultimately lead to cracks or damage over time. Measure precisely to prevent this.
Comfort
Bending over a sink that is too shallow leads to back and neck strain. An accurately measured, deeper sink cutout allows for a more ergonomic washing experience.
Step 1: Measure Existing Cutout Width & Length
Start by using a tape measure to measure the width and length of your existing sink cutout opening. Take measurements across the front, back, and sides of the cutout. Be sure to note the smallest dimensions, as your new sink must fit the narrowest width and length.
Also account for any lips or rims around the top edges of the cutout, as these take away usable space. You want your measurements to reflect the clear inner opening.
Tips for Accurate Width & Length Measurements
- Use a flexible tape measure for easiest maneuverability.
- Take multiple measurements and note the smallest.
- Measure to 1/16th of an inch for precision.
- Use a flashlight to better see interior cutout corners.
Step 2: Measure Cutout Depth
After width and length, you need to measure how deep your existing cutout space is. This impacts how deep of a sink you can install. Start by measuring from the top of the countertop surface down to the top of the base cabinet.
Then deduct the thickness of your countertop material. Check with your countertop fabricator if you do not know this measurement. This gives you the maximum depth of sink that can be accommodated.
Also note any bowls, protrusions, or plumbing lines that may impede sink installation. Account for these in your measurements.
Tips for Accurate Depth Measurements
- Use a sturdy ruler that can span the cutout depth.
- Shine a light into the cabinet interior while measuring.
- Consider laser measuring tools for hard-to-reach spaces.
- Note obstacles like braces or pipes that affect depth.
Step 3: Select Sink Dimensions
Armed with your cutout measurements, it’s time to zero in on a sink size. As a general rule, standard interior sink dimensions are:
- Single bowl: 20-22″ x 30-32″
- Double bowl: 28-33″ x 20-22″
However, keep these tips in mind:
Allow Space for Mounting Hardware
Whether undermount or topmount, sinks require metal clips, brackets, or mounting frames that eat into the overall cutout space. Allow 1/2 to 1 inch beyond the stated sink dimensions for mounting hardware.
Coordinate with Your Countertop
Consult with the fabricator to make sure the cutout size works for the countertop material selected. Some materials require certain edge distances to prevent cracking.
Thicker countertops also require larger sink cutouts to account for the material depth. Discuss this with experts to get your cutout size just right.
Step 4: Confirm Proper Fit
Prior to installation, do a test fit with your sink to confirm it will fit nicely within the cutout.
Guidelines for a good fit:
- Cutout is 1/4 inch larger than the sink all the way around.
- No front overhang beyond around 1/2 inch
- Sink rim rests gently on countertop without gaps
Make any adjustments needed before moving on.
Step 5: Prepare Countertops & Cabinets
With measurements complete, take steps to get your work area installation-ready:
- Create any additional side or rear clearance needed for undermount sink brackets.
- Install plumbing supply lines and proper sink drain components.
- Reinforce cabinet framing to support sink weight if needed.
- Smooth rough cutout edges and vacuum area to remove debris.
FAQs About Sink Cutout Sizing
What if my measurements vary slightly?
It’s common for cutout dimensions to vary slightly from front to back or side to side. Use the smallest dimensions when selecting your sink size to ensure a good fit.
Can I adjust my existing cutout if needed?
Minor adjustments may be possible, but take care not to compromise the structural integrity of your countertop. Consult a pro before attempting to enlarge the opening.
My countertop supplier is closed – now what?
If you cannot access your original countertop specifications, contact a sink retailer. Provide them your measurements and material photos. They can suggest compatible sink sizes.
A properly sized kitchen sink cutout makes a world of difference in both form and function. By following the measurement steps outlined above, you can determine the ideal sink dimensions for your existing cutout. Taking precise measurements sets you up for a seamless installation and years of enhanced performance from your new sink.
Don’t settle for backaches and cramped washing – instead, measure meticulously and upgrade your kitchen with a perfect-fit sink. With some simple tools and this helpful guide, you can stop guessing and start enjoying the many benefits of a properly-sized sink cutout. Happy measuring!
