Butcher block counters paired with crisp, clean white cabinets create a timeless and charming look in any kitchen. The natural warmth of the wood counters balances beautifully against the fresh white cabinetry. However, because butcher block is made of wood, it requires some regular care and maintenance to keep it looking pristine.
Don’t let that scare you off from this iconic kitchen combo! With just a little effort, you can easily keep your butcher block counters in great shape for years to come. We’ll walk through simple tricks for selecting, installing, sealing, cleaning, and preventing damage to maintain the beauty of your butcher block and white kitchen.
Choosing the Right Butcher Block
Butcher block comes in a range of different wood species, like maple, oak, cherry, or walnut. Opt for a durable hardwood if longevity is key. Maples and oaks tend to be affordable options. Cherries add a rich, reddish-brown tone. Walnut has bold, chocolate-brown grains.
Consider the wood’s natural color and grain patterns. Maple has a pale cream color that lets white cabinets stand out. Oak’s mid-tone brown adds warmth. CONTRAST: Walnut’s dark brown can make white cabinets pop while cherry’s reddish tones complement them.
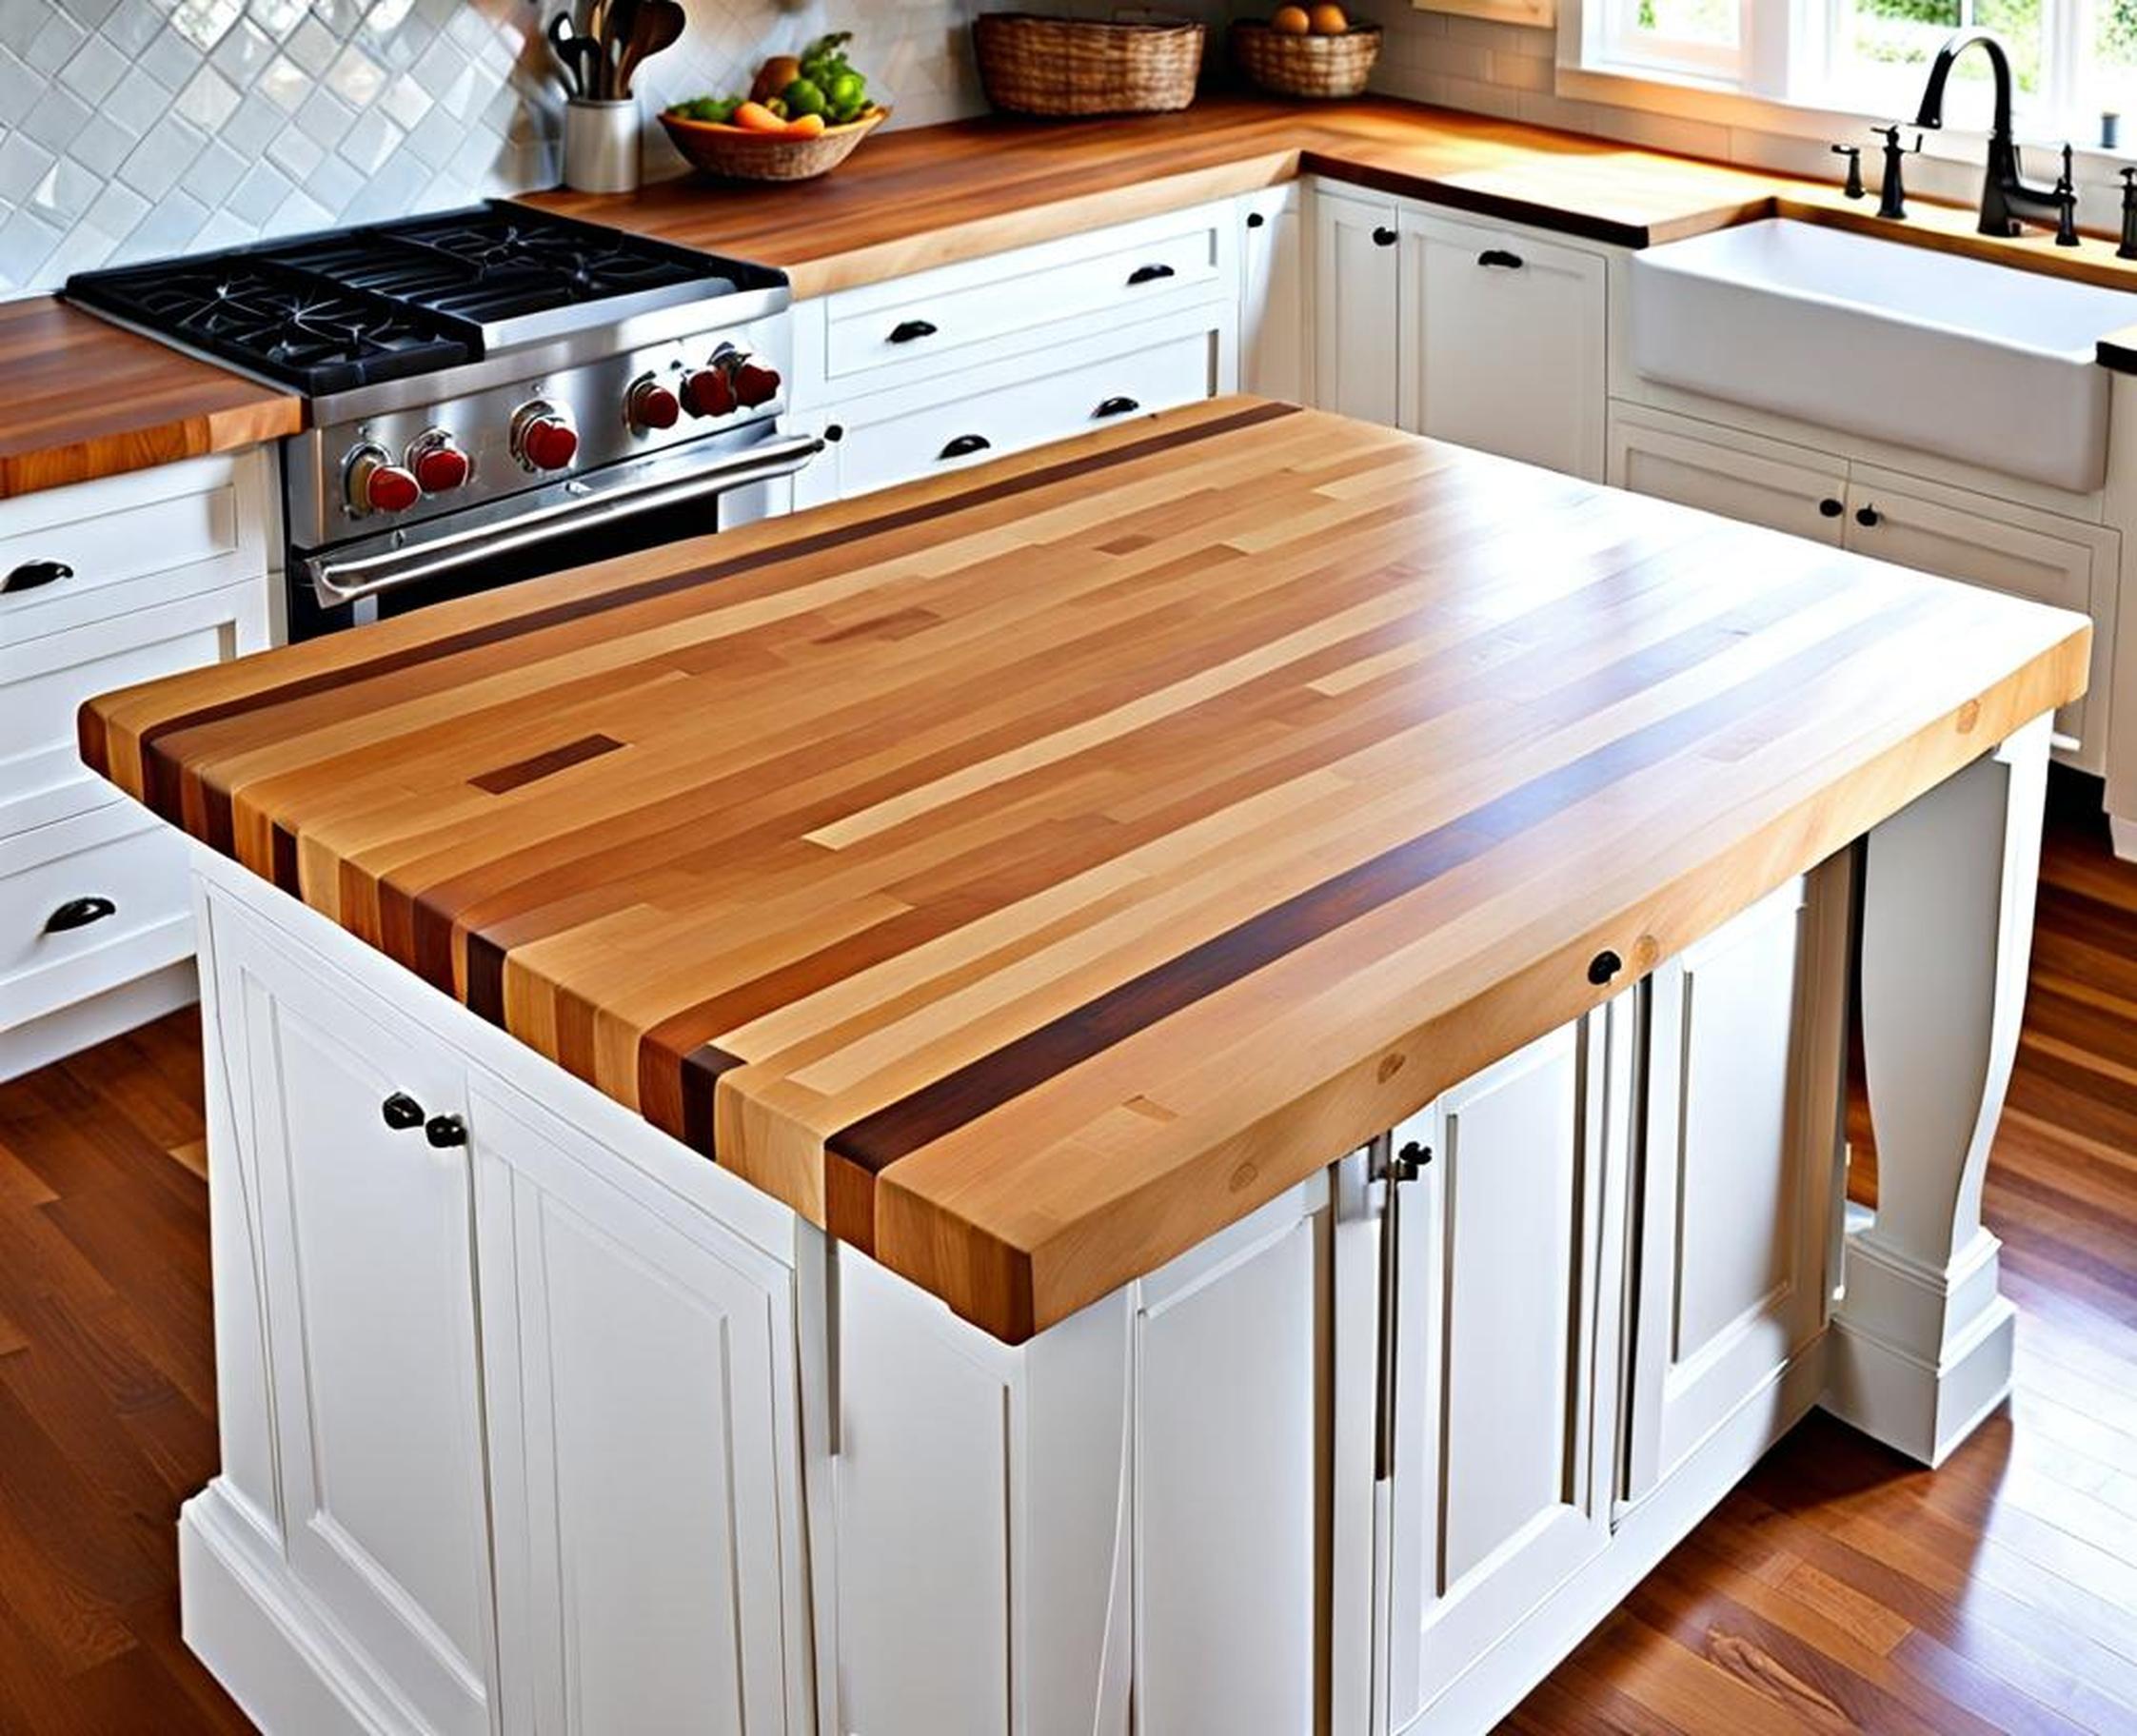
Thickness and Customization
Standard thickness is 1 1/2 inches. Go thicker for a more solid feel underhand – 2 1/4 inches is ideal. Customize the overhang to match your cabinetry and decorating scheme.
Opt to have your butcher block fabricated locally for a fully personalized fit and finish. Many shops offer varied edging and inlays to complement your white cabinets.
| Try a… | For this effect |
| Beveled edge | Sleek, modern style |
| Eased edge | Traditional charm |
| Ogee edge | Rounded, vintage appeal |
Installing Your Butcher Block Counters
Proper installation techniques prevent moisture from seeping under your butcher block and causing damage. Take the time to do it right, and your counters will stay strong for decades.
Allow for Overhang Space
Having sufficient overhang space prevents water and debris from accumulating where the butcher block meets the cabinets. Standard overhang is 1 1/2 inches.
For an extended overall counter space, go wider if possible – up to a 3-inch overhang works on deeper cabinets.
Level Cabinets and Prep the Surface
Ensure cabinets are completely level before setting the butcher block. Any unevenness will transfer once the heavy wood counters are set.
Thoroughly clean and lightly sand the butcher block and cabinet tops first. This creates a smooth, even adhesion surface.
Use Moisture-Resistant Adhesive
Opt for adhesives made specifically for bonding wood countertops. Look for mold and moisture-resistant varieties.
Construction adhesive works well. Silicone caulk around the seam after installing provides added moisture protection.
Sealing and Protecting Your Block
Applying a protective sealant regularly is the #1 way to defend against moisture damage on your butcher block counters. Sealing fills the wood pores, preventing stains, warps, and mold growth.
Initial Sealing After Installation
Allow counters to acclimate for 1-2 days after install, then do an initial sealing. Choose food-grade mineral oil or beeswax to maintain your butcher block’s safety and purity.
Establish a Sealing Schedule
Reapply the sealant weekly at first, then every 1-2 months for maintenance. High-traffic areas may need sealing as often as once a week.
Watch for drying or rough patches as your cue to reseal. Buff gently with steel wool between applications to remove residue.
Application Tips
Wipe the surface clean and let dry completely before sealing. Apply sealant in smooth strokes following the wood grain pattern. Allow to penetrate 20-30 minutes then thoroughly wipe off excess.
Regular Cleaning and Sanitizing
Daily cleaning is a must for sanitary butcher block counters. Follow these simple rules.
Use Mild Cleaners and Lukewarm Water
Gently wash with a mild soap and warm water. Dish soap works well. Avoid harsh cleaners that will dry out your block.
Disinfect Properly
Vinegar, hydrogen peroxide, and lemon juice naturally kill bacteria without damaging your sealant. Rinse and dry thoroughly after.
Take Caution with Moisture
Rub surfaces with a damp sponge only. Immediately dry any wet spots using a clean cloth to prevent water damage.
Remove Stains Gently
For minor stains, rub with a damp cloth, mild cleaner, and a little baking soda. Avoid abrasive scouring pads.
Preventing and Repairing Butcher Block Damage
Even with proper prep and care, your butcher block can become scratched, burned, or warped over years of use. Here are some troubleshooting tips.
Avoid Knife Scratches and Gouges
Use cutting boards to protect your counters’ surface. Chop carefully when prepping directly on the block.
Prevent Heat Damage
Always use trivets and hot pads under hot pans, pots, and bakeware.
Correct Minor Warping
If part of the counter begins to warp, remove sealant and lightly sand. Refinish and seal completely to flatten.
Repair Deep Damage
For cuts deeper than 1/16 inch, use wood filler then sand and refinish. Badly warped areas may need planing and resealing.
Maintaining the Look Over the Years
With proper prep, sealing, and cleaning, your butcher block counters can stay beautiful for 20+ years. But expect some patina over time.
Refresh Fading or Worn Areas
Spot treat dulled areas with reapplications of sealant. Periodic full resanding and refinishing restores your counters’ glow.
Keep Edges from Wearing
Reseal exposed front edges frequently. Round over sharp 90-degree corners that are prone to chipping.
Replace Sections as Needed
One advantage of butcher block is that you can replace only damaged sections instead of the whole counter. Match new pieces to the existing wood.
With this simple maintenance routine for your butcher block counters, you can enjoy their beauty alongside your gorgeous white cabinets for years. The natural richness of the wood paired with fresh, bright cabinets is a kitchen classic for good reason – it looks fantastic while also being highly durable.
While butcher block does require some regular TLC, it’s a small investment for such a stunning and eco-friendly material. Maintain it properly, and your counters will only gain character and charm as time goes on.
