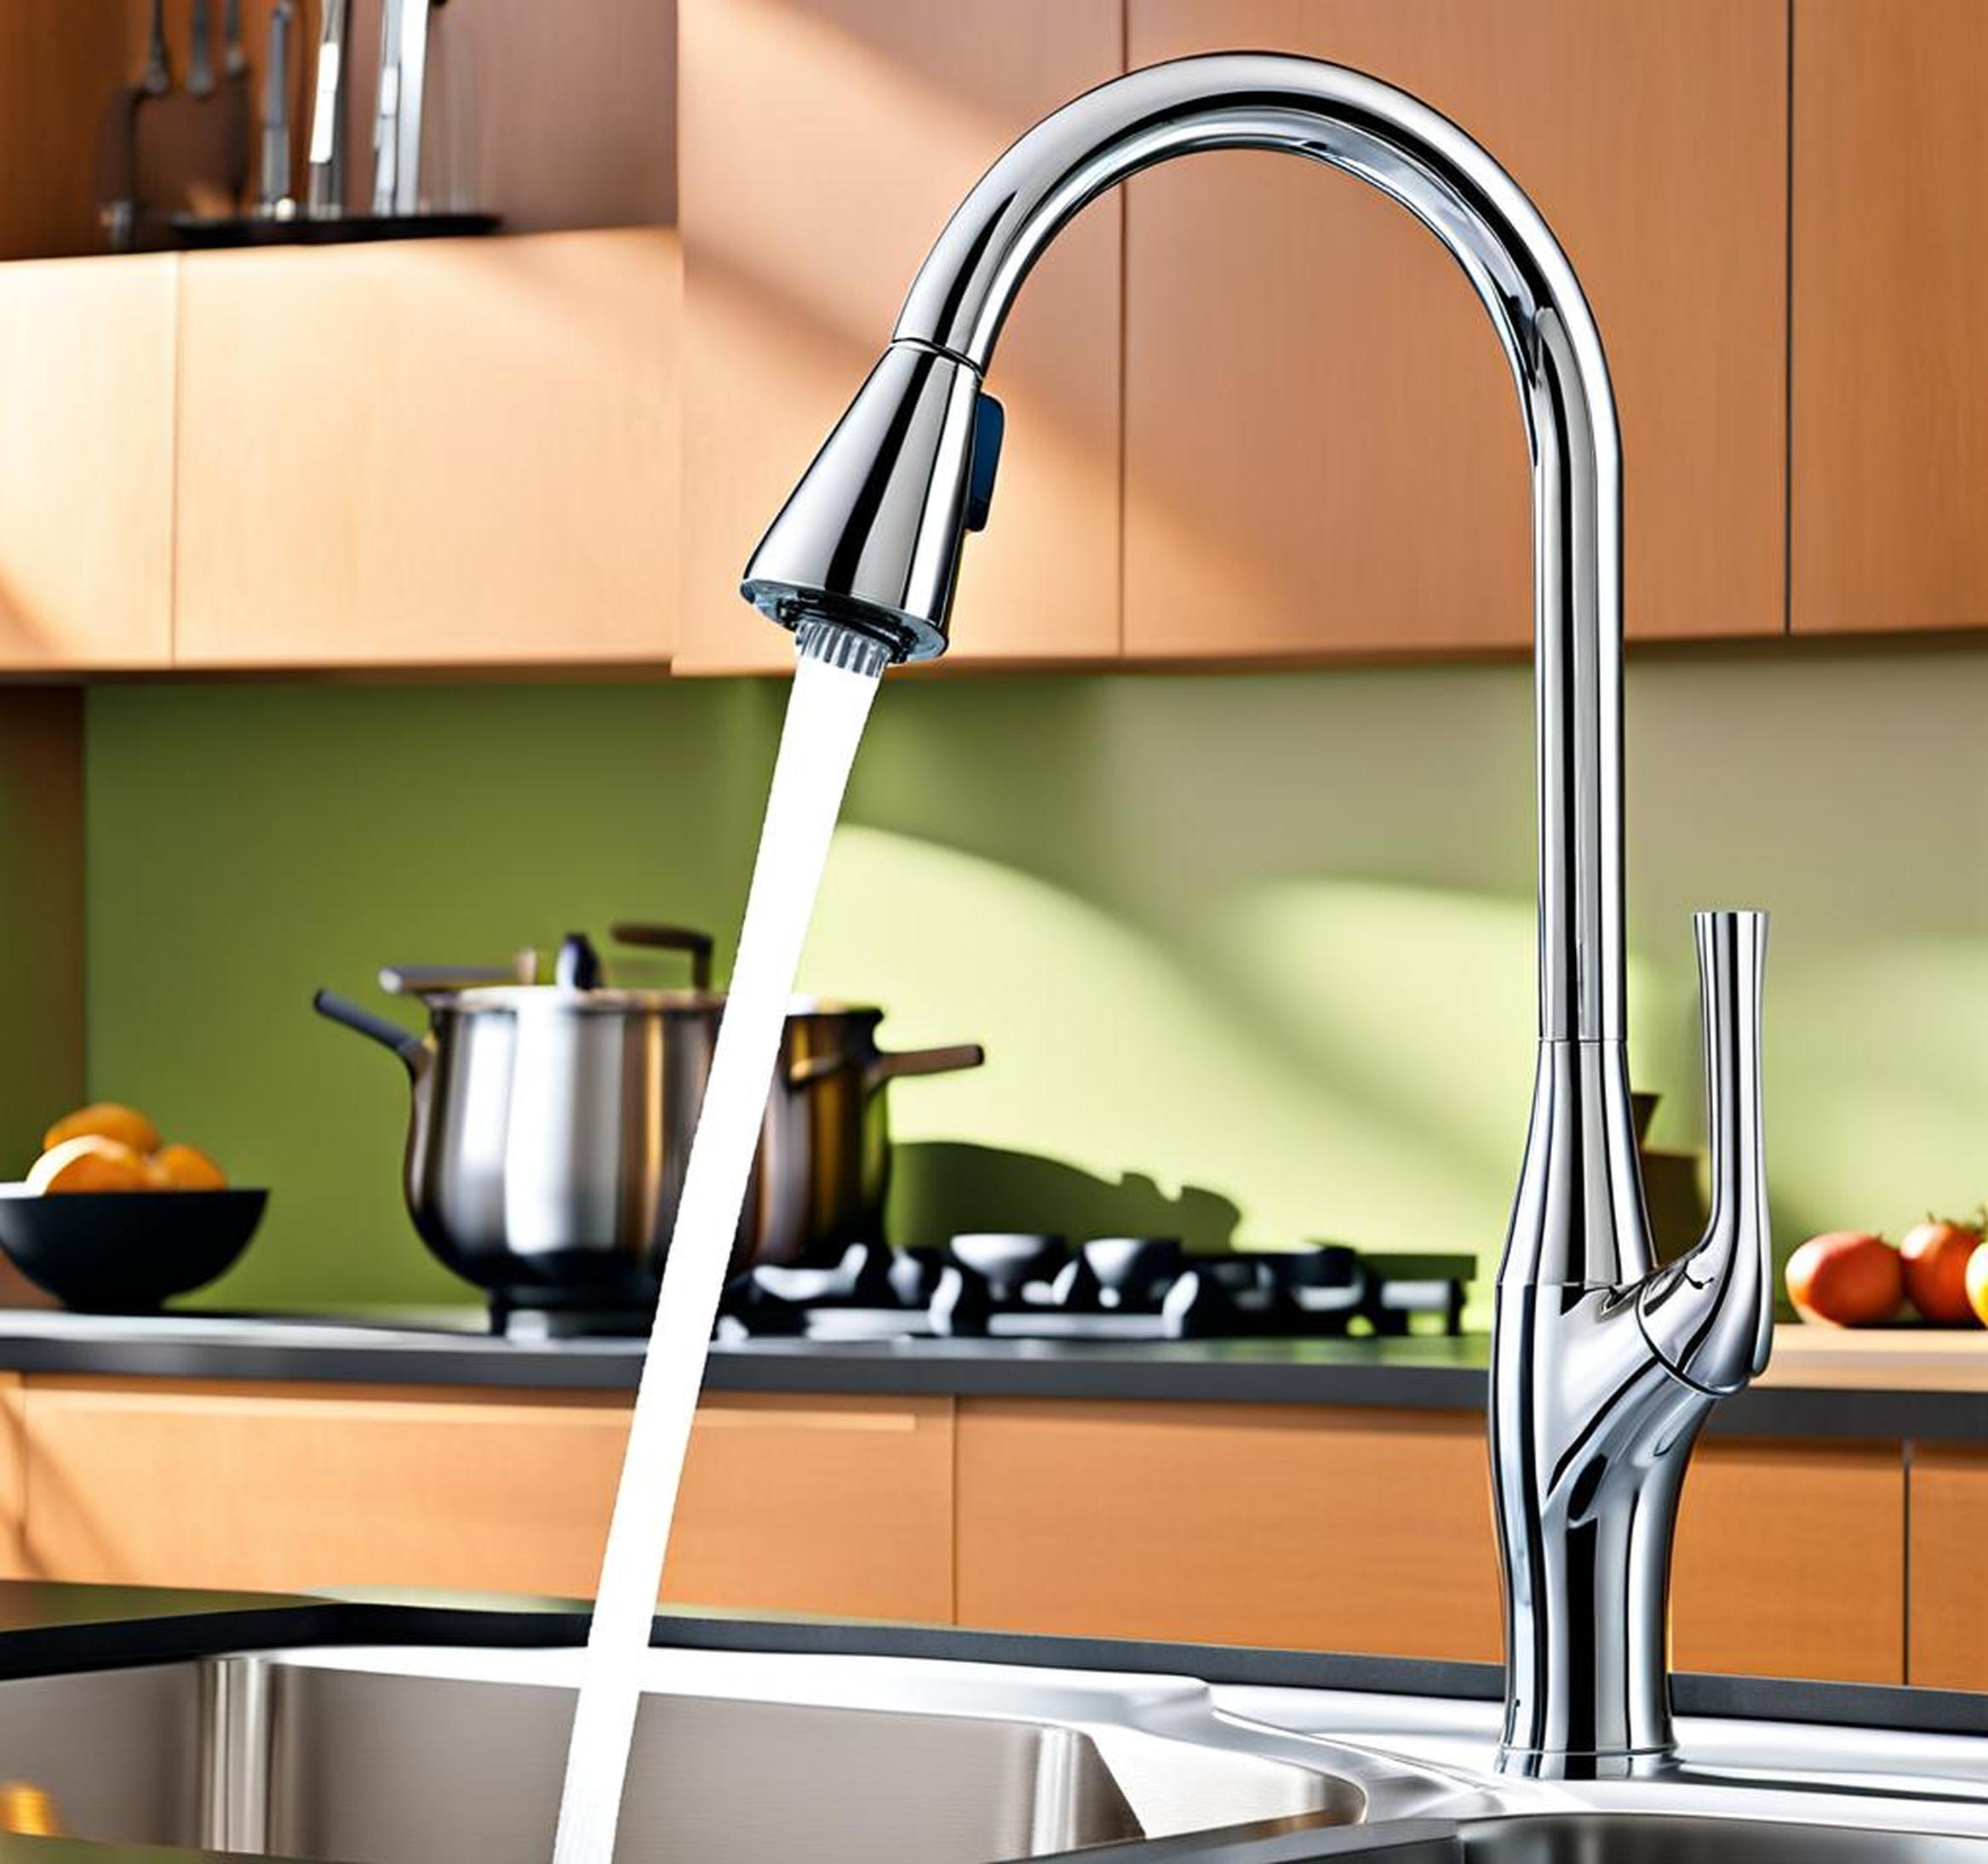
A constantly dripping kitchen faucet can drive anyone crazy. That incessant noise makes you want to scream! If you have a leaky Moen kitchen faucet , we understand your pain. But don’t worry, the solution is easier than you think.
We’ll also provide a foolproof guide to diagnosing and fixing the problem yourself in no time. Soon, your kitchen will be blissfully free of annoying drips.

What Typically Causes Moen Kitchen Faucet Leaks
Before jumping into repairs, it helps to understand what’s behind that maddening drip. Here are the most common culprits of Moen kitchen faucet leaks :
- Worn out rubber O-rings
- Broken or damaged internal cartridge
- Corroded and calcified faucet aerators
- Loose connections under the sink
- High water pressure
The tiny O-ring gaskets provide a watertight seal between faucet components. As these rings age, shrink, or crack over years of use, they lose compression strength. This allows water to sneak through and drip out.
Likewise, the plastic or brass cartridge inside the faucet handles water flow and mixing. Mineral buildup, hard water, etc. can damage the delicate cartridge seals. Weak seal points then leak out drops of water.
How To Pinpoint Where Your Moen Faucet Is Leaking
Finding the exact location of the leak provides insight into which inner component needs fixing. Here’s how to diagnose common Moen leak points:
- Under the sink: Tighten fittings, replace worn washers or gaskets
- Around base of faucet/counter: Often due to bad O-ring seals
- End of spout: Indicative of obstructed/dirty aerator
- Handle joints: Signals damaged cartridge needing replacement
Keep an eye out for moisture buildup, calcium deposits, or water spots around these areas too. They signify teeny water drips over time.
Pro Tips For Fixing A Leaky Moen Kitchen Faucet
Once you’ve located the leak, roll up your sleeves and try these easy DIY fixes. With a few small plumbing tweaks, you’ll silence that dripping faucet in no time!
Step 1: Reduce Stubbornly High Water Pressure
Excessive water flow straining against faucet components frequently leads to seal failures and drips. Consider installing a pressure reducing valve to keep PSI under 80.
Alternately, check with your municipality. In some areas, public works can adjust street water pressure. Lastly, add a whole house water softener. This prevents mineral buildup and scale corrosion on delicate faucet innards.
Step 2: Replace Leaky O-Rings
Damaged O-rings under the faucet handle cause many Moen leaks. Fortunately, fixing this is easy. Just follow these steps:
- Turn off hot/cold water lines under sink
- Pry off faucet cap and remove handle and dome cover
- Use needle nose pliers to extract old O-ring
- Put new O-ring in place (usually comes in Moen repair kits)
- Reassemble faucet
Voila! This DIY fix takes 10 minutes without any special tools. Yet, it permanently solves many kitchen faucet leaks.
Step 3: Swap Out Broken Faucet Cartridge
If O-rings checks out fine, a broken cartridge is the likely culprit. Replacing a damaged Moen 1225 cartridge is straightforward:
- Shut off water lines and remove handle/dome cover
- Pry off faucet spout cap with a small screwdriver
- Pull old cartridge straight up and out of faucet body
- Install new replacement cartridge
- Replace cap, dome, and handle
And voila! With the new cartridge properly seated, your faucet stops dripping and flows like normal again.
Step 4: Clean or Replace Faucet Aerators
Clogged grit and minerals can get lodged in the faucet aerator screen. This obstruction then backs up water to leak out around the spout. Here’s how to fix this:
- Unscrew the faucet tip
- Soak entire aerator in vinegar overnight
- Rinse and reinstall
If vinegar soak doesn’t solve the problem, simply install a new replacement faucet aerator.
Take good care of your newly drip-free kitchen faucet with these proactive steps:
- Annual plumber’s inspection/valve greasing
- Immediately fix slight leaks before worsening
- Install household water softener
- Follow Moen cleaning recommendations
Putting in preventive maintenance keeps Moen kitchen faucets working great for over a decade. No more inconvenient drips or exorbitant plumber house calls!
We hope these troubleshooting tips help banish annoying faucet leaks for good. Just remember patience and the right DIY approach can defeat noisy drips. Now go relax and enjoy your newly peaceful, drip-free kitchen ambiance.
