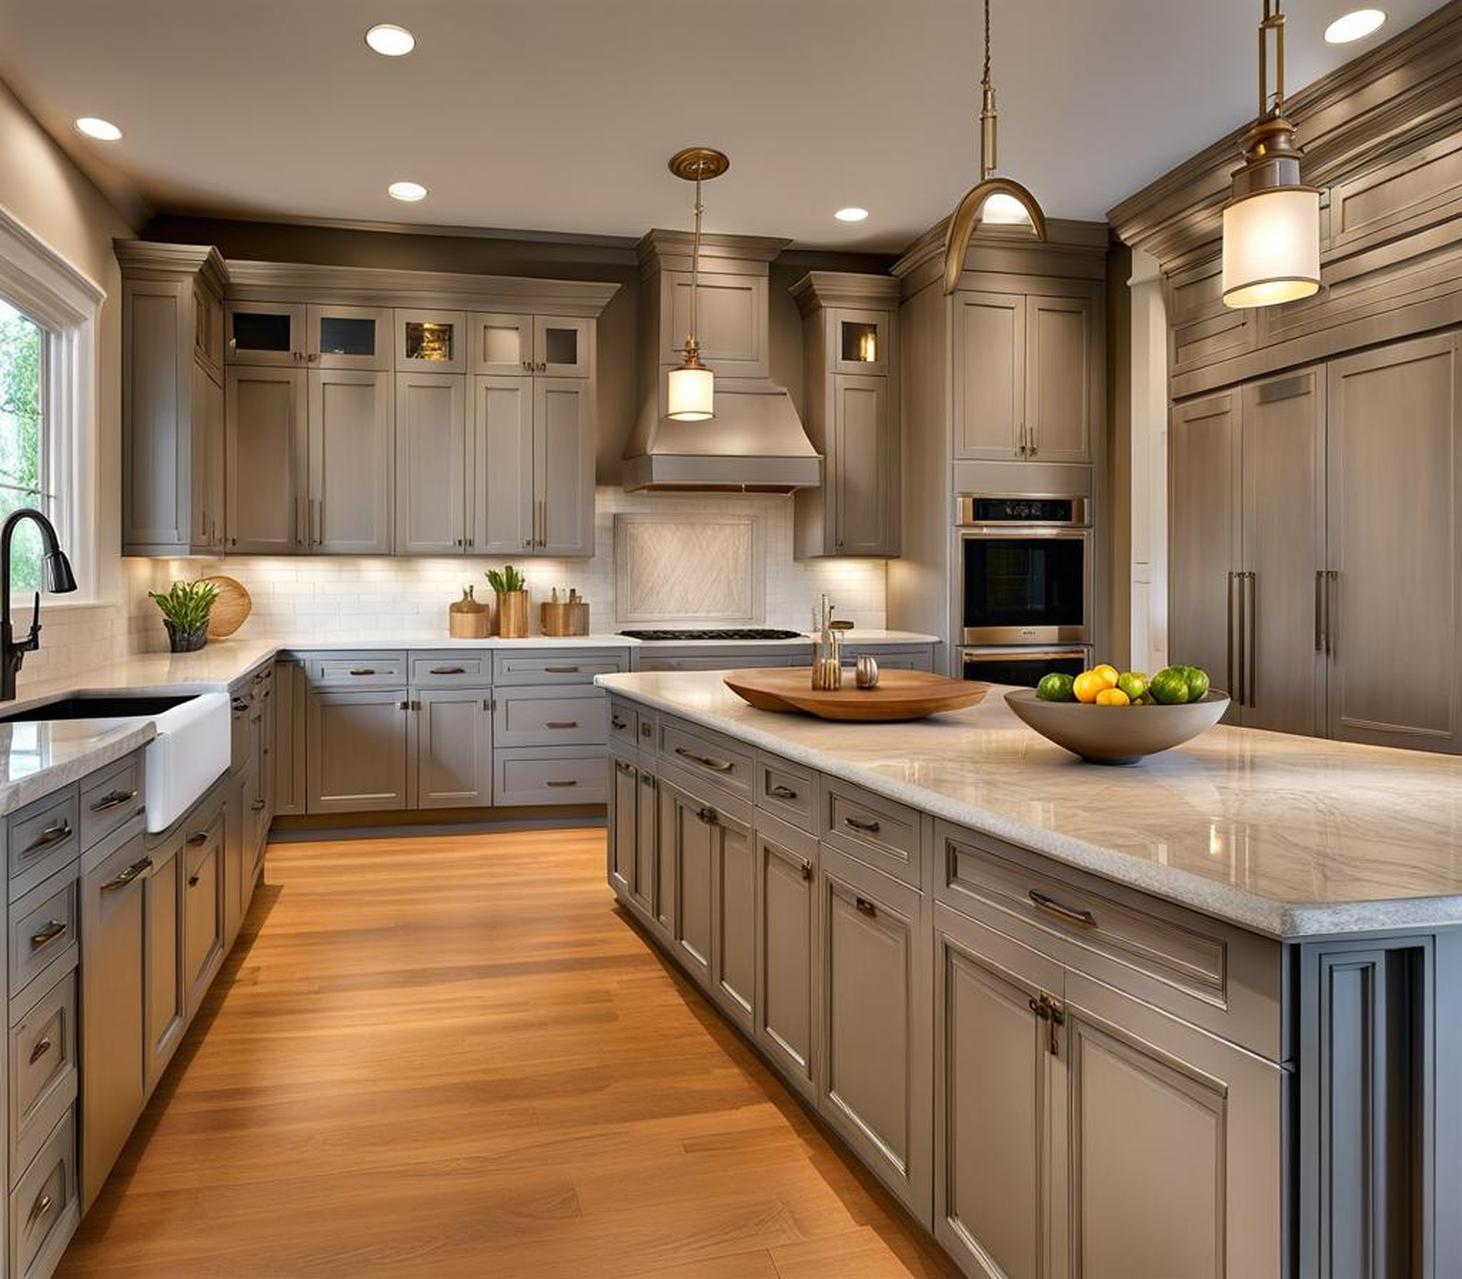
Has your kitchen decor fallen into a style rut? Do your oak cabinets look outdated and fail to match the rest of your home’s aesthetic? If so, implementing a gray wash paint technique can revive tired cabinets and completely transform the look of your kitchen.
Gray washed kitchen cabinets refer to a distressed painted finish that mixes gray tones with a wood’s natural grain to create a weathered, vintage appearance. The result is a soft, sophisticated gray that feels light and airy. Unlike opaque paints that fully obscure the wood below, the gray washing technique allows beautiful wood textures to peek through.

Assessing Your Cabinets for a Gray Wash Makeover
While virtually any cabinet can receive a gray wash facelift, oak cabinets are particularly well-suited for this treatment. Oak features prominent wood graining that grabs and retains painted finishes beautifully. The first step is determining if your cabinets are candidates for a makeover.
Evaluate Condition
Examine cabinets inside and out for flaws needing addressed prior to painting. Look for cracks, holes, warped surfaces or separating joints. Use wood glue and fillers to repair minor imperfections first. Significantly damaged cabinets may need replacing.
Address Grease and Grime
Degrease cabinet surfaces using a concentrated cleaner formulated for wood. This prevents paint adhesion issues. For heavy grease saturation, deglazing solutions effectively cut through and dissolve deep-set grime.
Prepping Cabinets for a Flawless Gray Wash
Proper prep work ensures gray wash paint adheres smoothly and evenly across cabinets for a cohesive finished look.
Clean Surfaces Thoroughly
Wash cabinets with a mild detergent solution to eliminate dirt, dust and residues. For ease, remove doors and drawers to fully access cabinet frames. Allow to fully dry.
Sand Cabinets Lightly
Use 220 grit sandpaper to lightly scuff cabinet surfaces, roughing the finish for optimal paint adhesion. Avoid heavily distressing the wood.
Fill Any Imperfections
Use a wood filler compound to patch holes or flaws for a smooth finish. Allow filler to dry completely, then sand flush.
Mixing the Perfect Gray Wash Solution
Achieving the right gray wash color and consistency is essential for realizing your design vision. Follow these tips when formulating your custom paint mixture.
Select Paint Colors
The gray wash look can be tailored to your own style tastes and decor. For a versatile neutral, choose a light to medium gray interior latex paint. Deep charcoal hues make a dramatic statement. Sample paint cards on cabinet surfaces before committing for best accuracy.
Combine a 50/50 Paint and Water Ratio
Start with equal parts gray paint and water for a properly thinned consistency–approximately 1 cup paint to 1 cup water. Then add 2 tablespoons of primer which helps the diluted paint better grip the cabinets.
Test Consistency
Stir the solution thoroughly until smooth. Aim for a thin, milky consistency that easily flows from the brush but still adequately covers. Add small amounts of water or paint as needed to achieve desired results.
Applying Cabinet Coats for a Flawless Gray Wash
With your custom gray wash mixture prepared, the painting process is simple. Use these application tips for foolproof results.
First Coat
For fastest application, use a paint spray gun configured for thin solutions. Apply an even first coat allowing drips to form, then use a rag to softly blend drips into the wood. Alternatively, apply by brush then immediately rag or sponge, softening edges before drying. Work in sections to prevent thick build up.
Second Coat
Once the initial coat dries, apply a second lighter coat to achieve desired coverage and color depth. Soften and blend just like the first application. Allow paint to fully dry 72 hours before protective top coat.
Seal and Protect With a Clear Finish
Once painted, apply a water-based protective clear coat which seals and protects the distressed paint while allowing wood grain to show through. Quick-drying water-based polyurethanes with UV protection provide a durable yet breathable shield against moisture damage, grease, stains and fading.
Build Up Layers
Apply 2-3 thin layers of fast-drying water-based polyurethane with light sanding between coats. This creates a smooth, glass-like finished texture.
Consider Skipping Gloss
Although polyurethane comes in gloss, semi-gloss and matte, for gray washed cabinets a matte or satin finish best preserves the vintage look. Glossy finishes showcase wear over time.
Reinstalling Doors and Drawers
Once the protective sealant fully cures 72 hours later, reattach doors, hardware and slides to complete your transformed kitchen.
Avoid Nick or Scratches
When reinstalling, take care not to nick or scratch the finish which can allow moisture to penetrate. Touch up any flaws with sealant.
The light and airy aesthetic of gray washed oak cabinets serves as the perfect backdrop for displaying kitchenwares. Style open shelves with antique-inspired ceramic crocks, pretty glass canisters or rustic pottery. For enclosed cabinetry, swap out dated brass hardware for matte black pulls and fixtures for a modern touch.
Include pops of contrast color with kitchen linens, rugs and barstools to keep the palette visually interesting. Crisp whites, woven textures and natural wood elements complement the weathered finish. By following our gray wash tips for renewing worn cabinets, your kitchen is sure to regain its decorative luster.
