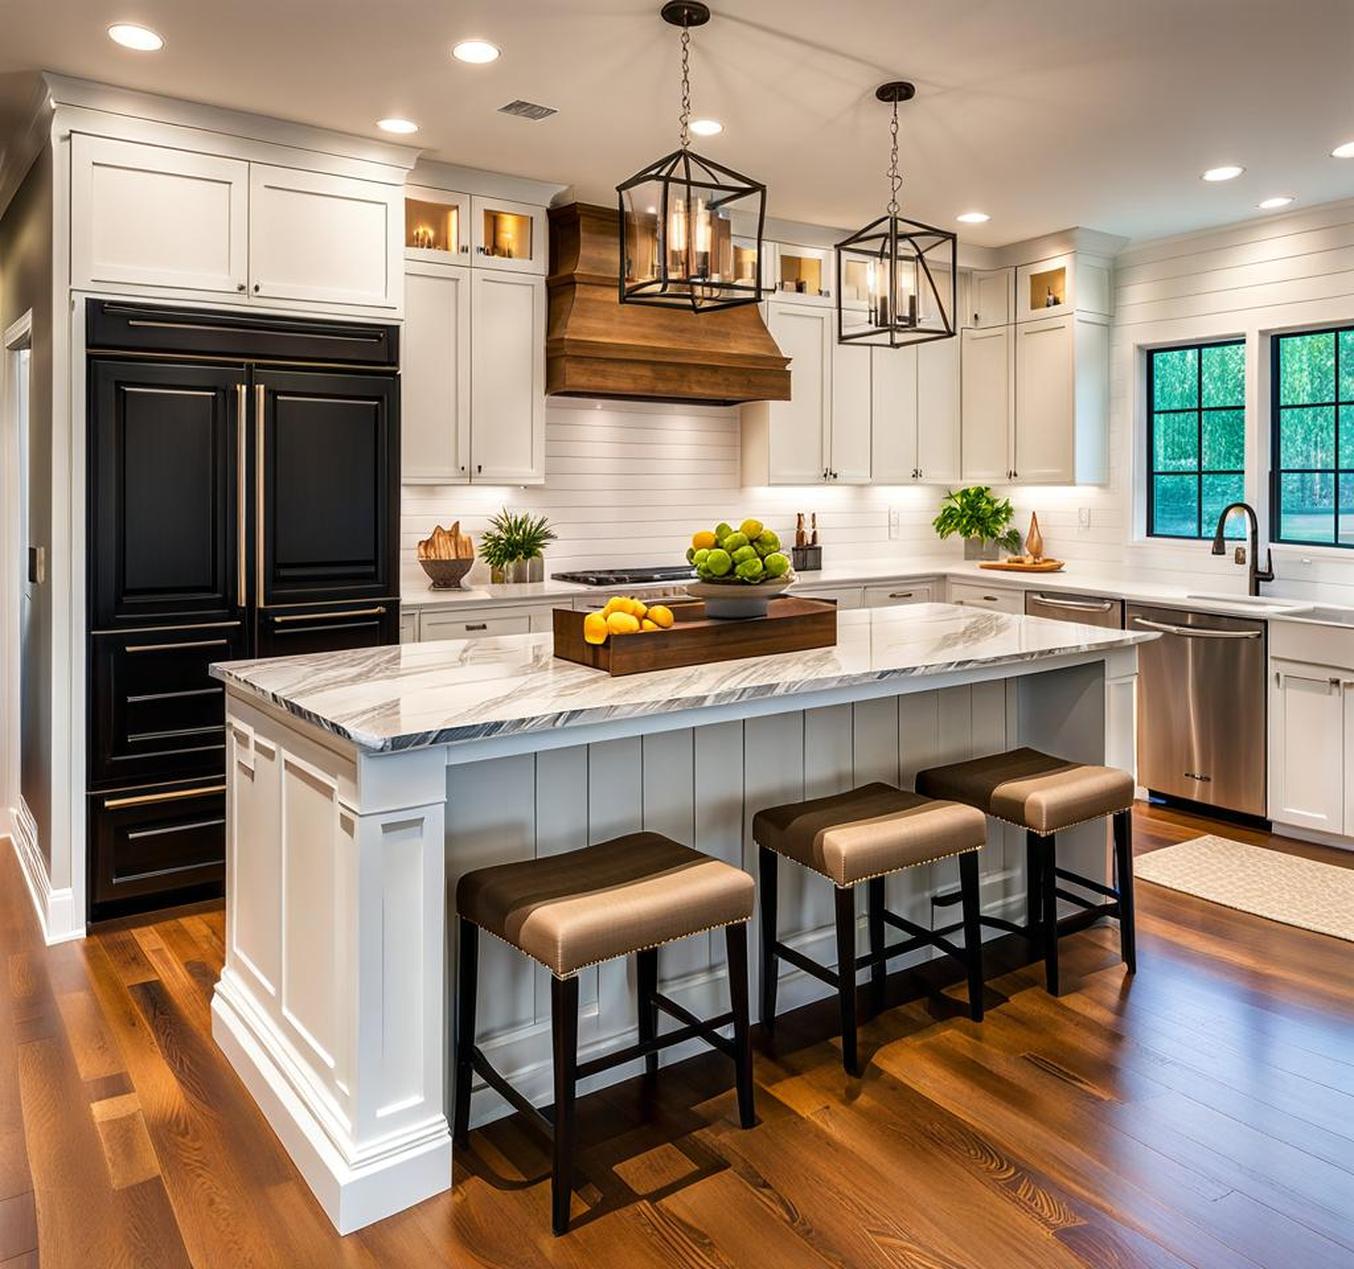
If your kitchen island is looking dull or dated, shiplap may be the ideal solution for transforming it into a stunning focal point that steals attention. The rich, textured look of shiplap can inject visual interest, warmth, and charm into even the most basic kitchen island.
Shiplap is made of thin, wide boards with tongues and grooves that fit snugly together to produce a ribbed appearance. It instantly infuses unique aesthetic dimension to surfaces. With colors, finishes, and installation patterns to mix and match, shiplap offers endless possibilities for customizing your kitchen island’s style.
Common Problems with Existing Kitchen Island Aesthetics
Islands can easily start to show their age through chipping laminates, fading paint, and dated styles. Factory-made islands often feature flat, uniform materials like particle board that eventually appear worn and uninspired over years of use.
Additionally, many homeowners grow tired of an island’s existing aesthetic. All-white color schemes evoke sterile, clinical impressions while dark stains blend in somberly with surrounding cabinetry. Such monotonous appearances fail to spotlight the island’s functionality.
Benefits Shiplap Offers
Shiplap is the ideal solution, offering:
- Visual texture
- Warm, organic finish options
- Rustic, farmhouse, or nautical styling versatility
- Quick and achievable DIY installation
With a shiplap island, you can set your kitchen’s focal point distinctly apart with its own unique character and charm.
Selecting Your Shiplap
Shiplap offers diverse options for customizing your island’s new look.
Wood Types for Shiplap
Pine, oak, and cedar comprise some top wood types for shiplap. Considerations include:
- Pine: Affordable, versatile for staining or painting
- Oak: Durable hardwood that stains richly
- Cedar: Resilient with natural insect/rot resistance
Choose based on your budget, desired finish, and visual style for the island. Keep in mind hardness and porosity affect stain absorption.
New vs. Reclaimed/Salvaged Shiplap
New shiplap offers precisely milled dimensions for easier installation, while reclaimed boards feature slight variations that relay rustic, timeworn character. Distressed shiplap mimics the latter aesthetic but lacks authentic aging.
Finishes: Stained, Painted, Whitewashed
Stained shiplap enhances wood grain’s depth and luster. For lighter, airier impressions, painted or whitewashed shiplap retains subtle texture without darker hues. Multi-tone finishes help shiplap islands appear collected over time.
Style Options
Options for customizing your shiplap island include:
- Distressed: Wire brushing and chisel work create worn, vintage looks
- Nautical: Crisp white shiplap evokes breezy seaside cottages
- Modern: Glossy coats and sleek lines offer contemporary edge
Preparing and Installing Your Shiplap
With some precise measuring, careful cutting, and strategic spacing and placement, you can install shiplap to beautifully transform your kitchen island on your own.
Measurements
First, measure your island’s surfaces that will receive shiplap. Account for edges and openings like electrical outlets. Translate measurements to a sketch, mapping shiplap board placement.
Cutting Shiplap
Using a miter or table saw, cut boards to desired lengths. Run test pieces first. Carefully make finishing touches with a jigsaw. Sand edges smooth.
Create Decorative Patterns
Varying shiplap direction adds distinct character:
- Horizontal creates clean-lined symmetry
- Vertical draws the eye up to elevate perceived height
- Diagonal infuses modern edge through dynamic lines
- Herringbone pattern intersects for geometric accent
Installation Process
For sturdy adhesion, apply construction adhesive along boards’ back ridges before fastening with nails or screws into wall studs or substrate boards. Use spacers to maintain even gaps for consistent visual flow. Finally, seal boards with polyurethane for protected finish.
Design Inspiration and Ideas
Shiplap’s versatility allows for diverse secondary design elements that enhance your kitchen island’s revived aesthetic. Consider complementing materials, lighting for drama and function, built-in storage, and visually cohesive counter seating.
Mix and Match Finishes
Introduce additional textures and tones for further dimension by incorporating:
- Dark island base for visual foundation and luxe style groundedness
- Satin brass fixtures and hardware for polished accent contrast
- Honed marble countertops conveying refined elegance
- Cerused oak baseboards matching stain tone
Accent Lighting
Attract admiring eyes to your breathtaking shiplap statement by installing:
- Undercabinet lighting casting a radiant glow
- Sconces with vintage filament bulbs
- Rail fixtures for adjustable spot illumination
Incorporate Storage
Introduce additional function to your island with built-in storage options like:
- Cabinets complementing shiplap style
- Cubbies for storing kitchen textiles
- Shelving for frequently-used gadgets
- Wine glass racks displaying glassware
- Baskets for fruit or vegetable storage
Contrasting Island Base/Countertop
Ground your shiplap focal point with island base and countertop materials providing appealing contrast such as:
- Black granite countertop conveying urbane sophistication
- Butcher block island base for organic balance
- Honed limestone’s greyscale hues blending with white shiplap
Maintaining and Protecting Your Shiplap
With proper care and maintenance, your shiplap island can impress for years to come with stunning enduring beauty.
Cleaning and Care
Protect shiplap’s finish by promptly cleaning spills and wiping with soft microfiber cloths. Avoid abrasive substances that can strip or scratch surfaces.
Sealing and Resealing
Sealants prevent absorptive damage and stains while locking in shine. As boards age, re-apply polyurethane coatings to maintain pristine appearance.
Easy Repairs
Should you ever need to refresh your shiplap, it is relatively simple. Light sanding is often all that is necessary to prep for re-staining or painting. Replace individual damaged boards by detaching tongues and grooves.
Achieving a Showstopping Island
By complementing your stunning, on-trend shiplap island with select additional accents, you can create a space for sumptuous culinary inspiration and entertainment gatherings.
Updating Hardware
Unify your island’s lifted look with hardware like:
- Black wrought iron cup pulls
- Aged bronze pendulum lights
- Pewter barn door track for pocket cabinet fronts
Styling Tips
Stage vignettes displaying cherished kitchenware, accented with elements such as:
- Woven bread baskets
- White porcelain canisters
- Botanical wreaths
- Taper candles
- Glass bottle displays of cooking oils
Your breathaking shiplap island now serves as the heart of culinary hospitality for gatherings with beloved friends and family. Show off spectacular dishes garnished with fresh herbs while guests admire your brilliant new showstopper island as lively conversation fills the kitchen.
