If you’re remodeling your kitchen or simply want to move your stove to a different spot, relocating the gas line is a crucial part of the job. Doing it properly ensures safe stove operation in the new location. While not overly complex with the right planning and materials, it’s not a project to undertake lightly either–gas systems can be dangerous if handled incorrectly. Follow this 5-step tutorial to simplify the process. With some diligence and care, you can redirect your stove’s fuel source without issues.
Assess Your Existing Gas Line
Before moving any appliances, you need to examine the current gas line feeding the stove. This includes the pipe material itself, connectors, and valves. If it is outdated, damaged, or worn, replacement may be necessary to prevent future hazards.
Inspect Pipe Material and Condition
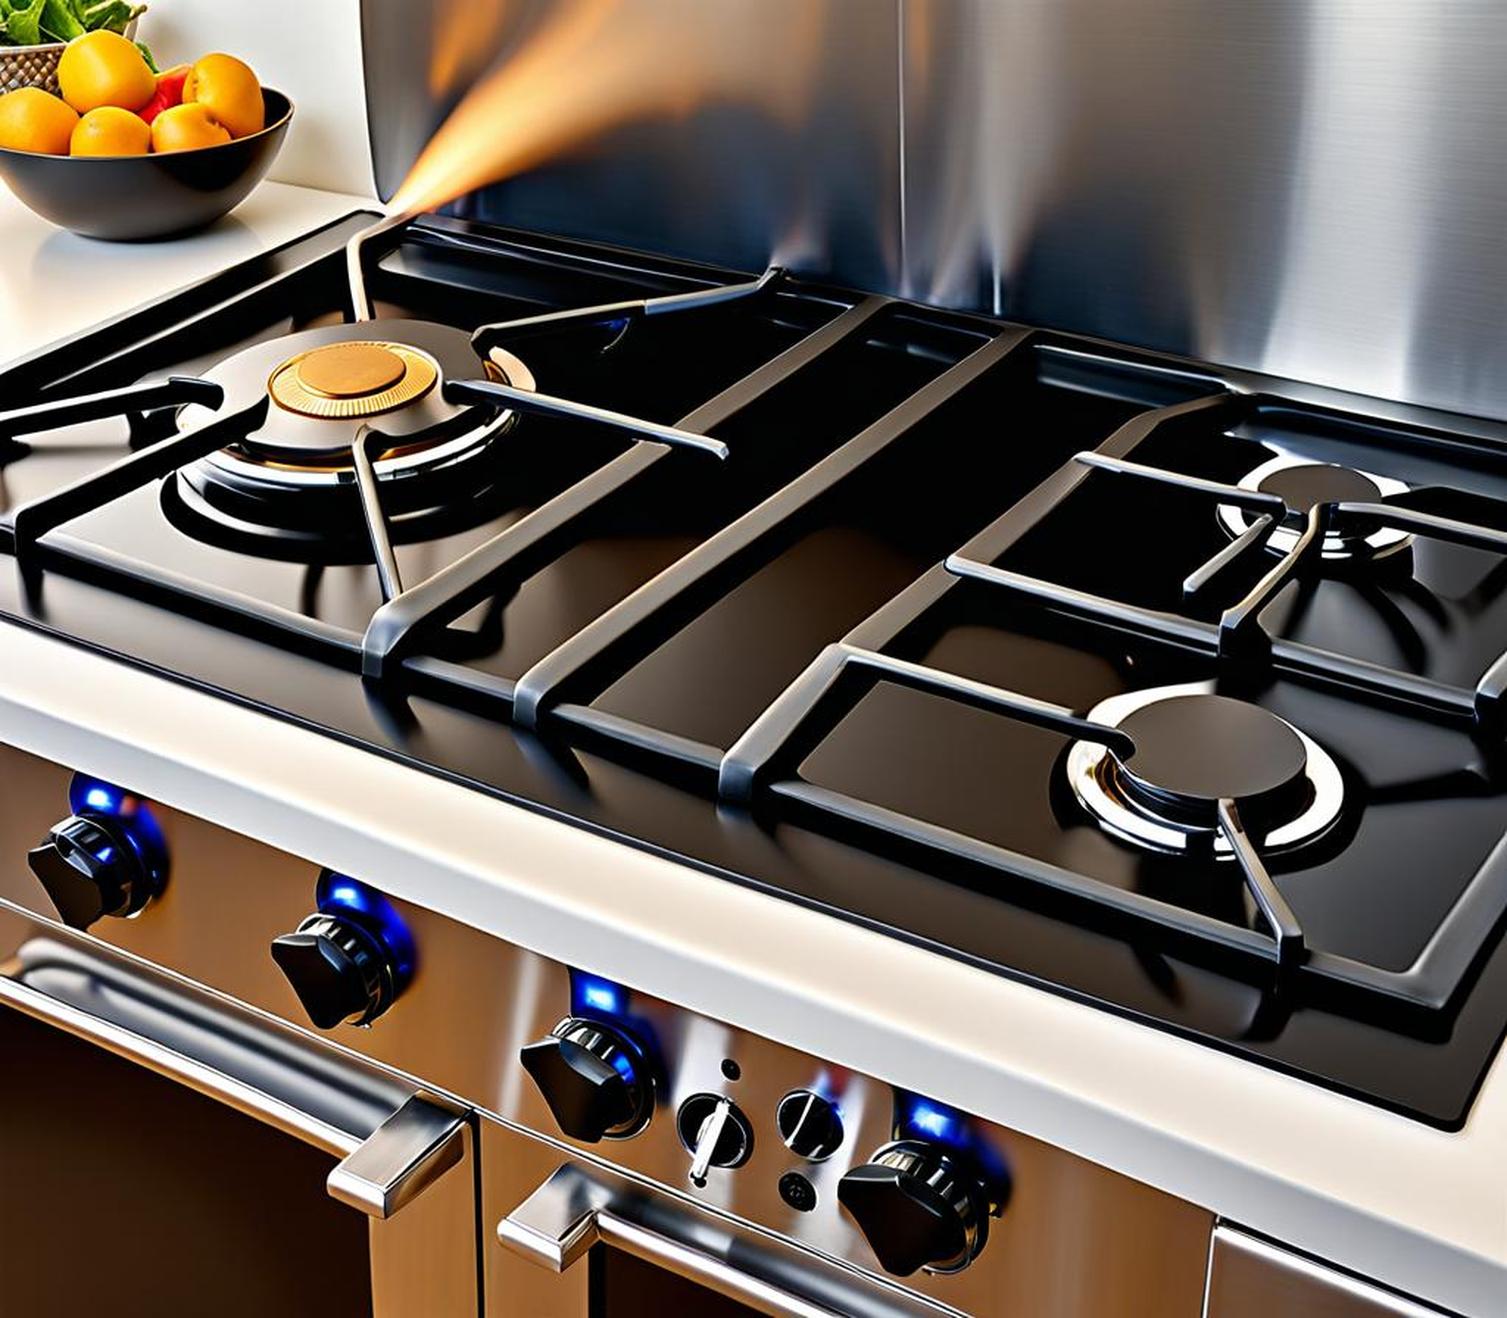
Stoves are commonly connected via black iron or steel pipe, corrugated stainless steel tubing (CSST), or copper. Check the date stamp to determine age. Also look for the following faults:
- Corrosion
- Dents, crimps, or flattening
- Cracks or leaks in joints or welds
- Significant buildup restricting flow
Issues like this mean the piping can no longer contain pressure safely. Replacing at least the affected sections is wise, especially if over 10 years old. Using an electronic gas detector helps find any small leaks.
Check for Cracks or Corrosion
Carefully scrutinize every inch of the line, searching for cracks that may leak, hazardous corrosion, or flow restrictions. Pay special attention to joints, elbows, and valves–common failure points. Note these for replacement while leaving intact portions to reconnect.
Test for Leaks
Screening your fuel line for leaks now prevents bigger headaches down the road. Turn the gas on and brush pipe connections with leak detector solution. Bubbles signal seepage. An electronic sniffer also verifies soundness. Catching minor leaks early avoids gas buildup and potential ignition issues after moving everything.
Determine if Replacement is Needed
If you discover any deterioration or leakage, replacing some or all gas components may be required, including the shutoff valve. Use the opportunity to upgrade old piping like galvanized steel or iron to CSST or copper. Seek professional input on the best solution for your situation and safety.
Choose New Stove Location
The ideal spot for your stove depends on kitchen layout, traffic flow, and venting needs. Check manufacturer clearance requirements as well so positioning enables safe operation and maintenance access.
Consider Layout and Traffic Flow
Think about how you circulate through the kitchen when cooking. Allow enough space around the stove to open oven doors or drawers without obstruction, protecting you and kids from burns. Entry and exit points factor too so multiple cooks can maneuver smoothly.
Check Manufacturer Clearance Requirements
Every brand and model differs on mandatory distances between stove surfaces and surrounding cabinetry or walls. Consult manuals to avoid fire risks should heat damage occur. Meeting specifications may necessitate moving appliances further than anticipated.
Ensure Venting and Electrical Access
If your stove hood vents outside, Redirecting the ductwork probably makes most sense. New plug placement must also permit safely plugging in the oven without straining cords or using extensions.
Pick Easiest Gas Line Routing
Aim for the shortest distance from fuel hookup to appliance using minimal turns for simpler installation. This likely lowers piping needs too. If the current line has issues though, don’t let ease of path compromise replacing worn sections as required.
Gather Necessary Materials
You’ll need an array of gas line parts and tools for executing your stove’s move. Having everything on hand means you won’t discover missing items halfway through.
Flexible Gas Line Connector
This specialized hose threads to your stove then the supply line, enabling the range to shift locations without disconnecting the gas. The added flexibility also absorbs vibrations and strains from multiple directions, reducing stress.
Pipe and Fittings for New Run
If you’re installing new piping, obtain the properly sized durable steel, copper, or CSST materials. Don’t skimp on quality–low-grade pipe risks dangerous leakage. Ensure you have the necessary connectors, valves, elbows and tees too.
Caps, Seals, Primer & Solvent
Sealing disconnected lines prevents accidental gas flow. Caps fasten securely to pipes during the move. Various glues join piping. Ensure every substance you use is explicitly approved for gas systems to avoid hazardous reactions.
Tools: Wrenches, Pipe Cutter, Tester
You’ll need wrenches for unscrewing fittings and valves. A tubing cutter makes straight cuts for joining pipes or installing new runs. Leak detectors verify sound connections, plus locators find underground lines.
Shut Off Gas Supply
With all materials gathered, it’s time to start the physical stove migration beginning by killing the gas flow.
Main Shutoff Valve Location
Tracking down your house’s shutoff lets you control the overall gas supply during the project. It’s normally outside next to the meter but could be elsewhere. Familiarize yourself with the precise spot beforehand.
Instructions for Turning Off Gas
Actually shutting off the gas entails turning a T-handle or shutoff valve a quarter-turn. You’ll feel resistance and then it clicks free into the off position. Turn slowly to avoid snapping interior components.
Confirm Flow is Fully Off
Double-check appliances to ensure fuel is completely disconnected. Stove burners should not ignite when dialed on. Pilot lights extinguish too. Repeat valve shutdown if anything remains live.
Disconnect and Remove Old Gas Line
With supply confirmed deactivated, it’s safe to dismantle the old gas delivery system.
Loosen Existing Connections
Use proper wrenches to detach stove and supply point fasteners carefully–don’t strip threads or crack sealing gaskets. Unthread connections completely before attempting to shift pipe sections.
Cap Off Open Ends Immediately
The instant a segment separates, seal it using threaded caps. This prevents stray gas leakage inside. Leave caps in place until you reconnect everything later.
Slowly Extract Old Pipes
Take old pipes out delicately to avoid splitting or having debris clog lines. If removing entirely, plug hookup points so stray objects don’t enter. Bend gently without kinking copper. Coil any hoses loosely for storage.
Install New Gas Piping
Run replacement fuel lines using the optimal route you mapped earlier. Precision measurements ensure perfect fit.
Route and Measure New Pathway
Map the ideal path between connections considering obstacles. Measure exact distances and cut lengths so pipes fit flawlessly without forcing.
Cut Pipe to Fit Space Precisely
Leave a little extra length then trim steel pipes slowly with a tubing cutter for straight edges. Deburr the ends smooth. Cut copper tubing with a dedicated copper cutter for a clean edge.
Connect Valves, Joints, Fittings
Connect all new pipes, seals, elbows and tees using proper technique to prevent leakage. Ensure valves open/close correctly. Cover threads with tape or paste to secure joins.
Pressure Test Gas Line
Before lighting appliances, double-verify all seals and connections contain pressure safely. Failure risks gas leakage or explosion.
Check All Fittings and Connections
Visually inspect joints to ensure they’re fully tightened and aligned properly without relying on tape or glue alone to bind them. Confirm valves function smoothly.
Perform Bubble Test for Leaks
With gas flowing, brush soapy water over every interface. Bubbles signify escaping gas so reseal and retest until fully sealed. Rinse soap residue after.
Fix Any Issues Before Proceeding
If leaks persist, immediately turn off supply and determine the cause. Retighten fittings, replace faulty parts, or call a professional if you can’t resolve it. Never ignore leaks.
Restore Gas Supply and Connect Stove
You’re nearly finished! Turn fuel back on and reconnect your stove to its new source safely.
Confirm Line is Safely Installed
Before activating gas, verify all piping connections are secure, leak-free, and conform to local building codes. Review all steps to ensure you have not missed anything critical.
Turn Gas Back On and Test
Open the main valve slowly to avoid pressure spikes. Repeat leak checks on the entire system. Pilot lights should ignite on appliances when activated. Verify burners fire up too.
Affix Connectors and Move Stove
Attach the flexible gas line to fuel piping then the stove. Securely tighten by hand, then 1/4 turn more with a wrench. Slowly slide your range into its new home!
Perform Final Stove Check
Before celebrating, confirm everything functions properly and safely in the new stove locale.
Verify Proper Function
Turn all burners on testing low to high flames. Oven and broiler should heat evenly. Electronic ignitions must spark all pilots. Verify cooling fans run too.
Recheck for Gas Leaks
Repeat bubble solution checks around the entire unit and connectors. Loose vibrations during the move could have disturbed seals. Confirm no new leaks developed.
It’s time to enjoy the fresh kitchen layout with the relocated range.
