Planning a kitchen remodel or building a new home? One of the most important parts of the design process is mapping out your ideal kitchen layout. The layout sets the stage for workflow, storage, and style. With the right planning, you can create a kitchen that is beautiful, functional, and uniquely your own.
Professional designers have special training for kitchen layouts. But with the help of templates, software, and some basic design knowledge, you can draw up dream-worthy plans, even if you have minimal drafting experience. Follow these five simple steps to DIY your perfect kitchen floor plan.
Step 1: Gather Measurements and Dimensions
Accurate measurements are crucial for any space planning project. Start by carefully measuring the overall length and width of the kitchen area. Use a laser measuring tape for precision. For existing kitchens, measure from the wall to the edge of counters, cabinets, and appliances. Take notes of the dimensions, including doorway widths and ceiling height. Also indicate any irregular angles or odd spaces. Sketch out the basic shape and size of the room on graph paper.
Tips for Measuring:
- Mark down the makes and models of existing appliances
- Note the location of all windows, doors, and openings
- Check for sloped ceilings or uneven walls
For a kitchen in new construction or a full gut renovation, get the room’s footprint dimensions from your contractor. Then you can use this space “envelope” as the starting point for your layout.
Step 2: Research Kitchen Design Principles
There are some standard guidelines that can help maximize function and workflow in a kitchen layout. Here are some key elements to keep in mind:
The Kitchen Work Triangle
This refers to the optimal distance and relationship between the sink, stove, and refrigerator. Each point should be between 4-9 feet apart, with no obstructions blocking the spaces in between. This makes cooking prep and clean up more convenient.
Traffic Flow
Aim for enough space between appliances, islands, and counters so multiple people can move around comfortably. At least 42 inches for main pathways is ideal. Position the fridge near the entrance for easy access.
Counter Space
Having ample, unbroken counter space makes meal prepping much easier. Allow for at least 15 inches on either side of the stove and sink. Ideal total counter space is 12-15 linear feet.
Step 3: Select Appliances and Features
Choosing your appliances early allows you to allocate the proper amount of space in your layout. First make an appliances wish list, noting the dimensions, fuel type, ventilation needs, etc. Next, pick the sink style and faucet. Then choose countertops and backsplash materials. Consider built-in vs freestanding appliances and how they’ll impact the design.
Appliance and Material Selection Tips:
- Allow width/depth of appliances + extra 2-3″ clearance
- Check interior measurements of cabinets for dishwasher sizing
- Consider noise levels for proximity of fridge to entertaining areas
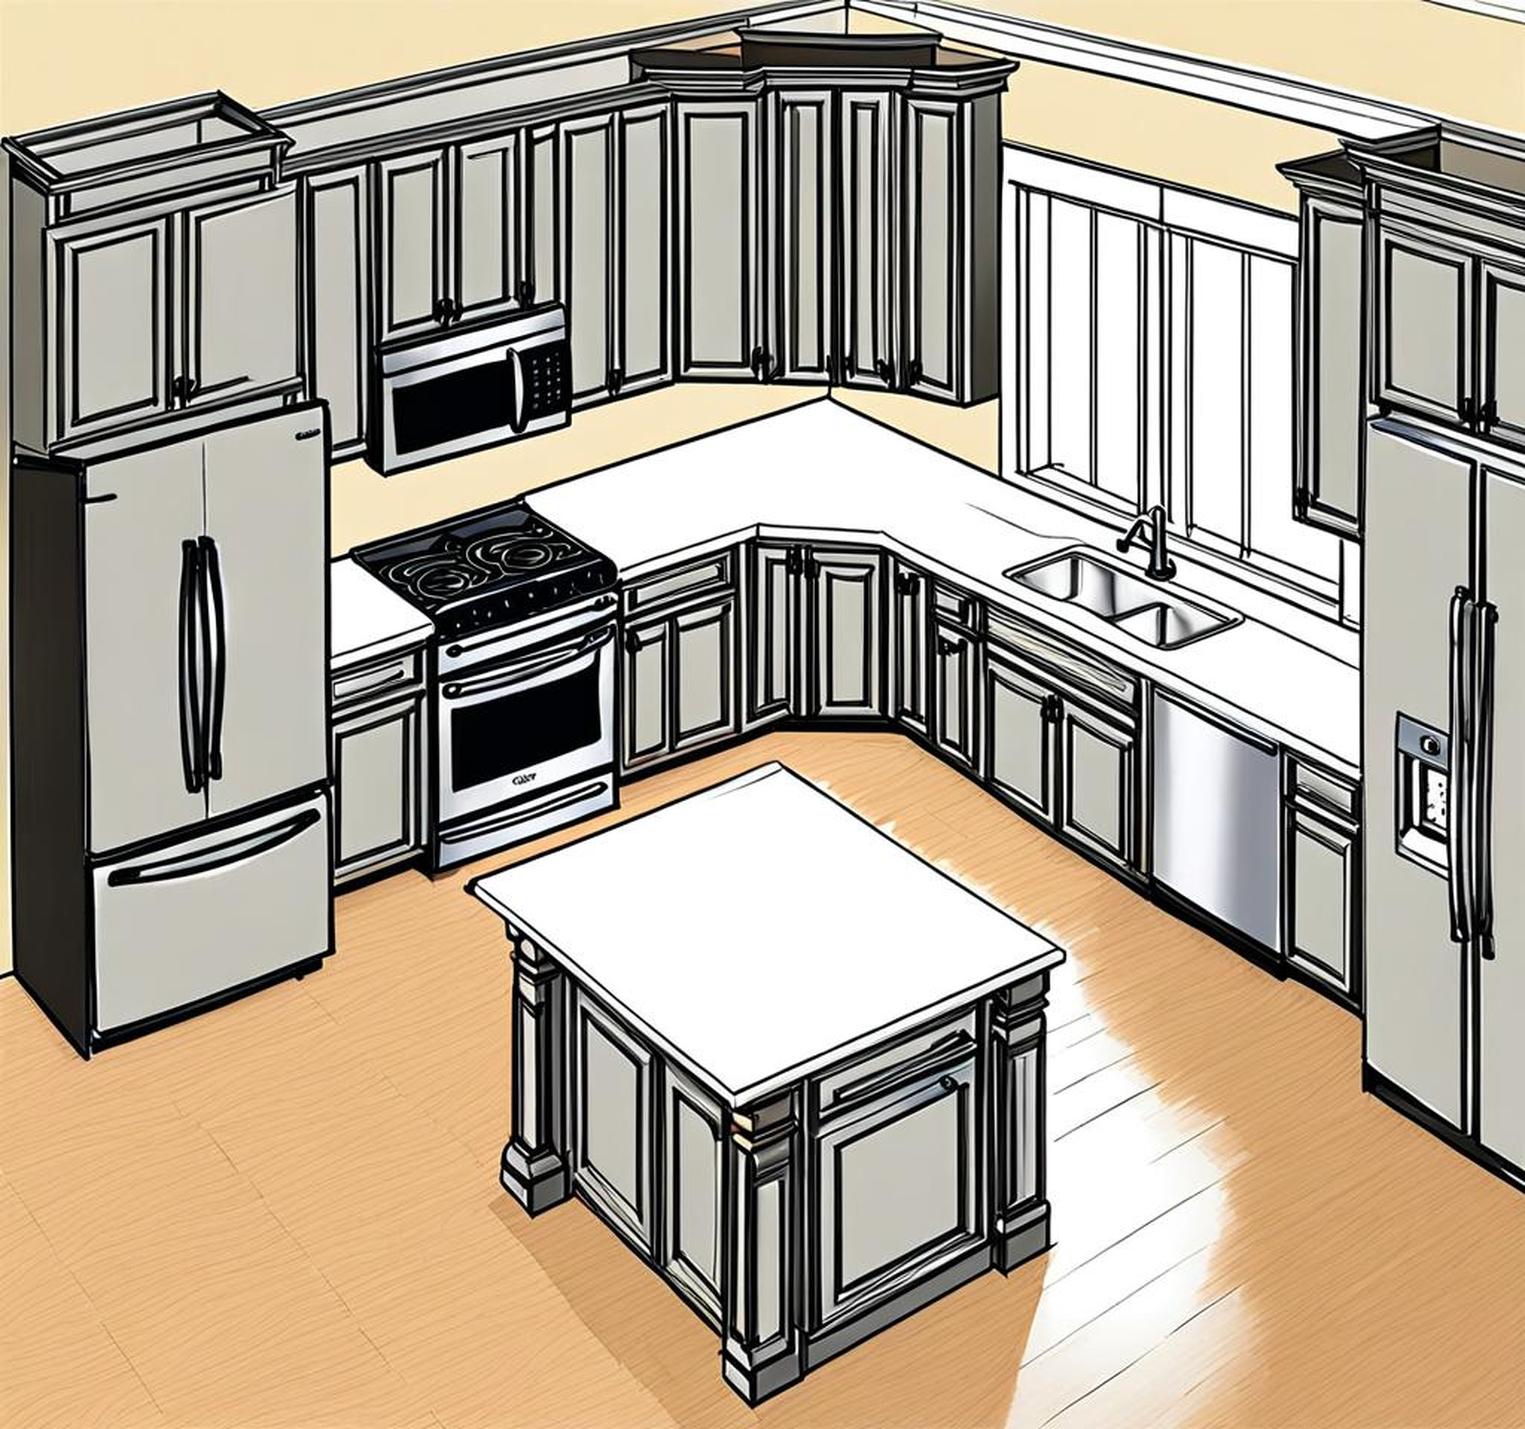
Step 4: Map Out Cabinetry and Counters
Now comes the fun part – drawing your layout! Start by positioning the sink, ideally under a window. Then map out the cabinet and island footprints using rectangles. Allow for overhangs on peninsulas. Draw the shape of countertops extending from cabinets. Indicate cabinet sizes, doors/drawers, and add notes as needed. Remember to allow for edges and trims.
Tips for Sketching Cabinets and Counters:
- Standard base cabinets are 34.5″ high and 24″ deep
- Allow 2-3″ for countertop overhang
- Varry cabinet heights for visual interest
Step 5: Use Online Planning Tools
For more advanced planning and visualization, take advantage of user-friendly kitchen design software. Programs like SketchUp and RoomSketcher allow you to create a custom layout complete with cabinetry, appliances, finishes, and more. You can easily make adjustments and experiment with different configurations. Once finalized, you can print out your kitchen layout or save digitally for your renovation team.
Benefits of DIY Kitchen Layout Software:
- Virtual modeling with exact dimensions
- Ability to try endless layout options
- Real-time adjustments and cost estimates
- Professional quality 3D renderings
Designing your own kitchen layout is an exciting part of any remodeling project. With some basic design knowledge and the right tools, you can create a layout tailored to your taste and lifestyle. Following these simple planning steps will set you up for kitchen success. Remember to focus on function, workflow, and adequate storage as you bring your dream design to life!
