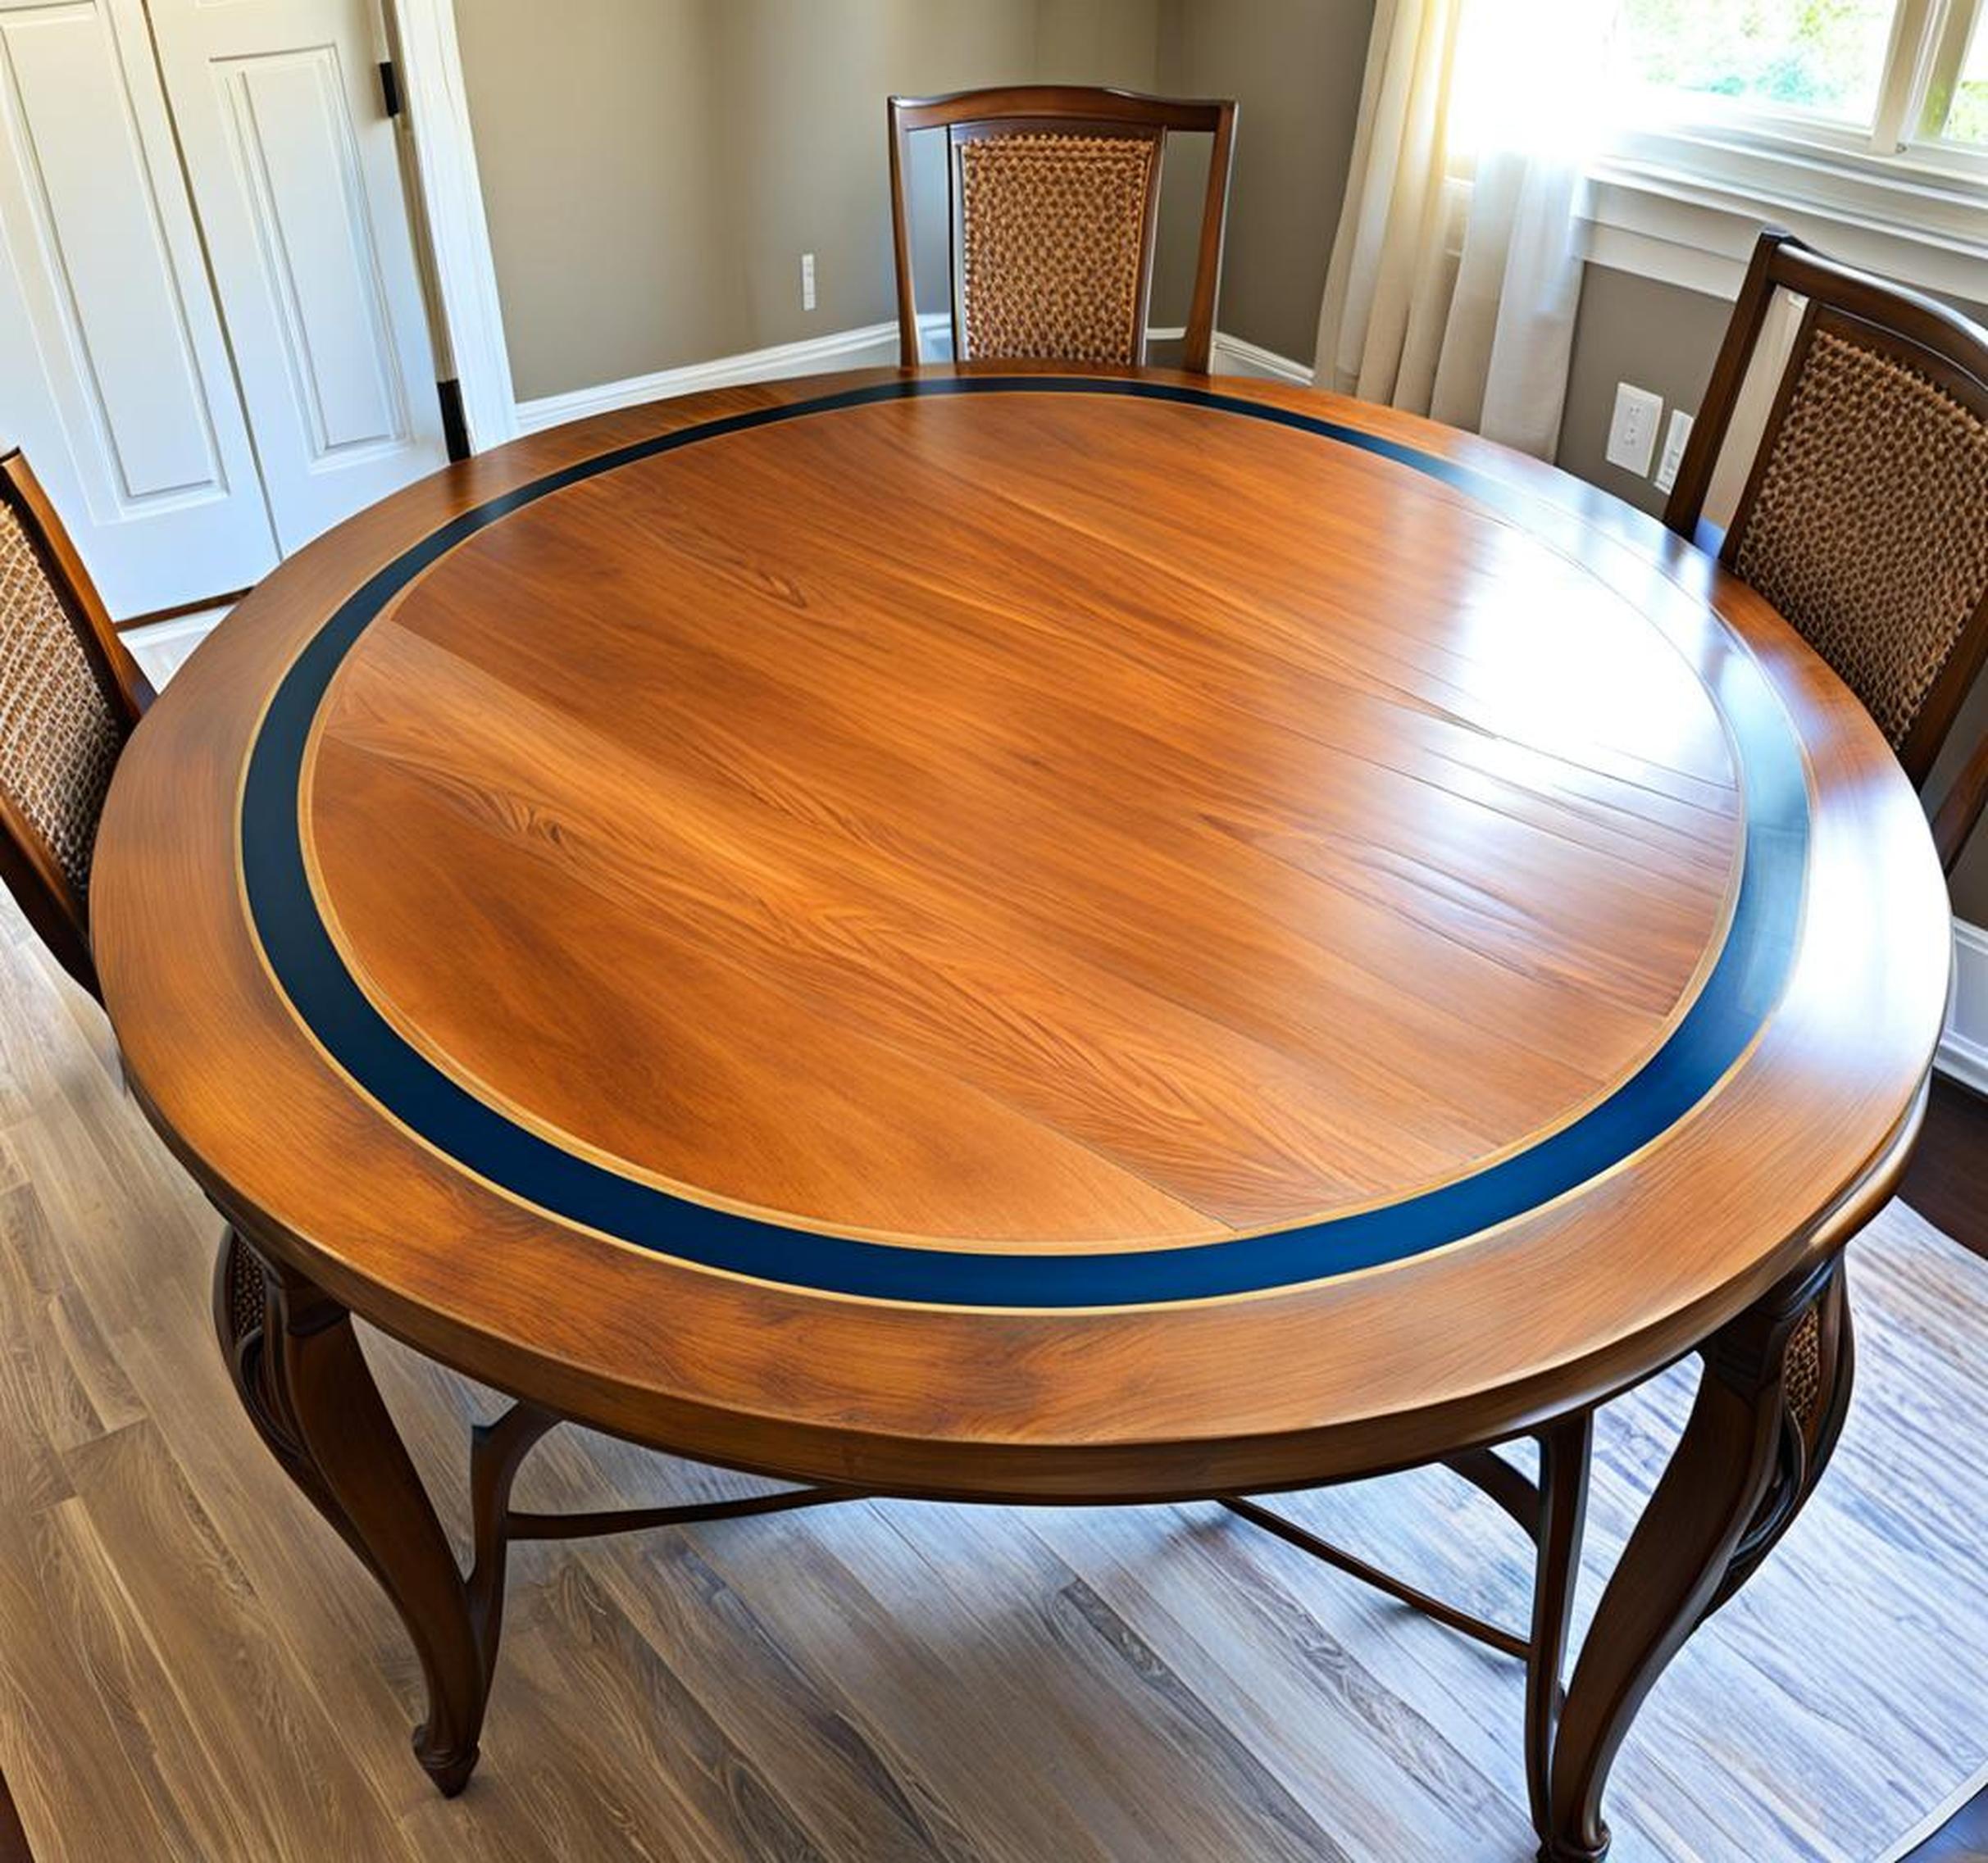
Does your kitchen table look tired and worn? Are you wanting to revive an antique or vintage table that has seen better days? Refinishing a kitchen table is an approachable DIY project that can give new life to cherished furniture pieces. Follow our simple steps below to refinish your table like a professional.
With some sandpaper, paint or stain, and a few key supplies, you can transform the look of a lackluster kitchen table. We’ll walk you through choosing the right table candidate, proper preparation, finishing techniques, and how to protect your refreshed table. Let’s dig in!
Choosing the Right Table
Not every kitchen table is a good option for refinishing. Here’s what to look for when selecting a piece:
- Wood type – Opt for oak, maple, walnut, or other hardwoods over softer woods like pine.
- Condition – Make sure the table’s structure is solid. Refinishing won’t fix loose joints or damage.
- Style – Consider the size, shape, era, and any ornamental details. Is it worth saving?
While almost any wooden table can be refinished, those made from quality woods will take stain better and be more durable over time. Avoid tables with peeling veneers or laminate tops.

Preparing the Table for Refinishing
Proper prep work is crucial for getting pro-level results. Here are the key steps:
Clear everything off the table and surrounding area. Remove chairs and any decor pieces. Detach any hardware like hinges, pulls, and knobs – set aside to reattach later.
Thoroughly sand the entire table, especially the top which takes the most abuse. Use coarse 80 grit paper to strip the old finish, then work up to 220 grit for a smooth even surface. Wipe away dust with a tack cloth.
Apply painter’s tape around the table’s edges for a crisp paint line. Cover the nearby floor or walls to protect from drips and splatters during finishing.
Paint vs. Stain: Which is Best?
There are pros and cons to both paint and stain when refinishing a kitchen table:
Paint
Paint options like chalk, milk, or latex paint can give a table a brand new solid color. No wood grain shows through. Consider highlights like distressing or accent colors.
- Milk paint – No need to sand first and has a vintage look when distressed.
- Chalk paint – Adheres to most surfaces without sanding.
- Latex paint – Very durable and ideal for families with young kids.
Multiple thin coats create a smooth finish. Sand lightly between coats for best adhesion.
Stain
Stains come in gel and liquid forms. Gel stains are thicker and tend to be beginner-friendly. Remember to always test stain on an inconspicuous spot first.
Apply stain in the direction of the wood grain, using a foam brush. Maintain a wet edge for an even appearance. Quickly wipe away excess stain with a clean cloth to prevent blotchiness.
Stain allows the wood’s natural pattern and texture to show through while adding rich color. Consider a dark stain to help hide scratches or blemishes.
Sealants & Topcoats
The final step is applying a sealant or topcoat to protect your refinished table. Polyurethane is commonly used.
- Oil-based polyurethane – Very durable and moisture-resistant.
- Water-based polyurethane – Low odor and dries more quickly.
Apply thin, even coats and lightly sand between each coat. Three to four coats are typical for optimal protection. Other options like lacquer or shellac give different finishes.
Finishing Touches
You’re nearly done! Remove the painters tape and drop cloths. Reattach any hardware you detached earlier. Add some beautiful accents to show off your refreshed table. Try a table runner, placemats, a vase of flowers or greenery. Mix your refinished table with other finished pieces for an eclectic look.
Caring for Your Refinished Table
Here are some tips for keeping your table looking its best:
- Use coasters, placemats and tablecloths to protect the finish.
- Clean up spills promptly to avoid stains.
- Deep clean periodically with wood cleaner and reseal as needed.
- Touch up scratches immediately to prevent damage.
Refinishing a worn and weary kitchen table can be an easy weekend project with our simple steps. Arm yourself with the right supplies, thoroughly prepare the table, apply your choice of paint or stain, and protect the finish with a sealant.
In just a few days, you can revive a flea market find, update a dated oak table, or restore grandma’s antique cherrywood table. With a little elbow grease, your refinished table will look professionally finished but with lots of personality.
Ready to get started on this satisfying DIY project? Remember, the beauty is in the details. Follow our tips above for expert results and a kitchen table you’ll love entertaining around for years to come.
