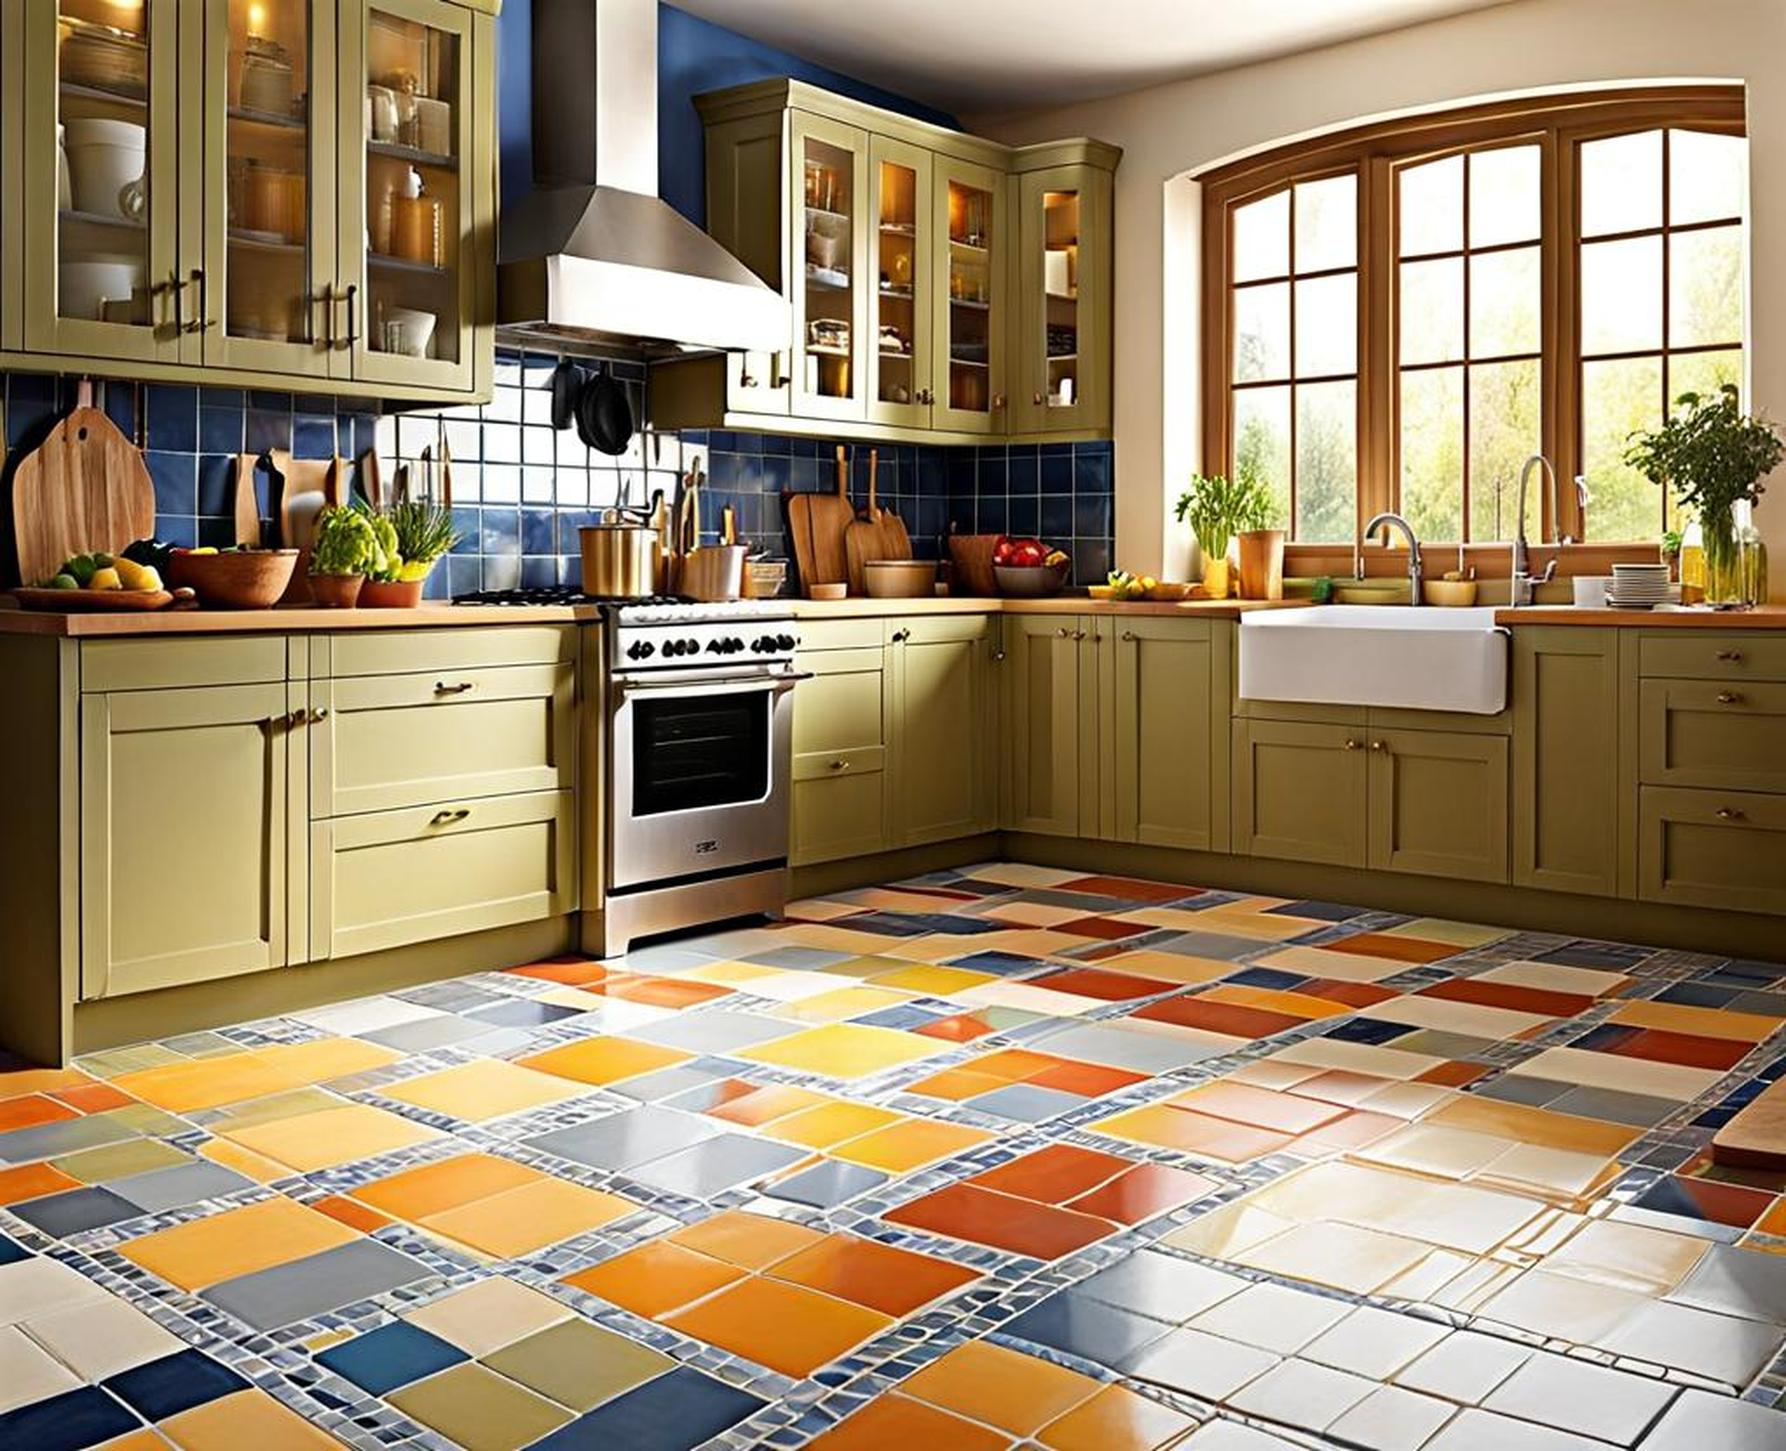
If you’re feeling bored with your kitchen’s floor tile, painting them can give the space a fresh new look for a fraction of the cost of replacing them. But before you break out the paint brushes, it’s important to understand what’s involved in painting floor tiles successfully.
Is Painting Floor Tiles a Good Option?
There are several advantages to painting rather than removing and replacing your kitchen floor tiles:
- It’s much cheaper than installing new tile
- Painting takes less time and labor than a full tile replacement project
- You can refresh the color and look without messy demolition
- Ideal temporary fix for rentals or before selling a home
However, there are also some downsides to keep in mind:
- Painted tiles show wear sooner than new tile and require more frequent touch ups
- Paint may not adhere as well long-term, especially in high traffic zones
- You’ll need to thoroughly prep the tile surface for the best results
- Painting tiles is still more work than simply painting walls
Overall, painting tiles can save money and time compared to replacing them. But the results won’t be as durable or long-lasting. It’s a good temporary fix for a few years rather than a permanent solution.
Key Considerations Before Starting
There are a few things to take into account before painting your kitchen floor tiles:
Tile Type
Unglazed quarry and saltillo tiles accept paint better than glazed ceramic or porcelain. The porous, rough texture allows paint to adhere well. Smooth, shiny tiles require extra prep but can still be painted.
Traffic Level
High foot traffic areas like main walkways will require more frequent repainting as the paint wears. For the longest-lasting results, choose low traffic zones.
Tile Porosity
Unpainted tiles that feel rough and porous will better accept new paint. Glossy or sealed tiles resist adhesion and require sanding and priming first.
Grout Lines
You can paint your grout lines a different color for accent. Be prepared for more frequent touch ups compared to the tiles.
| Tile Type | Prep Needed |
| Unglazed quarry | Low |
| Saltillo | Low |
| Ceramic, porcelain | Medium |
| Stone | High |
Choosing the Right Paint
Investing in a high-quality acrylic latex floor paint will provide the most durable, long-lasting finish on tiles. Here’s what to look for:
Adhesion Properties
Paint needs to create a strong mechanical and chemical bond with the non-porous tile surface. That’s accomplished with acrylics and epoxy resins in the paint formula.
Abrasion Resistance
Floor paint needs to withstand scuffing and foot traffic without wearing away. Urethane reinforcement provides tough protection.
Easy Cleaning
Paint with stain protection makes cleaning spills and dirt easier without harming the finish.
Color Options
Many brands offer hundreds of custom tintable colors. Or choose a pre-mixed shade that coordinates with your decor.
Look for terms like “tile & grout paint” or “ceramic floor paint” when choosing the right product.
Proper Surface Prep
Preparing your tiles properly before painting is crucial for the paint to adhere correctly and provide a professional-looking finish. Here are the key steps:
Deep Clean
Use a degreasing cleaner to remove built-up grime, wax, sealers, etc. Rinse thoroughly and let dry 24 hours.
Lightly Sand
Use 100-220 grit sandpaper to scuff up the glazed tile surface. This allows the paint to grip better.
Spot Prime
For very shiny or sealed tiles, apply a thin primer coat to aid adhesion. Let dry fully.
Fix Flaws
Repair any cracked, chipped, or missing grout. Use painter’s caulk for small cracks in tiles.
Protect Surfaces
Cover or mask off baseboards, cabinets, and walls so you only paint the tiles. Use drop cloths to protect flooring.
Paint Application Process
Follow these steps when applying the tile paint:
Outline Edges
Use painter’s tape around the perimeter to create clean edges. Cut in along edges with an angled brush.
Roll On Paint
Use a short nap roller to apply the paint in 3′ x 3′ sections. Roll in different directions.
Apply Multiple Coats
Typically 2-3 coats provides a durable finish. Allow each coat to dry 24 hours before adding the next.
Optional Clear Coat
Adding a polyurethane sealer protects the painted finish from scratches and stains.
Techniques for Special Tile Situations
Painting kitchen tiles often presents some unique challenges:
Natural Stone Tiles
Porous surfaces need a masonry primer first. Use thin coats of paint to avoid pooling in crevices.
Backsplashes
Outline the edges with painter’s tape for crisp lines. Use an angled sash brush for cutting in.
Touch Up Over Time
Spot paint worn areas and recoat traffic zones as needed to maintain appearance and extend the paint life.
Maintaining Painted Floor Tiles
Caring for your painted tile floors properly is key to their longevity:
- Gentle cleaners – avoid abrasives
- Reseal grout lines periodically
- Promptly wipe spills
- Place rugs in high traffic zones
- Reapply paint every 1-2 years
Painting Tile Floors FAQs
How much does it cost?
Paint, supplies, and tools range from $100-$300. Hiring a pro starts around $4/sq.ft.
Should I hire a professional?
For DIYers with basic skills, painting tiles is a manageable project. Pros will achieve the best results.
How long will it last?
On average 2-5 years before needing a refresh coat. High traffic areas wear sooner.
Yes, paint stripper or sanding removes it. But replacing painted tiles entirely is simpler.
You can give your kitchen floors a brand new look on a budget with the right preparation and paint. Just be sure to consider the heavier maintenance requirements of painted tiles compared to new replacement tile.
