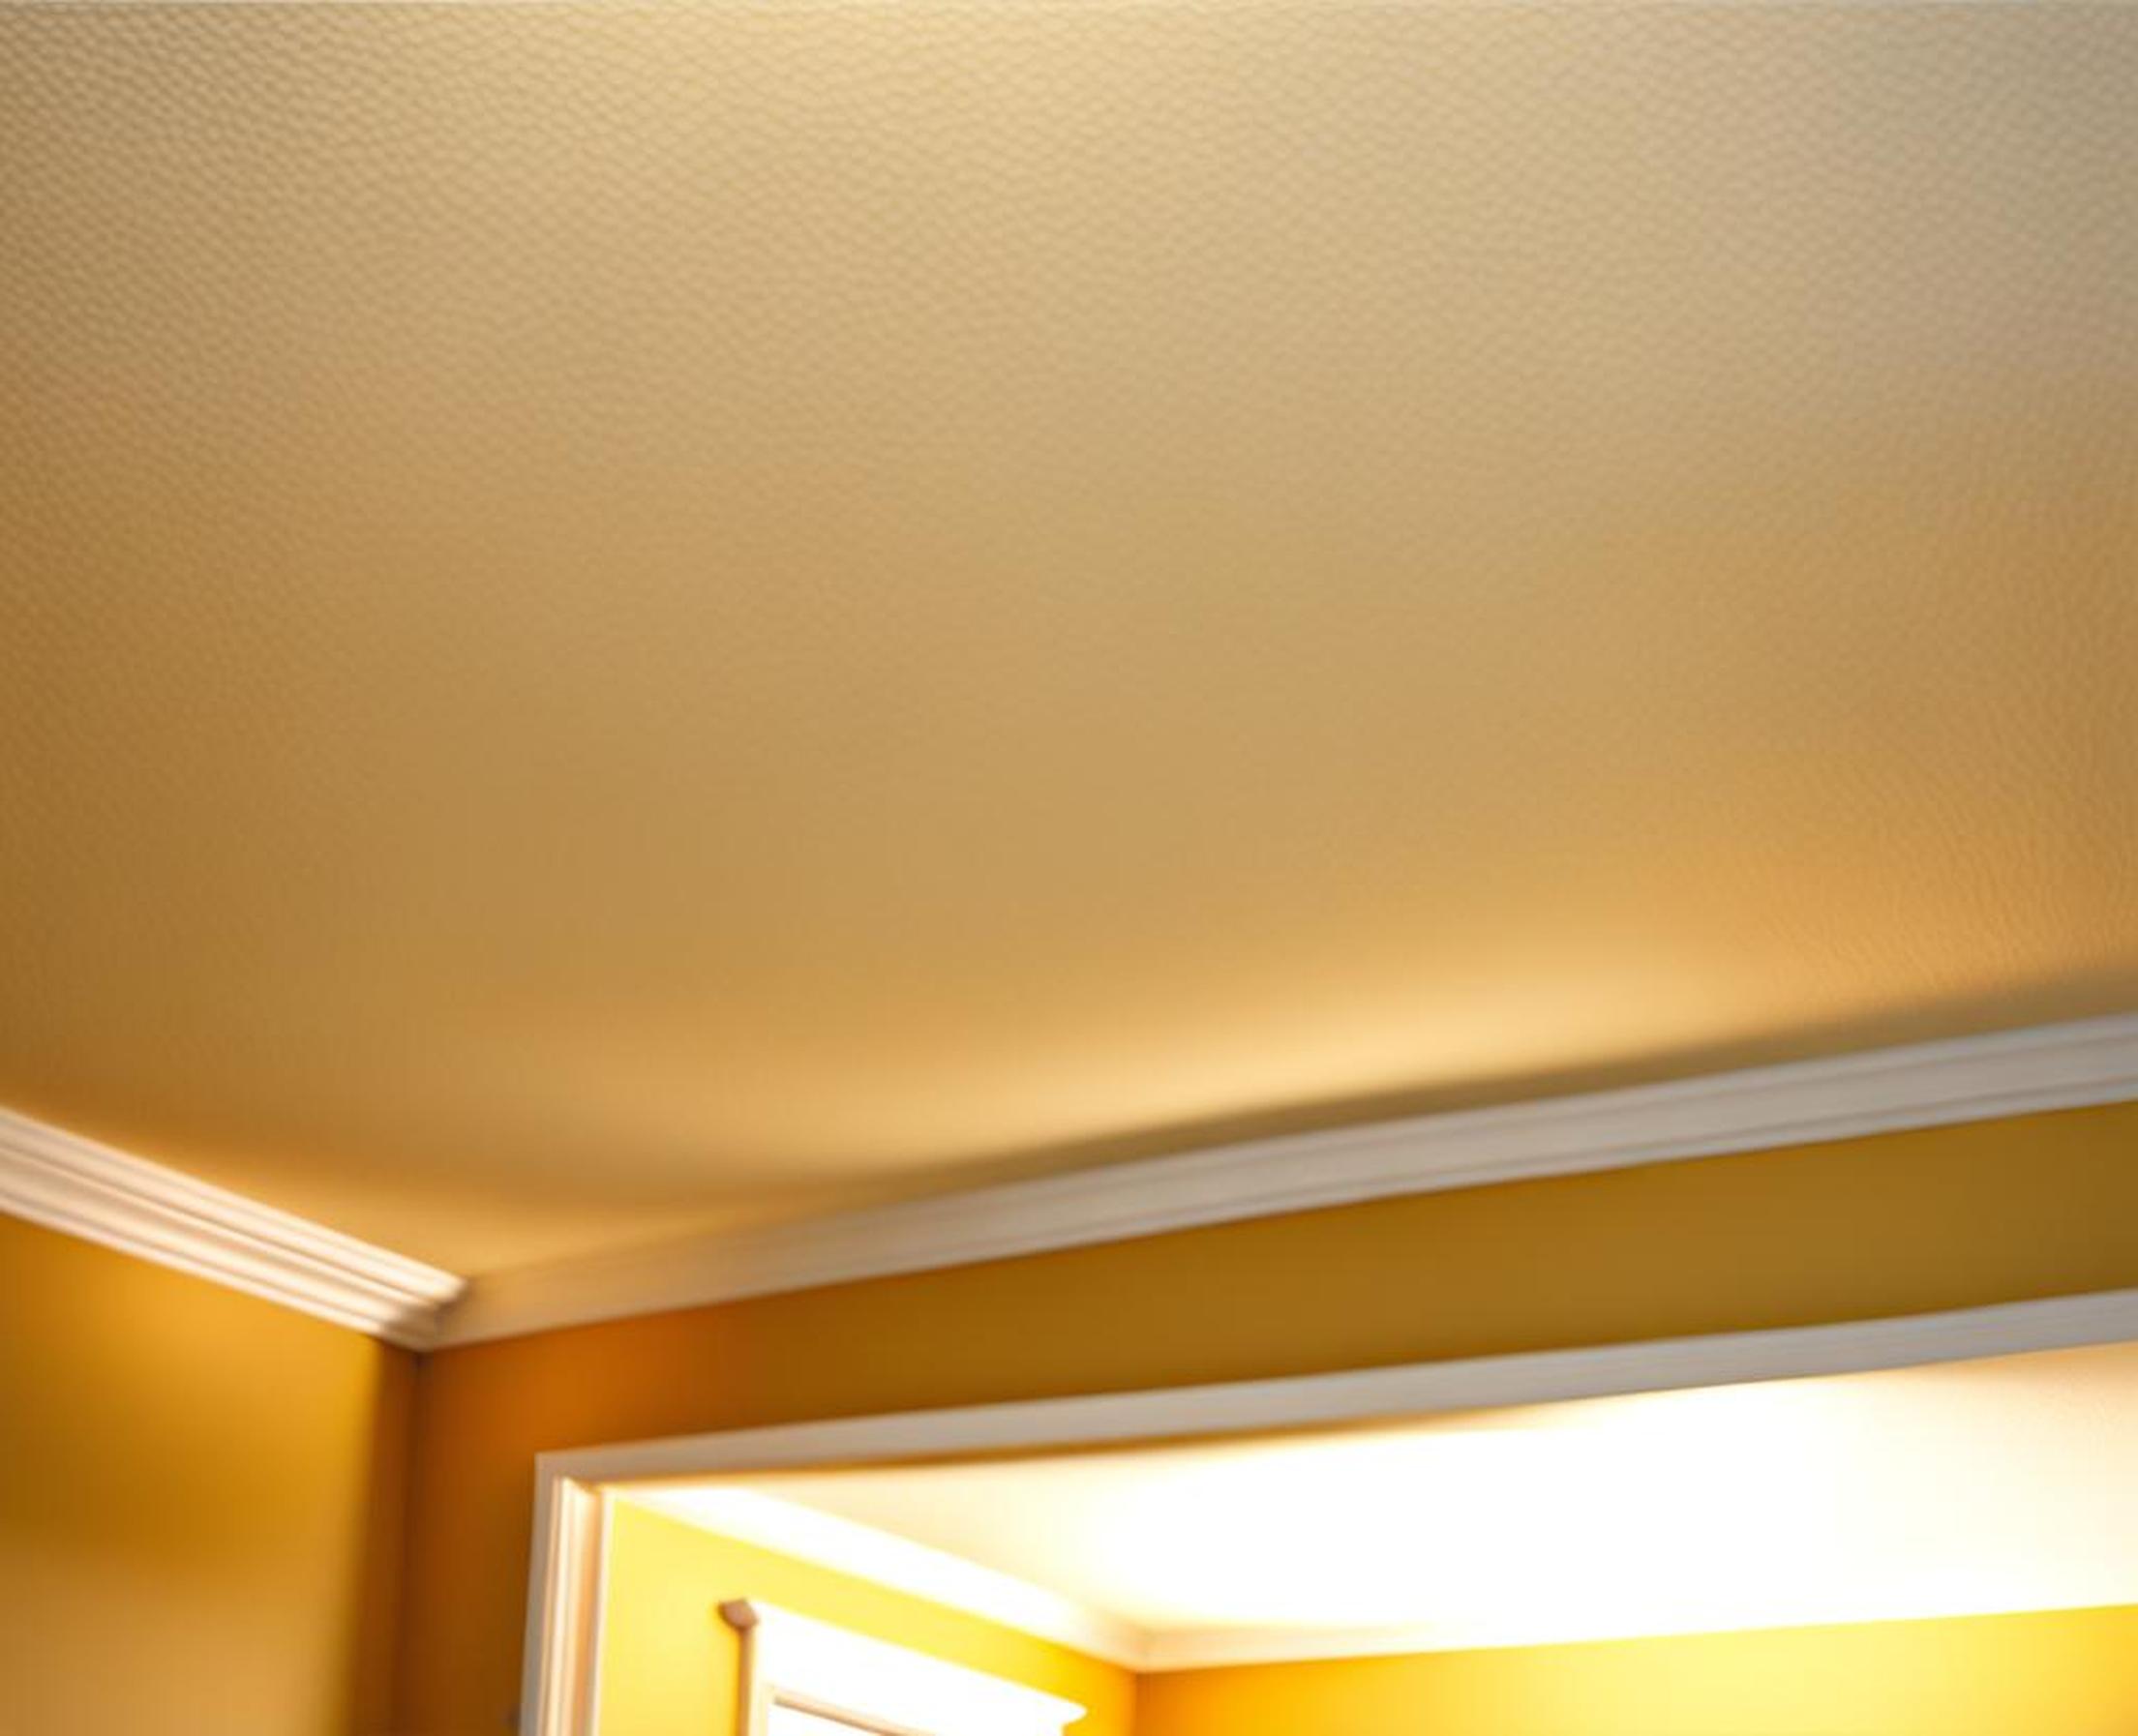
If you live in a house built before the 1990s, chances are you have a popcorn ceiling in at least one room. This textured finish was incredibly popular for decades. But over time, many homeowners grow tired of the bumpy, dated look.
Completely removing a popcorn ceiling can be an expensive, messy, labor-intensive project. For those looking to reinvigorate their space on a budget, painting popcorn ceilings is a simple DIY solution.
Materials You’ll Need for Painting Popcorn Ceilings
Painting over a popcorn ceiling texture requires more supplies than a typical wall paint job. Be sure you have all the necessary materials on hand before getting started.
- Drop cloths – Cover all floors, furnishings, fixtures, and walls
- Primer – Specially formulated primer promotes adhesion
- Paint – An acrylic latex paint works best
- Paint supplies – Roller, brush, tray, pole, painter’s tape
- Ladder – An extension ladder will provide safe access
Prep Your Popcorn Ceiling for Painting
Prepping a popcorn ceiling thoroughly before painting is a critical first step. Proper prep work helps the paint adhere evenly and minimizes splatters.
Remove or Cover All Furnishings
Empty the room of all movable furniture, artwork, window treatments, etc. Cover any remaining fixtures or built-ins with plastic sheeting secured with painter’s tape. Be sure to protect flooring with canvas drop cloths as well.
Fill Holes and Imperfections
Inspect the ceiling closely and fill any cracks, holes, or flaws with spackle compound. Allow the spackle to fully dry before sanding it smooth.
Lightly Sand Rough Spots
Use fine grit sandpaper to gently smooth any ridges, bumps, or irregular areas on the ceiling’s surface. This helps the paint go on evenly.

Remove Surface Contaminants
Wipe away all dust or debris left from sanding using a microfiber cloth. Remove any cobwebs or dirt with a vacuum crevice tool. A clean surface allows primer and paint to properly adhere.
Prime Popcorn Ceilings Before Painting
Priming is a key preparatory step before painting any surface. But it’s especially important for porous popcorn ceilings.
High-Quality Ceiling Primer
Look for an interior latex primer specifically designed for use on ceilings and textured surfaces. The primer fills in pores and promotes adhesion.
Application Tips
Use a roller with a 1/2 inch nap to apply primer evenly across the entire ceiling’s surface. Be sure to coat all edges and get into crevices. Allow the primer to fully dry before painting.
Choosing Paint for Popcorn Ceilings
When selecting ceiling paint, consider sheen level and quality. The right paint makes all the difference in your finished look.
Flat or Matte Finish
A flat or matte paint is ideal for ceilings. The non-reflective finish helps hide imperfections. Matte sheens also minimize drips.
Higher Quality Paint
Invest in a premium quality acrylic latex ceiling paint. The thicker consistency provides better coverage. Avoid cheaper paints which can appear patchy.
Tintable White Paint
Opt for a bright, clean white paint color. Brighter whites help make the space appear larger and more open. Consider tinting the white paint to match your wall color.
Paint Application Tips for Popcorn Ceilings
Applying paint properly is key to getting flawless results painting over popcorn texture.
Use a Paint Roller
A roller with a thick, 1/2 to 3/4 inch nap works best for stippling paint onto a textured ceiling. Attach the roller to an extension pole for easier application.
Paint Ceiling in Sections
Divide the ceiling into sections using painter’s tape. Paint one section at a time. This prevents lap marks as you recoat areas.
Apply Multiple Thin Coats
Roll on two to three thin, even coats of paint. Allow each coat to fully dry before adding another. Thin coats provide ideal coverage over heavy textures.
Finish with a Brush
Use an angled trim brush to cut-in around edges and corners. Look for drips and touch up with a brush. Finishing with a brush creates sharp paint lines.
Get Creative Painting Popcorn Ceiling Textures
With the right painting technique, you can create beautiful ceilings that become a focal point rather than an eyesore.
Dramatic Dark Ceilings
Painting a popcorn ceiling black or dark gray creates an elegant, coffered effect. Use bright white trim to make it pop.
Metallic and Pearlescent Paint
Specialty acrylic paints with metallic or pearlescent sheens bring light and movement into a space. They highlight the texture beautifully.
Add Colorful Accents
Try painting a central medallion, border, or geometric design over the ceiling in a contrasting color. This adds interest and character.
Final Steps for a Flawless Painted Popcorn Ceiling
Finishing touches make all the difference in achieving a professional painted ceiling that you’ll love.
Inspect Closely and Touch Up
Look for any missed spots and fix drips or splatters with additional brushwork. Roll on an extra coat if coverage appears uneven.
Reinstall Fixtures and Furnishings
Once paint has fully cured, carefully remove drop cloths. Replace lighting, vents, fans and return furniture to the room.
Allow Time to Fully Cure
It’s important to wait at least 2 weeks after painting before doing any cleaning. This allows the paint to fully adhere and cure.
With proper prep and application, a fresh coat of paint can breathe new life into a dated, tired popcorn ceiling. Not only is it more affordable than removing the texture, it allows you to get creative with color and design.
Turn your ceiling from an eyesore into an eye-catching focal point. Painting popcorn ceilings yourself is a satisfying, budget-friendly weekend project that instantly upgrades your space.
