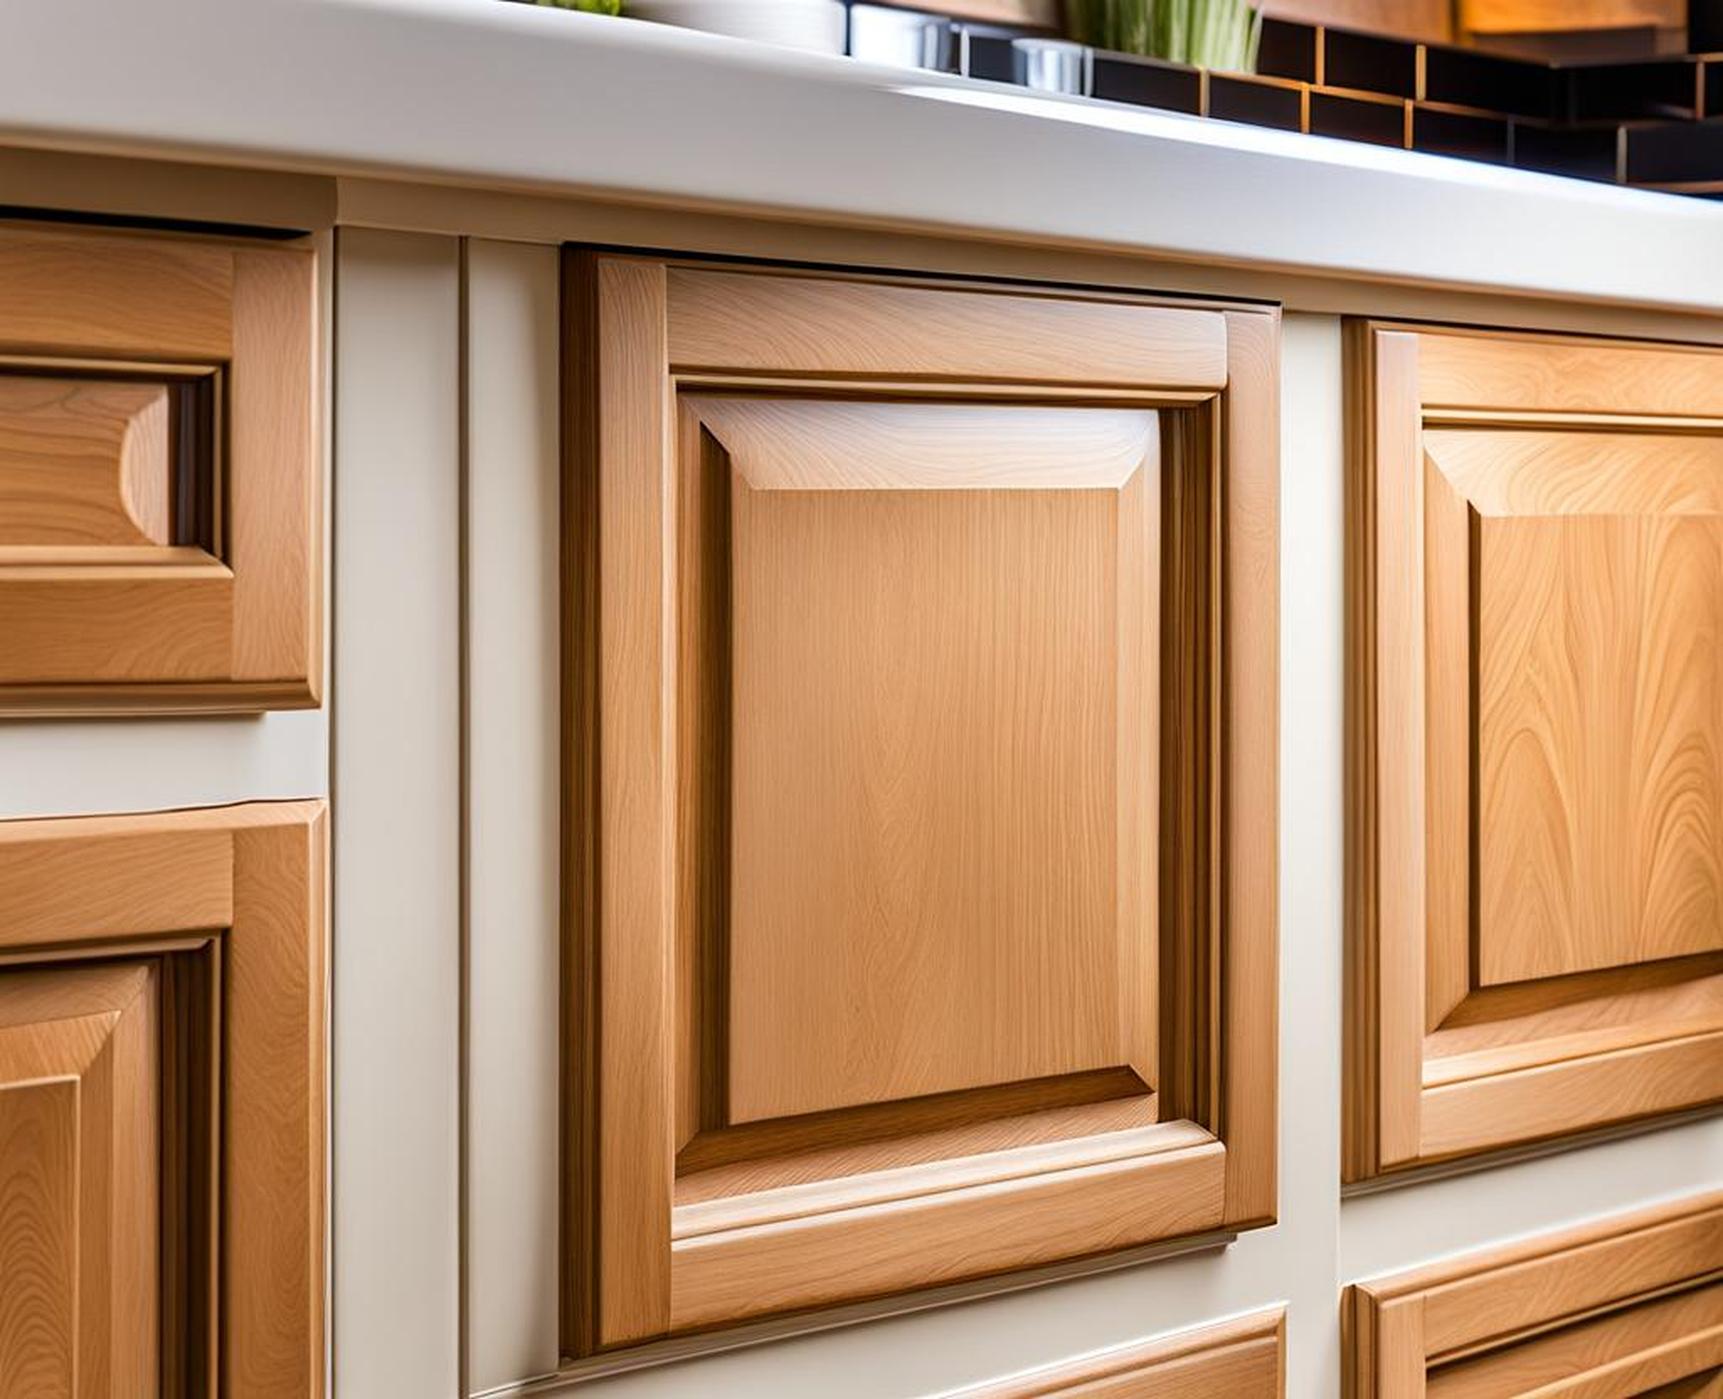
Upgrading your kitchen with a fresh coat of white paint on those dated oak cabinets can completely transform the space. The clean, bright look of white cabinets makes rooms appear lighter and more spacious. Painting over wood grain gives a more uniform, seamless appearance. And white cabinets offer versatility to match any style of decor.
But painting oak is no simple task. Without proper prep and technique, you may end up with a sticky paint mess on your hands. The deep grain on oak requires careful treatment to ensure proper adhesion and a smooth finish.

Follow this 3-step process to successfully paint oak cabinets white like a pro:
Step 1: Prep the Oak Cabinets
Preparing your oak cabinets thoroughly before painting is the most important step for achieving a flawless finish. Proper prep sets the stage for the paint to adhere properly.
Remove Cabinet Doors and Hardware
Start by removing all doors, drawers, shelves, and hardware from cabinets. Take doors off hinges and remove all knobs, pulls, and hinges. Be sure to label each piece so you can easily reinstall everything in the proper place later.
Clean Cabinet Surfaces
Give all cabinet surfaces a thorough cleaning using a degreasing agent like TSP substitute. This removes built-up grease and grime so the paint will stick. Allow cabinets to fully dry after cleaning.
Sand Cabinets
Lightly sanding the cabinets smooths the surface for painting. Use 220 grit sandpaper and sand all surfaces, including cabinet frames and doors. Sanding helps the paint adhere better.
Fill Holes and Imperfections
Inspect cabinets closely and fill any holes from old hardware or imperfections using wood filler for small holes and caulk for gaps. Allow fillers to dry completely then sand smooth.
Remove Dust
Use a tack cloth to remove any dust after sanding. Vacuum cabinets thoroughly. Removing all dust ensures a smooth paint job.
Step 2: Prime Cabinets
Priming is a crucial step that should never be skipped when painting oak cabinets. Primer creates a uniform surface for paint to stick to.
Choose a Primer for Cabinets
When priming for cabinets, oil-based primers offer the best adhesion on slick surfaces like oak. However, water-based primers offer faster dry times. Opt for a tinted primer to help with coverage.
| Oil-based Primer Benefits: | – Strong adhesion to slick surfaces |
| Water-based Primer Benefits: | – Quick dry time |
Prep and Apply Primer
Stir primer before using and apply with an angled paintbrush for corners and edges. Use a roller for large flat surfaces. Applying at least 2 coats ensures full coverage. Allow 24 hours of dry time between coats.
Let Primer Dry
Primer needs adequate dry time to cure fully before painting over it. At minimum, allow primer to dry for 24 hours between coats. For best results, let primer cure for 7-10 days before painting.
Step 3: Paint Cabinets
With properly prepped and primed cabinets, now the fun part begins – painting! Follow these tips for flawless results:
Select Cabinet Paint
Choose a high-quality enamel paint designed specifically for painting cabinets. Opt for a satin or semi-gloss sheen, which will be most durable and easiest to wipe clean. Bright white is a popular cabinet color for a clean, fresh look.
Paint Cabinet Boxes
Use an angled trim brush to carefully “cut in” edges and corners. Roll larger flat areas with a 4-inch mini foam roller. Apply multiple thin, even coats for best results. Sand lightly between coats.
Paint Doors
Set doors on painter’s pyramids for easier access. Use spray paint for a smooth factory-like finish or carefully brush paint by hand using short, even strokes. Apply at least 2-3 thin coats for full coverage.
Reinstall Hardware
Once paint has fully cured for at least 7 days, reinstall all hardware and hang doors. Now step back and admire your transformed kitchen!
Maintaining Your White Cabinets
Here are some tips for keeping your painted oak cabinets looking like new:
- Use a mild soap and water to gently clean. Avoid harsh abrasive cleaners.
- Touch up any nicks or scratches immediately to prevent damage spread.
- Consider applying a clear polyurethane for extra protection from wear and tear.
- Dust regularly and wipe spills quickly to maintain the clean look.
The Benefits of White Cabinets
A fresh coat of white paint offers many advantages for outdated oak cabinets:
- Brightens up the whole kitchen for a light and airy feel
- Makes small spaces appear larger
- Gives a modern, updated look
- Easier to change up with new hardware and decor
- Covers up old stains or blemishes in the wood
- Easier to wipe down and keep looking clean
While this project can definitely be tackled as a DIY, hiring a professional painter that specializes in cabinet refinishing may be worth considering. An experienced pro can ensure a flawless, long-lasting finish. They have the right tools and expertise for a seamless result. Just make sure to verify examples of their past cabinet work.
The bottom line? Those worn oak cabinets don’t have to stay. With proper prep and paint application, you can easily transform them into fresh, bright white stunners. Just follow this simple 3-step process to achieve picture-perfect results.
