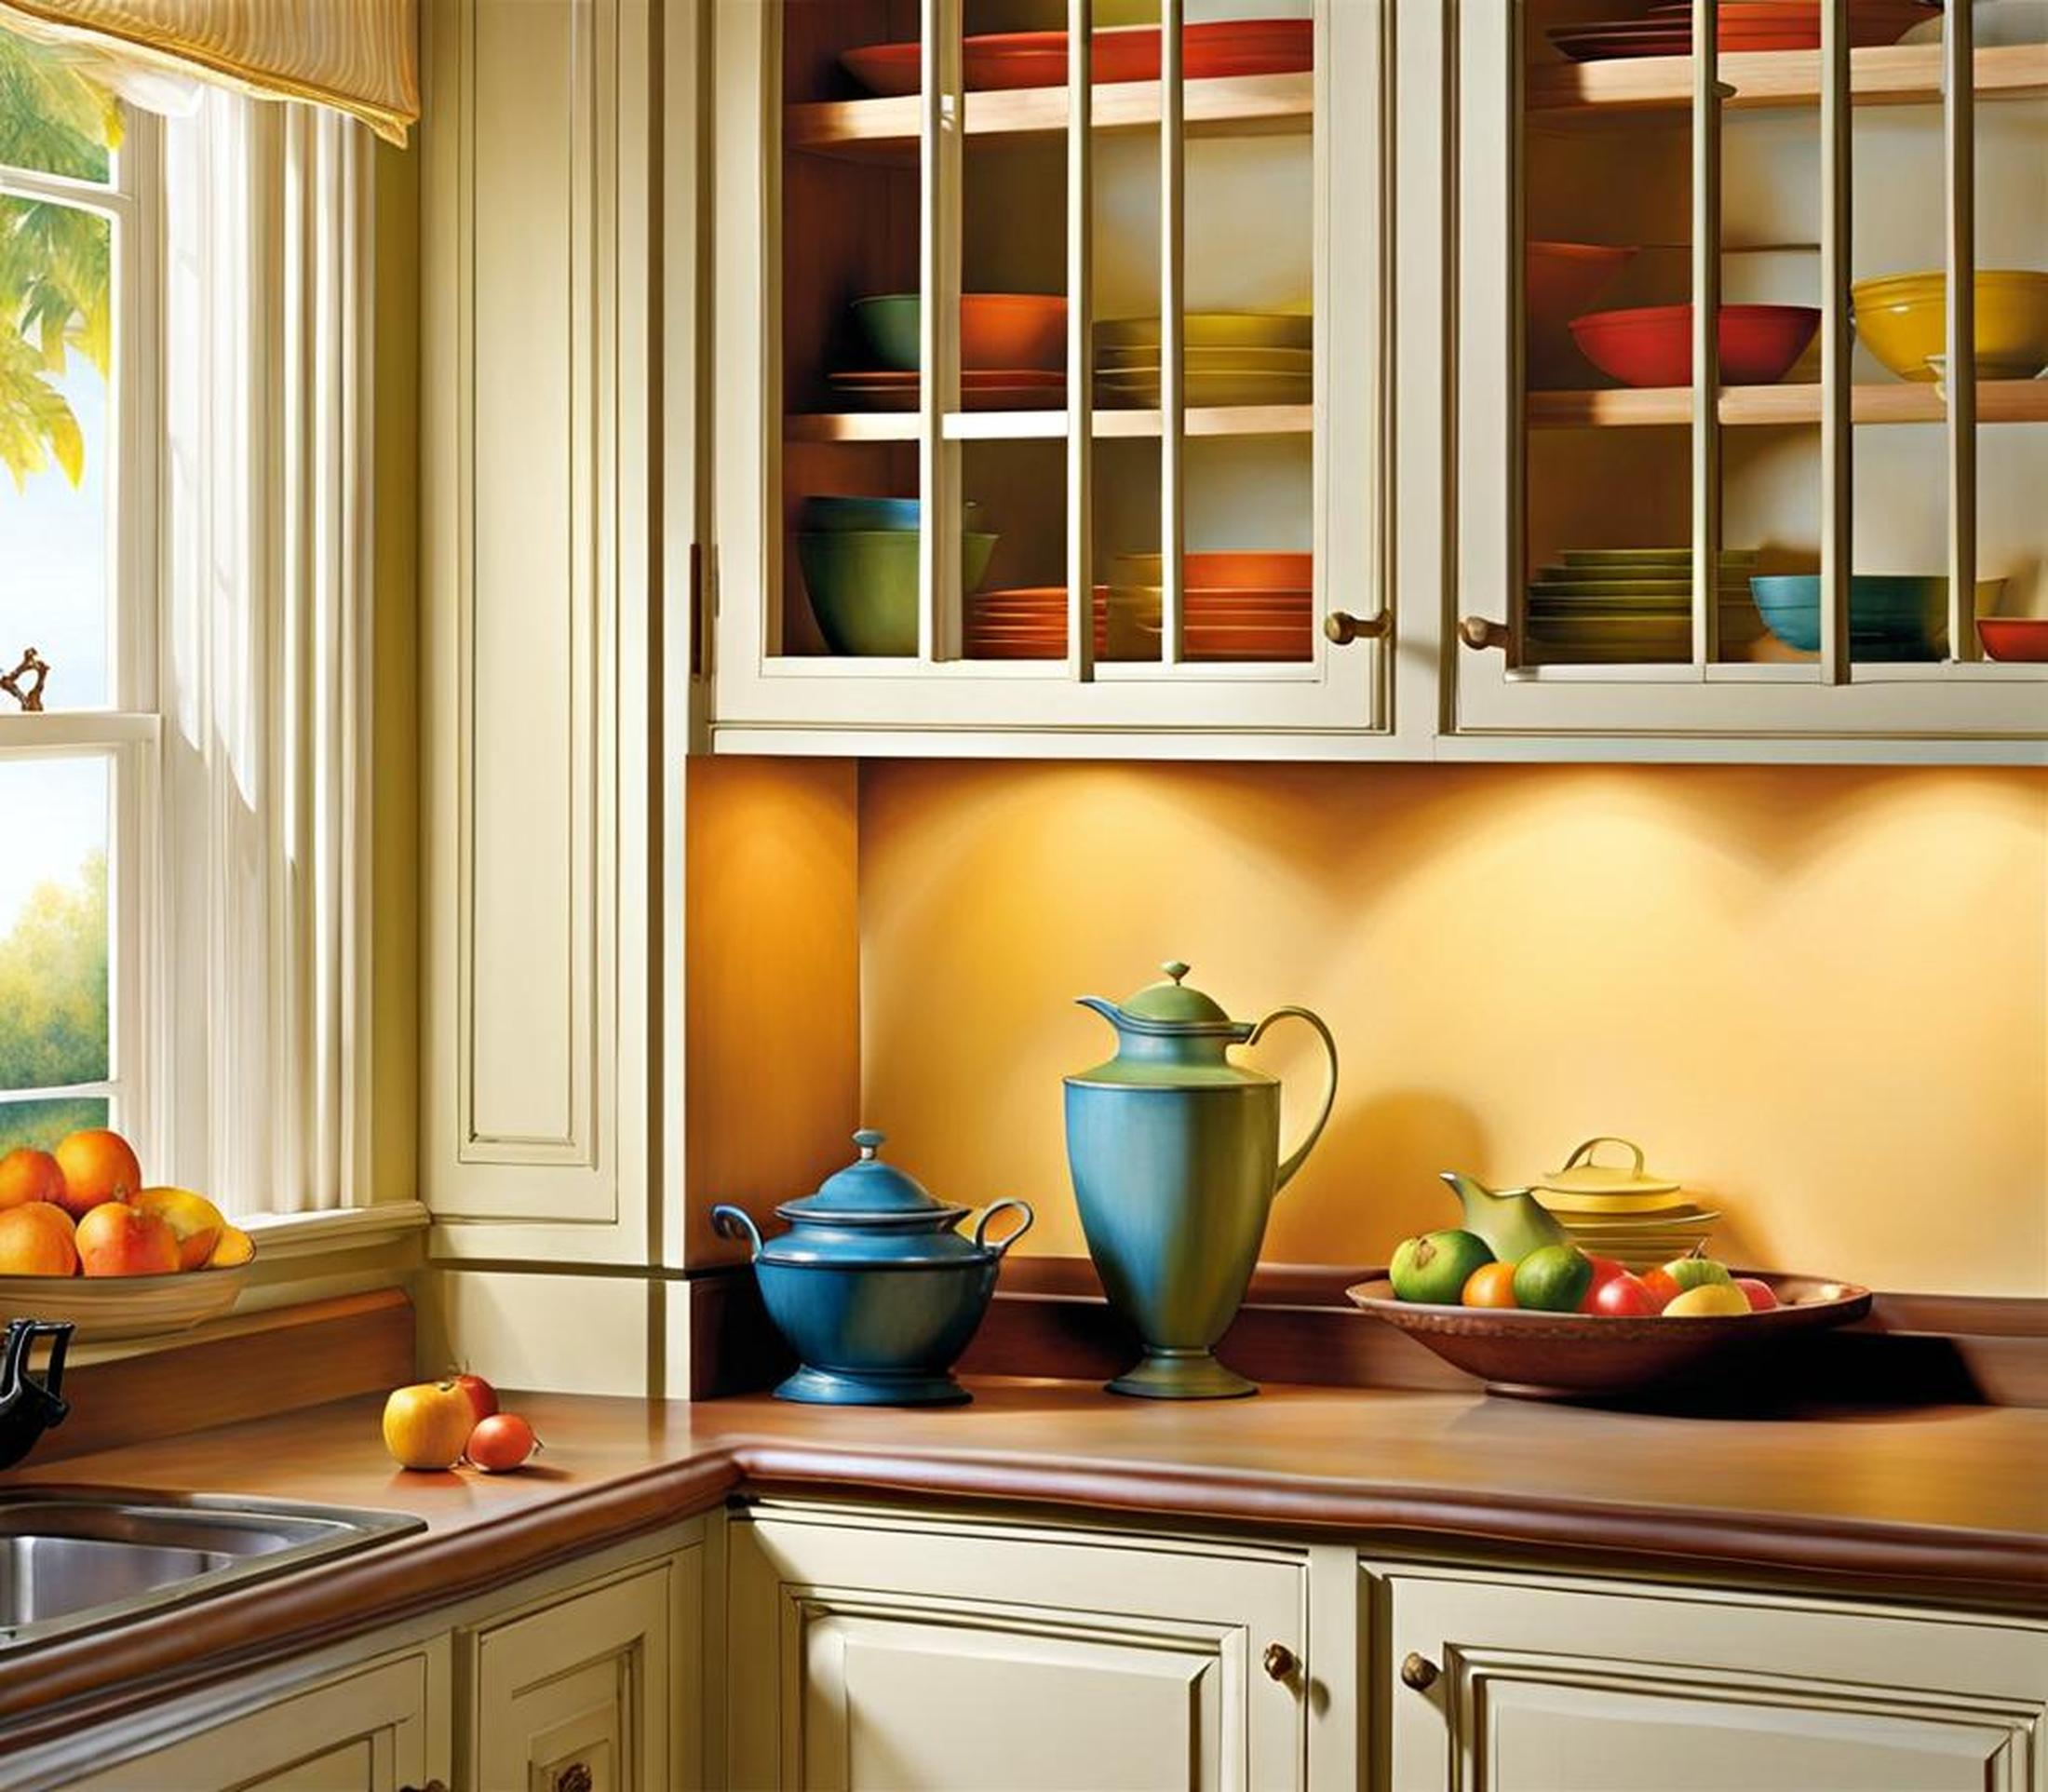
Glass-front cabinets are a popular choice for contemporary kitchens. The transparent fronts provide a clean, minimalist look while also putting your stylish dishware on display. But while the exteriors of glass-front cabinets make a design statement, the interiors are often overlooked. Painting the inside of your glass-front cabinets opens up fresh possibilities for adding color, interest, and personality.
Painting the interior allows you to transform it into an extension of your kitchen’s decor. Whether you match the interior color to create a cohesive look or go bold with contrasting hues, a splash of color inside glass-front cabinets elevates your space. When done right, it’s an easy DIY upgrade that makes a major visual impact.
Determine If You Should Paint the Inside of Your Glass-Front Cabinets
While painting your cabinet interiors can give your kitchen a mini makeover, it’s not strictly necessary. As you decide whether it’s worth the effort, assess the visibility of the interior, how you want to use color, and the wear and tear the cabinets will need to withstand.
Assess If the Interior is Visible
The main motivation for painting inside glass-front cabinets is that the interior is fully visible. Opaque cabinets have no need for interior paint since the shelves and sides can’t be seen. But transparent glass fronts put the entire interior on display.
Before painting, check to see if the cabinet layout provides any privacy. For example, dishes stacked on the shelves may block views of interior sides or back walls. Consider whether a fresh coat of paint within will actually be noticeable.
Choose Between Matching or Contrasting the Exterior Color
If you decide the interior paint will make an impact, the next decision is whether to match or contrast the exterior color. Painting the interior the same color as the outside creates a seamless, cohesive look. The glass fronts seem to disappear, giving the illusion of more openness.
Alternatively, an unexpected pop of contrasting color inside the cabinets provides visual interest. Light interiors pair well with dark exteriors and vice versa. The color discrepancy adds a fun, almost gallery-like dynamic.
Factor in How Often the Cabinets Are Used
Take into account how much wear and tear your cabinets withstand. High-traffic kitchen areas may benefit from reinforced paint to prevent chips and scuffs over time. The cabinets storing your go-to cooking equipment or everyday dinnerware see more handling.
For low-use cabinets in minimalist kitchens, standard interior paints suffice. The pristine glassware on display in your china cabinet won’t produce much interior damage. Assess the cabinet’s function before choosing a heavy-duty paint.
Select the Right Paint for Your Cabinet Interior
Once you decide to paint your glass-front interiors, choosing the right paint ensures it maintains a like-new look. The paint must be durable, long-lasting, and formulated for interiors.
Types of Paint for Inside Cabinets
Oil-based enamel paint provides a smooth, glass-like finish that resists yellowing and wear inside cabinets. The high-gloss sheen is easy to clean. Epoxy paint also offers superior durability and lasts for years with minimal scratches or chips.
For a more environmentally-friendly option, polyurethane paint emits low-VOC fumes. It dries to a hard, protective coating able to withstand cabinet use. Weigh the pros and cons of each when deciding on paint.
Prep the Interior Surfaces Properly
No paint adheres well to greasy, dirty, or damaged surfaces. Thoroughly cleaning the cabinet interiors before painting is a must. Use a degreasing cleaner and rinse with clean water. Lightly sanding also helps the paint grip.
Check the manufacturer’s recommendations to see if priming is needed before the first coat of paint. Primer further preps the surface for a smooth painted finish.
Follow Paint Manufacturer’s Recommendations
Carefully read the directions on your selected interior paint. Oil-based enamel may require shaking the can before use. You’ll also find guidance on the proper number of coats to apply for full coverage.
Allow the recommended dry time between coats. Drying too quickly between coats can ruin the paint job. Patience leads to the hardest, glossiest finish.
Painting Techniques for the Cabinet Interior
Meticulous painting techniques prevent messes and keep your glass fronts pristine. Work slowly and take steps to contain the paint within the cabinets.
Use Painter’s Tape for Clean Lines
First, tape off edges where the cabinet frames meet the glass doors. This keeps paint off the glass and creates sharp edges.
Also tape hardware like hinges to avoid getting paint on moving parts. Remove tape immediately after painting before the paint dries.
Paint All Surfaces Including Shelves
Paint the top of the cabinet, sides, back wall, and both sides of shelves and dividers. Don’t forget the top of the cabinet when the doors are closed. Thoroughly cover all interior surfaces.
Work Top to Bottom
Paint the ceiling first, then walls, and cabinet trim last when painting a room. Working top to bottom minimizes drips messing up freshly painted lower areas.
The same method applies inside a cabinet. Paint the topmost surfaces first, then work down the sides to the bottom. Less chance of ruining your work with drips.
Avoid Common Painting Mistakes
Rushing through painting cabinet interiors often leads to flaws. Avoid these common missteps as you paint for a professional-looking result.
Check for Full Coverage
Inspect all painted surfaces for any missing spots or gaps in the paint, especially corners. Catch paint flaws immediately and do touch ups before moving on.
If the first coat looks uneven or thin, apply an extra coat to build coverage. Don’t settle for a subpar paint job.
Ensure Proper Ventilation
Paint fumes get trapped inside cabinets, making adequate ventilation essential. Open nearby windows and place a fan nearby to circulate fresh air.
Take frequent breaks to minimize breathing paint odors. Oil-based enamel paints especially emit powerful fumes.
Allow Full Cure Time Before Using
It takes paint days or weeks to fully cure and reach maximum hardness. Be patient after painting before loading dishes or supplies back into the cabinets.
Consult the manufacturer’s instructions for the full curing timeline. Rushing this step risks sticking to items or peeling.
Style Your Painted Glass-Front Cabinets
A fresh coat of interior paint preps your glass cabinets for styling. Spotlight and fill the space artfully so the paint color pops.
Add Lighting to Showcase Interior
Proper lighting shows off your new colorful interiors. Install LED cabinet lighting or flexible strip lighting inside. Accent lighting positioned at the top highlights the contents.
Style with Coordinating Decor
Fill the empty space with gorgeous glassware, ceramic pieces, or decorative bowls. The transparency provides the perfect setting for displaying collectibles.
Trays and baskets also let you corral items while contributing to the styling. Build visual interest through curated vignettes.
Edit Down to the Essentials
Resist overloading every inch of shelf space. A cluttered interior obstructs light and the paint color.
Edit your belongings to a thoughtful selection of your favorites for the most impact. fewer, well-coordinated pieces look best.
Don’t overlook the potential of your glass-front cabinets’ interiors. A fresh coat of color inside provides an easy design boost, whether matching or contrasting your kitchen’s existing palette. Prep properly, apply the right paint, and incorporate display lighting to get the most out of your updated cabinet interiors.
Painting inside glass-front cabinets opens up exciting possibilities for infusing your personality and style. A splash of unexpected color transforms plain cabinetry into a work of art. Let painted interiors be your secret weapon for creating a kitchen as unique and stylish as you are.
