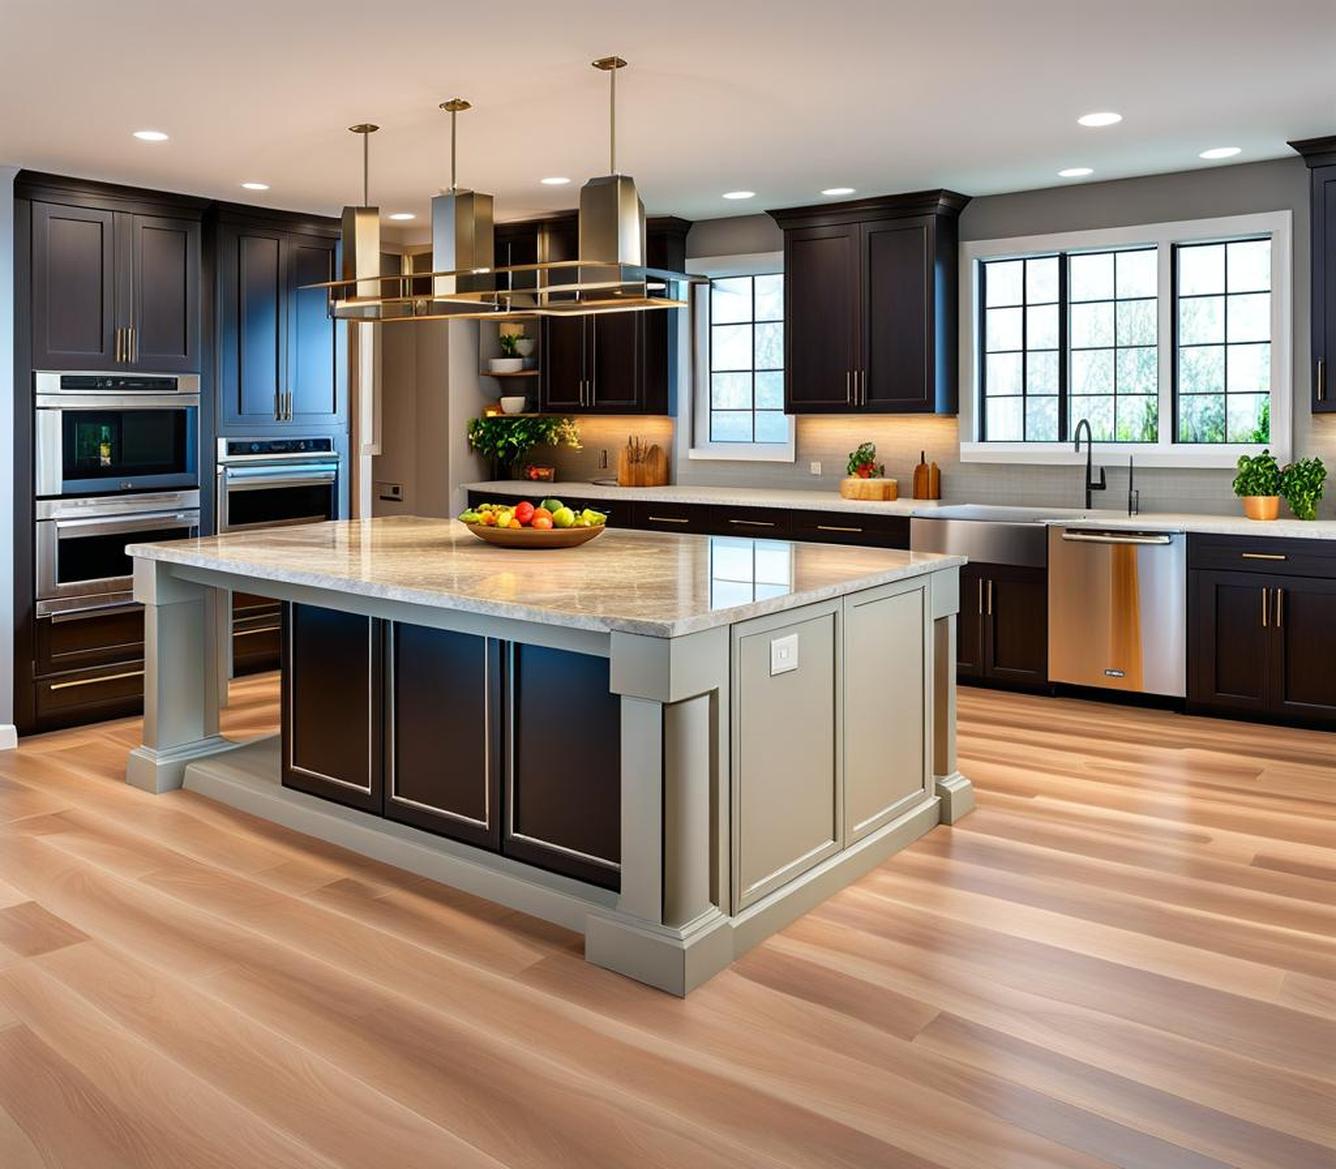
Adding an island is one of the best ways to maximize workspace and storage in your kitchen. While you can buy a prefabricated island, building your own custom island using base cabinets allows you to get the exact size and features you want.
Properly installing the base is crucial for ensuring your island stays securely in place for years to come.
Determine Island Size and Layout
First things first – decide where you want to locate your island and how big it should be. Measure the floor space in your kitchen to determine the maximum footprint available. Standard kitchen islands range from 30-50 inches wide and 50-84 inches long. Just make sure to leave enough clearance around the island perimeter so it doesn’t disrupt workflow.
We recommend leaving at least 36-42 inches between the island sides and surrounding cabinets or appliances. This allows multiple people to work around the island comfortably. If you’re placing seating on one side, allow a bit more space on that end.
Choosing the Island Location
While islands can go virtually anywhere in your kitchen layout, some spots make more sense than others. Try centering it in an open floor area for ease of access from multiple directions. Avoid blocking high-traffic routes or access to your sink, stove or fridge.
Also consider the ease of installing the base frame and running any needed electrical or plumbing lines. Positioning the island along an exterior wall or on a concrete floor makes securing the base much simpler.
Prepare the Installation Site
Prepping the install area is an important first step. Choose a level section of floor – any uneven spots can prevent the base frame from sitting flush. You may need to use floor leveling compound in low areas to create a flat surface.

Decide how you’ll be attaching the base. Securing it directly into the floor below offers the most stability. But for wood or tile flooring, a free-standing design may work better. We’ll go over floor attachment options shortly.
Floor Preparation Tips
If anchoring the base frame into the floor, you’ll need access to the subfloor. With tile or laminate flooring, this may require cutting out sections where the base legs will attach. For a clean finished look, remove flooring 2-3 inches beyond the frame perimeter.
Minor uneven spots can be remedied with shims when installing the frame. But any gaps over 1/4″ should be filled for a flush fit.
Construct the Base Frame
Now it’s time for the fun part – building the base! You’ll need plywood or boards to construct a rectangular frame the exact dimensions of your island cabinets. 2x4s or 2x6s work great for the vertical supports and cross bracing.
Cut the pieces to length and assemble using screws and construction adhesive. Make sure the frame is perfectly square. Add center legs and crossbraces to prevent any racking or twisting.
Base Frame Construction Steps
Follow these steps to build a level, rigid base frame:
- Cut boards to required lengths per frame layout
- Assemble into a rectangle using corner joins
- Install 2×4 braces at halfway points on long sides
- Add vertical 2×4 legs in center of frame
- Check for level and use shims before final assembly
Level and Secure the Base
With the frame fully constructed, now it’s time to make sure it sits evenly on the floor. Check the level at multiple spots and adjust as needed by placing shims under the corners or legs. Slide shims in gradually until the frame is perfectly level.
Next, anchor the base frame securely to the floor below. This prevents any shifting or wobbling when using the island. Drill pilot holes and use lag bolts, concrete anchors, or appropriate fasteners for your floor type.
Securing Methods by Floor Type
Here are floor-specific methods for securely attaching the base:
- Hardwood – Drill pilot holes and use 3-4″ lag bolts into floor joists
- Concrete – Use tapcon concrete screws or wedge anchors
- Tile – May require cutting opening in flooring to anchor to subfloor
Attach the Cabinet Boxes
With the heavy lifting done, it’s time to mount the cabinets. First do a dry fit to confirm they align properly on the new base. Use shims or spacers to make any minor adjustments.
Attaching the cabinets directly into the side frames provides the most durability. Use 2-3″ wood screws drilled up through the base frame into the cabinet backs every 12-16″. You can also use L-brackets mounted inside the cabinets.
Integrate Cabinet Doors and Drawers
Once the boxes are securely installed, attach the doors, hinges, and drawer slides per the manufacturer’s instructions. You may need to make some minor adjustments to get perfect alignments after everything is in place.
Finishing Touches
You did it! With the structural work complete, just add a countertop following the fabrication guide. Then it’s time for the fun finishing touches like paint or stain, pendant lights, barstools, and kitchen storage accessories.
If desired, apply trim boards or panels to cover the base frame sides and front for a built-in custom look. Seal any gaps with color-matched caulk for a seamless transition.
Installing a kitchen island base frame requires careful planning, precise construction, and proper anchoring. But the result is well worth the effort – you’ll enjoy expanded storage, workspace, and style without breaking the bank.
Following the techniques described here will ensure your DIY island foundation remains sturdy and level for years of cooking and entertaining. So go ahead and create your customized dream kitchen!
