Replacing your old, worn-out kitchen sink can completely transform the look and functionality of your kitchen. But finding the perfect sink that fits the existing cabinet and countertop space can be tricky if you don’t take accurate measurements first.
With these key sink measurements – length, width, depth, faucet holes, and more – you’ll be able to shop for a properly sized replacement sink that installs seamlessly.
Step 1: Clear Under Sink Area & Clean the Sink
Before grabbing your tape measure, the first step is preparing the space. Start by removing any items stored under the sink or in the cabinets below. It’s important to have full access to the sink basin and plumbing.
Next, give the sink a thorough cleaning. Make sure the basin is completely empty so you can get precise inside-edge-to-inside-edge measurements of the length and width.
Remove items stored under sink
Look inside the cabinet area underneath the kitchen sink and remove any items that may be blocking access or visibility. This includes dish soap, cleaning supplies, pipes, garbage bags and cans. Relocate everything out of this space temporarily.
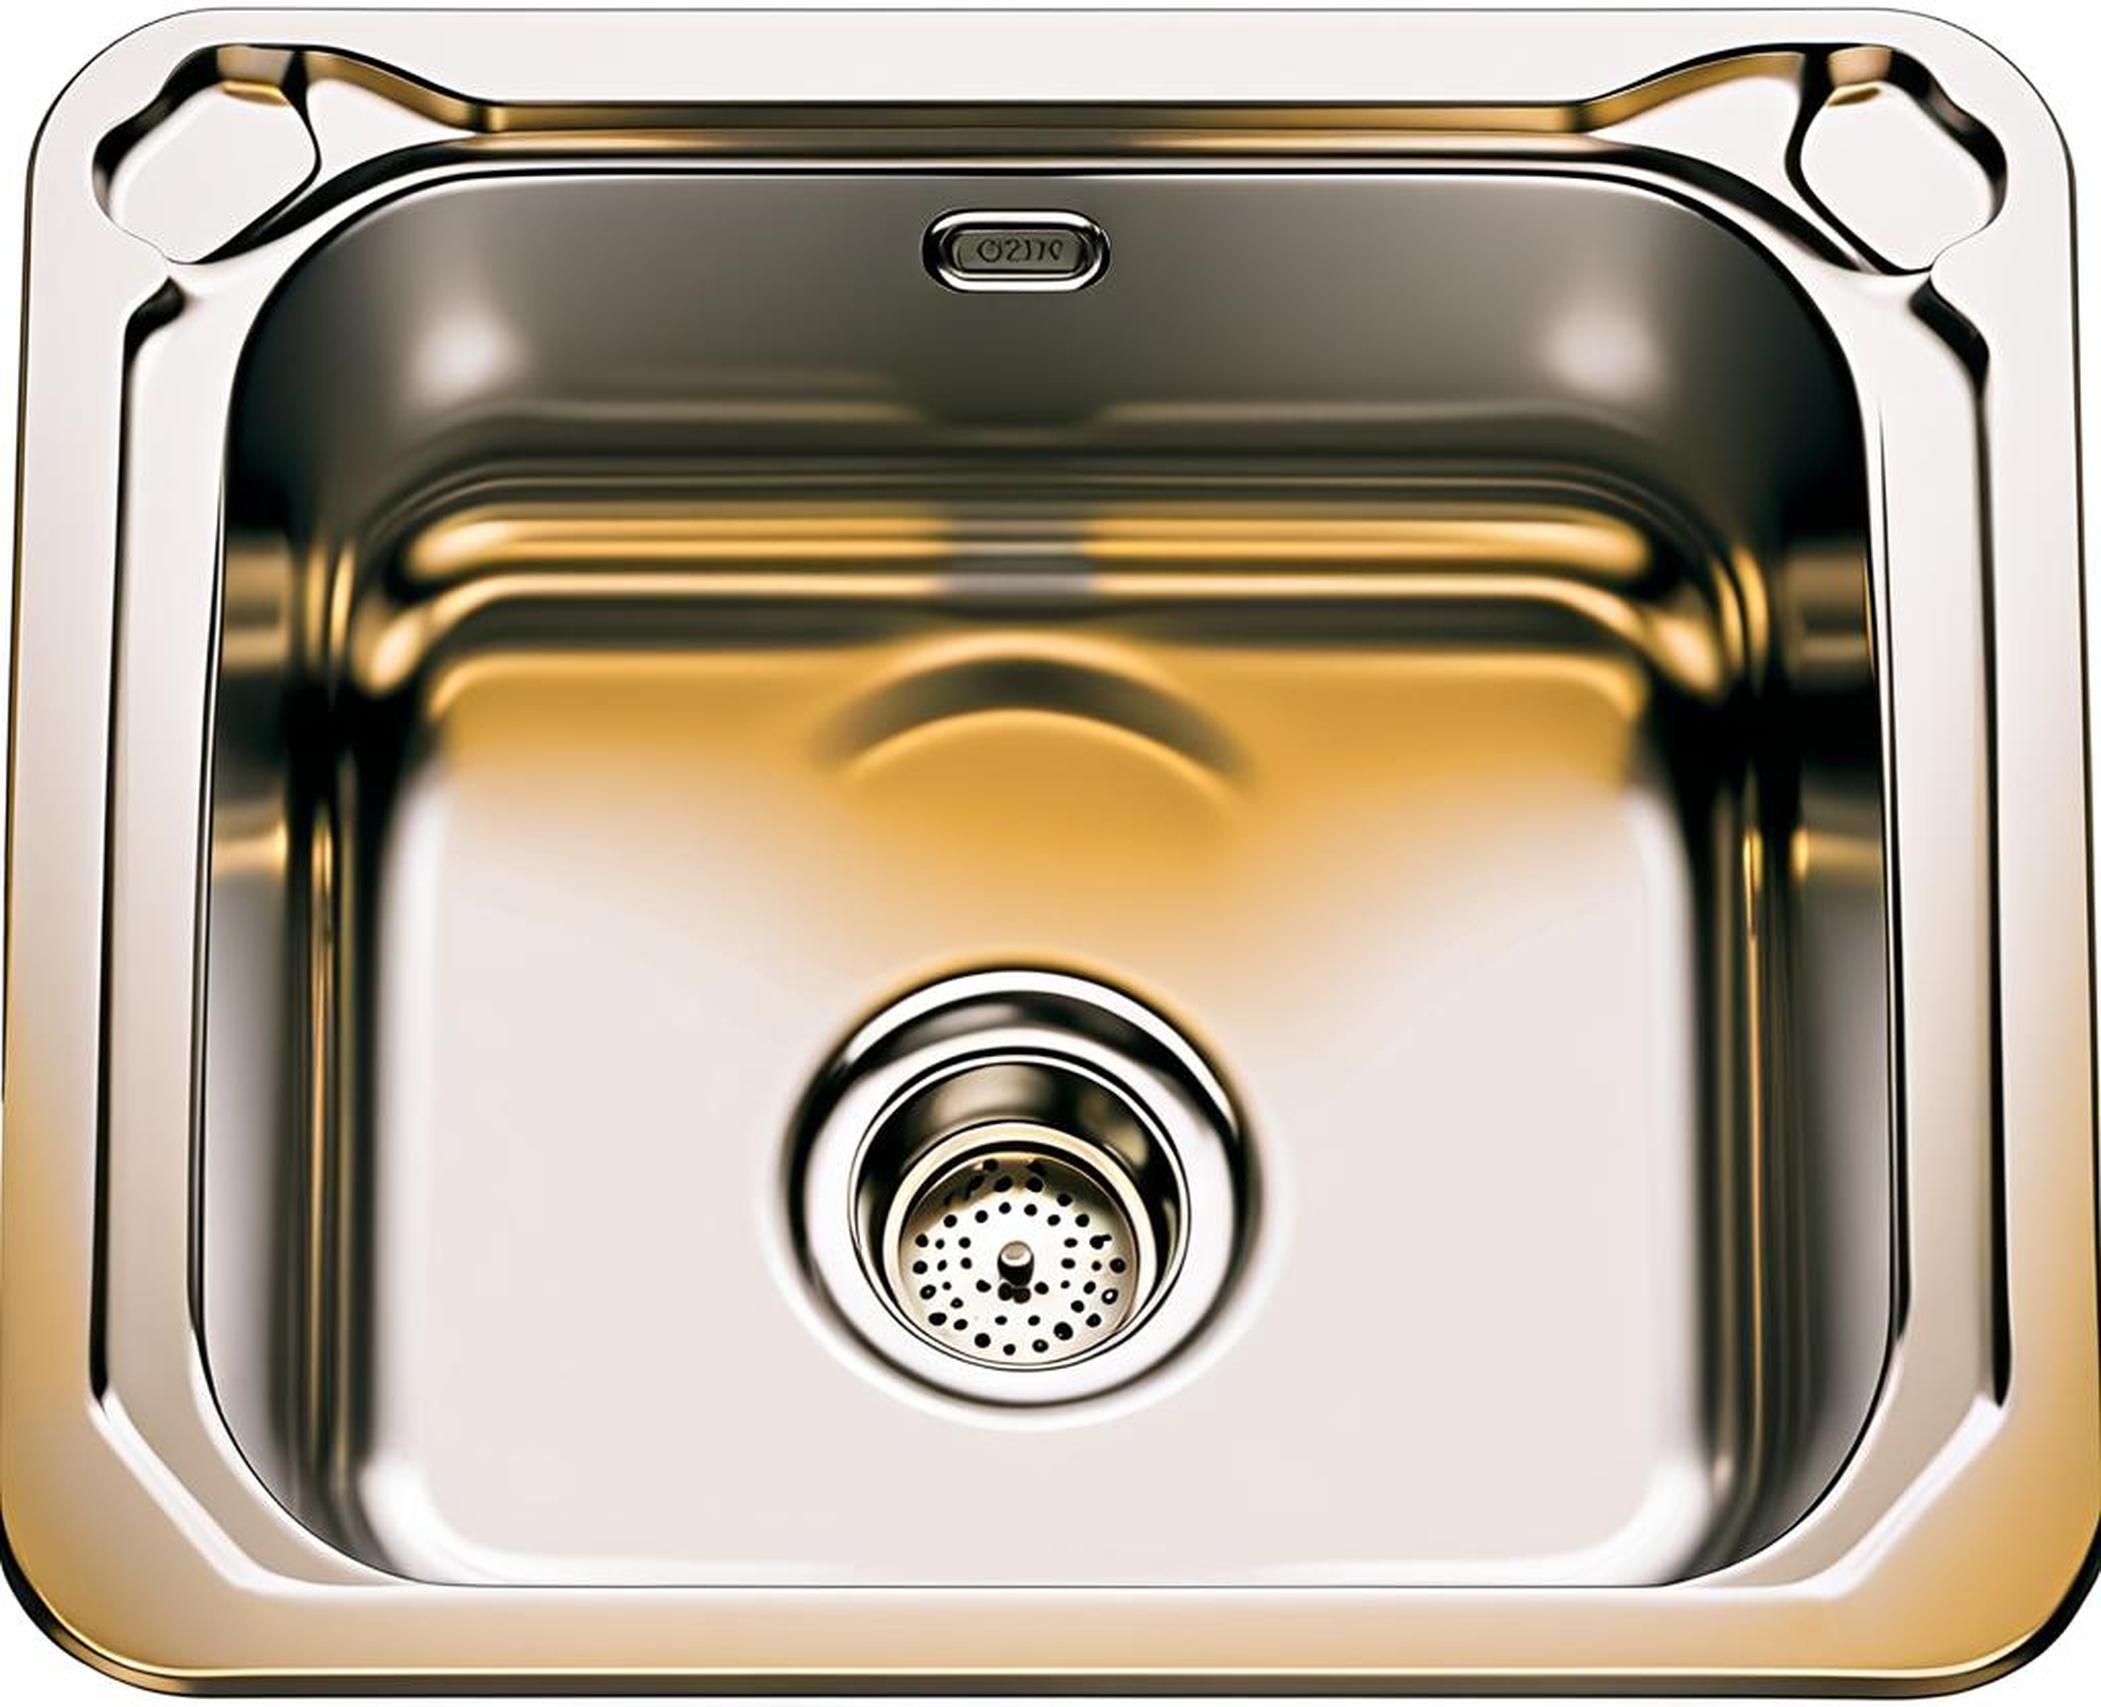
Clean sink basin thoroughly
Use your preferred all-purpose cleaner and give the sink basin a good scrub, including the area around the drain. Make sure you rinse away any grime or residue that could interfere with accurate tape measure placement along the inner sides.
Step 2: Measure Length & Width
Now that you have full access and visibility, it’s time to measure the sink length and width. Make sure you measure from inner edge to inner edge for the true interior basin dimensions. Record these numbers exactly.
Measure across inner sink edges side to side for length
Take your tape measure and stretch it across the sink basin from left inner side to right inner side. Make sure the numbers at each end align with the precise inner edges for an accurate length measurement.
Measure inner sink edge front to back for width
Rotate your tape measure 90 degrees and repeat the process, now stretching from the inner front edge to the inner back edge of the sink basin. Record the numbers that align precisely with those inner edges.
Record measurements
Write down the exact length and width numbers on a notepad, measurement worksheet, your phone, or directly onto the wall with a pencil. Accurate recordings are key for finding the right replacement sink size.
Step 3: Measure Sink Basin Depth
Now that you have the sink basin’s length and width, the next key dimension is depth. Carefully measure from the top inner edge straight down to the bottom of the basin.
Measure straight down from top inner edge to basin bottom
Place the end of your tape measure precisely at the top inner edge of the sink. Stretch the tape straight down perpendicular to the bottom of the basin. Note the measurement at the lowest point of the basin.
Record measurement
Write down the exact sink depth number in your notes alongside the length and width measurements you already recorded in Step 2.
Step 4: Measure Countertop Opening
In addition to basin dimensions, you also need to measure the existing countertop opening that the sink currently sits inside. This will confirm that your new replacement sink will fit the cutout space.
Ensure adequate room for sink rim/edge dimensions
For undermount sinks, you want to ensure that the new sink’s outer flange dimensions will fit within the existing countertop hole. Allow for a 1/4″ clearance gap between the sink rim and countertop edge.
Confirm 1/4″ clearance allowance
Use your tape measure to record the length and width of the countertop cutout. Compare it to the outer rim dimensions of the sink you plan to install to confirm adequate clearance allowance.
Step 5: Consider Other Measurements
To find the perfect sink replacement, there are a few additional measurements that can impact compatibility and proper drainage. Consider factors like number of basins, faucet holes, and installation type.
Number and placement of faucet holes
If your existing sink has pre-drilled faucet holes, measure their diameter and note their exact placement on the countertop. This will allow you to match them precisely.
Number of basins (single, double, etc.)
If you currently have a double bowl sink but want to change to a single basin, measure the entire overall footprint needed for each option to ensure the countertop opening is large enough.
Type of installation (undermount, drop-in, etc.)
The installation type – like undermounted or drop-in – can impact the required clearance between the sink rim and countertop edge. Measure precisely to accommodate.
Compare Your Measurements
With all the key sink measurements recorded, you can now accurately shop for a replacement model that will fit your existing space. Carefully compare your numbers to the dimensions of potential new sinks.
Existing sink vs potential replacement sizes
Match up all the measurements – length, width, depth, basin configuration, faucet holes, installation type, etc. Confirm that the interior basin dimensions AND the outer flange/rim dimensions are compatible.
Countertop opening vs new sink cutout
Verify that the countertop opening length, width, and corner radii will accommodate any adjustments needed for installing and sealing your new sink properly.
Following this complete 5-step kitchen sink measuring guide will set you up for a smooth installation with your perfect sink replacement. Taking accurate basin measurements as well as structural considerations into account, you can shop with confidence knowing that your selected sink will fit beautifully.
If you have the right sink measurements in hand, you won’t have to worry about ordering the wrong size or having to modify your kitchen. Use these tips for a seamless sink measuring and replacement process.
