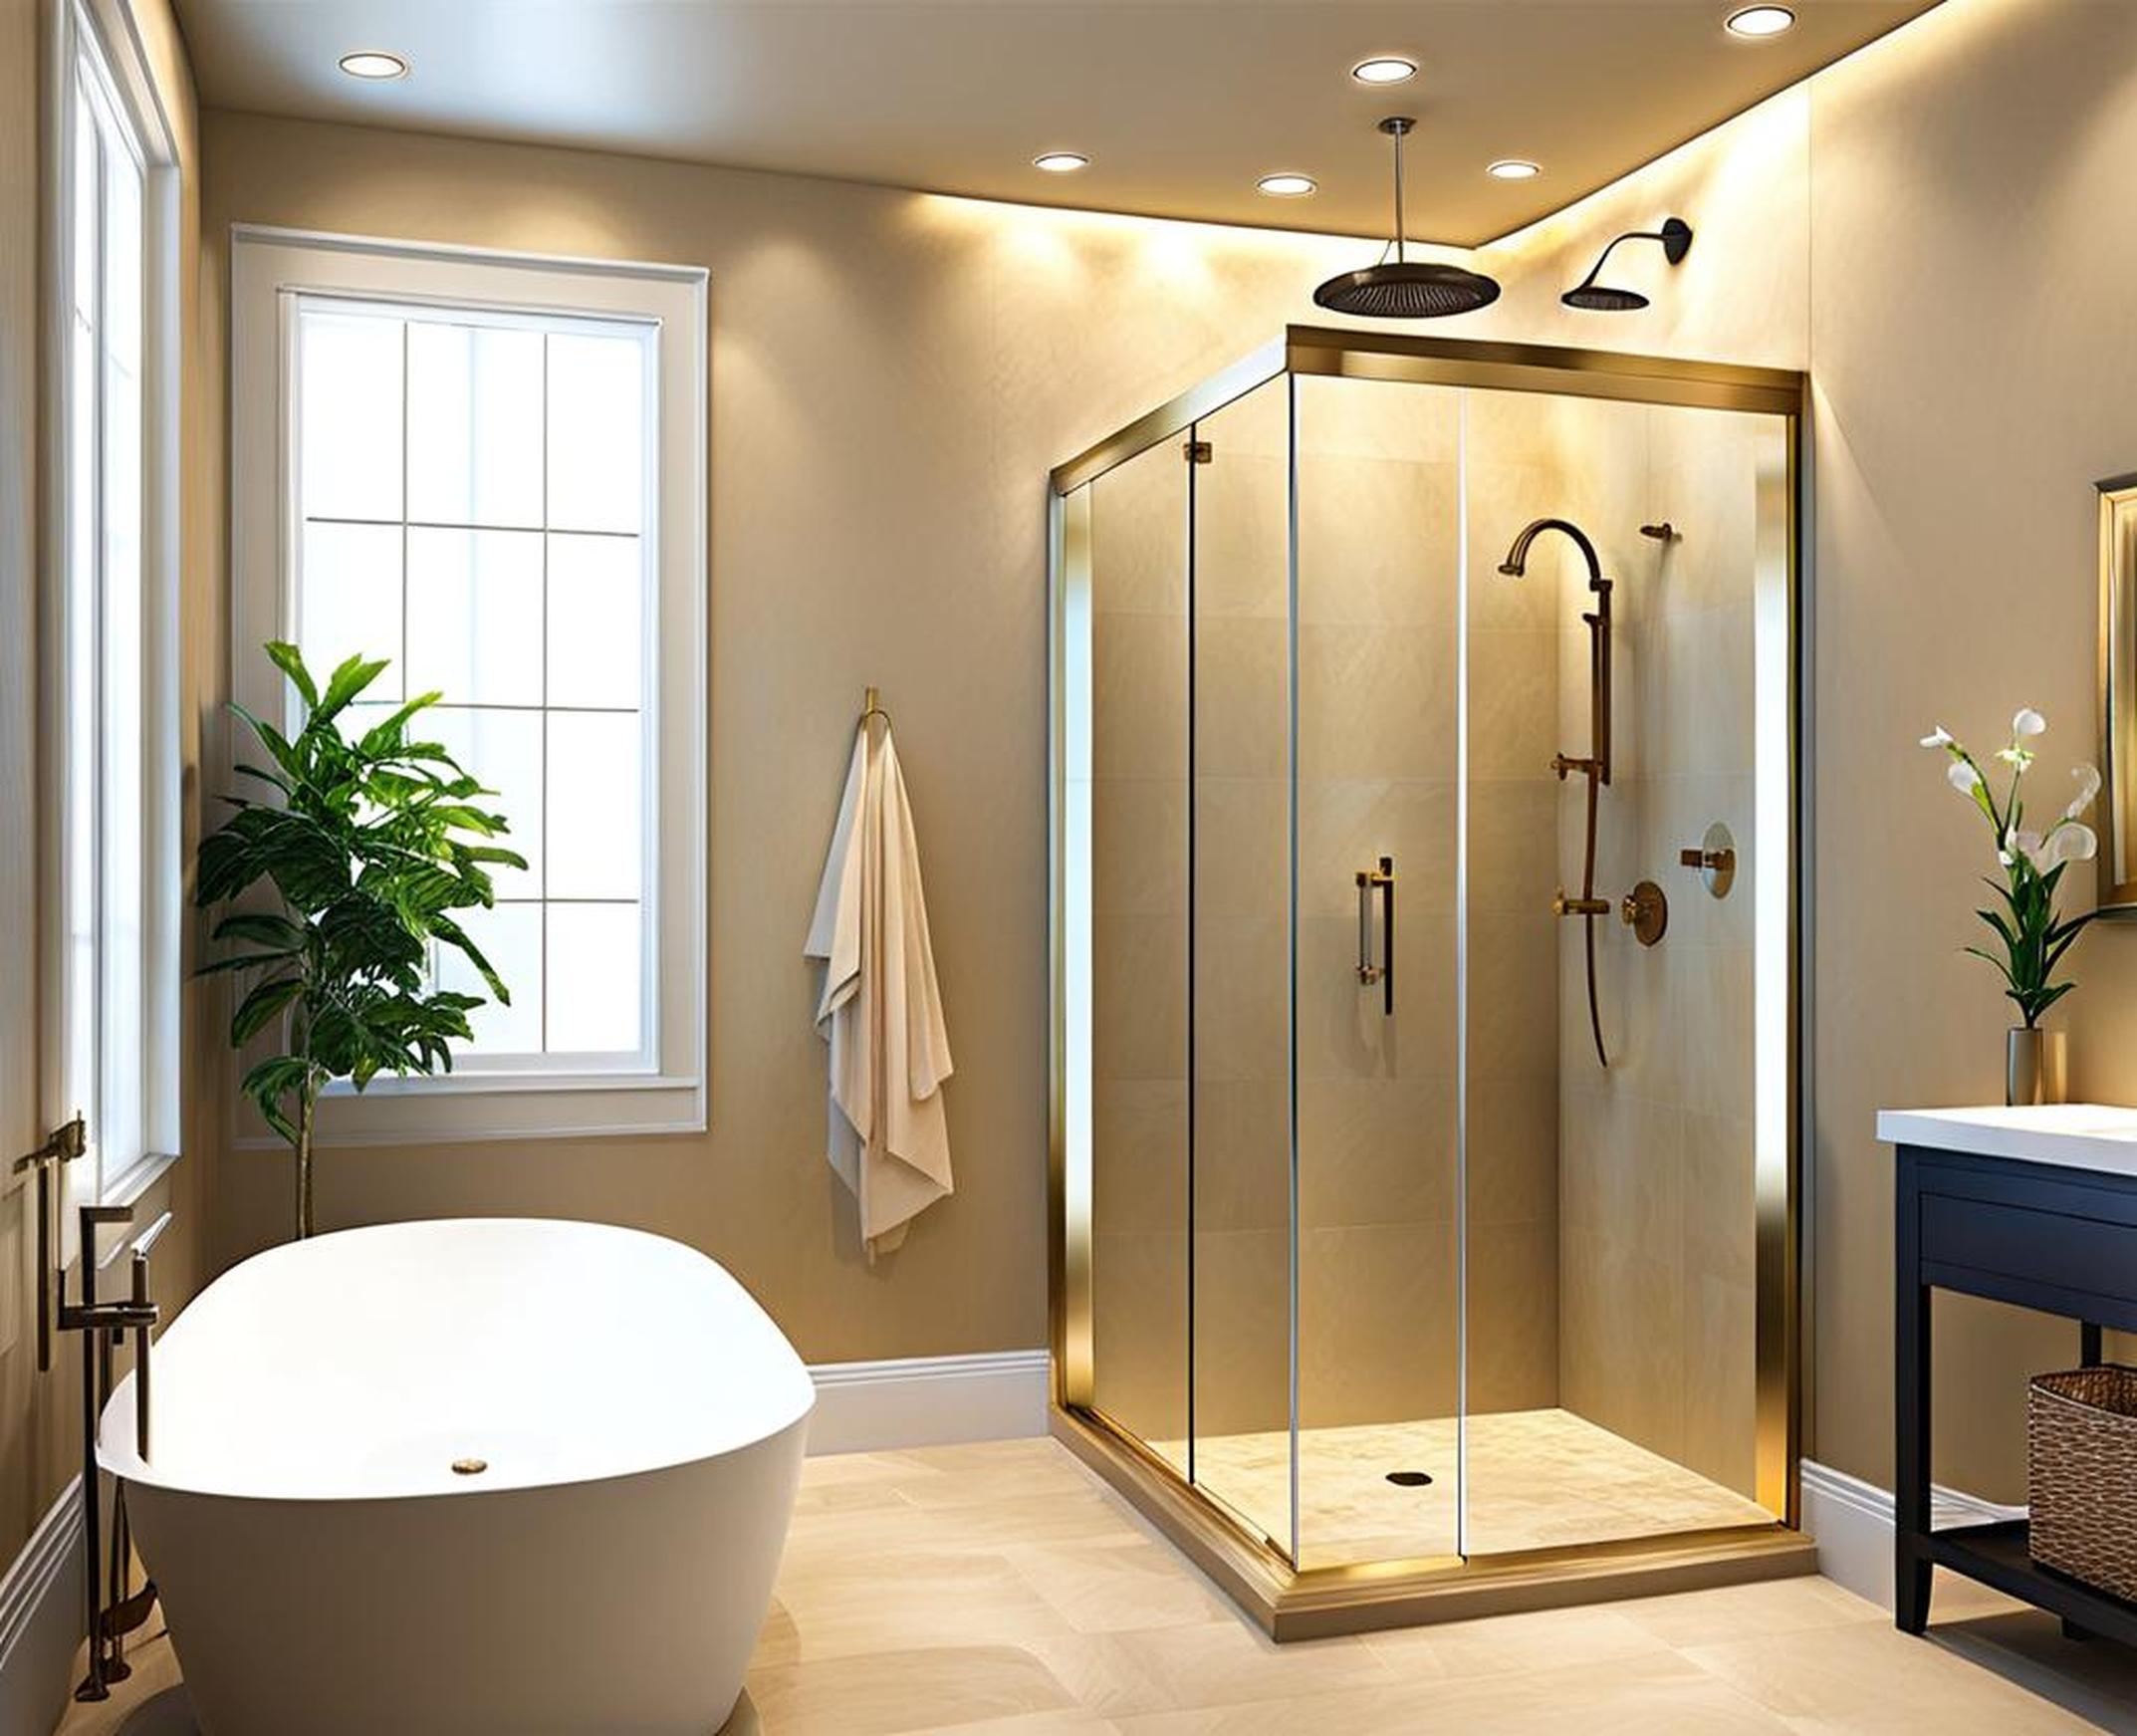
Do your shower walls look worn with peeling wallpaper or discolored grout? Before gutting the shower enclosure, consider waterproofing the existing drywall instead. New drywall technology allows for affordable waterproof conversions without demolition dust and high remodeling costs.
In this post, learn how to upgrade old drywall and make any shower water-tight. We’ll cover what causes shower wall damage, how to install waterproof drywall alternatives, and tips for getting lasting results from your DIY upgrade.
Problems With Using Regular Drywall in Showers
Drywall contains paper facings surrounding a gypsum core. When moisture seeps behind the vinyl wallpaper or tile, it saturates the paper covering. This causes the friable gypsum center to swell and deteriorate. Over time, this manifests as:

- Peeling wall surfaces
- Bubbling or cracked paint and tiles
- Discolored areas prone to mold growth
No amount of re-tiling or re-painting will fix these issues long-term if regular sheetrock remains underneath. While hacking up and replacing shower walls with cement backer board is an option, it also takes days of demolition and reconstruction work.
Waterproof Drywall Options
Water-Resistant Drywall
Manufacturers created moisture-resistant drywall, called “greenboard,” for high-humidity areas like bathrooms. Greenboard drywall contains additives to repel surface moisture. But if water flows behind the wall, issues still occur over time.
Similarly, purple board drywall resists mold growth but lacks waterproofness. So while greenboard and purple board fare better than regular drywall, neither prevent deterioration from persistent moisture contact.
New Waterproof Drywall Technology
Advances in drywall engineering led to waterproof core boards that withstand liquid water and high humidity. These products feature:
- Plastic polymer facings
- Waterproof middle gypsum layer
- Mold/mildew resistance
- Moisture and impact protection
Waterproof drywall works well as shower surrounds. And some types utilize recycled materials for an eco-friendly barrier.
Installation Process
With waterproof drywall Advancements, it’s possible to upgrade existing drywall instead of replacing it.
First, clean the old drywall with an antibacterial cleaner. Fill any cracks or holes with silicone caulk. Then, apply a waterproofing primer like RedGard to create a moisture barrier.
Hang New Waterproof Drywall
Measure and cut the drywall panels to size. Secure them over the old drywall using corrosion-resistant screws long enough to hit the studs. Finally, finish the seams with fiberglass mesh tape and lightweight joint compound.
| Tool | Purpose |
| Utility knife | Scoring and cutting boards |
| Stud finder | Locating wood studs to secure boards |
| Screw gun | Attaching panels to shower framing |
Once installed, the waterproof drywall prepares the way for gorgeous, long-lasting tile.
Transition Existing Drywall to New Drywall
For visually appealing results, taper the seams between old and new drywall using joint compound and drywall taping knives. Here are the steps:
- Spread all-purpose joint compound over the seam using a 4″ taping knife
- Embed the fiberglass mesh tape into the compound
- Smooth with 8″ and 12″ finisher knives as it dries
- Allow to fully cure before priming
Take care not to rush the drying times between coats. Patience leads to a seamless look.
Apply Finishing Coat and Tile
Spot fill any gouges or uneven areas with lightweight spackling. Once dry, apply RedGard or a similar waterproofing paint. Then, thinset mortar and tile as usual.
The end result? A stunning shower surround that sheds water instead of absorbing it into the wall cavity.
Maintaining Your Waterproof Shower Walls
To keep your upgraded drywall walls looking fresh:
- Clean surfaces weekly with non-abrasive cleanser
- Re-apply caulk around the base semi-annually
- Watch for leaks indicating compromised grout or tile
Contact a contractor immediately if you spot dark water stains on walls or ceilings outside the shower. That likely signals a breach in the water barrier needing repair.
The Benefits of Waterproof Drywall Conversions
Compared to ripping out and rebuilding shower walls, waterproofing existing drywall offers many advantages:
- Saves 60% over a full remodel
- Prevents mold, leaks, and other water damage
- Maintains existing plumbing and tile
- Takes 1-3 days rather than 1-2 weeks
Waterproof drywall lets you refresh your bathroom without the mess, demo costs, or lengthy timeline of more extensive options.
Thanks to innovative drywall products, it’s now possible to waterproof your shower surround without the hammer. After cleaning and priming your existing walls, simply install waterproof boards and retile.
For beautiful, water-tight shower walls on a budget, take advantage of this simple upgrade. Breathe new life into your existing bathroom without the headaches of demolition and total rebuilds.
