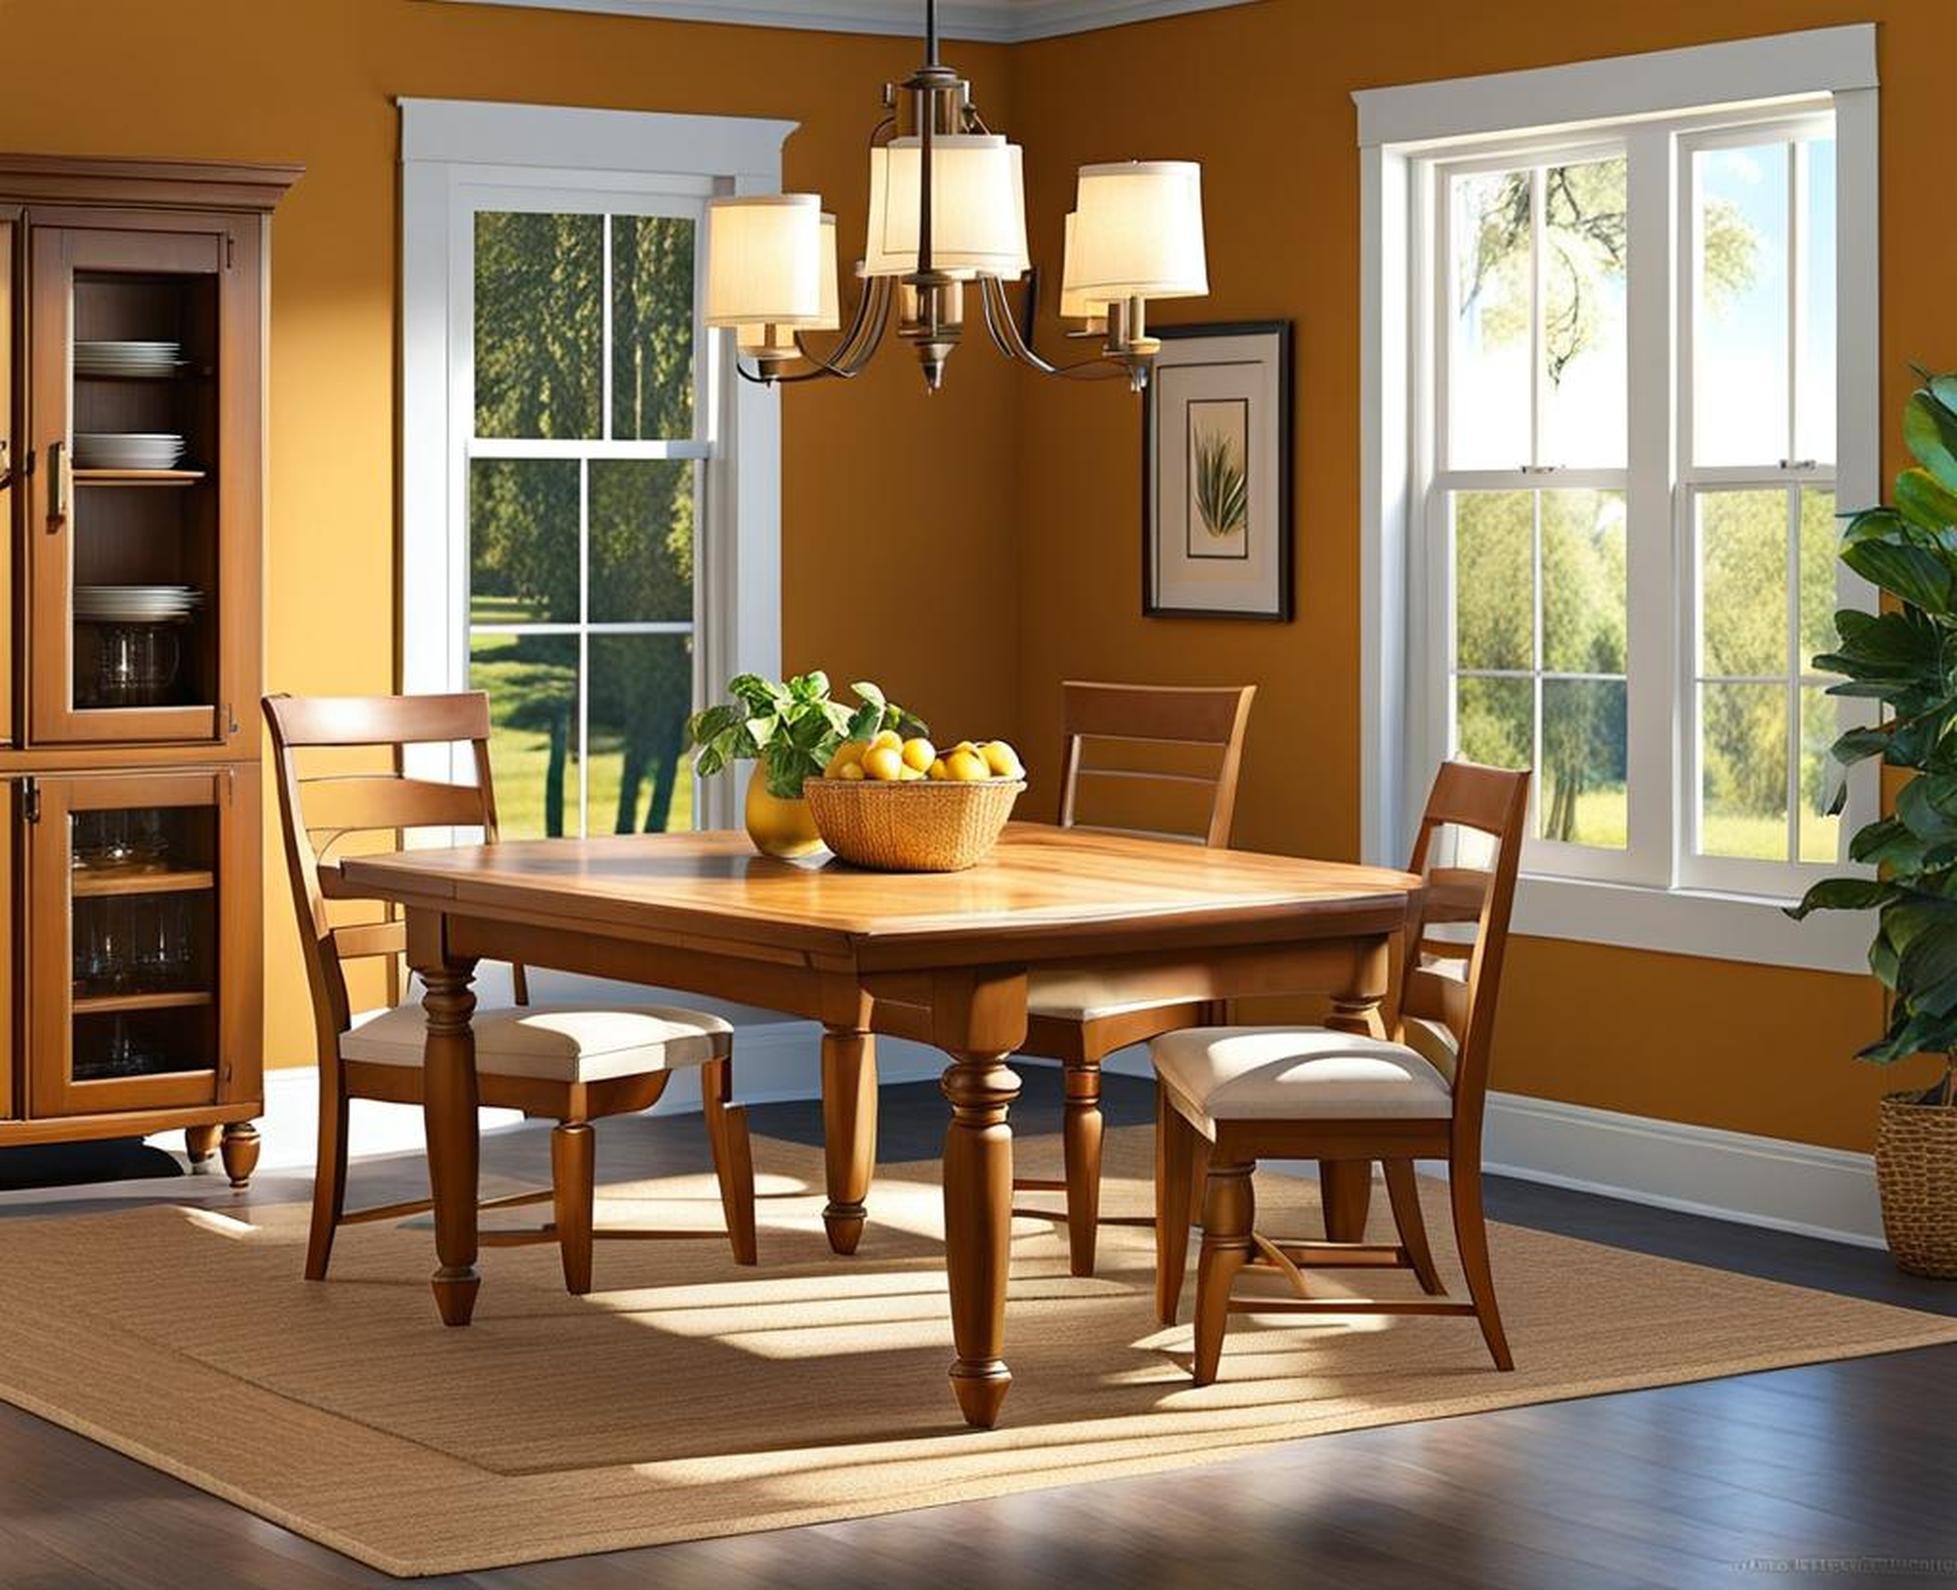
If your kitchen table has seen better days, a fresh coat of paint can give it new life. Painting a table is an easy, affordable way to transform a worn out table without having to buy a replacement. With some simple preparation, priming, and painting techniques, you can level up your kitchen style with a DIY table makeover.
We’ll cover how to properly prepare the table surface, choose the right paint and primers, apply coats smoothly, and add a protective finish. With these tips, you’ll be able to paint your table like a pro and enjoy a stylish new look for your kitchen.
Prep the Table Surface
Before painting, it’s crucial to start with a clean, smooth table surface so the paint adheres properly. Here’s how to get your table ready for a fresh coat of paint:

Clean Thoroughly
Remove any sticky residue, grease, or grime on your table with a degreasing cleanser. Scrub the entire surface with the degreaser and rinse it off. This prevents paint adherence issues down the road. Wipe the table down to remove all dust and debris which could get trapped under the paint.
Sand the Surface
Use an orbital sander with medium grit sandpaper (120-150 grit) to smooth out any existing varnish, light scratches, and imperfections. This helps the paint cling evenly. Wear a respirator to avoid breathing in wood particles. Sand until the table feels smooth and free of debris.
Apply Wood Filler
For deeper gouges, cracks, or holes, fill them with wood filler according to package directions. Let the filler dry fully before sanding flush with the wood surface. This prevents uneven paint coverage.
Final Wipe Down
Give the table one final wipe down with a tack cloth to remove any remaining dust before priming.
Apply Stain-Blocking Primer
Priming before painting is an essential step to get an even, smooth finish. The right primer also blocks stains from bleeding through the new paint. Here’s how to apply it:
Choose Primer
For tables made from bleeding woods like pine, use an oil-based primer which blocks tannins. For most other wood tables, a water-based primer works fine. Popular options include Zinsser Bulls Eye 1-2-3 and KILZ 2.
| Oil-Based Primer | Water-Based Primer |
|---|---|
| Blocks bleeding woods | Lower odor, easier cleanup |
| Takes longer to dry | Usually less expensive |
Brush vs. Roller
Use a high quality angled brush to easily get primer into corners, edges, and intricate carvings. Then use a small foam roller to quickly cover large flat spaces for an even coat. Avoid excessive brush marks.
Apply Thin Coats
Applying several thin, even coats allows primer to cure properly and prevents drips or runs. 2-3 light coats are better than 1 thick coat. Let each coat fully dry for at least 2 hours before adding another.
Lightly Sand Between Coats
Once the primer has dried, give the table a light sanding with 220 grit sandpaper. This smooths out any drips, debris, or texture from the primer before painting. Proper sanding helps the paint adhere evenly.
Paint the Table
Now comes the fun part – finally painting the table! Be sure to choose the right enamel paint and apply it carefully for best results.
Pick Durable Enamel Paint
For a kitchen table, it’s crucial to use enamel paint designed specifically for high-use furniture and cabinetry, as these formulas are far more durable, stain-resistant, and scrubbable. Advance by Benjamin Moore or ProClassic by Sherwin-Williams are great options.
2 Coats Minimum
Apply at least 2 coats of your chosen paint, allowing 4-6 hours of dry time between coats. Adding more than 2 coats usually doesn’t improve coverage. Lightly sand again before the final coat using 220 grit paper to ensure the paint sticks smoothly.
Brush and Roller Method
Use an angled sash brush to cut in along edges and hard to reach spots. Then quickly roll larger flat surfaces using a high quality foam roller cover for the smoothest finish. Work in sections to avoid lap marks as you go.
Add Protective Top Coat
Adding a clear finish protects the painted table from wear, scratches, and stains. Polyurethane is ideal for a table’s heavy-use surface.
Polyurethane Clear Coat
Water-based polyurethane is easy to apply and offers great protection. Choose your desired sheen – satin, semi-gloss, and high gloss are common options. Apply 2-3 thin coats following all label directions.
Apply Carefully
Use a good quality natural bristle brush, and apply the polyurethane following the direction of the wood grain. Allow 24 hours drying time between coats. Sand very lightly with 220 grit sandpaper before adding the final coat.
Consider Water-based Poly
Water-based polyurethane dries faster, has very low odor, and cleans up easily with soap and water. It also resists yellowing better than oil-based options. Just be sure to stir it well before applying.
With the right preparation and painting technique, it’s easy to give a worn out kitchen table new life with a DIY makeover. The finished result will look like you spent far more than just the cost of a few cans of primer and paint. Painting outdated kitchen furniture is also a fun family project that gets your space looking fresh again.
Following this comprehensive guide to prepping, priming, painting, and sealing your kitchen table will ensure you get beautiful, long-lasting results. In just a weekend, you can level up your kitchen style with a smooth, durable painted table.
