When frigid winter temperatures arrive, exposed water pipes outdoors and in unheated areas become vulnerable to freezing. Once the water inside starts to freeze and expand, the pipe material can crack, rupture, and burst apart. This leads to catastrophic leakage, flooding, and costly repairs when spring arrives.
Preventing frozen and burst pipes outside your home is crucial to avoid damage. The best approach is insulating and winterizing any outdoor plumbing before cold weather sets in. With some simple preparation, you can keep your exterior water pipes functional all winter long.
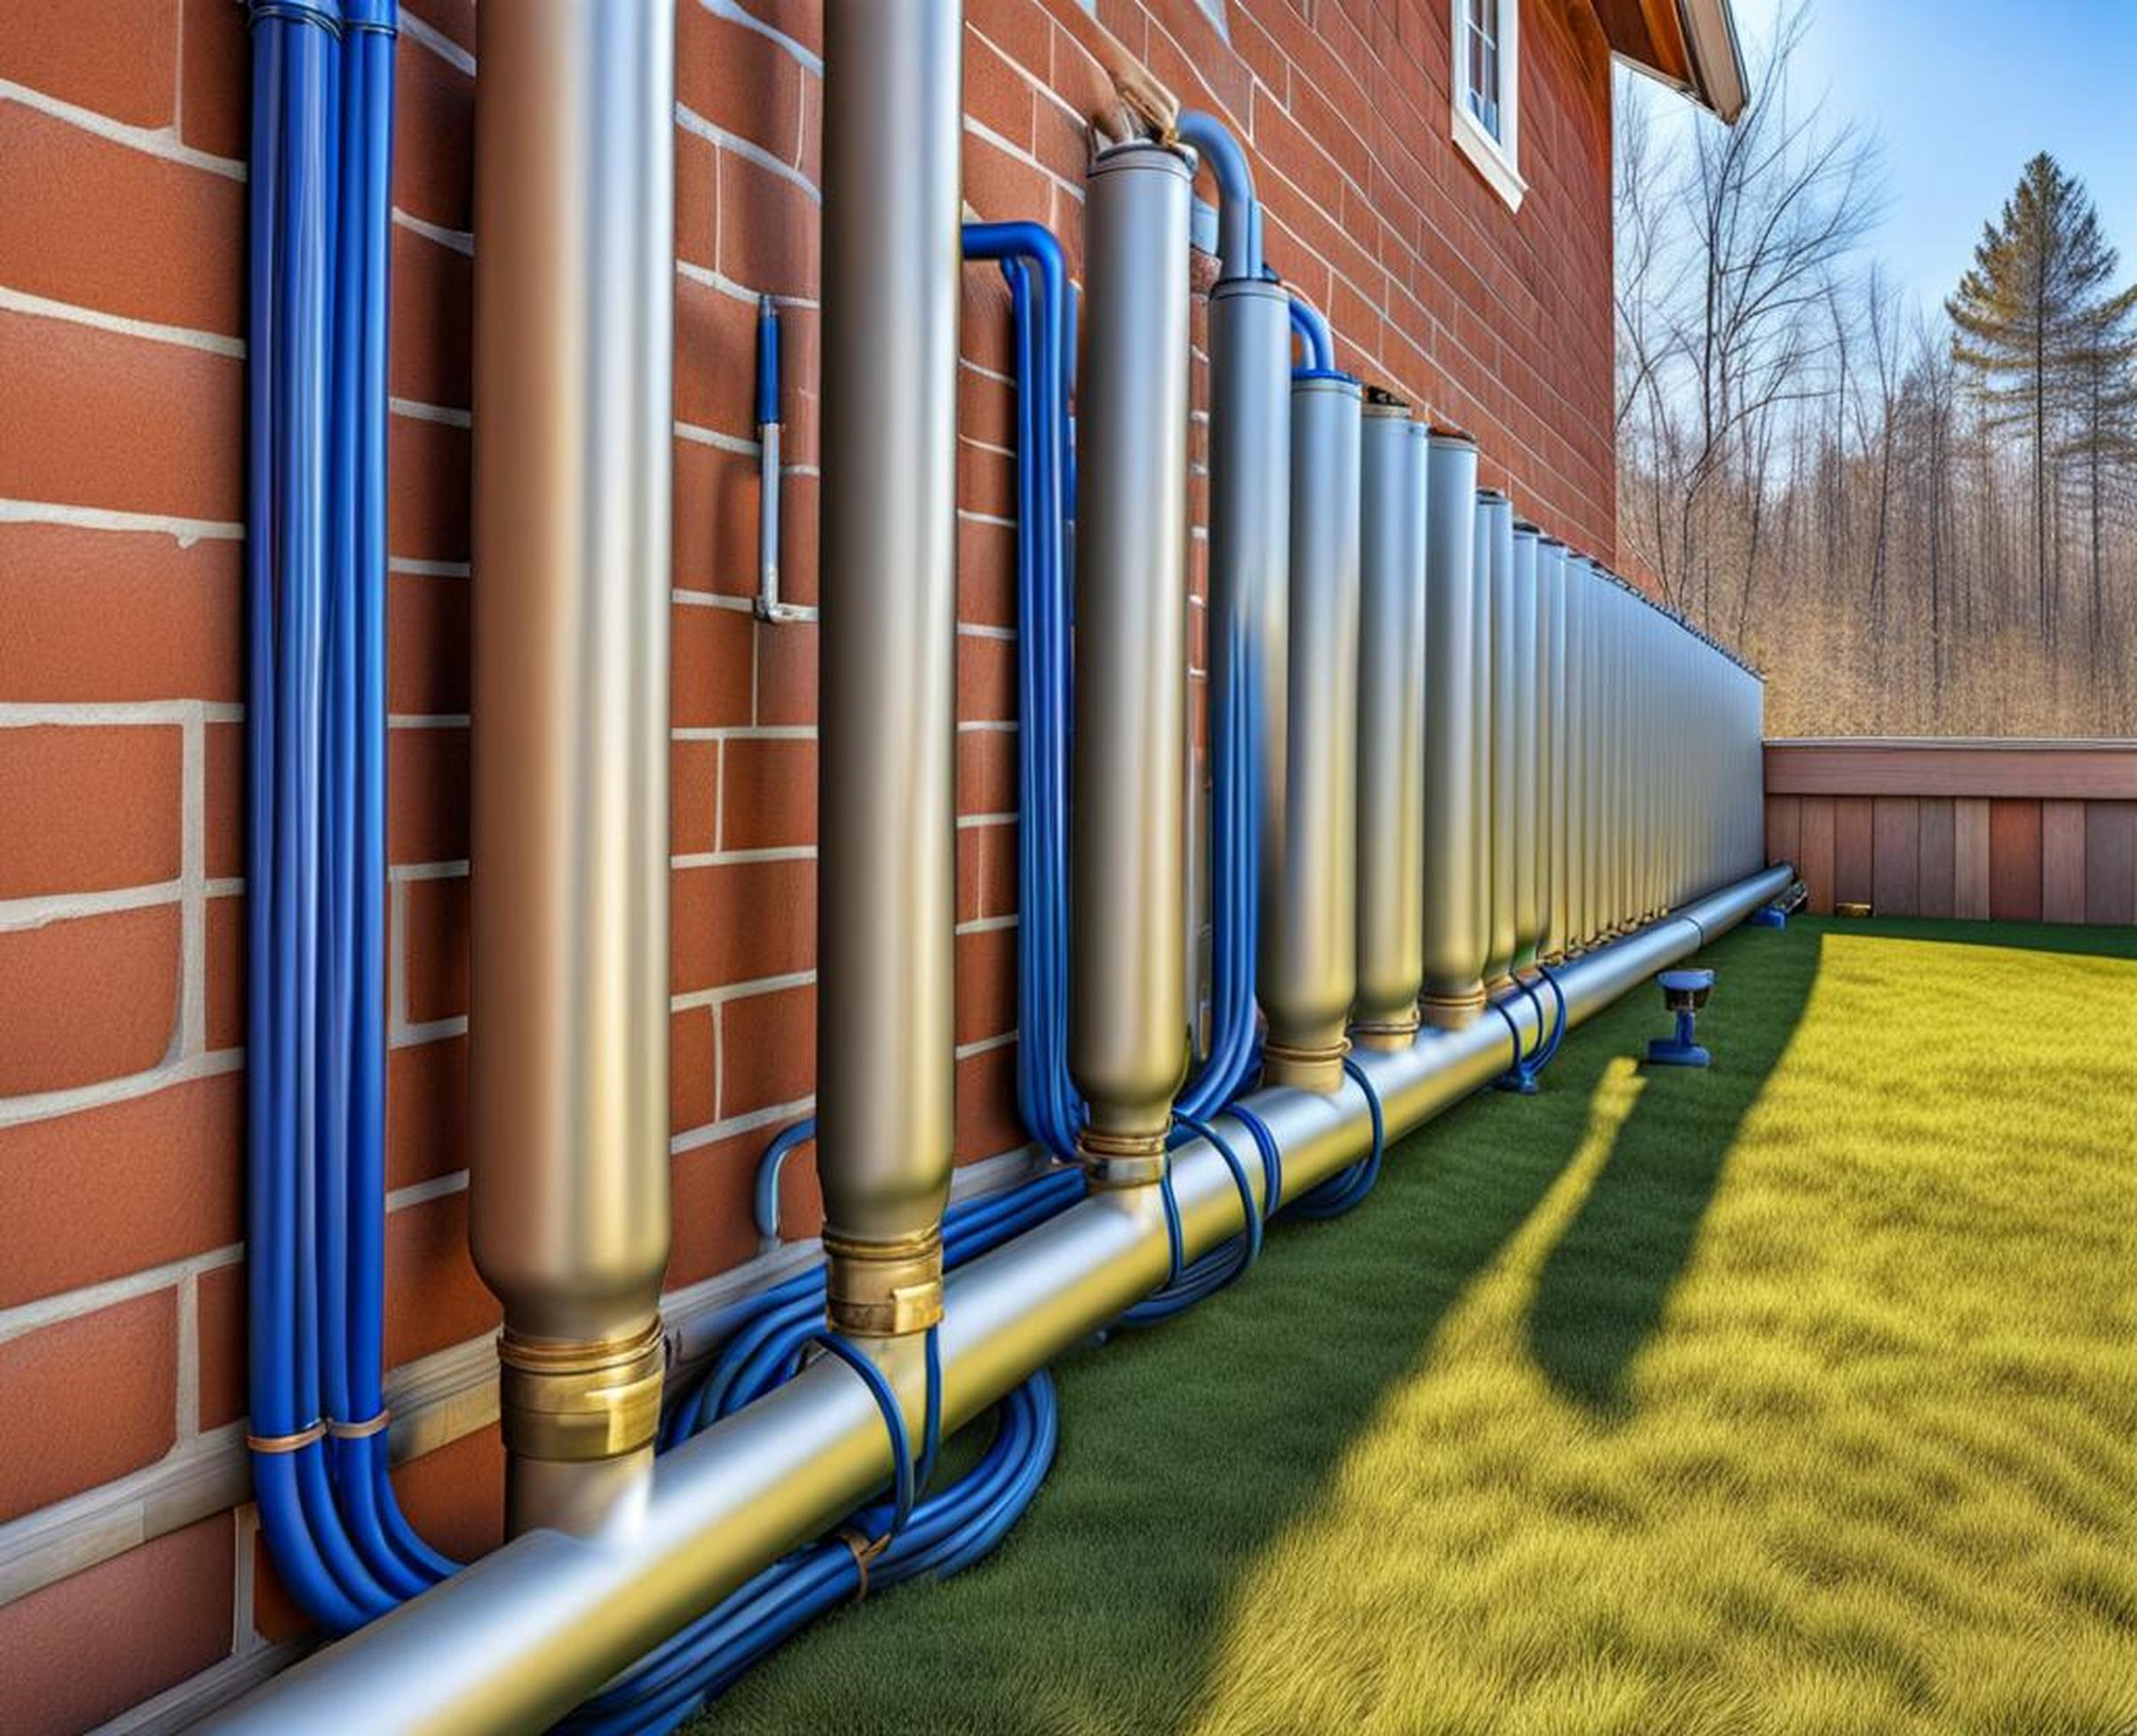
Why Insulate Outdoor Pipes?
Insulating outdoor water pipes is one of the best ways to avoid frozen pipe problems. Fitting pipes with insulating materials provides several important benefits:
- Prevents freezing and bursting during winter
- Saves money on plumbing repairs and water damage
- Increases energy efficiency by reducing heat loss
- Maintains hot water temperature
- Shorter wait times for hot water
Outdoor faucets, spigots, supply lines, and any exposed plumbing are at risk when temperatures drop below freezing. A burst pipe can leak hundreds of gallons before it’s detected, leading to major flooding and destruction. Insulation helps maintain the temperature of the water inside and prevents an icy blockage.
What Pipes Need Insulation?
Any water supply pipes that are exposed to exterior cold air should be insulated. This includes:
- Outdoor faucets and hose bibs
- Pipes in unheated garages, sheds, or basements
- Water lines to sprinkler systems or pool equipment
- Pipes running through uninsulated exterior walls
- Water lines to hot tubs located outside
Even pipes buried underground may require insulation in very cold climates where frost reaches deep into the soil. Otherwise, consistently freezing soil temperatures can infiltrate underground water lines.
Choosing Pipe Insulation Materials
Many types of insulation materials are available to protect outdoor pipes. Consider the following options:
Foam Tubing
Flexible foam tubing that slides over pipes provides an easy insulation solution. Look for tubing with a wall thickness of at least 1/2 inch and a minimum R-value of R-3. The flexible foam tubes can accommodate pipes up to 1-1/4 inches in diameter. Use slit sections to fit over existing pipes easily.
Fiberglass Wrap
Fiberglass insulation wrap rated for exterior use also insulates pipes effectively. Select a wrap thickness of at least 1 inch with an R-value around R-6. Fiberglass wraps are available in widths up to 2 inches for insulating large-diameter pipes. Secure the wrap with waterproof tape or zip ties.
Other Insulation Options
Other specialty products can provide outdoor pipe protection as well:
- Heating cables that affix to pipes
- Self-sealing insulating sleeves
- Flexible foam sheets for wrapping pipe assemblies
- Heat trace wire systems with thermostat controls
How to Insulate Outdoor Faucets
Outdoor faucets are especially prone to freezing. Follow these steps to properly insulate exterior hose bibs and spigots:
Shut Off the Water Supply
Start by locating the shutoff valve for the faucet inside your house. Turn the valve clockwise to the off position to stop water flow. This allows the pipe to drain.
Remove the Faucet Handle
Use a screwdriver to detach the faucet handle and handle components. Carefully place all handle pieces in a safe place for reattachment later.
Drain Remaining Water
Turn on the faucet to allow any remaining water in the line to drain out completely. Leave the faucet in the open position while completing the insulation.
Insulate the Pipe
Wrap foam tubing or fiberglass insulation around the exposed exterior portion of the pipe. Extend the insulation at least 6 inches into the interior wall space so no pipe is exposed.
Replace the Faucet Handle
Reinstall the faucet handle components in reverse order. Make sure the handle feels secure. Turn the water supply back on slowly.
Install a Faucet Cover
Place an insulating faucet cover over the handle and insulation. Attach it snugly to the wall exterior with integrated straps or tape.
Insulating Pipes Along Exterior Walls
For water lines that run through exterior walls to backyard hose bibs or sprinklers, an interior access project may be necessary:
- Locate all water supply pipes in the exterior walls.
- Determine the linear footage that needs insulation.
- Purchase sufficient amounts of pipe insulation for the project.
- Turn off the water supply and drain the pipes completely.
- Remove interior wall paneling or drywall to access the pipes.
- Wrap the pipes thoroughly with insulation material.
- Extend the insulation at least 6 inches inward past the interior wall surface.
- Replace the removed panels or drywall.
- Seal the seams and openings with caulk.
Installing Heat Tape
For colder regions, heat tape provides supplemental warmth for outdoor pipes. Follow these guidelines when installing heat tape:
- Thoroughly clean the pipe exterior so the tape adheres properly.
- Measure and cut the heat tape to match the length of pipe.
- Affix the heat tape directly to the pipe following product specifications.
- Plug the heat tape into a GFCI electrical outlet.
- Wrap the pipes with insulation over the installed tape.
- Carefully follow the manufacturer’s product instructions.
- Set the heat tape’s thermostat for at least 40degF to prevent freezing.
- Periodically test the heat tape while weather is still above freezing.
Keep these pointers in mind for getting the best results from insulating outdoor pipes:
- Use slip-on sleeve insulation for insulating valves, elbows, and pipe connections.
- Seal seams and connections with waterproof UL-rated tape.
- Inspect pipe insulation each fall and replace any damaged or degraded sections.
- Consider hiring a professional for extensive outdoor plumbing systems.
Following proper outdoor water pipe insulation techniques can pay dividends by avoiding costly frozen pipe repairs. Protect your plumbing before winter arrives and rest easy while the frigid winds howl.
