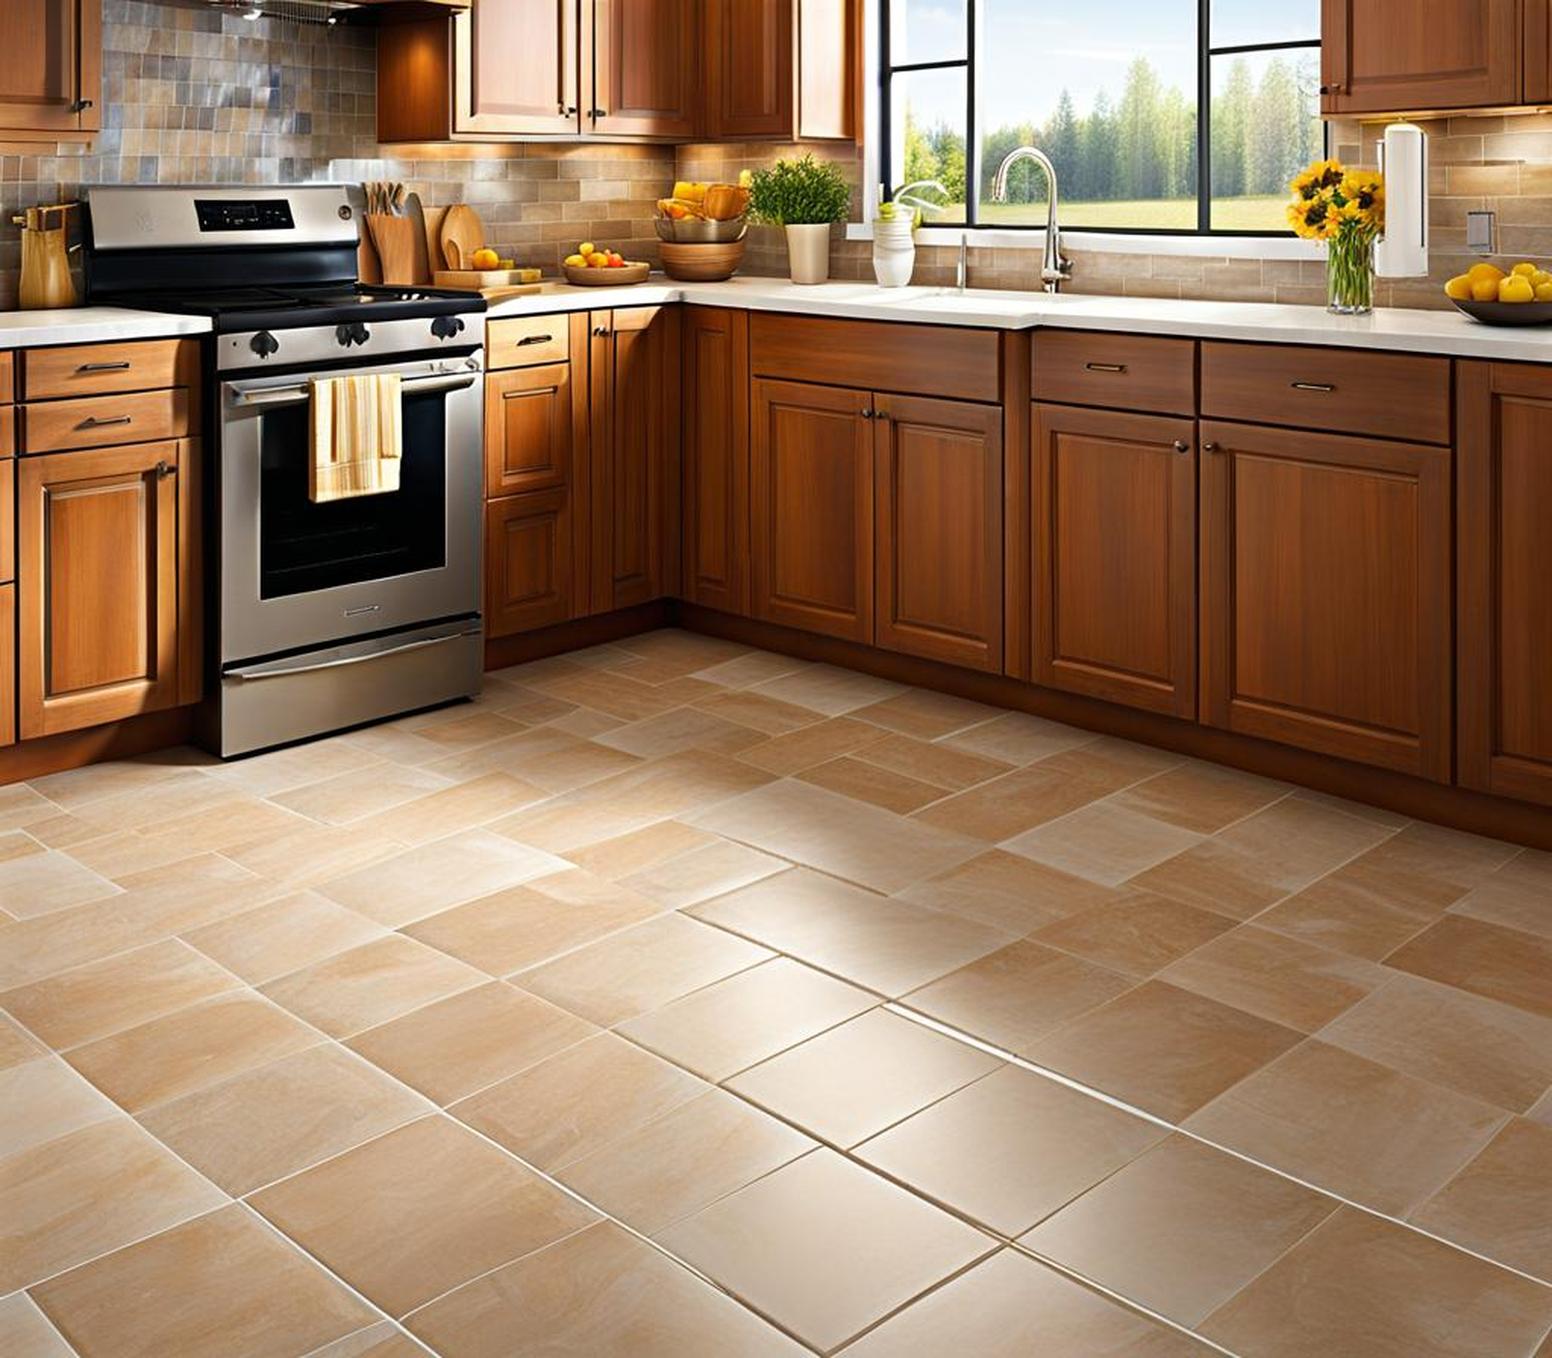
Tiling your kitchen floor can transform the entire look and feel of your kitchen. While many homeowners think tiling must be left to professionals, with the right planning and preparation it is an achievable DIY project. Follow our step-by-step guide and you’ll gain the skills to tile like an expert, saving time and money.
Tackling the tiling yourself means you can customize the pattern and materials as you wish. We will walk you through all the key steps: careful planning and layout, preparing and leveling the floor, applying mortar and setting the tiles, expertly grouting for a flawless finish, and tips for ongoing care and maintenance. With a weekend and these instructions, you can learn how to lay tile in your kitchen floor quickly and professionally.
Step 1: Planning and Layout
Careful planning is crucial for a quality tiling job. With the right prep work, the rest of the installation process will go smoothly.
Selecting Your Tiles
Choosing the right tiles is the first big decision. Ceramic and porcelain tiles are popular options as they are affordable, durable, and come in endless style options. Porcelain tiles are less porous than ceramic and better resist moisture and stains. Natural stone like marble or slate can provide an upscale look but requires extra sealing. Mosaics can make a stylish focal point or border.
Consider the size, texture, pattern, and color that best suits your kitchen’s decor. Larger tiles like 12×24 inch rectangles help the space look bigger. Textured tiles add traction and are ideal for kitchen floors. Buy 10% extra to account for breakage and cuts.

Design and Pattern Planning
Map out your floor plan to determine the required materials and most efficient layout. A basic grid pattern is the easiest to install. Staggered brick or herringbone patterns add visual interest but involve more cutting. Use graph paper to experiment with arrangements. Decide on a focal point like a mosaic inset.
Be sure to buy tile spacers which will give consistent spacing for the grout lines. Cut small pieces of tile to fit against the walls so you don’t end up with skinny slivers of grout.
Step 2: Preparing the Floor
With the right prep, your tiles will have a solid foundation for lasting performance.
Cleaning and Repairing the Subfloor
Start by sweeping and vacuuming thoroughly to eliminate any debris. Inspect for cracked or uneven areas and fill holes and dips with a patching compound. Scrape off any old adhesives.
Creating a Smooth Surface
Level any dips or uneven spots using a self-leveling underlayment compound. Ensure it has fully cured before tiling. Install cement backerboard if tiling over plywood to prevent moisture damage. Proper prep leads to stronger adhesion and prevents cracked grout and tiles later on.
Step 3: Installing the Tile
Here comes the fun part! With the prep work done, it’s time to start laying the tile. Follow these tips for success.
Applying the Tile Mortar
Mix the thinset mortar powder with latex additive to improve adhesion and workability. Apply a layer using a notched trowel in small sections at a time. Let it sit for a few minutes before combing through with the trowel’s notched edge.
Setting the Tiles
Start laying tiles from the center of the room working outward. Set the first tile in the center and use spacers around the edges. Firmly press the tiles into the mortar. Use a rubber mallet to set each tile and ensure full contact and proper bonding.
Cutting and Fitting Tiles
Measure and mark any tiles that need cutting to fit around cabinets or walls. Use a wet tile saw fitted with a diamond blade. Cut slowly and steadily for clean edges. Use a rubbing stone to smooth any rough edges. Set cut tiles using tile spacers.
Step 4: Grouting the Tiles
Grout fills the spaces between the tiles to finish off your floor.
Mixing and Applying the Grout
Allow the mortar to cure fully overnight before grouting. Sanded grout works best for joints wider than 1/8 inch. Mix the grout powder with water to a thick, pudding-like consistency. Apply grout over the tiles using a rubber float, forcing it deeply into the joints.
Cleaning and Polishing
Wipe and rinse the tiles with a damp sponge to remove excess grout. Buff the tiles with a clean towel once dry to polish them up and remove any remaining haze. Allow the grout to cure fully for 24-48 hours before continued use.
Step 5: Finishing Touches
Complete your new tile flooring with these final sealing and protection steps.
Apply a penetrating sealant to the grout lines to prevent staining. Caulk along the joints between the tile and walls, cabinets, or fixtures to allow for expansion and contraction. Verify all tiles are level – lift and re-apply any tiles that are uneven or hollow sounding. Lastly, sweep and mop your new floor to remove residual construction dust.
With proper care your tile flooring will stay looking like new for years to come. Sweep or vacuum regularly to prevent grit buildup and limit harsh cleaners that can damage the grout or surface sealant. Re-apply grout sealer yearly. Your kitchen now has a stylish and durable floor you installed with your own hands!
Follow these steps and you can feel proud transforming your kitchen with new tile floors. With the right tools and materials, patience, and our detailed guidance, you can gain the tile setting skills of a seasoned pro.
Tiling your own kitchen floor allows you to customize the design exactly as you wish while avoiding the high costs of hiring a contractor. Completing a quality tile installation brings a sense of personal accomplishment and satisfaction. We hope these tips give you the confidence to tackle tiling your kitchen floor or other rooms in your home.
