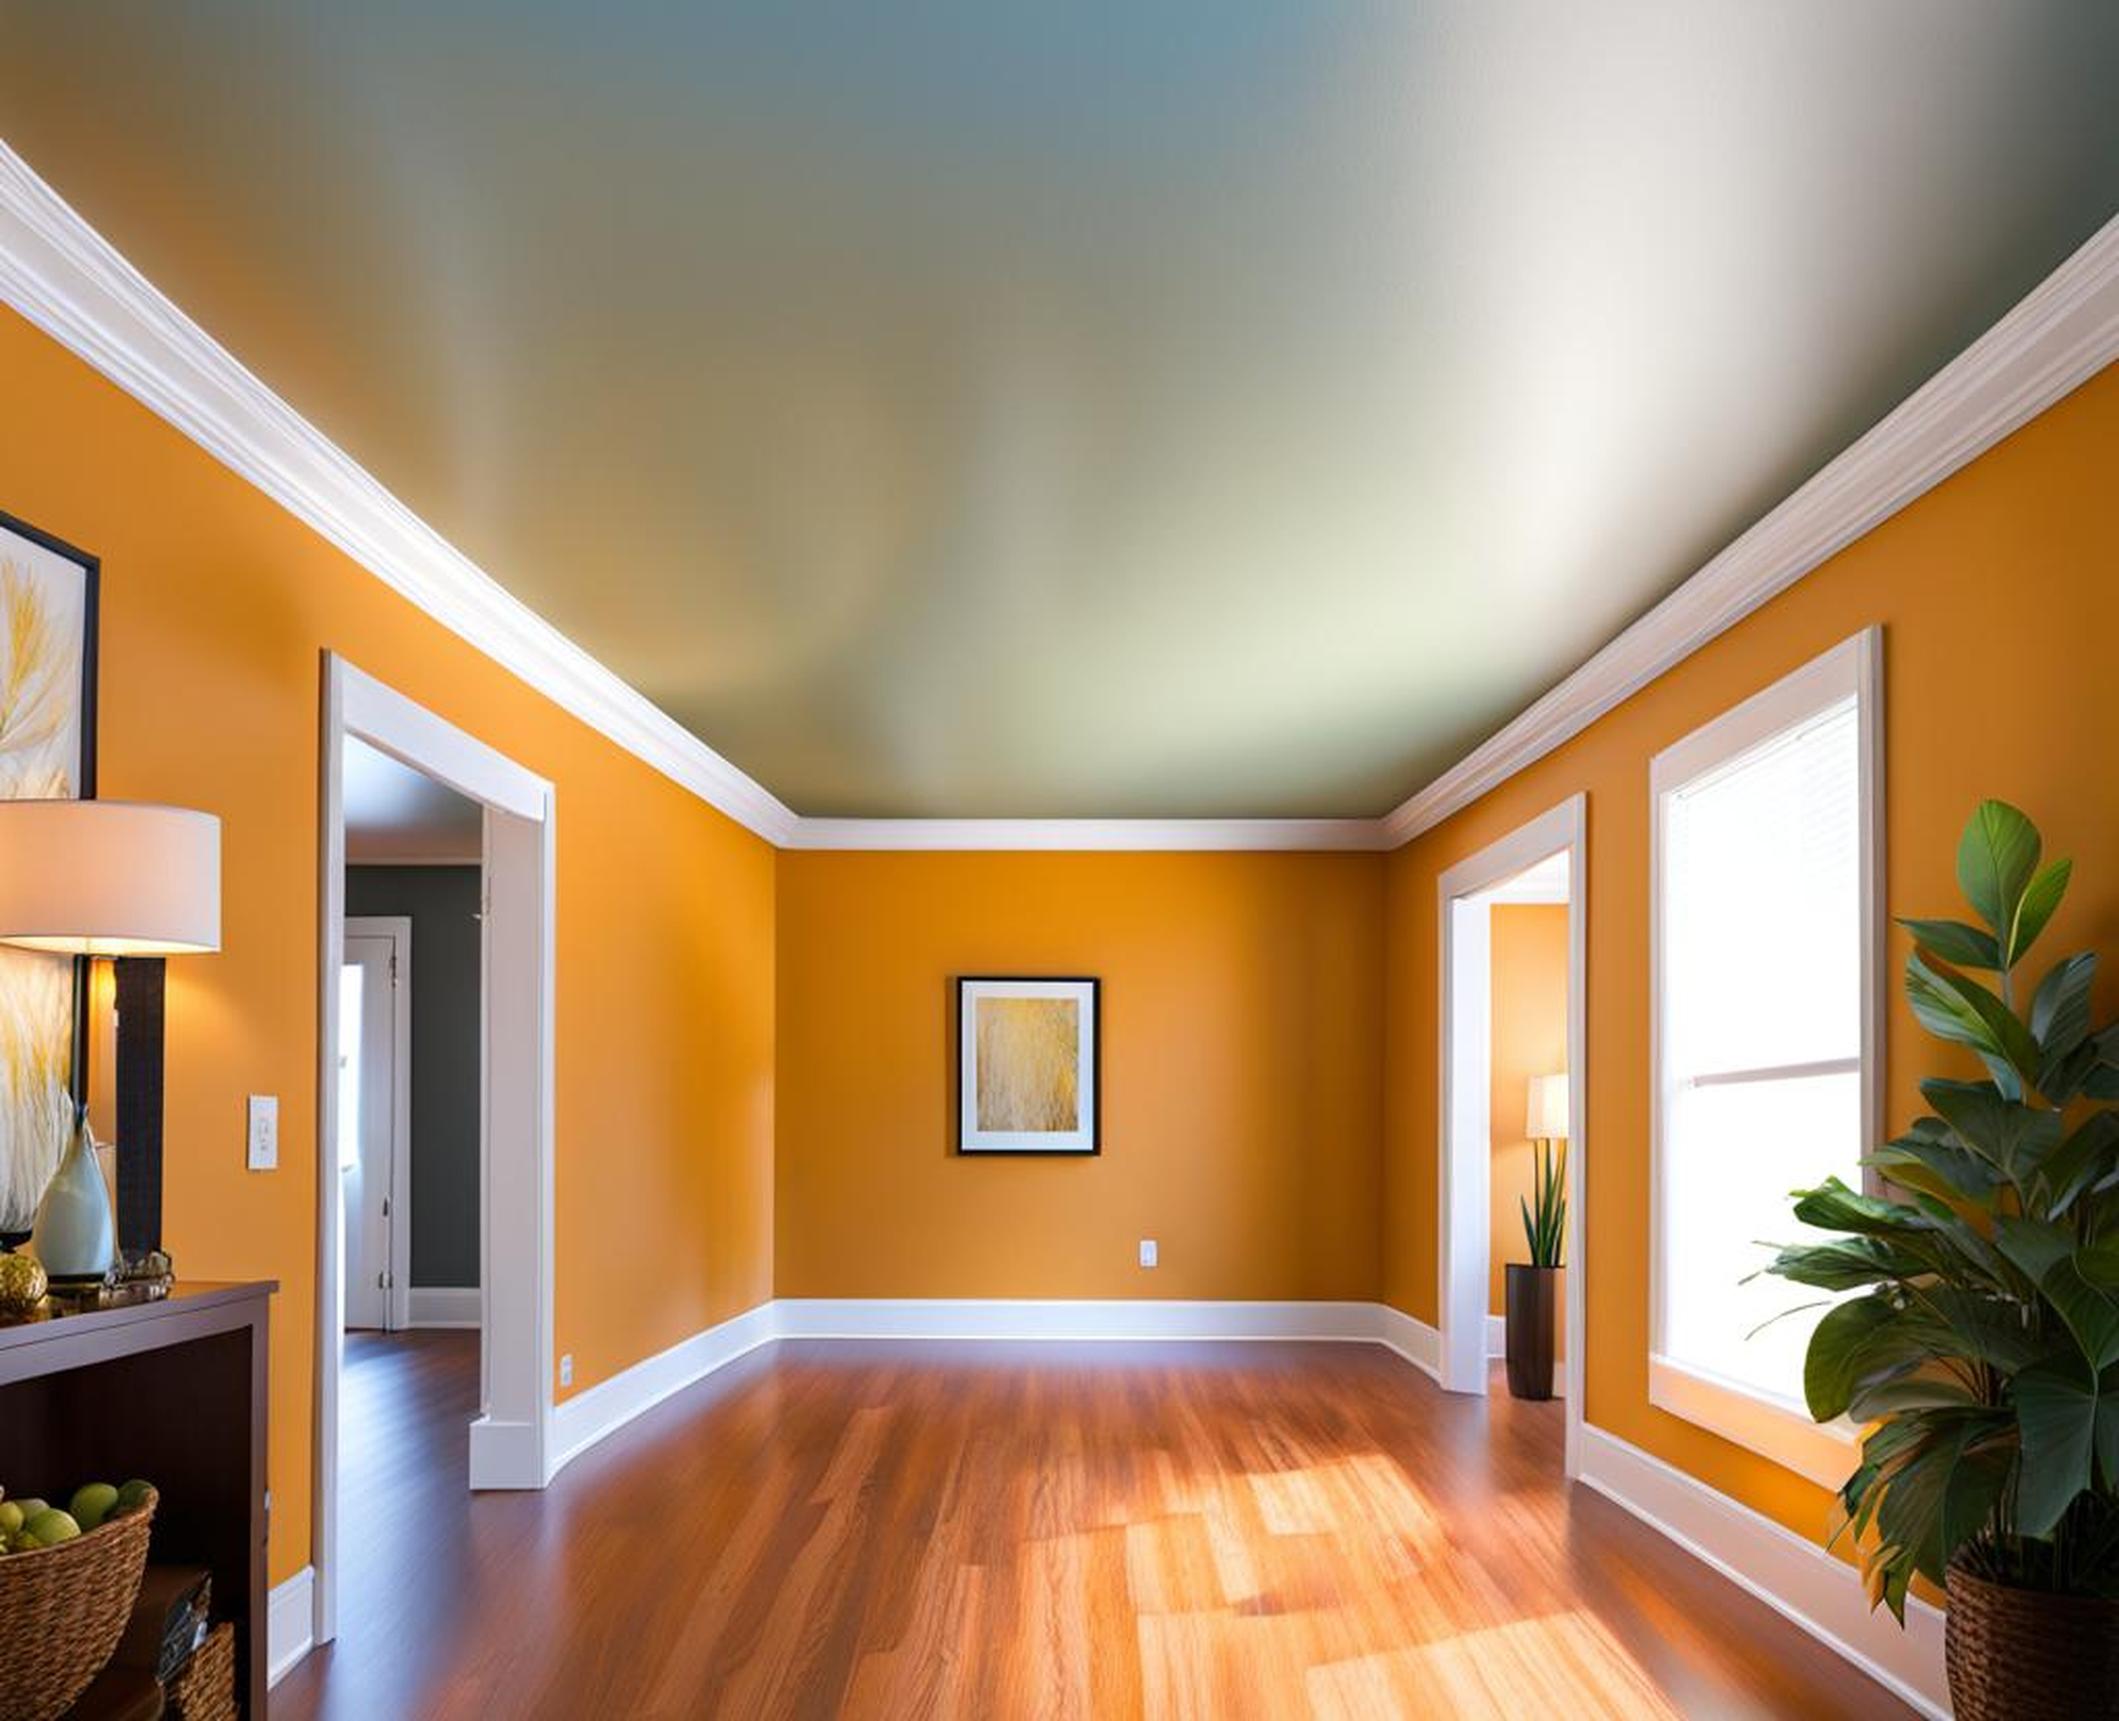
Popcorn ceilings, sometimes called cottage cheese ceilings, refer to drywall ceilings with a heavy spray-on finish that leaves a bumpy, textured surface. This type of ceiling was popular in homes built in the 1950s through the 1980s for their acoustic and aesthetic properties.
While popcorn ceilings provide visual interest and help absorb echo and noise, over time, they can become dingy, cracked, or damaged. Painting a popcorn ceiling can refresh the look without the messy demolition required for removing the texture.
Supplies Needed for Painting Popcorn Ceilings
When prepping to paint a popcorn ceiling, having the proper supplies makes achieving professional results much easier.
Choosing the Best Paint Type
For coating heavy ceiling texture, latex acrylic interior paint works well. Compared to standard wall paints, it offers superior adhesion and durability for textured and porous popcorn. The thicker consistency fills cracks and crevices in the bumpy surface better.
Some top brands for ceilings include:
- Sherwin Williams Ceiling Paint
- BEHR Ceiling & Trim Interior Paint
- Valspar Ceiling Paint
Check manufacturer specifications to determine exact coverage rates. Typically, popcorn ceilings require more paint for full saturation into the grooves.
Paint Applicators: Brushes and Rollers
In addition to quality paint, choose supplies designed for textured ceilings:
- Angled sash brush, 2-3 inches wide, for cutting clean lines along walls and edges
- Thick roller with 1/2 inch nap for working paint into the bumpy texture
Cheap applicators won’t hold enough paint or provide enough surface contact for even coverage.
Handy Prep Materials
Before painting, you need to make sure the ceiling surface is properly prepped and protected:
- Joint compound and sandpaper for patching cracks/holes
- Pole sander with fine grit sanding screen for smoothing repairs
- Painters tape and drop cloths to protect floors/walls from splatters
Prep Steps for Painting Popcorn Ceilings
Preparing a heavily textured ceiling requires more work than typical wall painting. The time invested makes for longer-lasting results.
Inspecting for Any Repairs
Examine the ceiling closely looking for cracks, uneven patches, or water damage that requires fixing, especially if the popcorn ceiling has never been painted before. Use joint compound to patch small holes or flaws in the texture.
For large cracks or filling bigger sections, you may need to remake portions of the ceiling’s heavy texture to blend with the original before painting.
Cleaning Dust and Cobwebs
Use a vacuum with a soft brush attachment to thoroughly remove any loose dirt, droppings, or webs lingering on the surface and in crevices. Lingering debris can ruin the paint’s adhesion and appearance.
Lightly Sanding the Surface
For the best bond with the thick paint that will be applied, lightly sand the entire ceiling using 100-150 grit sandpaper on a pole sander. This smooths over any previous paint or texture repairs.
Take care not to aggressively sand, which can damage the surface. Focus extra sanding efforts on recent patch areas to help them blend with the existing texture.
Techniques for Painting Popcorn Ceilings
With the right supplies and proper prep work finished, you can now transform the space with a fresh coat using specialized methods.
Cutting Clean Lines Along Edges
Start painting the ceiling by “cutting in” around the perimeter using an angled sash brush loaded with ceiling paint. Run the brush in smooth, even strokes along corners and edges where walls meet the ceiling.
Cutting in by hand prevents splash from the roller hitting borders as you coat the expanse of the ceiling. It also defines the painting area to keep drips off walls.
Rolling Ceiling with Texture-Friendly Tools
After cutting in the borders, pour some ceiling paint into a roller tray. Dip and roll your 1/2″ nap roller cover to fully saturate it.
Use an “N” painting pattern, rolling in one direction then perpendicular to cover all sides of texture bumps. Overlap passes while the area is still wet to prevent roller marks or missed spots.
Take care along edges so splatter doesn’t hit your crisp cut-in lines.
Adding Additional Paint Coats as Needed
To allow thorough drying between coats, ceiling paint typically requires a 16-24 hour wait time before recoating, especially in humid areas.
Flat ceilings often only require one coat, but textured surfaces tend to need two coats to achieve full, even coverage across each bump.
Look for uneven sheen or sparse texture after the first coat dries. Use a roller or brush to spot treat areas needing more saturation without requiring an overall third coat.
Avoiding Common Popcorn Ceiling Paint Mistakes
By understanding typical errors and their solutions, your ceiling painting is less likely to have frustrating setbacks.
Mixing Ceiling Paint Incorrectly
Some DIYers try thin down thick ceiling paints by mixing water to help saturation. However, dilution only reduces hiding power and longevity.
Instead, opt for quality latex paint formulated specifically for textured and acoustic surfaces which spreads easily without adulterants.
Rushing Between Paint Coats
It’s tempting to get painting completed quickly, but patience is vital for proper adhesion between layers. New paint coated over insufficiently dried layers can lift or peel.
Allow at least overnight drying as directed by the manufacturer before adding another coat to prevent tacky paint or rework.
Using Too Little Paint
Popcorn ceiling textures have much more surface area than flat drywall. Attempting minimal paint coverage leads to patchy results.
Plan for about twice the amount of paint compared to estimating for smooth ceilings. More product on the roller and two full coats allow for optimal saturation into crevices.
Achieving a Flawless, Professional Popcorn Ceiling Paint Finish
With attentive painting methods and plenty of quality paint, even first-timers can achieve smooth results rivaling an expert contractor.
Working Top Down When Painting Room
Paint ceilings first before walls whenever possible. This prevents dust and splatters from wall painting marring freshly coated ceilings.
Finish cutting in and rolling ceiling borders then work systematically outward from the top down. Tackle walls last.
Inspecting Closely After Drying
Harsh lighting can reveal subtle flaws invisible under normal conditions. Inspect work after drying by shining high lumen flashlights or daylight equivalents across the entire surface.
Touch up thin spots, streaks, or uneven textures with additional paint so flaws don’t stand out under lighting.
Focusing on Small, Manageable Sections
Mentally dividing large rooms into smaller quadrants allows you to fully coat sections with better attention to detail instead of getting overwhelmed tackling everything simultaneously.
Working methodically from one section to the next ensures paint consistency for color uniformity and makes the task less fatiguing.
While painting popcorn ceilings presents unique challenges compared to flat drywall, properly preparing the textured surface along with using specialty painting tools and techniques allows determined DIYers the ability to refresh spaces gorgeously.
Investing effort into fixing imperfections, cleaning thoroughly, and sanding for paint adhesion prevents many common frustrations.
Understanding popcorn ceilings require more paint, dry time between coats, and meticulous rolling for full coverage inside deep crevices also helps create flawless, professional-quality results.
You can cut costs on contractors and breathe new life into a dated cottage cheese ceiling yourself with the right information and ceiling paint products.
