For gardeners looking to maximize planting space while enjoying easy access to their plants, a U-shaped raised garden bed offers the perfect solution. These unique wrap-around garden beds provide all the benefits of a standard raised bed, like excellent drainage and fertile soil, while their curved shape creates even more planting area in a compact footprint. In this DIY guide, we’ll walk through everything you need to know to plan, build, and grow thriving plants in your own customizable U-shaped raised garden bed.
Materials Needed for U-Shaped Raised Beds
A wide range of materials can be used to construct a raised bed, but choosing the right ones is key to creating a structure that will stand up to the elements and support healthy plant growth. Here are some important factors to consider when selecting materials for your U-shaped raised garden bed project.
Choosing the Right Wood
Cedar and redwood are popular wood choices for raised garden beds because they naturally resist rot, decay, and insect damage. Redwood contains tannins that help protect the wood, while cedar contains oils that act as natural preservatives. Both woods are durable, long-lasting options for an outdoor raised bed.
Pine is a less expensive option, but is more susceptible to rotting over time. To increase longevity, use a higher grade rather than basic, untreated pine. Be sure to apply a water-repellent wood sealant to protect the boards.
Avoid using chemically-treated woods, as these can leach harmful substances into the surrounding soil that you will be growing food in. For safety and organic gardening, choose untreated, non-toxic woods.
Hardware and Supplies
In addition to boards for the raised bed frame, you will need:
- Deck screws or galvanized nails for construction
- Landscape fabric to line the bottom of the bed and prevent weeds
- Weed barrier or porous stones (like pea gravel) for drainage
- High-quality gardening soil or soilless planting mix
- Compost, manure, or organic fertilizer to mix into the soil
- Basic tools like a saw, drill, shovel, level, tape measure, and screwdriver
Having these materials on hand will make constructing and setting up your raised garden bed much easier.
Planning the Design and Dimensions
One of the best things about DIY raised garden beds is that they can be built in nearly any shape or size you desire. Before starting construction, think about the optimal dimensions and layout for your U-shaped raised bed based on your space and gardening needs.
Size Considerations
A typical small raised bed is about 4 x 8 feet, while larger beds may be as big as 10 x 10 feet or more. With a U-shaped design, smaller sizes around 4 x 8 feet are ideal if you want to easily reach the plants in the middle from the outside path.
Larger U-shaped beds give you more planting space, but make sure you can still comfortably reach at least halfway across the bed from each side. The center walking path should be at least 2-3 feet wide to allow room for you to tend to the plants and harvest produce.
Layout Tips
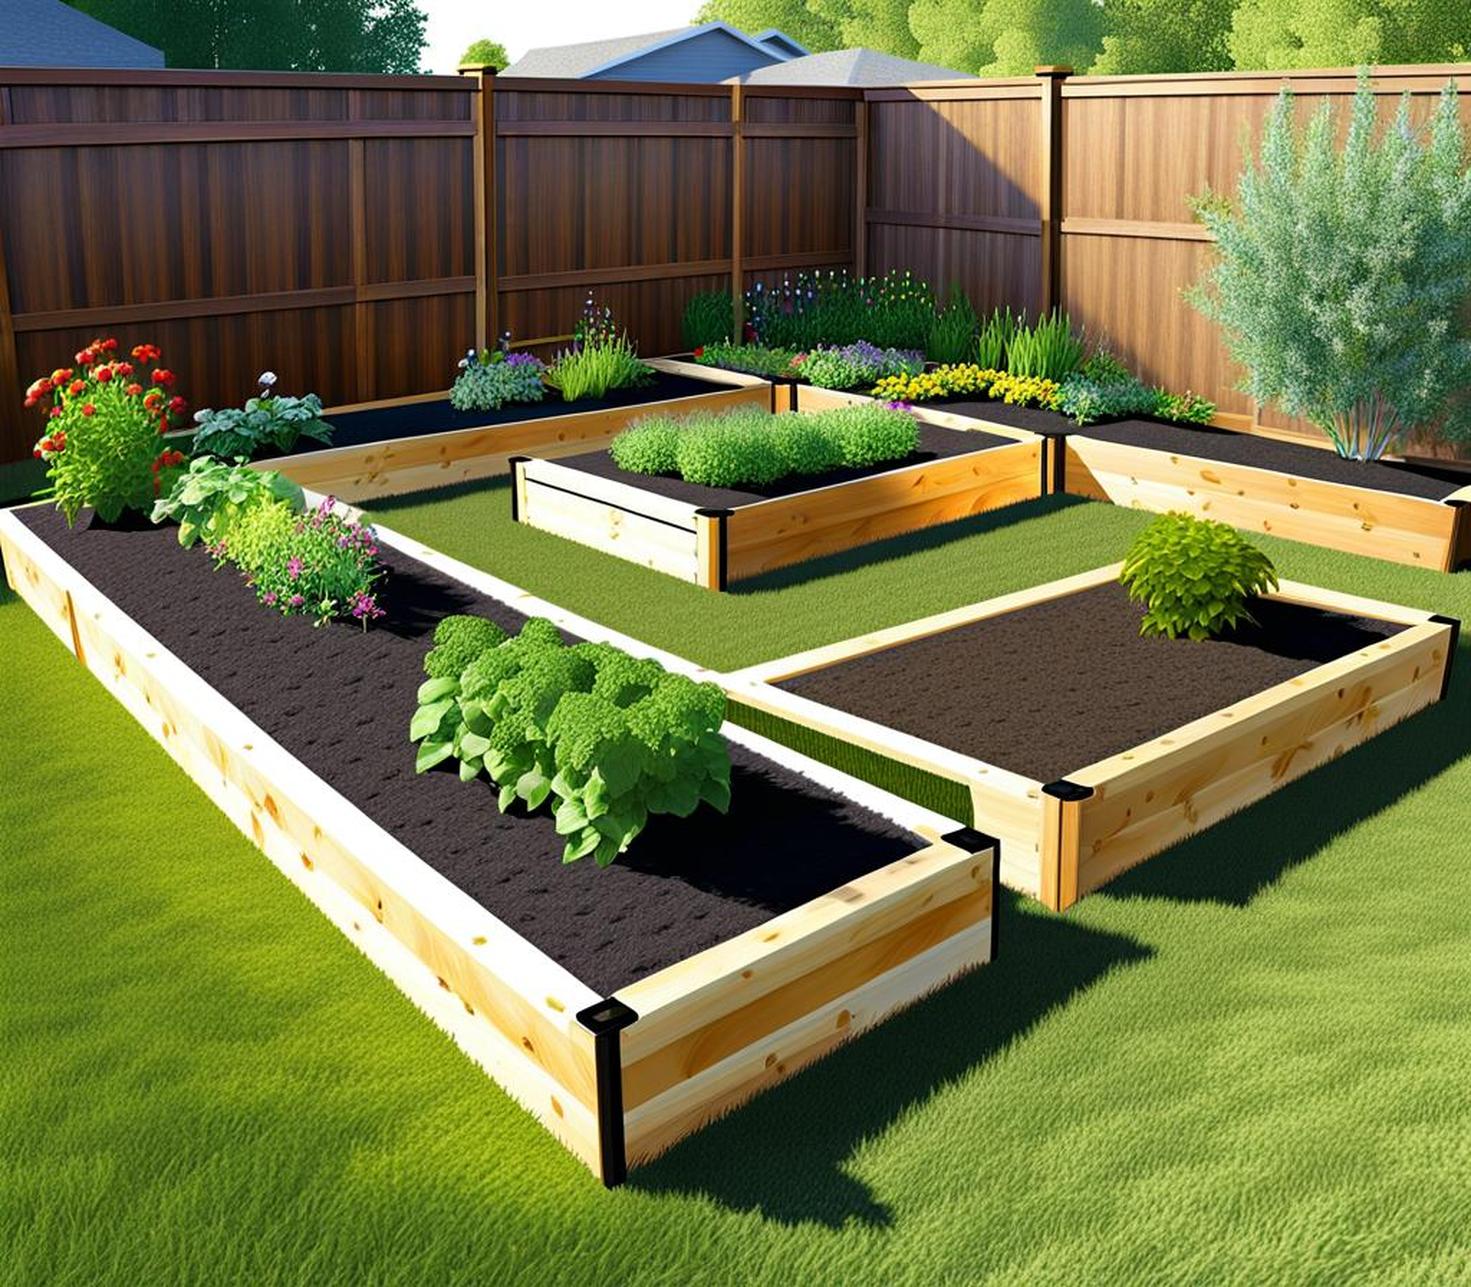
Traditional U-shaped garden beds have a rectangular or square-shaped bottom with two equal length sides joined by a shorter end piece. However, you can get creative with the shape. Some options include:
- Oval or circular U-shape for a unique curved design
- U-shape with squared off corners instead of rounded edges
- Join multiple rectangular boxes together in a U configuration
- Terraced or stepped U-shape raised bed
In terms of height, a typical raised bed is between 1-3 feet tall. Around 12-18 inches high is ideal for easy access. The soil depth should be at least 12 inches for adequate root growth.
Customizing the Shape
One benefit of building your own U-shaped raised bed is you can customize the design to fit your specific garden space. Get creative with the shape and dimensions to make the most of your available room.
For example, you may want to curve a smaller U-shape into more of an oval or even a circle shape to fit in a corner. Or, stake out a larger winding U-shape through an open portion of your yard. Use angled sections or squared-off corners tocontour the bed around existing paths and landscaping.
You can also join three or more rectangular boxes together in a U configuration if that works better in your layout. Mixing different heights and widths can add visual interest too. The key is planning the size and proportions to match your goals for the space.
Step-by-Step Building Instructions
Once you’ve settled on the perfect design for your U-shaped raised bed, it’s time to start building! Follow these steps to construct a raised garden bed that will stand up for many growing seasons.
Assembling the Frame
Start construction by cutting your boards to the appropriate lengths according to your plan. Cedar or redwood boards that are 2-3 inches thick and 6-8 inches wide are common.
Assemble the box frame by attaching the boards at the corners. Secure boards together using 3-4″ outdoor deck screws or galvanized nails. Predrill holes to prevent wood from splitting.
The longest boards will form the two parallel sides, while the shortest boards create the rounded end connecting them. Take care to keep the corners squared and walls upright as you fasten the frame together.
Double check that the dimensions match your plan during assembly. Measuring diagonally between corners should result in equal lengths if the edges are square.
Installing the Bottom
Elevating your garden bed helps provide drainage. Line the bottom with weed barrier landscape fabric secured with staples. Leave a few inches between boards to allow water flow.
Then, add about 4-6 inches of gravel, pea stones, or other coarse material inside to aid drainage before filling with soil. This will prevent waterlogging and create air space for healthy roots.
Filling With Soil
A high quality soil is vital for growing thriving plants in your raised bed. An ideal mix contains compost for nutrients, as well as materials like coir and perlite to improve drainage and aeration.
Use our simple formula to determine how much soil you will need based on your bed dimensions: Length x Width x Depth x 0.65 = Number of cubic feet needed. Then multiply cubic feet by ~7-8 gallons per cubic foot to find the volume.
Blend compost and organic fertilizers into the soil mix before filling your raised bed to enrich the minerals and nutrients available to plants. Load the soil mix gradually, watering occasionally to help settle.
Finishing Touches
Once constructed and filled, add some finishing design details. Sand corners smooth. Apply an eco-friendly wood sealant to protect boards from weathering. Add metal poles or grid trellises along the edges or back side to support climbing veggies or flowers.
Top the bed with 2-3 inches of decorative mulch like shredded bark or wood chips to lock in moisture and prevent weeds. Then you’re ready to start planting!
Maximizing Plant Growth
One of the main advantages of raised garden beds is the opportunity to provide ideal growing conditions for your plants. Here are some tips to help your veggies, herbs, and flowers thrive in your new U-shaped design.
Leafy greens, root crops, peppers, beans, tomatoes, and many herbs are all excellent choices. Take advantage of the ample space by intermixing vegetables and flowers together in rows, blocks, or borders.
Practice crop rotation between plant families each season to replenish nutrients and prevent disease. For example, follow legumes with fruiting plants then root crops.
Companion planting combines plants that benefit each other, like pairing cabbage with dill to repel predators. This encourages biodiversity too.
Apply organic mulch and fertilizer as needed throughout the seasons. Consistent watering directly at the roots is essential, especially in raised beds which drain faster.
Creating your own U-shaped raised garden bed unlocks a huge amount of planting area in a small footprint. You can enjoy growing a wide variety of vegetables, herbs, and flowers while customizing the height, shape, and size to perfectly match your space.
Following our detailed plans, you can build an attractive and high-functioning U-shaped raised bed using simple tools and common lumber. Sourcing quality materials, preparing drainage and nutrient-rich soil, and incorporating design details like trellises and mulch will help maximize the productivity of your garden.
This season, embrace the challenge of constructing your own U-shaped raised bed. With the satisfaction of building it yourself combined with the ease of access and abundance of healthy plants it will provide, you’ll be thrilled with the results!
