When preparing your kitchen for listing photos, staging is key to making stellar first impressions on potential buyers. Strategically style and arrange the space to highlight the kitchen’s finest features and help buyers envision themselves cooking, dining, and entertaining there. Follow these savvy staging hacks to wow buyers and generate more interest in your home.
Why Stage Your Kitchen?
Staging prepares a home for selling by showcasing it in the best possible light. For kitchens, an intentional styling helps buyers focus on the space itself rather than getting distracted by the existing decor or clutter. Tidying and adding selective accents enables their imagination to run wild about hosting dinner parties or baking holiday cookies there. Ultimately, staging facilitates the process of picturing themselves living in the home.
In addition to aiding buyers’ visualization, staging also enhances listing photos. The kitchen often takes center stage since it’s considered the heart of the home. Clean counters, warm lighting, and tidied cabinets all photograph beautifully and draw eyes to the functionally of the space. With so many homes on the market, staging gives your listing an edge over the competition by making your kitchen truly shine online and in-person.
Creates Inviting First Impressions
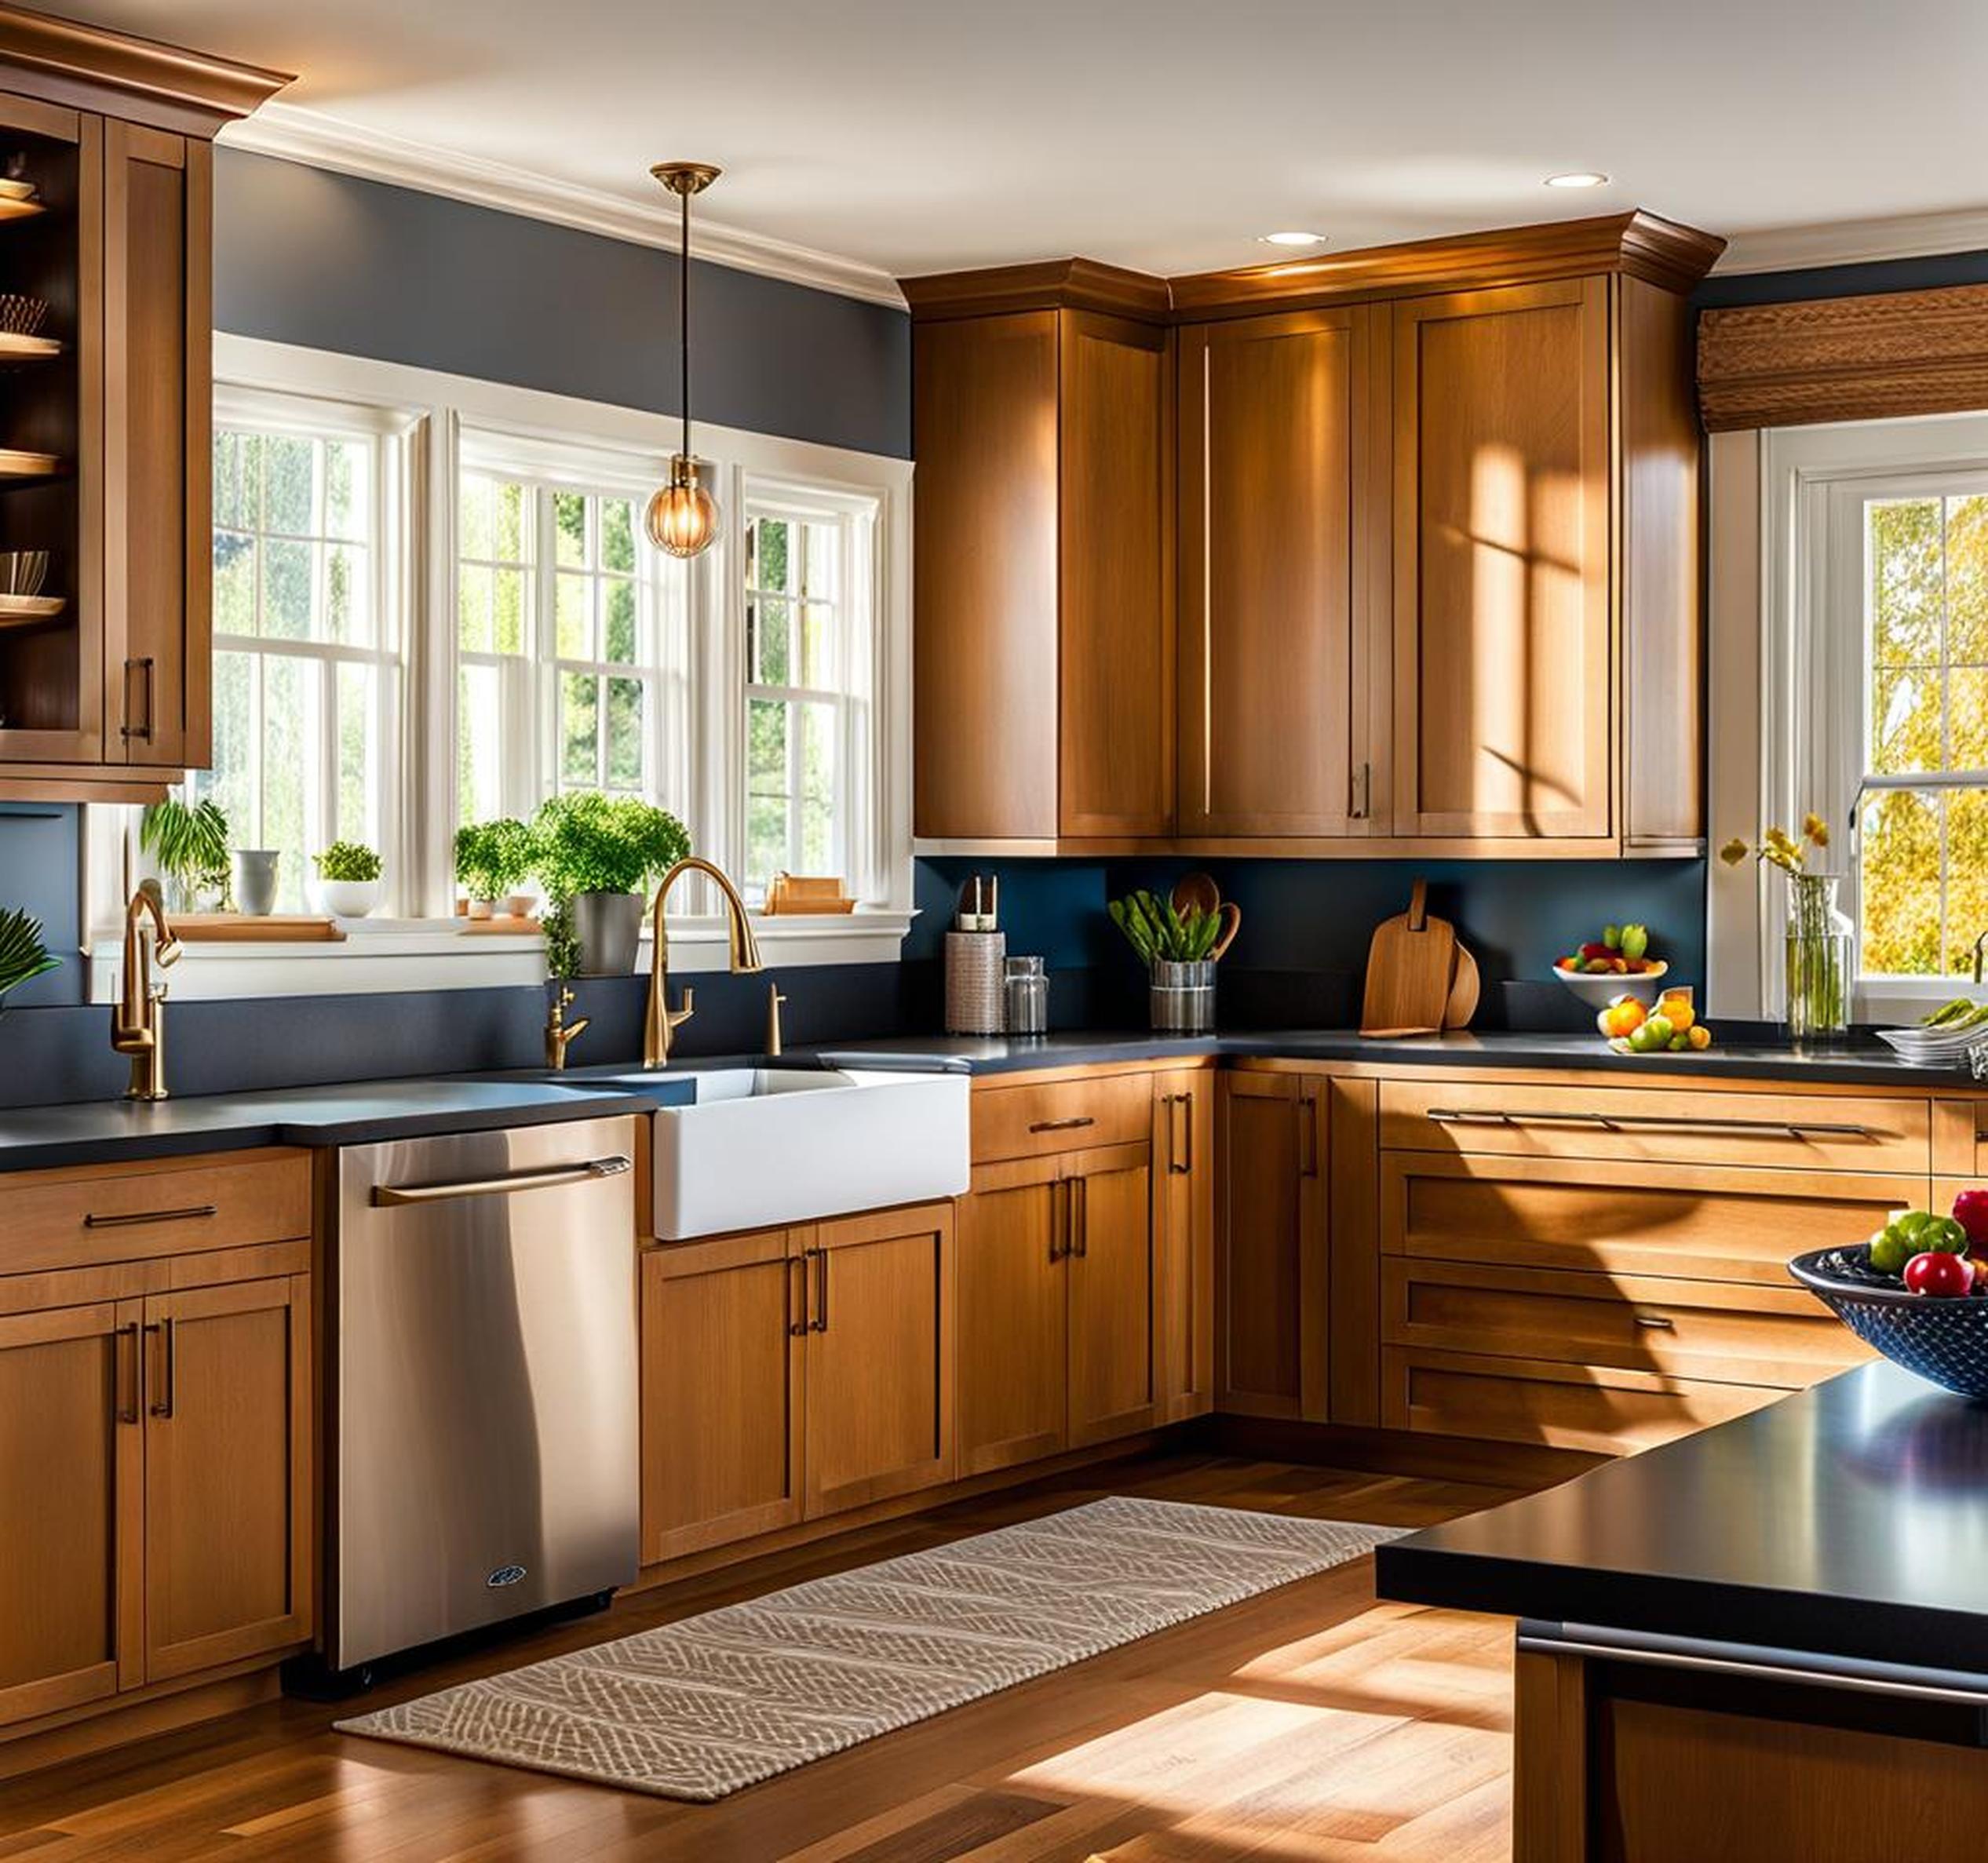
As buyers enter your home, the kitchen likely stands amongst their first impressions. When styled intentionally, it immediately catches their eye and sparks excitement about the rest of the house. A clean, contemporary, clutter-free kitchen suggests the home has been well-maintained.
Helps Buyers Visualize Themselves
By removing personal debris and decorating with generic accents, buyers can better picture themselves and their lifestyle in the home.
Prepares Home for Professional Photos
Photographers advise clearing counters and incorporating small upgrades like fresh flowers to make spaces photograph cleanly.
Allows Buyers to Focus on Space/Features
A clutter-free, humanized kitchen directs attention towards room layout, storage, surfaces, and amenities.
Perform a Deep Clean
Before styling, thoroughly clean the kitchen until every surface and appliance shines. Pay extra attention to often-overlooked areas like floor grout, inside cabinets, and appliance exteriors. Establishing a blank slate of cleanliness makes the room feel freshly updated.
Scrub Surfaces
Use cleaning solutions compatible with each material. For counters and backsplashes, spray down then scrub with a non-abrasive sponge or brush. Remove all grime buildup from grout lines. Disinfect sinks, then scrub away any stains with a powder cleanser. Use appliance cleaner and a soft cloth on appliances, taking care to remove all fingerprints and food splatters. Lastly, damp mop floors, spray glass cleaner onto windows and mirrors, and dust light fixtures.
- Countertops
- Cabinets
- Appliances
- Floors
- Windows
Organize Storage Areas
A tidy, organized kitchen appears well-cared for and spacious. Start by removing everything from cabinets and drawers. Wipe down the empty compartments then reload them neatly. Group like items together for a cohesive appearance. Similarly, take everything out from under the sink and pantries, clean the empty space, then neatly return essentials.
- Pantries
- Drawers
- Under the sink
Depersonalize the Space
Remove all personal possessions to help buyers envision the home as their own. Style the newly blank slate with decorative elements that add warmth while remaining generic.
| Remove Personal Items | Style Decoratively |
|---|---|
|
|
Remove Personal Items
Scan the kitchen and dining area for any personal possessions. Take down framed photos, artwork, and magnets adorning the fridge. Remove small appliances that reflect your lifestyle if they crowd counters or complicate the room’s neutrality.
- Photos
- Magnets
- Artwork
- Appliances
Style Decoratively
Include styling touches that add warmth without reflecting personal tastes. Opt for versatile items available at most retail shops rather than flashy designer pieces. Try an empty glass vase filled with fresh lemons or limes, woven placemats with basic dinnerware, or a striking yet simple centerpiece like an orchid plant or green succulent.
- Vases
- Placemats
- Neutral dishware
Refresh Cabinet Hardware
Modernizing hardware updates the look of cabinetry instantly. If existing fixtures feel outdated, replace them with current styles during staging. Not only does refreshed hardware appear sleek and refined, it also helps kitchens seem move-in ready.
Faucets
A newly installed faucet instantly elevates a kitchen’s appearance. Look for models featuring brushed metals, clean lines with few seams, and convenient details like pull-down sprayers. If existing fixtures aren’t particularly outdated, simply polish away water spots and calcium buildup before shooting photos.
- Install new fixture
- Polish fixtures
Knobs and Pulls
Dated cabinets regain a contemporary feel with replaced knobs and handles. Stick to universal styles like brushed nickel or oil-rubbed bronze. Make older hardware shine by rubbing away grime before shooting photos.
- Replace dated hardware
- Clean built-up grime
Sinks
Eliminate dingy sinks that distract buyers. Use a powder cleanser to remove stains and discoloration from porcelain sinks. Install a fresh stainless steel grid to instantly refresh metal sinks.
- Remove stains
- Install fresh sink grid
Arrange Furniture Intentionality
Carefully style seating areas and position appliances to open circulation while feeling livable. Clearing some surfaces emphasizes spaciousness; filling others makes the room appear functional.
Clear Counters
Limit countertop appliances and kitchen tools. Store bulkier gadgets like stand mixers inside cabinets and draw the eye towards open areas instead. Leave out a few key pieces like a high-end coffee maker. Food processors signal a love of cooking; Vitamix blenders suggest healthy lifestyles.
- Store small appliances
- Organize kitchen tools
Style Bar Stools and Tables
Clustering bar stools and tables attracts attention towards dining areas. Place pieces purposefully, allowing ample walkways and clearance. Drape dish towels over stool backs and lean cutting boards against counters for an authentic look.
- Place items naturally
- Allow open walkways
Incorporate Stylish Touches
accessorize the kitchen with photogenic yet functional props communicating modern, casual hospitality.
Fruit Bowls
A ceramic fruit bowl filled with bright citrus, Granny Smith apples, or pears incorporates life through natural elements. Lemons and limes complement stainless steel appliances while conjuring images of gin cocktails and seafood dinners.
- Lemons, limes, apples
- Looks fresh and lively
Cutting Boards and Utensils
Leaning wood cutting boards against backsplashes or islands adds an element of movement. Placing out stainless steel utensils pulls together a palette of metal finishes. Both touches display useful, beautiful items most buyers utilize daily.
- Displays useful space
- Adds pops of color
Wine and Glassware
Include a bottle of red wine paired with one or two glasses to inject rich color against cool stainless steel. This suggests enjoying leisurely dinners with friends. For variety, white wine or champagne flutes placed on a counter elicit similar entertaining impressions.
- Suggests entertaining
- Warms up stainless steel
Utilize Lighting
Proper illumination showcases architectural details and brightens the entire room’s appearance. Natural light halos crisp shadows, while fixtures create a warm, welcoming glow during darker hours.
Open Blinds/Curtains
Maximize natural sunlight streaming into the kitchen by completely opening all window coverings. Sunrays beautifully illuminate counters, backsplashes, and hardware. For east-facing windows, schedule photos during morning hours before direct light shifts.
- Allows bright natural light
Install New Fixtures
Overhead lighting or attractive pendants help kitchens photograph clearly while drawing attention towards amenities like ornate backsplashes or large islands. Place new fixtures strategically to highlight selling points.
- Showcases space
- Creates ambiance
Adjust Existing Lights
Modify existing lighting’s direction, brightness, and color temperature to make architectural details stand out. Angle spotlight rails onto backsplashes showcasing subway tile patterns and grout color. Swap out cool fluorescent bulbs for warmer versions optimizing skintones. Brighten typically dark corners to appear clean and open.
- Spotlights backsplash
- Brightens dark corners
Consider Virtual Staging
While traditional staging involves manually updating a space, virtual staging utilizes editing software to digitally style rooms. For occupied homes or limited budgets, virtual staging conveniently inserts new decor into listing photos.
Less Disruption
Homeowners skip physically rearranging furniture or stowing belongings. Buyers tour an intact, lived-in space representing reality once the sellers move out.
- Skip rearranging process
- Avoid buying decor
Enhances Listing Photos
Software edits listing images by digitally removing clutter then inserting upgraded lighting fixtures or stylish furniture fitting the existing layout and dimensions.
- Digitally styles space
- Tailors to preferences
Quick and Affordable
Virtual staging requires less physical effort for similar visual impact compared to manual restyling. Homeowners also avoid purchasing new furniture or decor items. Virtual upgrades generate buyer interest rapidly at a fractional cost.
- Saves time and money
- Generates interest faster
Utilize Virtual Staging
While the article briefly mentions virtual staging, it doesn’t provide a lot of detail. To further deepen the topic, here are some ways to effectively utilize virtual staging in a kitchen photoshoot:
- Choose the right software: There are many virtual staging tools available, some of which are free, while others require a subscription fee. Research and choose the software that best fits your needs and budget.
- Create a virtual floor plan: Before adding furniture and decor, create a virtual floor plan of the kitchen. This will ensure that the furniture fits perfectly and that the space feels natural and realistic.
- Add realistic textures: Use high-quality textures for the kitchen cabinets, countertops, and flooring to make the virtual staging look as realistic as possible.
- Use high-quality images: Use high-quality images of furniture and decor to make the virtual staging look more realistic. Avoid using low-resolution or blurry images as they can ruin the overall look and feel of the photoshoot.
- Keep it simple: Just like in real life, less is more when it comes to virtual staging. Avoid cluttering the kitchen with too many items, and instead, focus on a few key pieces that will make the space feel inviting and functional.
Incorporate Technology
In today’s digital age, technology has become an integral part of our daily lives. Here are some ways to incorporate technology into a kitchen photoshoot:
- Smart appliances: Showcase the latest smart appliances, such as smart ovens, refrigerators, and dishwashers. These appliances not only look sleek and modern but also offer advanced features and functionality.
- Voice-activated assistants: Incorporate voice-activated assistants, such as Amazon Echo or Google Nest, into the kitchen scene. This will demonstrate how the kitchen can be transformed into a smart and connected space.
- Virtual assistants: Use virtual assistants, such as Augmented Reality (AR) or Virtual Reality (VR), to showcase the kitchen in a new and innovative way. AR can be used to add virtual furniture and decor to the kitchen, while VR can be used to transport potential buyers into the kitchen and give them a virtual tour of the space.
In today’s environmentally-conscious world, highlighting sustainability and energy efficiency is key when staging kitchens. Consider:
- LED lighting: Install LED bulbs which use less energy and last longer than traditional incandescents.
- Low-flow faucets: Lower water usage with EPA WaterSense-certified faucets and aerators.
- Recycled materials: Choose sustainable countertop materials like recycled glass, concrete, bamboo or reclaimed wood.
- Energy-efficient appliances: Upgrade to Energy Star-rated appliances to reduce electric and gas usage.
