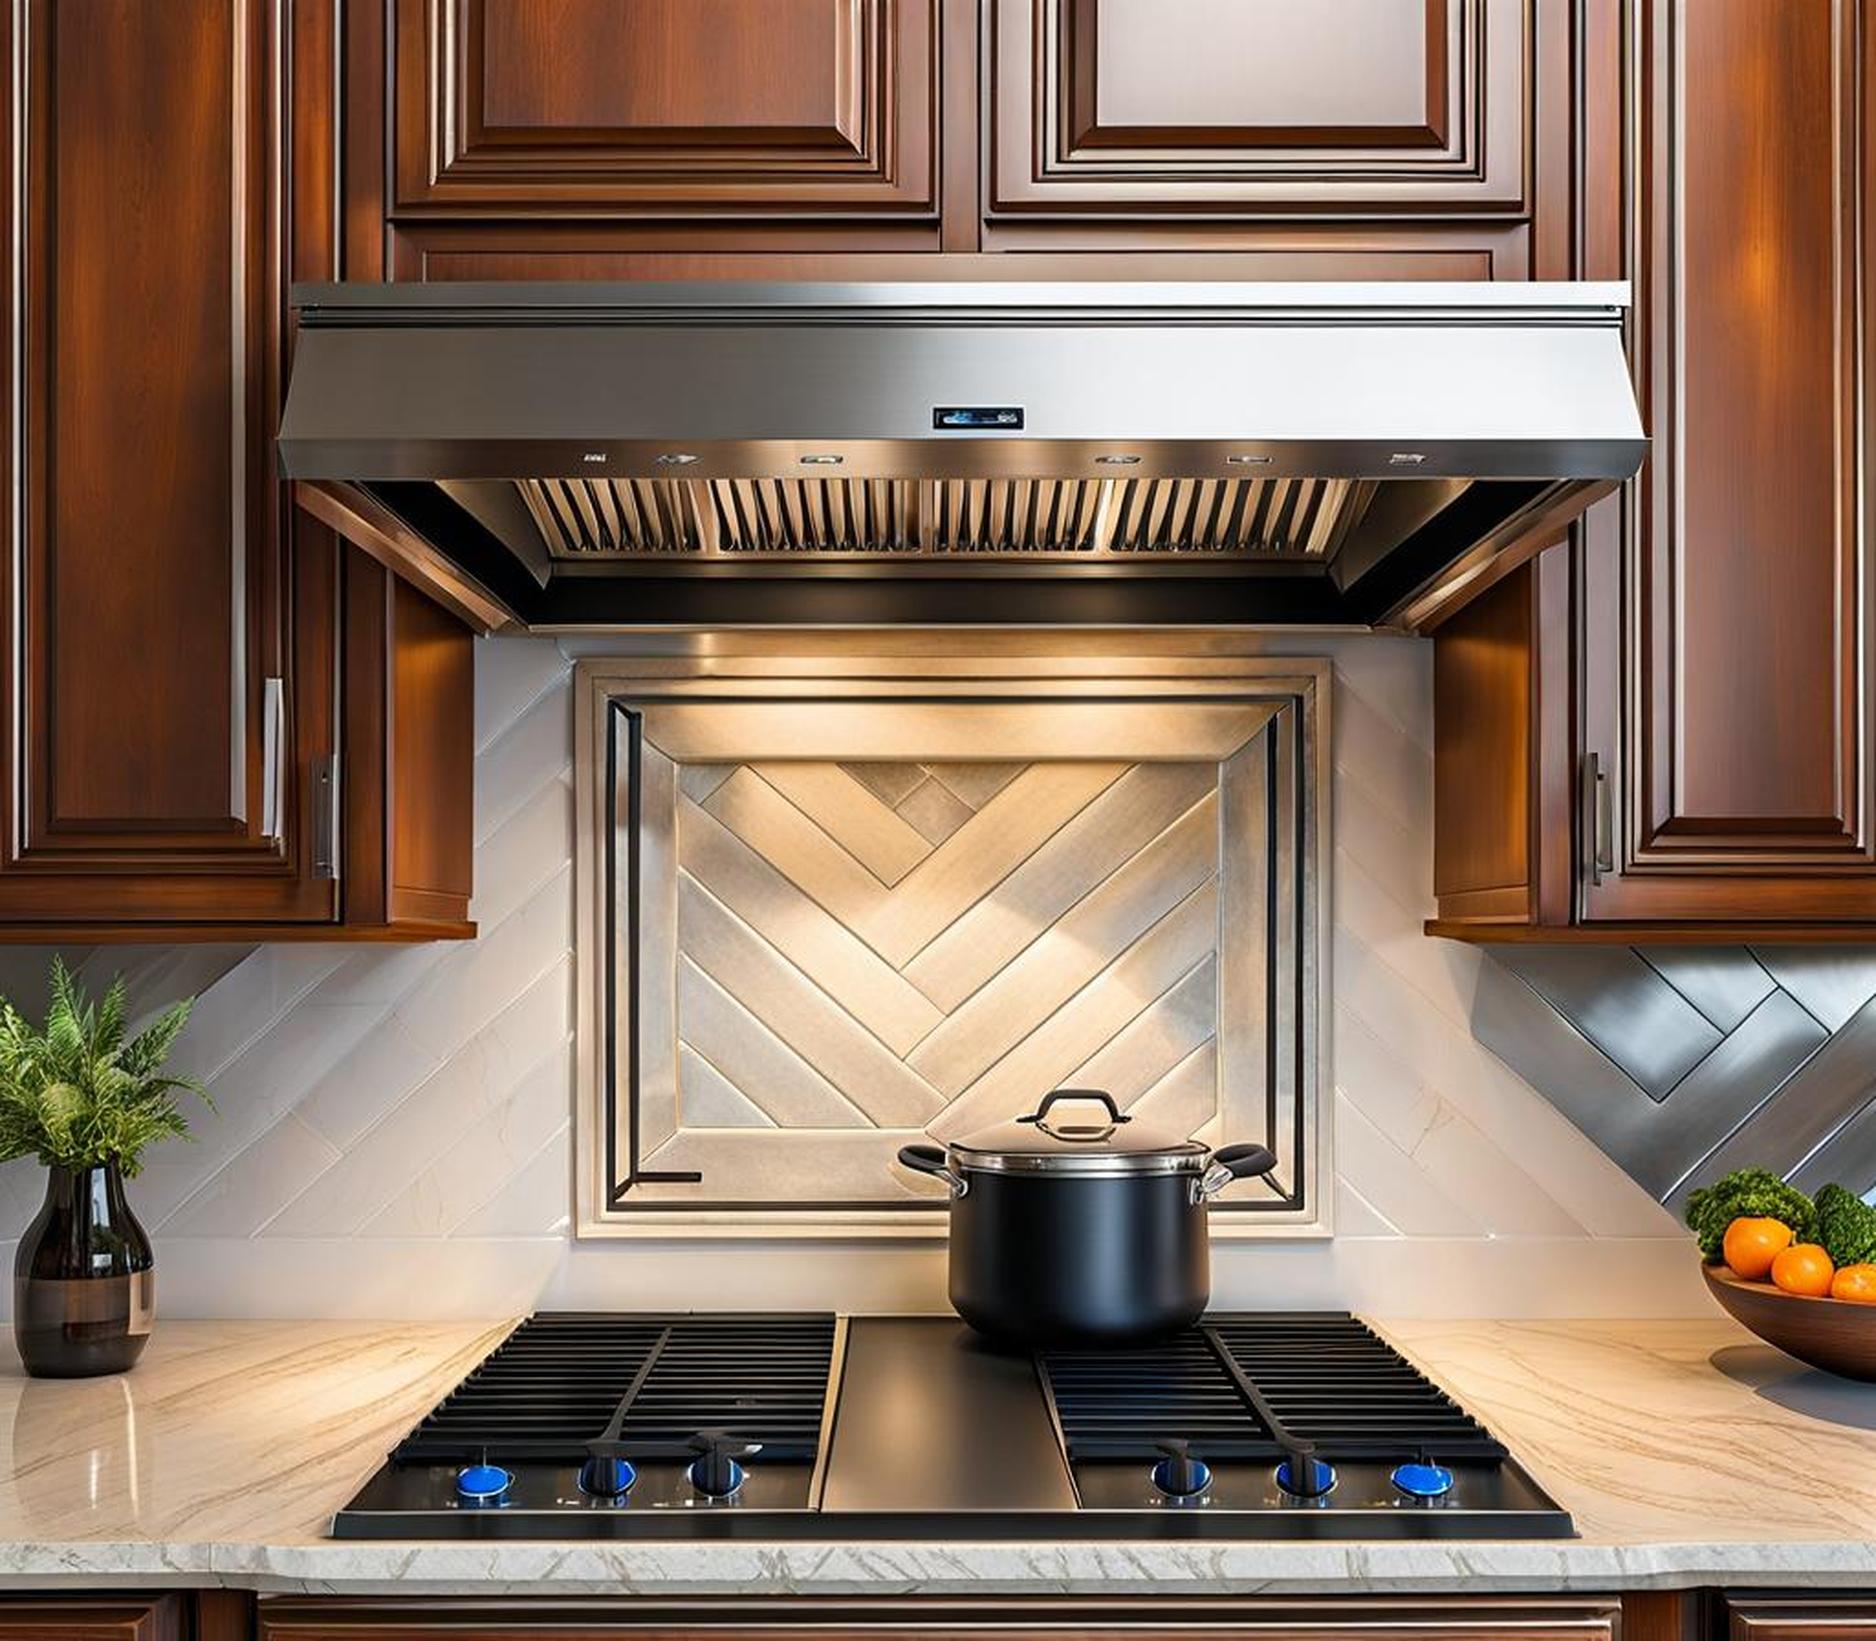
Having an effective vent hood in your kitchen is a game changer. Not only does it keep your kitchen free of smoke and odors while cooking, it also protects walls and cabinets from grease buildup and residue. Unfortunately, many homes are equipped with outdated or underpowered vent hoods that just can’t keep up.
Upgrading to a new, high-quality vent hood is one of the best investments you can make for your kitchen. The right model will pull airborne contaminants out of your kitchen quickly and efficiently thanks to greater fan speeds and CFM ratings. And new designs often have handy features like lights, removable filters, and range hood styles to match your decor.
In this guide, we’ll walk through everything you need to know for a smooth vent hood installation. Follow our tips to assess your needs, prep like a pro, and install your new hood to instantly improve your cooktop experience.
Assessing Your Needs
Not all vent hoods are created equal, so the first step is determining what’s right for your kitchen setup:
- Measure your cooktop size and choose a hood with a CFM rating that is double the square footage. This ensures it can properly ventilate the space.
- Consider the type – ducted vents to the outside, ductless for recirculating, under-cabinet range hoods, etc.
- Look for useful features like lights, removable grease filters, and variable fan speeds.
- Pick a style that matches your kitchen’s decor – materials like stainless steel or wood, chimney vs. low profile, etc.
Ducted vs. Ductless
One of the biggest decisions is whether you need a ducted hood that vents outside, or if a ductless model will suffice. Ducted is ideal, effectively removing humidity and contaminants from the home. But ductless units with filters can work in some spaces if exterior venting isn’t possible.
Preparing for Installation
Once you’ve selected the perfect hood, it’s time to get set up for a smooth installation.
Purchasing the Right Hood
You’ll have choices when shopping for a new vent hood:
- Home improvement stores often have a wide selection of models and sizes.
- Check online retailers for more options with detailed product information.
- Focus on the right CFM rating, dimensions, and features for your needs.
- Compare prices between ducted and ductless versions.
Gathering Tools & Materials
Having the right gear makes installation much easier:
- Essentials: drill, screwdrivers, reciprocating saw, pliers, tape measure, levels, utility knife.
- Additional supplies: wall anchors, screws, ducting, wire nuts, caulking.
- Safety first – work gloves, dust mask, eye protection, and drop cloths.
Planning the Installation
Careful planning ensures everything fits and functions perfectly:
- Review manufacturer instructions and diagrams.
- Locate existing wiring, ductwork runs if applicable.
- Mark where the cutout and ducting will be positioned.
Step-by-Step Installation Guide
Once your prep work is complete, it’s time for the fun part – installing your hood! Follow these key steps:
Preparing the Area
- Protect surfaces below the work area with drop cloths.
- Confirm there are no plumbing or electrical lines where cuts will be made.
- Switch the circuit breaker off for the outlet the hood will be wired to.
Creating the Vent Opening
- Measure and mark the exact opening location per your plan.
- Use a reciprocating saw to cut a hole through the ceiling/wall for the ducting.
- File any rough edges. Insert a housing sleeve into the hole.
Mounting the Hood
- Attach any mounting brackets or hardware to the hood first.
- Lift the hood into place and secure to the mounting bracket or screws in the wall.
- Seal edges with aluminum tape for an airtight installation if needed.
Connecting Ductwork
- Attach ducting to the hood’s vent outlet, feeding it through the opening you cut.
- Connect it to the outside vent/damper assembly.
- Secure all duct joints with proper screws to avoid leakage.
Finishing Hookups
- Connect wiring according to the diagram.
- Attach filters, lights, and any chimney covers.
- Seal up any leftover gaps or holes.
Completing the Installation
Once assembled, there are just a few final steps to wrap up:
- Check hood operation by powering up and testing all speeds.
- Verify no air leaks around ductwork connections.
- Thoroughly clean the work area and dispose of any debris.
That’s it – your kitchen now has an effective, upgraded vent hood ready to keep the air clean for years to come. Happy cooking in your refreshed space!
Choosing the Right Location
Before installing a range hood vent, it’s important to choose the right location. The hood should be installed above the stove or cooktop, and ideally, there should be a minimum clearance of 21 inches between the bottom of the hood and the countertop. Additionally, the hood should be centered over the stove or cooktop to ensure maximum efficiency.
Measuring and Marking the Wall
Use a tape measure to accurately measure the location where you plan to install the hood vent. Mark the wall with a pencil or marker, making sure the marks are level and even.
Cutting the Hole
Use a drill and a saw to cut a hole in the wall that matches the size of the hood vent. Be sure to wear safety goggles and a dust mask to protect yourself from debris.
Installing the Mounting Bracket
Attach the mounting bracket to the wall, following the manufacturer’s instructions. Use wall anchors and screws to secure the bracket to the wall.
Lift the hood onto the mounting bracket and secure it in place using the screws provided. Make sure the hood is centered and level.
