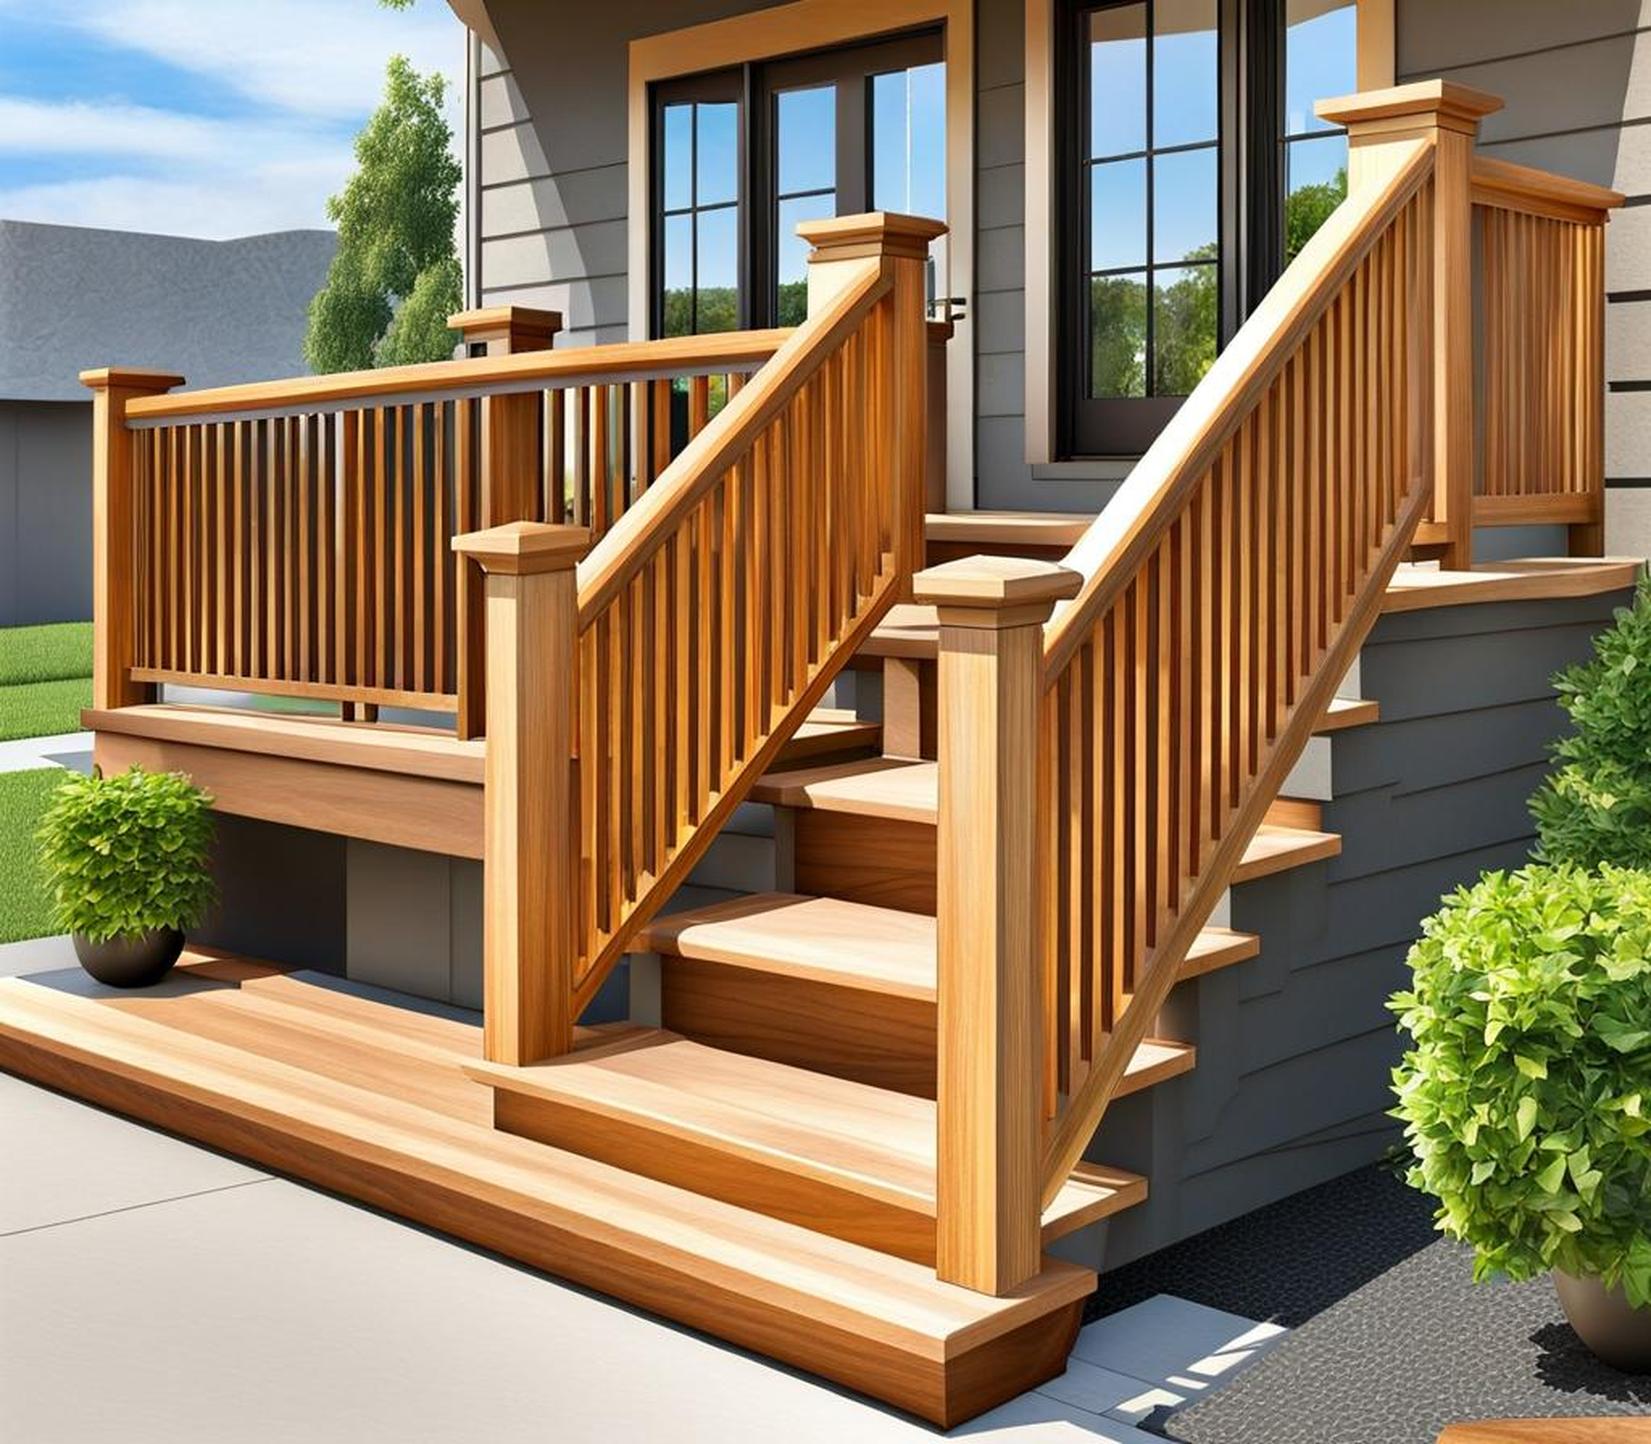
Is your concrete porch looking drab and dated? Adding a beautiful wood railing can instantly transform your porch into an inviting, stylish outdoor living space. Not only will a wood railing provide safety and meet code requirements, it will also lend warmth, texture, and aesthetic appeal to your home’s exterior.
While the prospect of installing a custom wood railing may seem daunting, it’s an achievable DIY project for many homeowners. With proper planning, high-quality materials, and some basic carpentry skills, you can build a porch railing that looks like it was professionally crafted.
Choosing the Best Wood for Your Railing
When selecting the lumber for your railing, you’ll want wood that is durable, weather-resistant, and handsome in appearance. Here are some great options to consider:
- Cedar – With natural rot resistance, cedar is a popular choice. It has a reddish-brown tone and ages gracefully to a silvery patina.
- Redwood – Redwood is also naturally resilient against insects, decay, and moisture. It has a distinctive reddish hue.
- Pressure-Treated Pine – For a more affordable option, go with pine lumber that has been pressure-treated to withstand the elements. Look for an exterior-grade sealant.
No matter which wood type you choose, make sure to buy boards that have been kiln-dried to 6-10% moisture content. Wet lumber will warp and split over time. Reject boards with large knots, cracks, or other defects.
Cost Considerations
Cedar and redwood cost more than pressure-treated pine but will likely last longer. Consider pine for railings that will be painted or hidden from view. For balusters, using pine or fir may help lower material expenses.
Appearance
Think about the look you want for your finished railing. Cedar and redwood have distinct grain patterns. Pine is better for painted railings. Composite boards offer low maintenance.
Weather Resistance
Properly treated pine has decent weather-resistance but typically needs re-sealing every 2-3 years. Heartwood cedar and redwood stand up to sun, rain, and snow without much upkeep.
Measuring and Planning Your Railing
Carefully measuring your porch is crucial for determining railing height, length, post spacing, and materials needed. Here’s how to get accurate measurements:
- Use a level and measuring tape to measure porch floor to ceiling height for proper railing height.
- Measure outside edge-to-edge on any stairs to find railing length.
- Mark post locations first, spacing 4-6 feet apart.
- For stairs, measure rise and run to determine baluster spacing.
Baluster Spacing
Balusters (the vertical pickets) must be installed according to code for safety. For porches over 30″ off the ground, space balusters no more than 4″ apart. Stair balusters should not exceed 4″ spacing.
Railing Height
Railings on porches more than 30″ high must be 36″ to 42″ above the floor. For stairs, measure from the nose (front edge) of the tread. This ensures sufficient railing height for grasping.
Post Spacing
Space railing posts 4 to 6 feet apart for stability. If attaching to a wall, place corner posts at least 4 inches from the wall for proper baluster clearance. Ask your supplier for advice on maximum span based on wood size.
Buying Enough Materials
Don’t skimp when estimating your lumber and hardware needs. It’s better to purchase extra materials than to run short halfway through installation. Having scrap wood left over is better than an unfinished project!
Purchasing Materials and Hardware
Once you’ve completed measurements and planning, it’s time to buy supplies. Compile a list of everything you’ll need for the project.
Lumber
- Rails – 2×6 boards for top and bottom rails
- Balusters – 2×2 boards for pickets
- Posts – 4×4 boards for post uprights
Hardware
- Galvanized decking screws
- Lag bolts and washers
- Post bases or concrete anchors
- Joist hangers for attaching rails to posts
- Wood glue or construction adhesive
Shop at your local home improvement store or lumberyard to get high-quality boards and compatible hardware in the needed sizes and quantities.
Pre-cut Versus Built On-Site
For simpler installations, opting for pre-cut railing components takes the guesswork out of measurements and assembly. This avoids wood-cutting. Or, build entirely custom on-site for detailed fine-tuning.
Preparing the Concrete Surface
To achieve a sturdy railing that will stand the test of time, properly preparing the concrete porch surface is a must. Here are some tips:
- Clean concrete thoroughly – Remove loose debris, dirt, grease etc. with a degreaser and pressure washer.
- Patch any cracks or damaged areas in the concrete with epoxy filler to prevent moisture issues.
- Use a concrete sealer to waterproof and protect the surface.
- Mark post hole locations based on span measurements.
Account for Post Base Depth
When setting posts in concrete, the posts must extend into the slab. Mark hole depth 3-4 inches deeper than the post base height.
Avoid Surface Cracks
Look for any cracks radiating from the edge of the porch slab. Water can penetrate these cracks, freeze, and expand causing worse damage over time. Apply concrete caulk in cracks before sealing.
Installing the Railing Posts
Installing sturdy posts is one of the most important steps in creating a safe, secure railing. Here are some proper techniques:
Setting Posts in Concrete
For installs on existing porches, set 4×4 posts in 12″-24″ deep concrete footings. Mix fast-drying concrete and pour into marked holes. Place posts and brace plumb until concrete cures.
Using Sleeve Anchors
Sleeve anchors allow anchoring posts directly to concrete. Drill matching holes in posts and slab. Hammer sleeves into concrete before bolting posts.
Connecting Corner Posts
Use hardware like galvanized U-bolts to connect corner posts where railing meets at 90 degree angles. This joins posts in a sturdy, seamless design.
Half-Lap Joints
Cut matching half-lap notches in connecting post ends. This registers the posts cleanly. Secure with lag bolts through the bottom post into the top.
Post Height and Plumb
Set post height for proper railing height above porch floor. Check each post with a level on all sides to ensure they are perfectly plumb before securing.
Adding the Top and Bottom Rails
The top and bottom horizontal rails tie the railing posts together to form a framework for the balusters. Follow these best practices when installing rails:
- Cut rails to precise lengths with miter saw to fit snugly between posts.
- Pre-drill holes to prevent splitting, then use two screws at ends of each rail.
- Use wood glue for extra adhesion and strength at rail joints.
- Sand ends smooth and flush for seamless corners.
Proper Rail Alignment
Clamp rails into posts and check alignment before screwing to ensure they are perfectly straight and edges meet cleanly. The top rail should be completely level.
Structural Rails
For heavy use railings, use 2×8 or 2×10 boards instead of 2x6s to eliminate sagging over time. This beefs up the structure.
Tips for End Cuts
When cutting rails to fit, mark and cut ends on long edges for stability. Avoid end-cuts on the short side as this can split boards.
Installing the Balusters
Balusters provide infill between top and bottom rails. Follow code for spacing, and use these tips for a flawless look:
- Cut balusters about 1″ shorter than railing height to allow space underneath rail caps.
- Predrill holes to prevent splitting when screwing balusters to rails.
- Use scrap blocks clamped to rails as a spacer guide to get even baluster spacing.
- Stagger adjacent balusters for a pleasing, staggered appearance.
Filling Stair Angles
On stairs, cut balusters to match the exact angle of the stair stringer. This ensures balusters sit flush against rails.
Securing Balusters
Screw through rails into balusters with two galvanized screws at top and bottom. For extra strength, glue baluster ends before screwing.
Applying a Protective Finish
The final step is applying a finish to protect your wood railing. Here are some tips:
- Let wood dry out 1-2 weeks before finishing to prevent trapping moisture.
- Consider an oil-based sealer, penetrating stain, or spar urethane.
- Apply in smooth, even coats according to product directions.
- Add additional coats for increased weather-proofing and longevity.
Scheduling Finish Work
Pay attention to weather forecasts. Finishing is best done on warm, dry days for proper curing. Avoid finishing in high humidity or if rain is expected.
Yearly Maintenance
Expect to lightly sand and reapply fresh coats of finish every 1-2 years. Spot treat any damaged areas as needed.
Installing a custom wood railing requires careful planning, quality materials, and patience with the process. But the beauty and functionality of a finished wood railing makes the effort worthwhile. Follow the tips outlined above for structurally sound railing that enhances your home’s curb appeal.
With proper installation and protection, your new wood railing will last a long time. So grab your tools and lumber, review the steps, and get ready to transform your concrete porch with the warmth and style of wood.
