Kitchen islands are the hub of activity in most homes. But as needs change, that precious island real estate often falls short on workspace or storage. Instead of tearing out your existing island, a smart extension can add functional square footage. Island extensions boost your counter and cabinet capacity for a fraction of a full remodel cost. With some basic carpentry skills, you can gain extra seating, organization and style. Follow these six simple steps to extend your kitchen island like a pro.
Expanding your current island opens up exciting possibilities. You can custom tailor it to your lifestyle needs with more room for meal prep, casual dining, or keeping essentials within arm’s reach. An extension blended seamlessly with your existing cabinetry transforms dead space into a functional centerpiece. Adapt the length, height, and features to suit how you cook and socialize.
Step 1: Assess Your Layout and Space
The first step is looking at how an extended island will fit within your overall kitchen layout. Measure available surrounding floor space and openings to ensure adequate clearance. Standard guidelines recommend at least 42 inches around the perimeter of a kitchen island. This gives enough leeway for multiple people to comfortably navigate around it. An island should never constrict primary walkways or look awkwardly crammed in.
Consider your lifestyle and traffic flow to determine the best island shape and dimensions. For ease of movement, a rectangle or square footprint often works well. An L-shaped extension can maximize every inch in a corner. Make sure to allow for appliance clearance like the refrigerator and oven doors. Mark out the proposed shape with painter’s tape to visualize the footprint.
Measure Carefully
Precise measurements are key for seamlessly blending new construction with existing cabinetry. Record the island’s current length, width, and height. Note interior details like the countertop overhang and any inset panels or trim. Also measure surrounding ceilings, soffits, and doorway openings that may impact the extension.
Draft up a detailed plan of your proposed island extension. Mark all of the measurements on this drawing. Having accurate numbers for the space will make the build process smoother. It also helps in purchasing materials to minimize waste and avoid any last-minute shortages.
Step 2: Determine the Purpose
Every inch of an island extension should have a purpose to make it functional and practical. Decide if this expanded space will mainly serve dining, food prep, storage or a combination of needs. This informs the technical requirements like seating overhang and electrical. But it also dictates the physical size, which can directly impact cost.
For primarily dining, focus on outward length to accommodate stools and provide a generous overhang. Extending width adds prep space and storage, while increasing height creates room for large appliances. Think about traffic flow and use patterns to find the sweet spot. Remember that multitasking islands perform better than standalone spaces.
Design for Multiple Functions
The beauty of an island is handling diverse jobs in one centralized spot. Include at least 24 inches of overhang to tuck in stools for casual meals and entertaining. Good task lighting keeps the surface bright for food prep. Upper cabinets offer storage for go-to appliances within easy reach. Islands with diverse capabilities will get used more.
Incorporate the necessary plumbing and electrical from the start. Outlets open up possibilities like a microwave, recycling station or charging station. A prep sink adds major functionality for cleaning produce and loading dishwashers. Built-in features should match your habits to maximize usefulness.
Step 3: Gather Building Materials
With your measurements and functional priorities decided, it’s time to gather materials. Visit home improvement stores to purchase fresh lumber and sheet goods. For a cohesive look, the new cabinetry should match your existing island’s style.Salvagingthe original doors and hardware saves money while seamlessly extending the design.
Take inventory of your current island configuration before buying everything new. Check for unused cabinet boxes stashed away, leftover floor tiles in the basement or scrap hardwood from original installation. Repurposing materials saves money and ensures a consistent finished look.
Photograph door styles, handles, molding profiles and finishes before dismantling anything. These will be your reference points for seamlessly integrating new components with existing details. Try to reuse as much as possible for maximum cost savings.
Step 4: Build the Frame
With materials purchased, it’s time for construction. Begin by building a sturdy base frame using 2×4 lumber. Measure and cut boards to desired dimensions. Connect pieces together with wood glue and screws to create a stable rectangle.
Attach horizontal cleats between the vertical boards. These support the bottom and side shelves. Space cleats at least 3/4 inches from the frame to allow shelves to slide in place. Keep everything square and level as you build. An uneven base frame will throw the entire project off.
Cut a plywood or MDF panel to size for the base shelf. Install this between the cleats to form the bottom. For extra strength, place supports like 2x2s under this shelf at regular intervals.
Build It Sturdy
A kitchen island extension bears a lot of daily wear and tear. Overbuild the frame and use plenty of braces for maximum stability. Attaching it securely to the existing island adds reinforcement. Long wood screws into studs provides the most solid connection.
Countertops, cabinets and appliances installed on top will add substantial weight. A sturdy base prevents sagging issues down the road. Using wood glue and joist hangers when assembling will make the frame stronger and longer-lasting.
Step 5: Add the Cabinet Boxes
With the inner structure complete, the cabinetry gets built right on top. Begin by fastening new or reused cabinet boxes onto the base. Secure them into the frame using screws drilled up from underside. Maintain consistent spacing between boxes and level alignment.
Next, attach matching doors, hardware and handles to finish off the new cabinetry. Attach knobs and pulls using careful measurements to line up with existing details. Keeping styles aligned maintains a cohesive look.
Create a Unified Look
A seamless design comes from mimicking the same cabinetry style between old and new sections. Consistent finishes like matching wood stain or paint color tie the extension into the original island. Keeping hardware and trim unified is key.
If your existing cabinetry is custom, contact the manufacturer about getting additional matching components. For stock cabinets, closely replicate the specifications like door style, wood type and finish.
Minor differences in wood grain or color will blend together once the island extension is complete. What matters most is maintaining the same overall look.
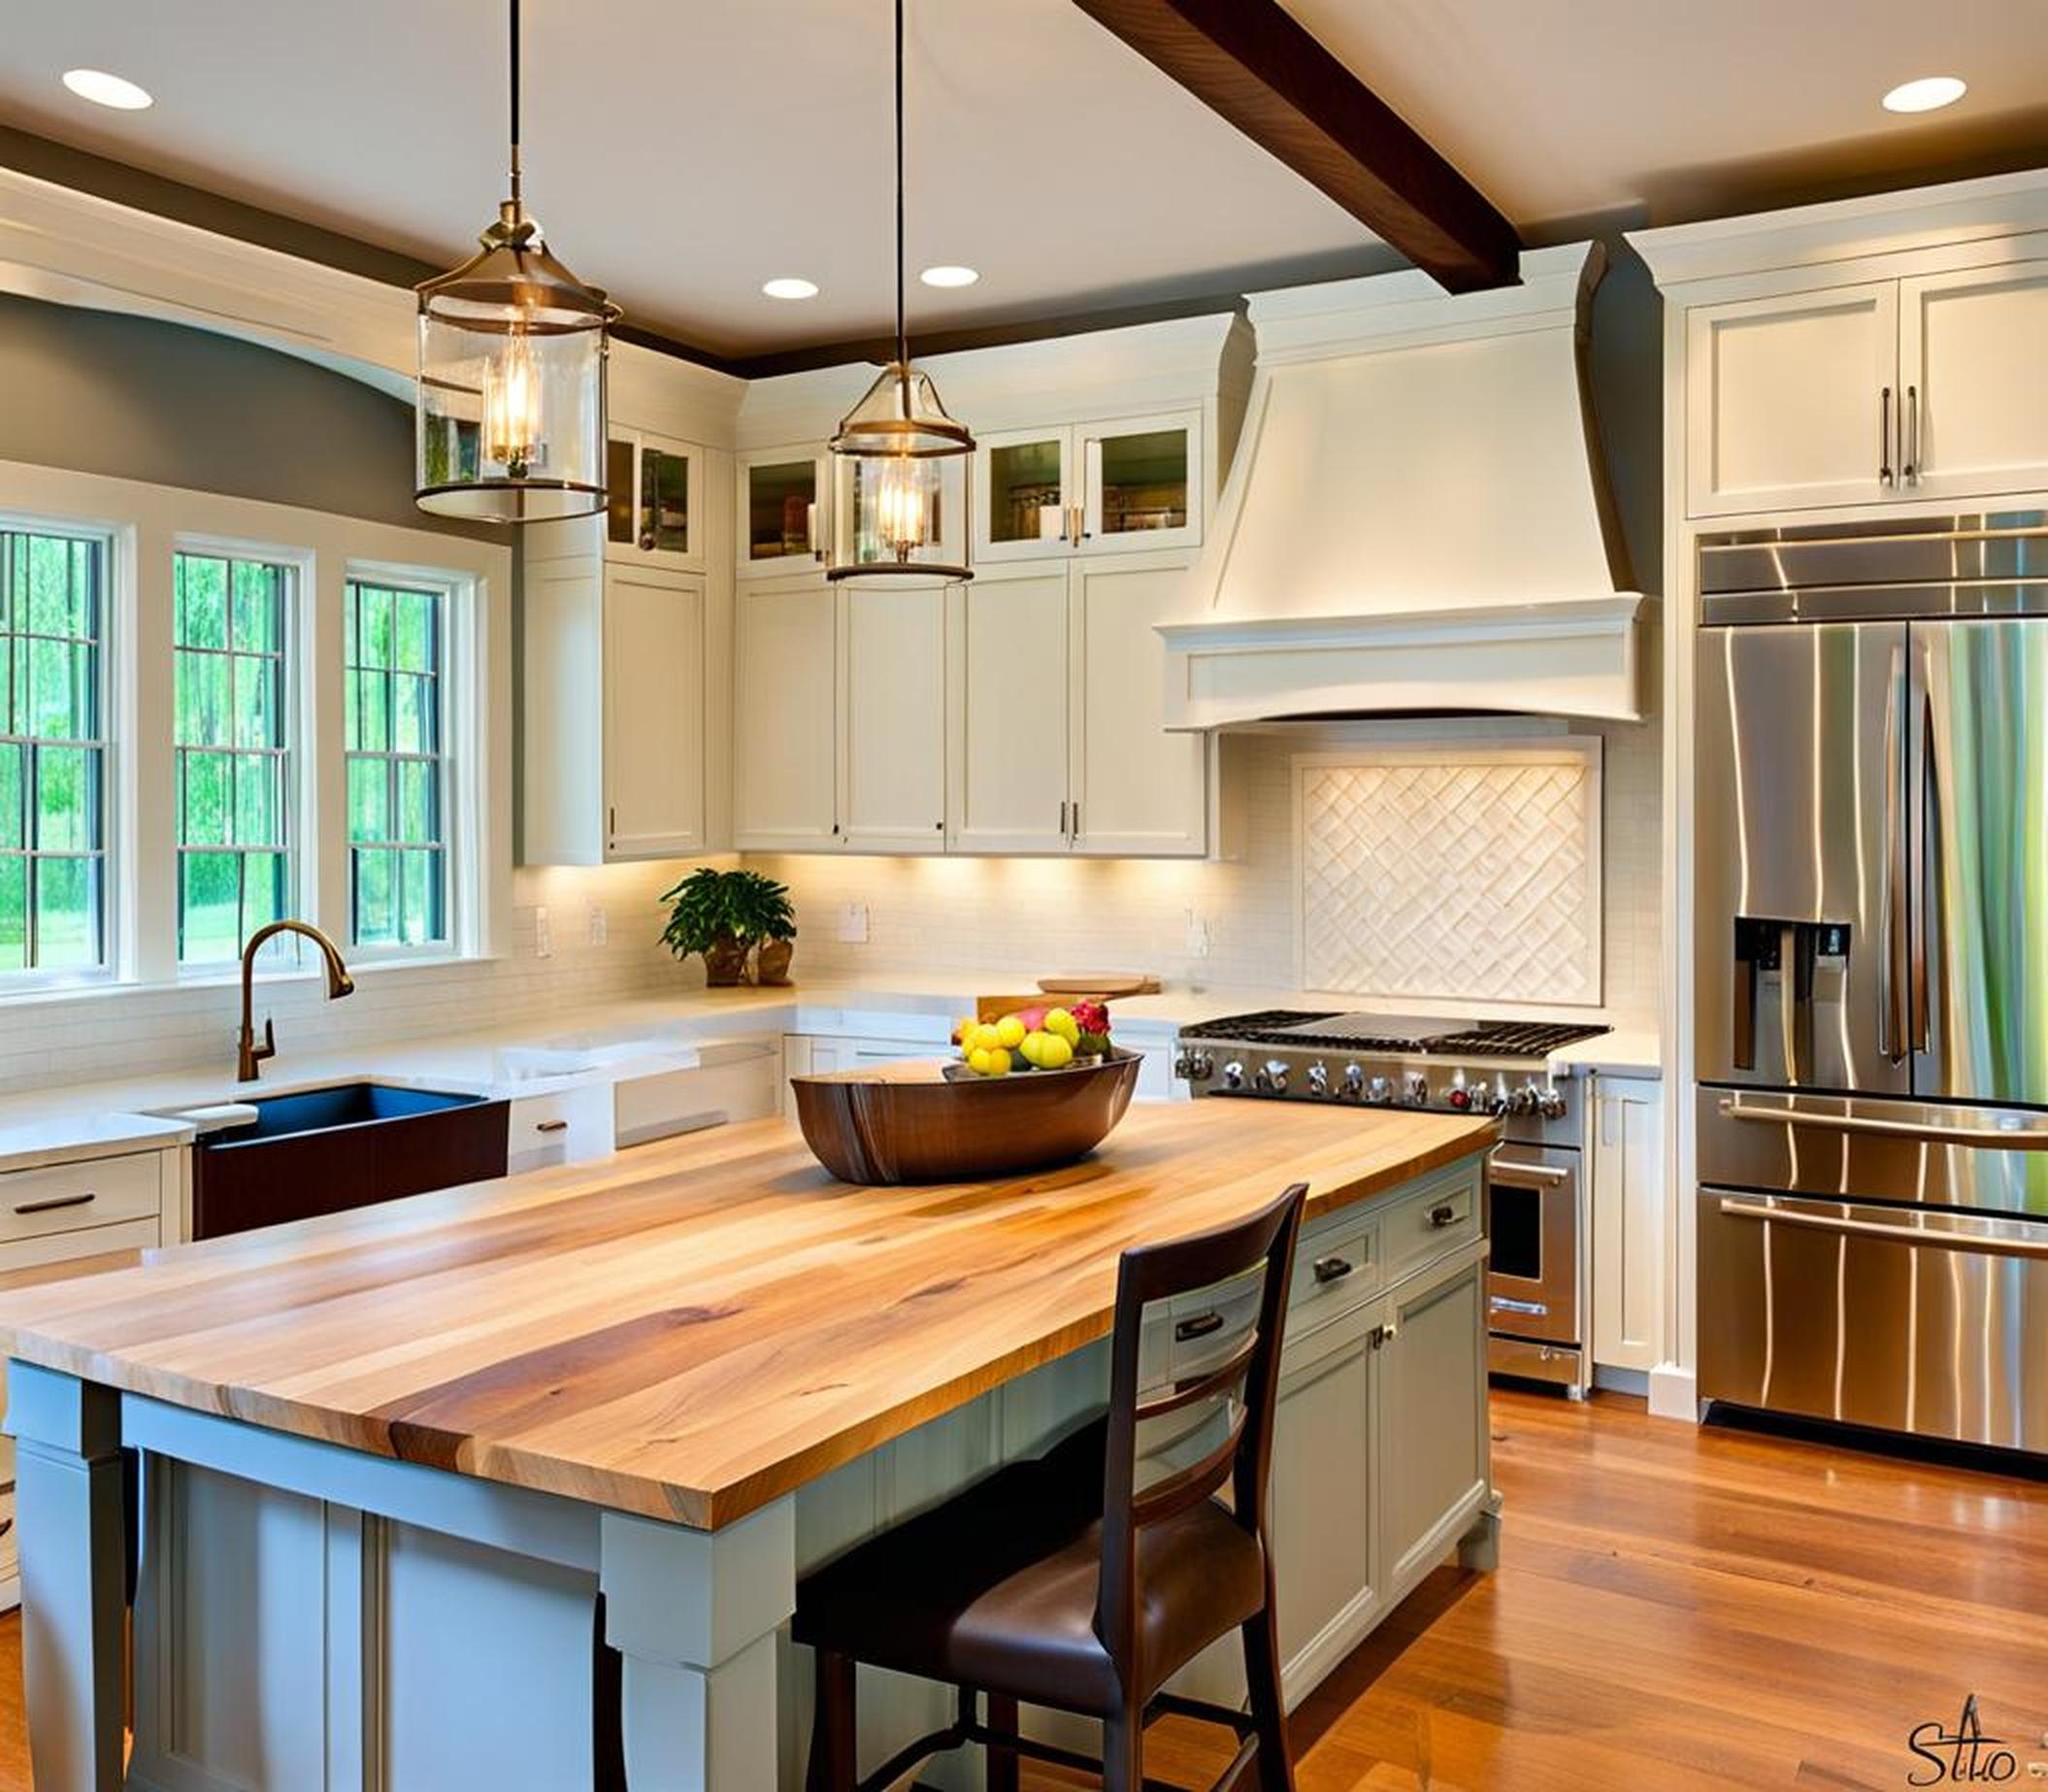
Step 6: Install the Countertop
The countertop is the final touch that completes your expanded island. Have a template made using the exact interior measurements of your cabinetry. Choose a durable and attractive material like granite, marble or quartz.
Carefully position the countertop on top of the finished cabinets. Apply adhesive caulk to the seams and firmly press together for a tight seal. The small gap between new and old should be barely perceptible.
Consider using the same material as your existing island countertop. This makes for the most seamless join. If opting for a different look, pick a coordinating color and pattern.
Choose a Durable Surface
Islands endure heavy day-to-day use, so the surface must stand up to wear and tear. Natural stone like granite resists scratches, stains and heat damage well. Butcher block is a classic choice that develops a patina over time.
Quartz composites boast rock-like durability with sleek contemporary styling. Weigh the pros and cons of materials against your budget and aesthetic preferences.
Easy maintenance is also key for kitchen islands. Busy spaces need a surface that won’t show every smudge and splash. Non-porous Quartz wipes clean without staining. Butcher block needs regular oiling to look its best.
## Finishing Touches
Complete your island extension with trim and final finishes. Add molding to conceal any slight gaps where new cabinetry adjoins existing components. Use acrylic caulk to fill nail holes and create clean lines.
Sand everything smooth, then use wood filler to patch imperfections before painting or staining. Match the finish to your current island for a cohesive look. Upgrade lighting above or below the new extension.
Finally, outfit the enlarged island with handy extras. Incorporate electrical outlets, shelves for small appliances, or even a built-in charging station. With an expanded, customized island, your kitchen just gained a brand new favorite hangout.
Extending your kitchen island conveniently adds functional space right in the heart of your home. Matching cabinetry, durable countertops and deliberate finishing touches let you increase storage, seating and style.
Maximizing your existing island is a smart, budget-friendly alternative to a full kitchen remodel. The project can be managed by skilled DIYers in a weekend with the right materials and preparation.
Extra gathering space for family and friends can be had with your island expanded. Or get organized with new storage solutions handy where you need them most. However you choose to customize it, this simple frame extension project pays off in dividends of joy.
