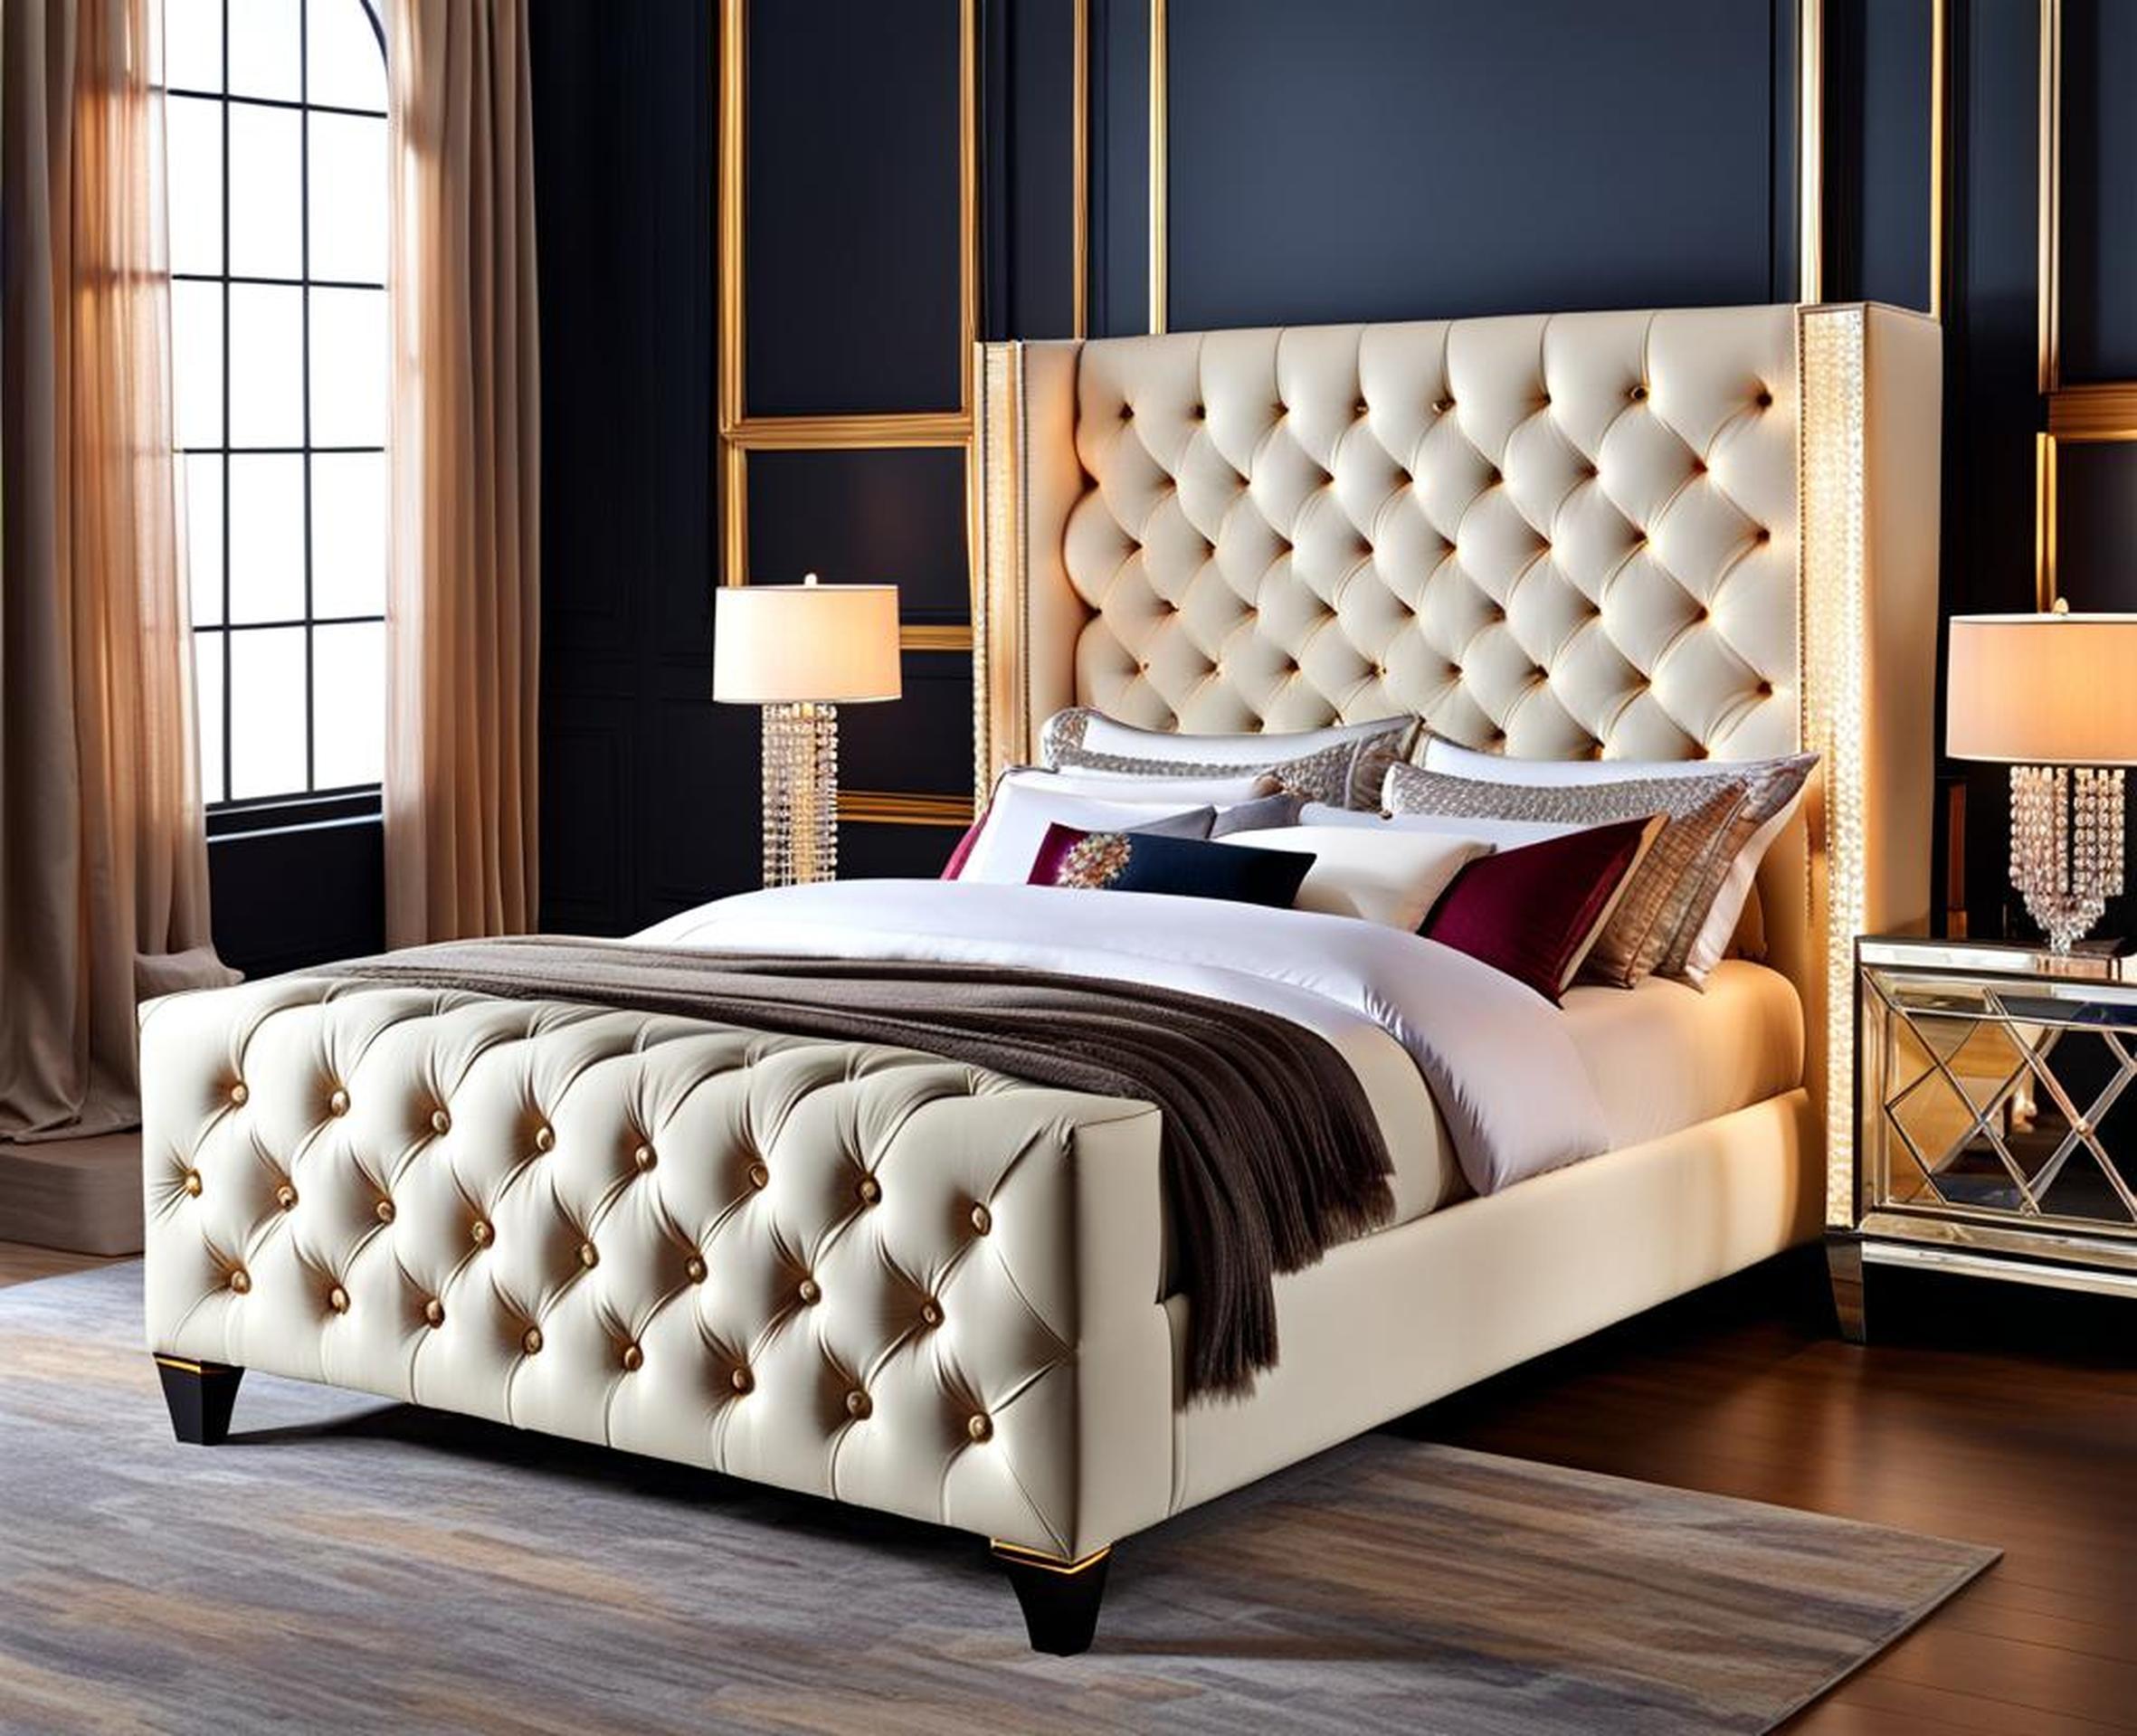
Looking to add a serious dose of glamour and luxury to your bedroom decor without breaking the bank? Constructing a DIY diamond tufted headboard accented with dazzling crystal buttons allows you to customize a designer look at a fraction of the retail cost. With some basic supplies, a tufting tool, and a weekend of work, you can create a stunning focal point that makes a big impact.
Follow along to transform a basic bedroom into a glamorous boudoir worthy of a spread in Elle Decor.
Step 1: Make or Customize the Headboard Frame
Assess Your Current Headboard
First up, decide if you want to repurpose and modify your existing headboard frame, or construct a completely new frame from scratch. Evaluate the dimensions, structure, and height of your current headboard if you have one. Can the size be easily adjusted to your preferences? Is the frame sturdy enough to support diamond tufting? Choose to repurpose it if it’s compatible.
Build a New Frame from Scratch
For a customized frame, select your materials – lumber, plywood, metal, or even repurposed pallet wood can work beautifully. Cut the pieces to your desired dimensions for a standard queen or king bed. Join the sides securely using wood glue, screws, and corner brackets. Stain or paint the completed frame if desired.
Modify an Existing Frame
If retrofitting your current frame, make any needed adjustments to the height, width or shape using additional wood pieces or metal brackets. Reinforce the structure with brackets and supports if needed – diamond tufting adds weight and pressure. Sand and refinish as the final prep step before upholstering.
Step 2: Cut Foam and Fabric
Select Appropriate Foam
Choose a foam base layer that provides nice definition for the diamond tufts. Many DIYers have success using an egg crate style mattress topper. Alternatively, upholstery foam, available at craft stores in various thicknesses, also works beautifully.
Choose Fabric and Calculate Yardage
Have fun selecting your ideal fabric! Consider color, pattern, and texture. Measure the headboard area to determine the total yardage needed. Provide a few extra inches on all sides for stapling the fabric to the frame. Purchase fabric with dimensions that eliminate the need for seams, if possible.
Cut Foam and Fabric Panels
Use the foam piece as a template to cut out an identical shape from your upholstery fabric. Create a precise match leaving 3 inches of extra fabric around all edges to fold over for stapling the panel to the frame. Repeat to make identical panels for both sides of the headboard.
Step 3: Mark and Create the Diamond Tufting
Plan Diamond Spacing
First, sketch your desired tufting pattern on graph paper, planning the layout of rows and spacing between diamonds. For dramatic impact, make the diamonds large and Diamonds spaced closely together make a tighter pattern. Find the balance and proportions you like.
Transfer Diamond Pattern to Fabric
Lightly mark the center point of each diamond on the fabric with chalk or disappearing ink, carefully following your graph paper sketch. Use a ruler to ensure even spacing. The marks don’t need to be dark, just enough to tuft accurately.
Tuft the Diamonds
Push the fabric into the foam backing at each diamond mark, using a specialized tufting tool or a thin screwdriver. Staple the fabric folds in place along the marks to create definition and secure each tuft. Work systematically across the panel to complete the tufted diamond pattern.
Step 4: Attach Buttons and Finish Edges
Sew Buttons onto Tuft Tops
Sew sparkling crystal button covers onto the high points of each diamond tuft following the kit directions. Groupings of 3, 5, or 7 buttons per tuft can create different looks. Mix colors for added interest.
Add Edging or Welting
Finish off your upholstered panels with trim like welting or gimp. This gives a polished look while hiding staples and seams. Choose binding that matches or complements your main fabric.
Step 5: Mount Finished Headboard
Attach Mounting Brackets
Fix sturdy French cleat brackets or L-brackets to the back side of the upholstered headboard. Secure it to the bed frame by mating the brackets. Predrill holes to avoid splitting wood.
Add Supporting Legs (Optional)
For stand-alone use away from the bed, add matching legs at the corners connected with side rails to support the headboard. Attach securely using corner brackets.
With patience and care, you can create a showstopping focal point for your master suite or guest room with this DIY diamond tufted headboard project. Follow the steps to build a custom sized frame, cut foam backing and fabric, tuft dramatic diamonds, and adorn with crystal buttons for seriously luxe style at a price you can afford.
The best part of crafting it yourself is that you can customize the shape, fabric, button design, and tufting pattern to create a look that’s uniquely you. Upgrade a basic bed frame into the elegant centerpiece you’ve always envisioned with a few key supplies and some hard work. Your glamorous boudoir oasis awaits!
