Installing a new roof is an exciting yet often daunting task for any homeowner. But determining the roof’s size shouldn’t cause headaches or guesswork. Roofing professionals rely on a standard unit of measurement called a “roofing square” to precisely calculate materials and provide accurate bids. So what exactly is a roofing square, and how can learning this concept empower you to understand your roof’s size for your next project?
You’ll learn what a roofing square represents, why professionals use them, and how squares provide the precision needed for a smooth roofing project.
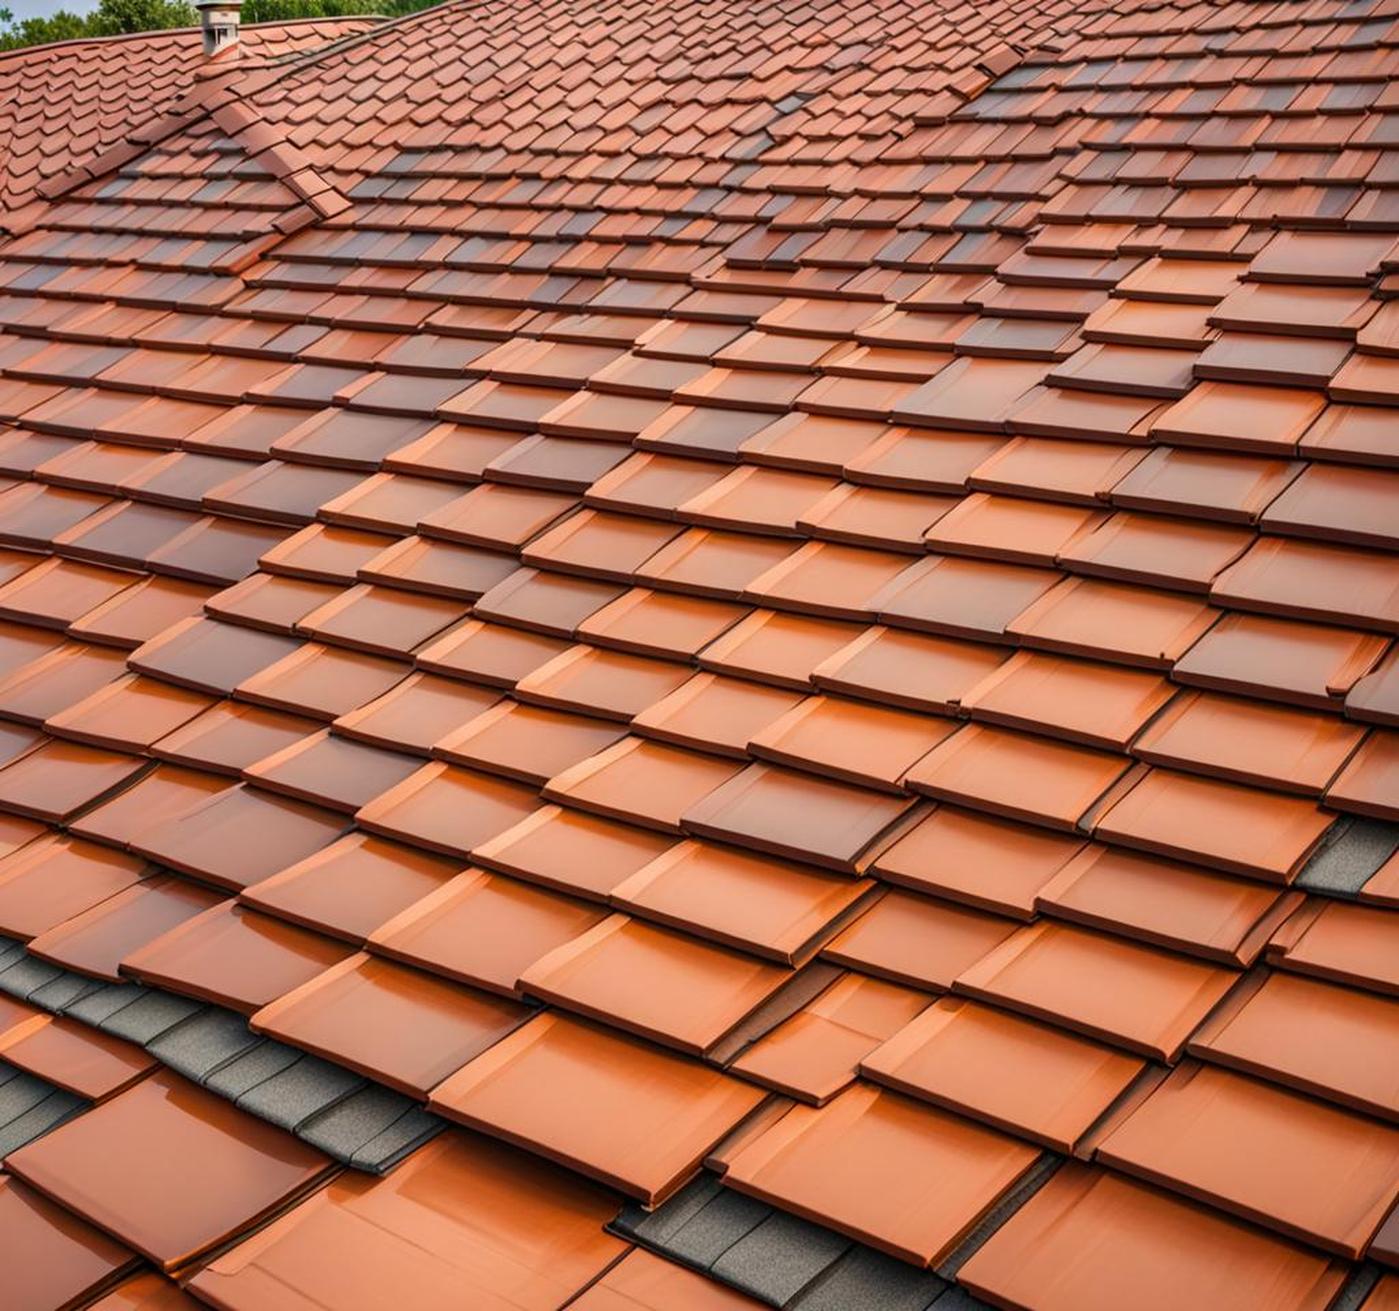
What is a Roofing Square?
A “roofing square” is a standardized area measurement used across the roofing industry. One roofing square equals 100 square feet of roof space. If a roof measures 1000 square feet, it would contain 10 squares. If it measures 2000 square feet, it contains 20 squares, and so on.
This unit provides an easy way for roofing contractors to calculate the materials and labor needed for a roofing job without having to deal with large, unwieldy numbers. It allows them to speak a common language with suppliers to ensure they order the right amount of shingles, underlayment, and other supplies.
Why Roofers Use Squares
For roofers, using the roofing square simplifies project planning:
- It prevents calculation errors that could lead to ordering the wrong amounts of material.
- The consistent system allows clear communication across roofing crews, suppliers, and contractors.
- Squares make estimating, bidding, and pricing consistent and transparent for clients.
By adopting the standardized roofing square, the industry minimizes miscommunications and confusion when dealing with large roof sizes. Knowing your roof’s square measurement sets any roofing project up for success.
Calculating Total Roofing Squares
To determine a roof’s total squares, the area of each rectangular or triangular roof plane needs to be calculated, then added together. Here’s one common method:
- Break the roof down into manageable sections – often simple rectangles and triangles.
- Measure and calculate the square footage of each individual section.
- Add up the square footage of each section to get the total roof square footage.
- Divide the total square footage by 100 to convert it to squares.
While this may sound straightforward, accurately measuring a complex roof’s full area can be challenging. Here are some tips for DIYers:
- Consider every roof plane, even small sections like dormers or odd angles.
- Account for the slope when calculating the surface area.
- For non-rectangular sections, sketch the shape and break it into smaller rectangles to calculate.
In many cases, hiring a professional roofer is advisable, as they have the tools, know-how, and experience to measure a roof’s full size and complexity.
Tips for Accurate Measurement
Even for seasoned roofers, measuring a roof’s squares takes skill, the right tools, and a careful approach. Here are some best practices pros use:
- Consider all roof planes – don’t neglect small areas
- Account for complex shapes like hips, valleys, and dormers
- Use laser measurers and aerial photos to measure when possible
- Safely access edges and peaks for accurate linear measurements
- Break roof into sections for easier area calculations
In the end, the most foolproof way for a homeowner to get their roof’s square measurement is to hire a professional roofing contractor. Their expertise ensures maximum accuracy.
Factors That Impact Number of Squares
When estimating the squares present on your specific roof, consider:
- Roof size – Larger roofs require more material to cover their greater surface area.
- Number of levels – Multi-level homes may have 200-400 squares across all roof sections.
- Roof complexity – Dormers, angles, valleys, and other elements add squares.
In general, more complex roofs with greater surface area require more squares of material. A simple single level home with a gable roof likely has 20-30 squares, while larger two-story homes often have closer to 40-60 squares across all roof sections.
Estimating Squares on Common Roof Types
While the exact squares depend on the dimensions, we can make some general estimates for common roof types:
- Gable – A two-sided sloped roof. Around 20-30 squares per 2000 sq. ft. home.
- Hip – A four-sided sloped roof. More surface area than a gable so may be 25-40 squares.
- Mansard – Has dual pitches with lower steep slope. Many surfaces and angles make it complex to calculate.
Unusual roof shapes with multiple angles like turrets further complicate square calculations. In these cases, professional roofers have the best ability to precisely measure.
Why Proper Square Calculation Matters
Accurately measuring your roof’s squares is so important because it directly impacts project costs, planning, and efficiency. Underestimating squares can lead to problems:
- Ordering insufficient material resulting in shortages
- Mid-project delays to purchase more supplies
- Wasted time and money placing multiple supply orders
By carefully determining squares upfront, you can avoid these issues and ensure you purchase the precise amount needed the first time. This prevents expensive change orders and makes the process smoother for everyone involved.
Hiring a Roofer to Measure Squares
While DIY-savvy homeowners can attempt to measure squares themselves, hiring a professional roofer has some important advantages:
- They have the proper tools like laser measurers to reach accurate figures.
- Years of experience let them account for all nuances and angles.
- They can safely access tricky parts of the roof you may not be able to.
- A small initial cost can prevent major issues down the line.
Professional roofers do this daily and know the ins and outs of properly accounting for all factors that impact squares. For most homeowners, hiring this expertise is the simplest, safest route for square calculations.
Communicating in Squares for Your Project
Once you know your roof’s squares, it becomes easy to communicate consistently across your roofing project. Some benefits include:
- Bids from different roofers can be compared “apples to apples.”
- Supply orders to providers will be in the same units.
- All members of your roofing crew are literally on the same page.
By adopting the standardized language of roofing squares, you streamline communication and ensure no mismatched expectations, preventing confusion between you, the roofer, and material providers.
Roofing Squares Provide Precision
Don’t leave your roofing project up to guesses and assumptions. Learning the concept of roofing squares gives homeowners insight into the level of precision roofing professionals bring to the process. Accurately determining your roof’s square measurement is a crucial first step in any roof replacement or repair project.
While you can attempt to measure squares on your own, hiring an experienced roofer ensures maximum accuracy. Their expertise relieves the homeowner of this challenging task. By communicating in squares across the project, you set yourself up for a smooth process from start to finish.
So don’t let your next roofing project become overwhelming. Understanding the simple but powerful concept of roofing squares will make your roof size and required materials clear. Just remember that one roofing square equals 100 square feet, and you’ll be talking like a pro in no time.
Considering roof overhangs
When measuring a roof’s total squares, it’s important to account for any overhangs – the parts of the roof that extend past the exterior walls. Overhangs provide critical protection from rain and moisture infiltration, but add to the overall roof surface area.
A common rule of thumb is to add 1 extra square for every 100 square feet of overhang. For example, if you have a 2000 square foot roof with 400 square feet of overhangs, you would calculate: – Main roof area: 2000 sq ft = 20 squares – Overhangs: 400 sq ft = 4 squares – Total squares: 20 + 4 = 24 squares
Neglecting overhangs when estimating your roof’s squares will result in underestimating the materials needed. Professional roofers know to carefully measure and account for overhangs as part of the total roof size.
Calculating the number of squares for irregular roof shapes
Measuring squares gets tricky for roofs with irregular shapes versus simple rectangles. Features like dormers, hips, valleys, and ridges add complexity. Here are some tips:
- Break the roof into smaller, regular shapes like rectangles and triangles
- Calculate the area of the smaller shapes
- Add up the areas of all the shapes to get the total sq. footage
- Divide by 100 to convert to squares
It also helps to draw a sketch of the roof plan, clearly labeling all ridges, valleys, dormers etc. to use as a reference while measuring. Patience and meticulousness are key! Many homeowners will benefit from a roofer’s expertise in handling irregular roof shapes.
A roof’s pitch, or slope, is another important factor when measuring squares. Pitch is measured by rise over run – the number of inches the roof rises vertically for every 12 inches it runs horizontally. Steeper roofs have a higher pitch. On steeper pitches, more shingles are required per square foot because each shingle covers less horizontal area.
As a rule of thumb, add 10% more squares for a high-pitched 12/12 roof compared to a low-pitched 5/12 roof of the same footprint. Accounting for pitch helps ensure you have enough material. Professionals can precisely factor in pitch to square measurements.
