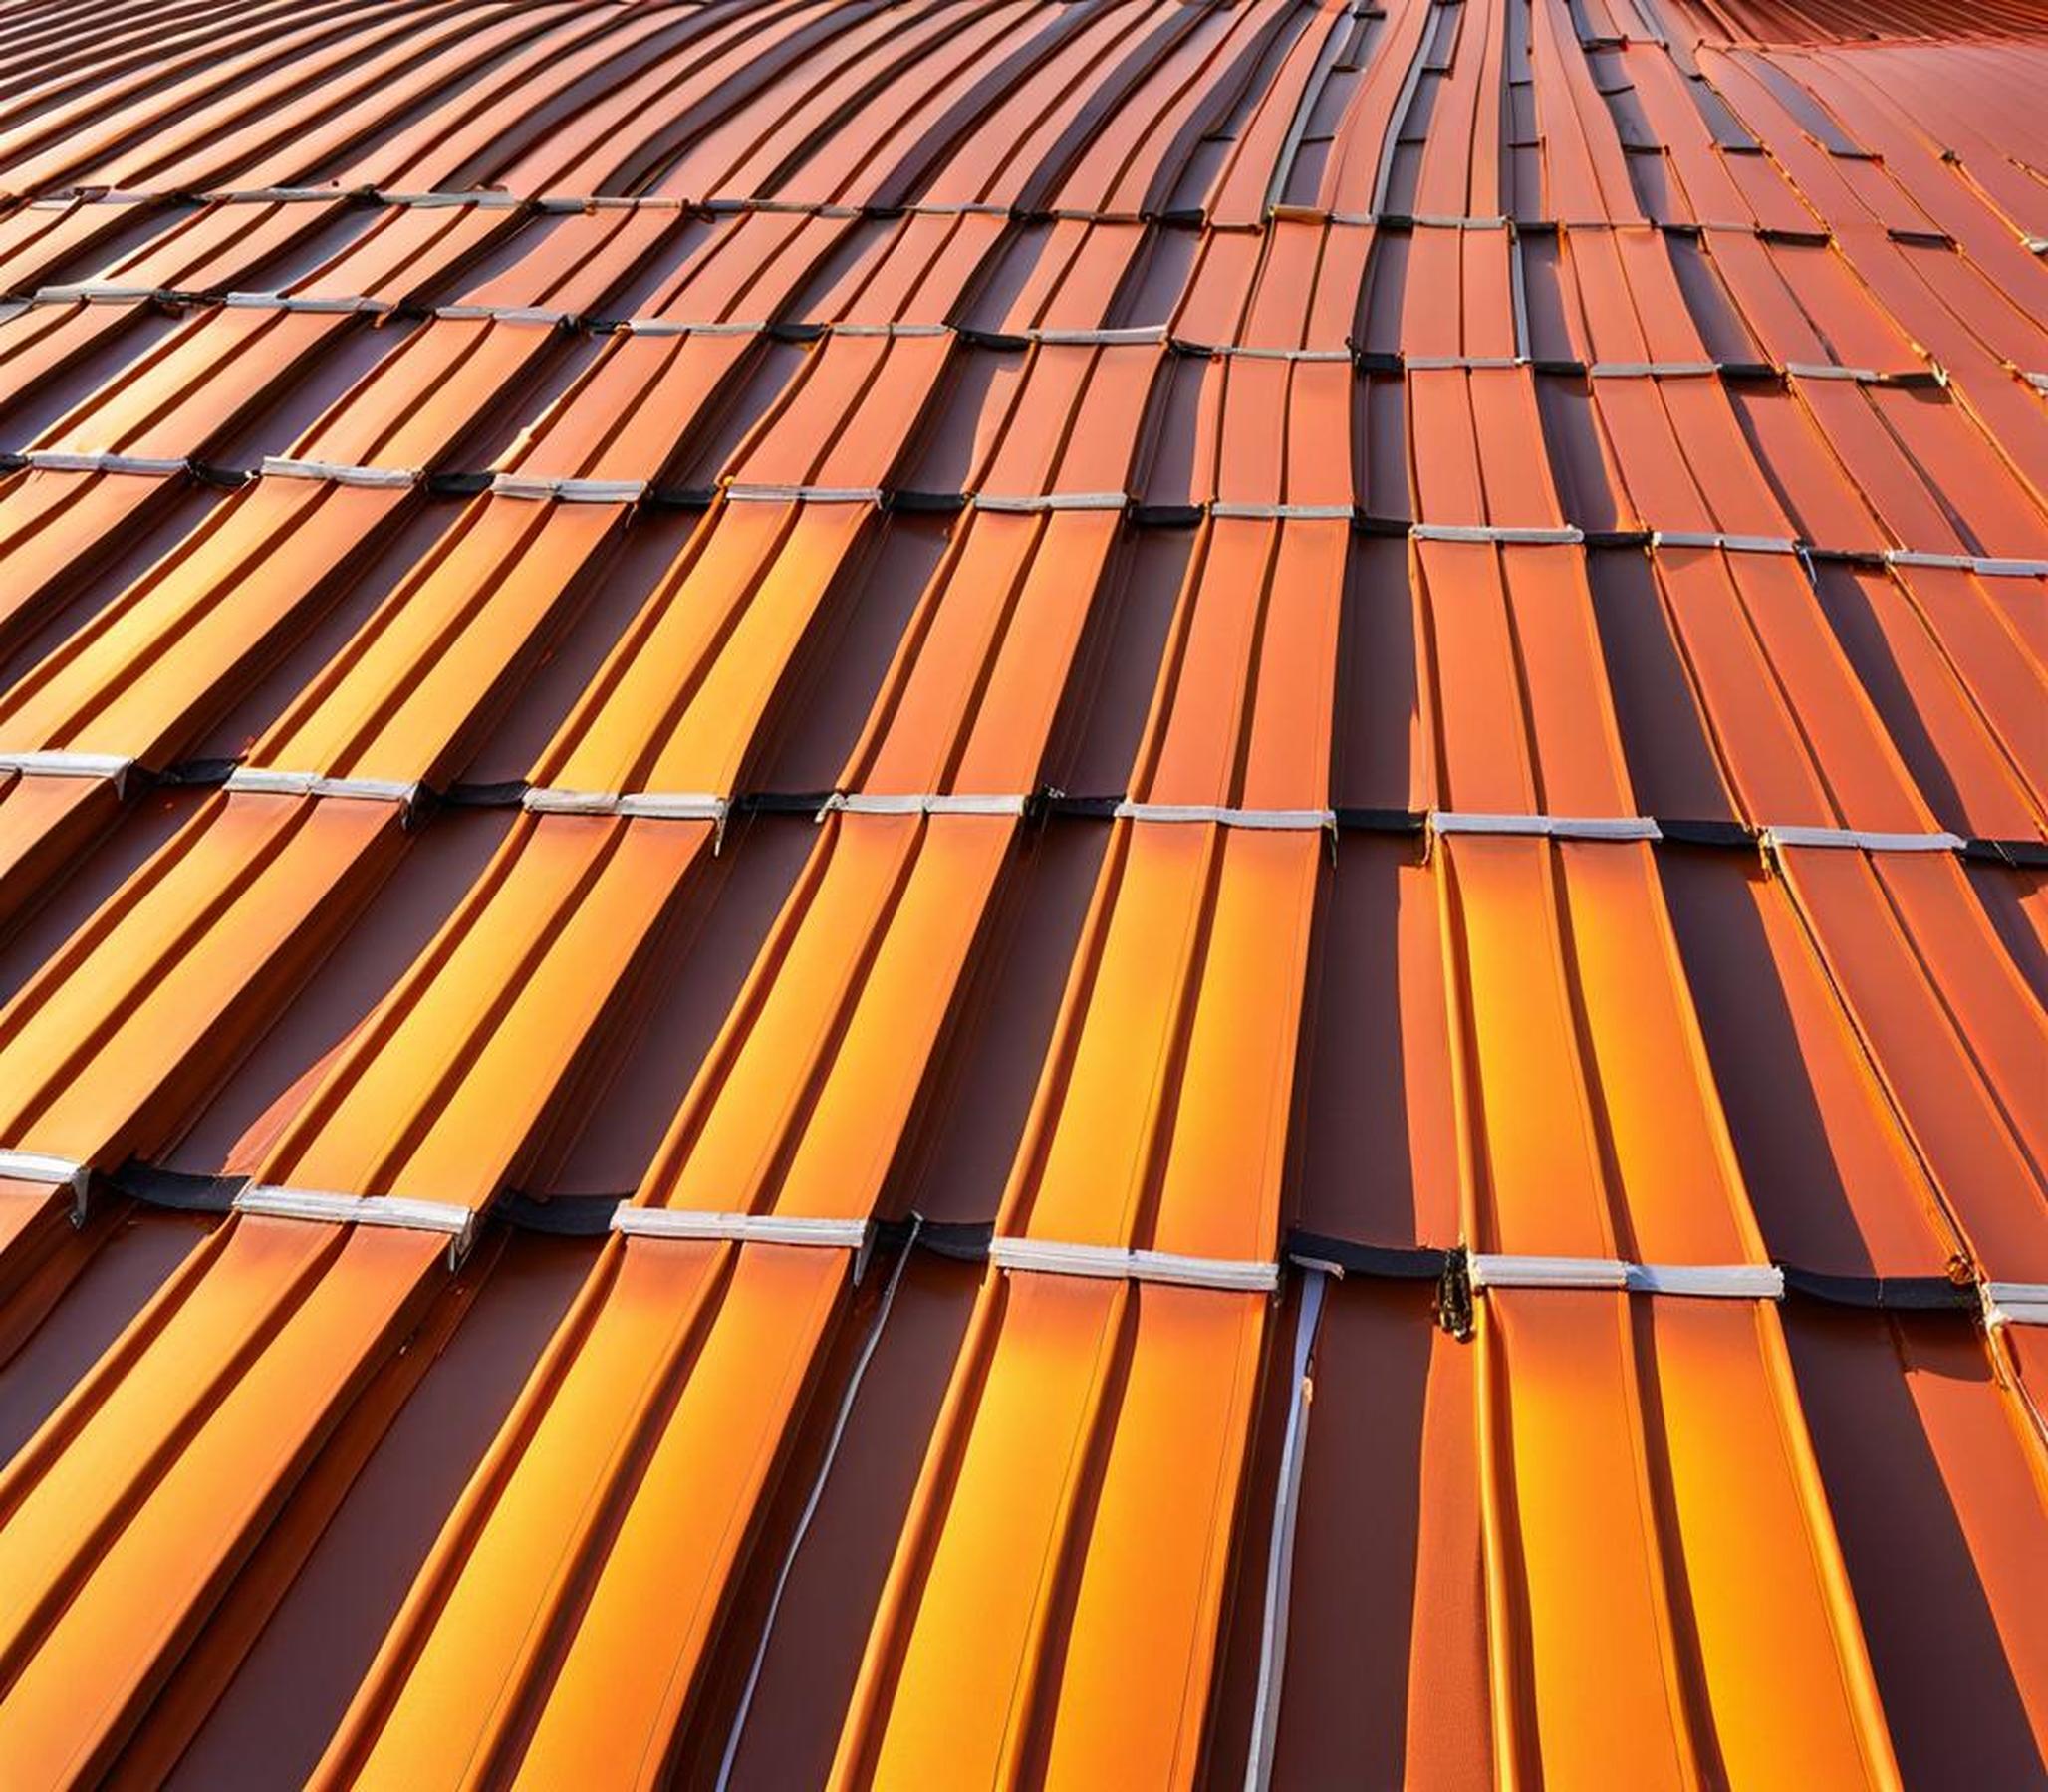
Winter weather can wreak havoc on roofs. When snow and ice accumulate, they can lead to the formation of ice dams – buildups of ice at the edges of roofs that prevent proper drainage. As melting snow refreezes, it causes water to back up under shingles and leak into attics. Left unchecked, the results are often extensive water damage, rot, mold growth and the need for costly roof repairs come spring.
Luckily, heat strips provide an affordable and effective solution. These heating cables installed along roof edges and gutters keep critical areas ice-free. Read on to learn how heat strips ward off roof harm and how to install them properly.
Why Heat Strips are an Effective Solution
Advantages of Heat Strips
Compared to roof repairs, installing heat strips carries many advantages:
- Prevent ice dams from blocking drainage
- Protect roof materials and interior ceilings from water damage
- Cost far less than replacing rotten roof decking or moldy insulation
- New smart strip models allow app and voice control for convenience and energy savings
How Heat Strips Ward Off Roof Damage
Traditional roof heating methods like interior cables are insufficient, allowing outer roof areas to still accumulate ice. Heat strips are effective because they directly warm the vulnerable roof edges and gutters. This heating action melts snow so it can drain off properly instead of pooling behind ice dams.
| Self-regulating heat strips | Automatically adjust heat output based on temperature. Allow customized heating with smart controls. |
| Constant wattage heat strips | Emit a steady heat level regardless of outside conditions. |
This targeted warmth keeps the roof water-free, protecting vulnerable areas from damage.

Key Considerations For Installation
Ideal Areas to Install
Focusing heat strips on problem areas prone to ice dams is most effective. Common trouble spots:
- Roof edges above open soffits or overhangs
- Valleys, dormers and low-pitched sections that accumulate more snow
- Gutters with chronic winter overflow issues
While partial protection is possible, installing heat strips along entire roof edges and gutters provides the best damage prevention.
Safety and Risks
Like any electrical system, proper installation and operation of heat strips is key to safety:
- Hire an electrician to ensure your home’s electrical panel can handle the added roof heat strips load
- Use a GFCI outlet with circuit breaker
- Inspect strips twice yearly for signs of damage
Follow manufacturer guide for safe heat strip output to prevent fire risks or burns to roof materials.
Latest Innovations in Heat Strip Technology
Smart Temperature Regulation
New intelligent heat strips feature integrated sensors and connectivity allowing smartphone and voice control of heating activation and intensity. This allows customization of heat strip operation for:
- Maximum energy efficiency
- Enhanced safety through remote temperature monitoring
- Added convenience of automation
Sustainable and Eco-Friendly Materials
With green technology advances, heat strip manufacturers now utilize recycled copper wiring and biodegradable plastic coatings. These sustainable materials appeal to environmentally-conscious homeowners.
Improved Safety Features
Thanks to built-in overheating protection, the latest heat strip models reduce fire risks. If sensors detect excessive temperatures, the system safely powers down automatically.
Installation Process Step-By-Step
Once you select the optimal heat strip type and areas to install, follow these best practices for seamless setup:
Planning and Materials
First, carefully measure roof lengths needing coverage to determine required heat strip footage. Provide plenty of extra heating cable since you’ll loop it in a zigzag pattern across problem zones. Order all necessary mounting hardware for secure attachment.
Securing Heat Strips
Run cables back and forth perpendicular to roofline, using provided clips to neatly fasten in place. This creates full contact for effective warmth transfer. Space multiple strips evenly to distribute heat.
Wiring and Power Source
Connect to a GFCI outlet with adequate capacity and weatherproof housing. Use watertight connections between cable supply lead and strips. Test strips briefly before finalizing setup.
Maintaining Your Heat Strip System
Regular Inspection
Examine heat strips and connections twice yearly – spring and fall. Ensure secure mounting, no debris buildup on cables affecting performance. Spot potential damage early.
Annual Testing
Power on the system prior to winter weather to verify all components function properly after months dormant. Identify loose wiring needing repair.
Knowing When to Replace
Typical heat strip lifespan is 10-15 years. Earlier replacement may be needed if cracks, cable wear or burn spots are visible. Consider upgrading to utilize latest innovations.
Rather than gamble with winter ice dams causing severe roof leaks or failure, make installing heat strips standard protection. Their strategic heating and smart controls ward off hazardous ice buildup far more effectively and affordably than potential repairs down the road. Follow proper safety precautions and maintenance of your heat strips to ensure lasting performance against ice dams. Your roof and wallet will thank you.
