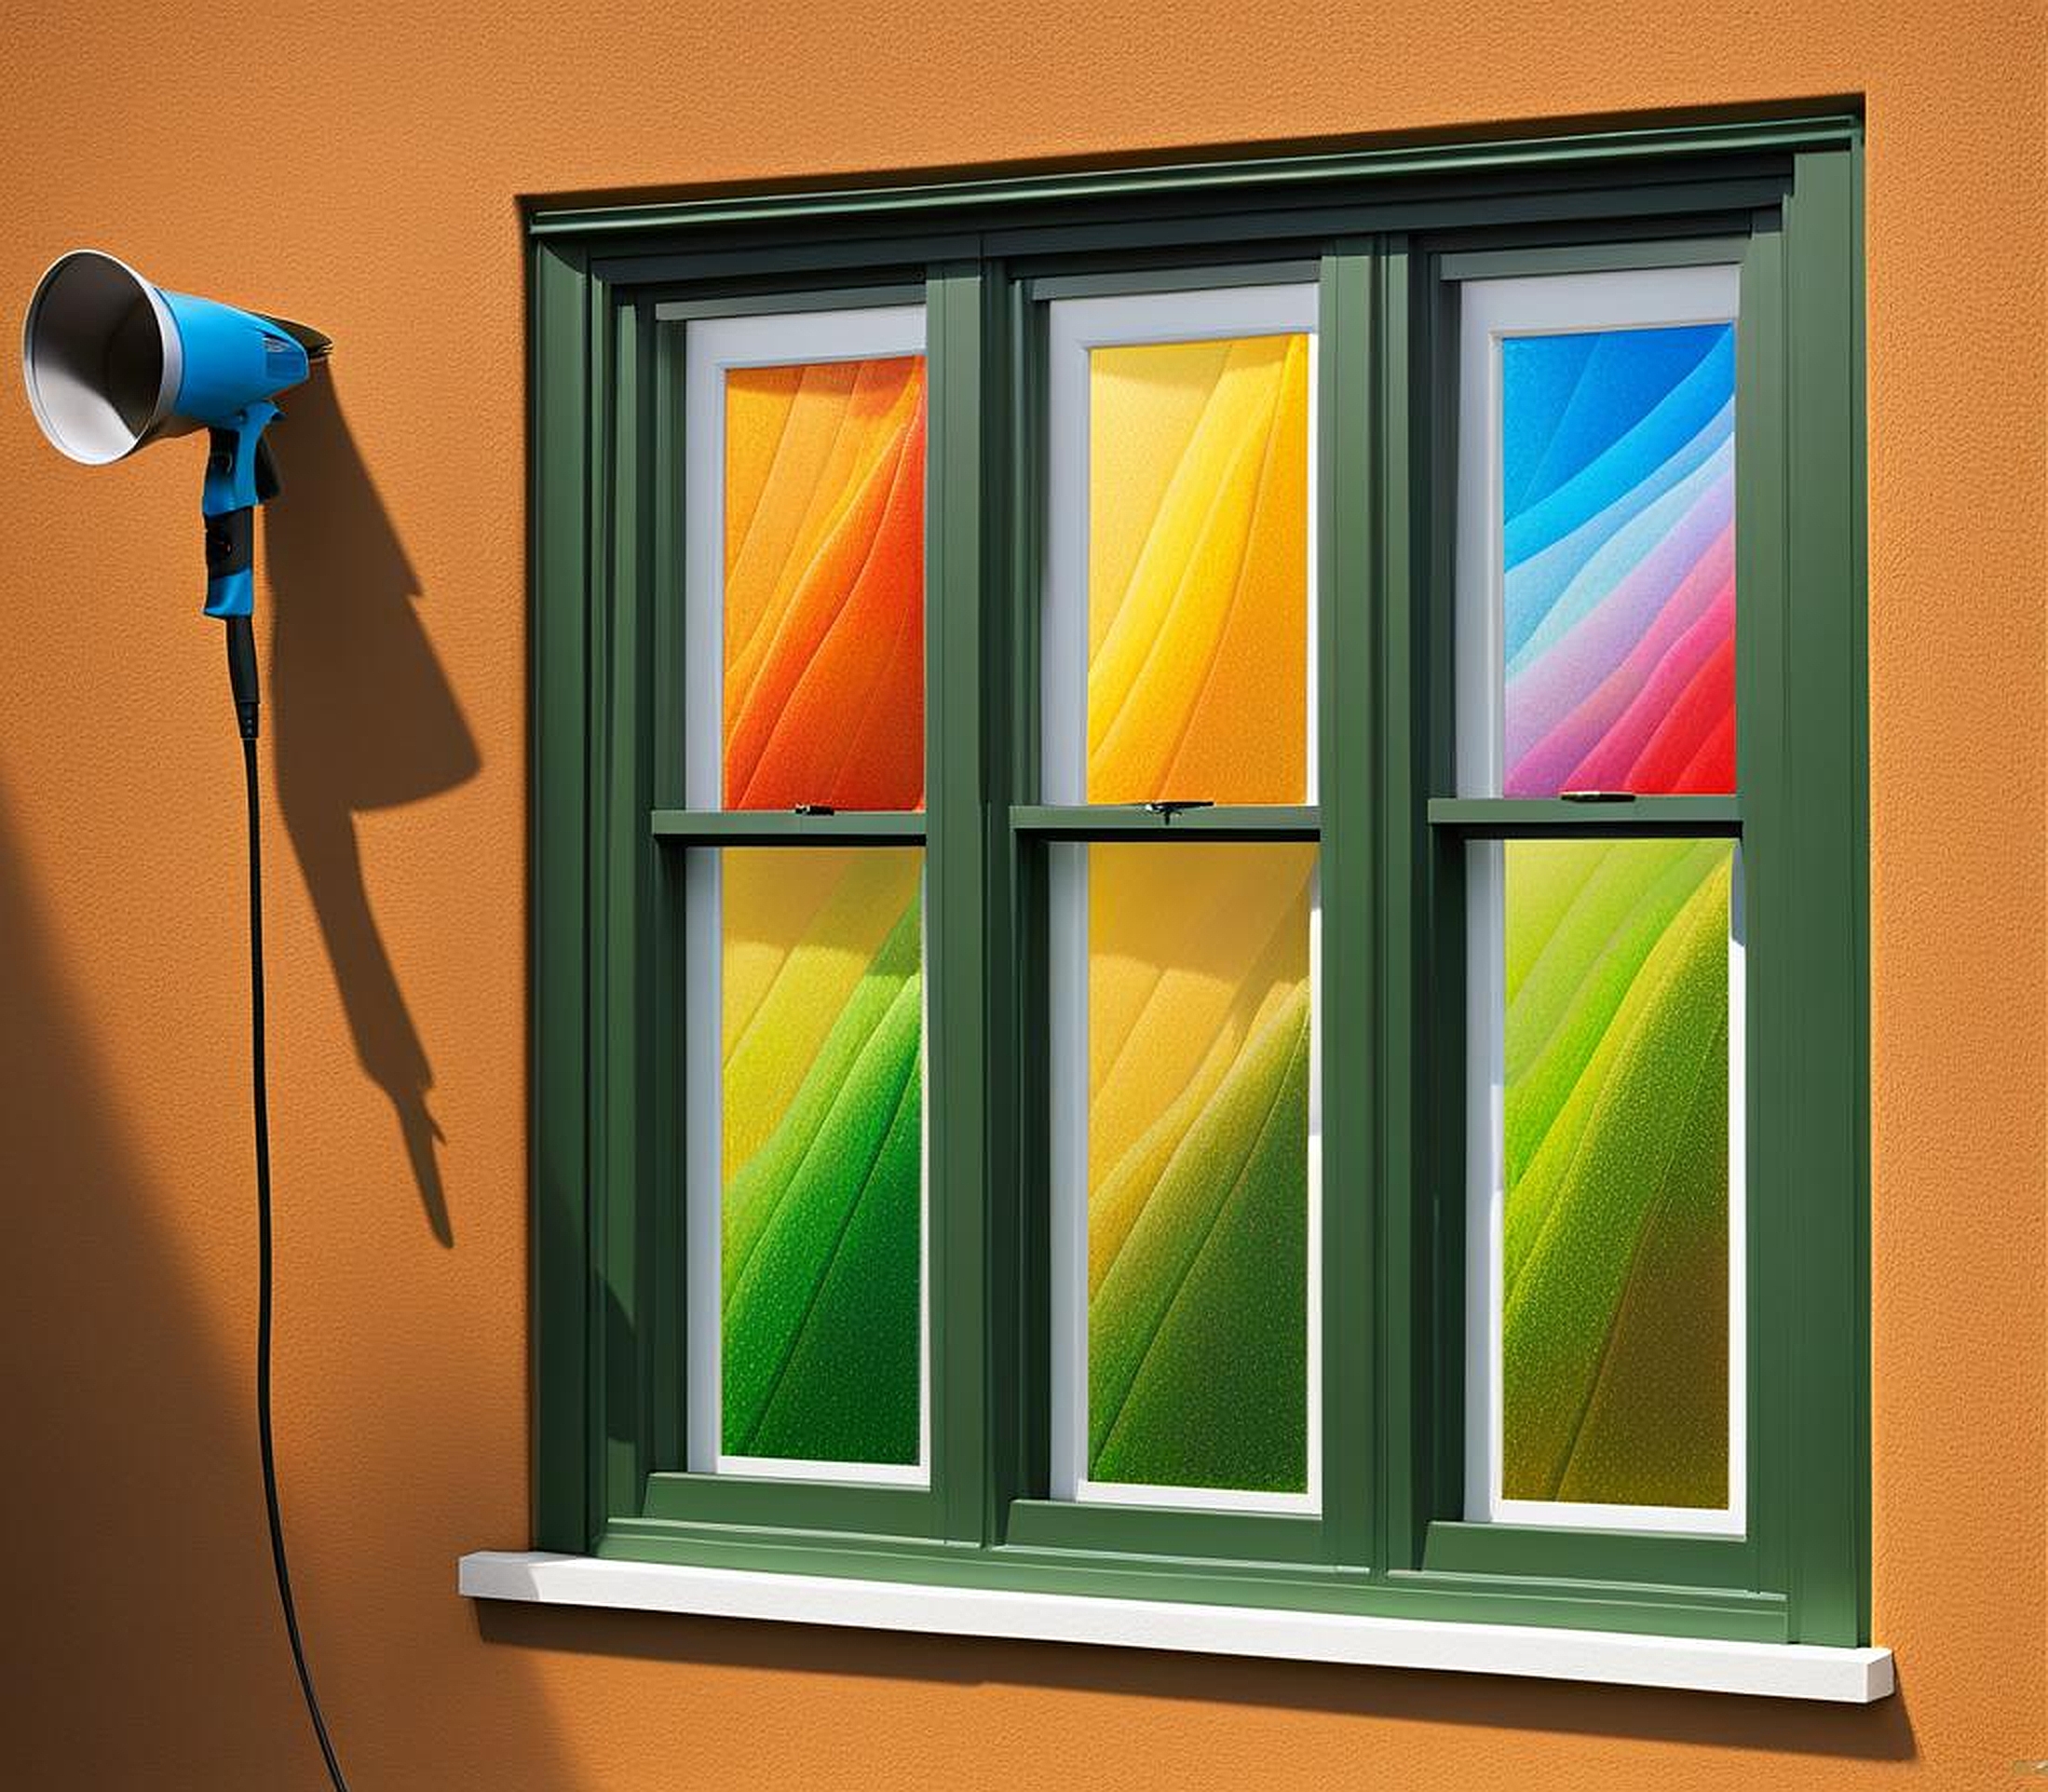
Window tinting isn’t just about style; it’s a practical solution for enhancing privacy, reducing glare, and maintaining a cooler interior. When it comes to spray for tinting windows, you’re stepping into a world of convenience and versatility. This innovative approach to window modification offers a quick and effective alternative to traditional film methods. Let’s dive into the nitty-gritty of spray tinting and discover how it can transform your windows with ease.
Understanding Window Tinting Sprays: Types and Benefits
Window tinting sprays have revolutionized the way we approach window modification. These aerosol-based products offer a unique set of advantages that set them apart from conventional tinting methods. Car window tint spray, for instance, has gained popularity among DIY enthusiasts and professionals alike due to its ease of application and versatility.
There are several types of spray tint available in the market, each designed for specific applications:
- Temporary spray tint: Perfect for short-term use or testing different tint levels
- Semi-permanent spray tint: Offers a longer-lasting solution that can be removed if needed
- Permanent spray tint: Provides a durable finish that bonds with the glass surface
The benefits of using a spray for window tint extend beyond just convenience. Here’s why many are opting for this method:
- Quick application: Spray tinting window can be completed in a fraction of the time compared to traditional film application
- Versatility: Window tint spray products can be used on various surfaces, including curved glass
- Cost-effective: Often more affordable than professional tinting services
- No adhesive issues: Eliminates the risk of bubbling or peeling associated with film tints
- Customizable: Easily control the level of tint by applying multiple layers
One of the standout features of spray on window tint is its ability to adhere to irregularly shaped windows. This makes it an excellent choice for vehicles with complex window designs or for home windows with unique architectural features. The spray window tint solution forms a seamless layer that conforms to the glass surface, providing uniform coverage where film might struggle.
However, it’s crucial to understand that while spray tinting offers numerous advantages, it also comes with its own set of challenges. Achieving a perfectly even application requires skill and practice. Over-application can lead to an excessively dark tint, which might not comply with local regulations. Therefore, it’s essential to research and follow guidelines carefully when using a window tint spray bottle or can.
Selecting the Right Spray for Tinting Windows: Factors to Consider
Choosing the appropriate spray for window tint isn’t just about picking up the first can you see on the shelf. There are several crucial factors to weigh to ensure you get the best results for your specific needs. Let’s break down what you should consider when selecting a tinting window spray.
First and foremost, consider the intended application. Are you looking to tint car windows, home windows, or perhaps both? Automotive window tint spray often differs from products designed for residential use. Car-specific sprays are formulated to withstand the harsh conditions of the road, including UV exposure and temperature fluctuations. On the other hand, home window sprays might focus more on energy efficiency and privacy.
Next, think about the level of tint you desire. Most spray car window tint products come in various shades, ranging from light to dark. Remember that darker isn’t always better. In fact, extremely dark tints might be illegal in some areas, especially for vehicle windows. Check your local regulations before deciding on a tint level.
Durability is another critical factor. Some spray on window film options are designed for temporary use, perfect for seasonal changes or short-term privacy needs. Others offer a more permanent solution. Consider how long you want the tint to last and choose accordingly.
Here’s a quick reference table to help you compare different types of window tint sprays:
| Type | Durability | Ease of Application | Removal |
|---|---|---|---|
| Temporary Spray | Low | High | Easy |
| Semi-Permanent Spray | Medium | Medium | Moderate |
| Permanent Spray | High | Low | Difficult |
Don’t forget to consider the brand reputation and customer reviews when selecting a window tint spray product. Established brands often provide better quality and more consistent results. Look for products with positive feedback regarding ease of application, durability, and overall satisfaction.
The composition of the spray is also worth noting. Some sprays contain ceramic particles that offer superior heat rejection properties. Others might include UV blockers to protect your interior from sun damage. If these features are important to you, look for sprays that specifically mention them in their product descriptions.
Lastly, consider the equipment needed for application. Some window film spray applications require additional tools like squeegees or special cloths. Make sure you have everything you need before starting your project to ensure a smooth and successful tinting process.
Step-by-Step Guide to Applying Spray Tint on Windows
Now that you’ve selected the perfect spray for tinting windows, it’s time to roll up your sleeves and get to work. Applying window tint spray might seem daunting at first, but with the right technique and a bit of patience, you can achieve professional-looking results. Let’s walk through the process step by step.
1. Preparation is key: Start by thoroughly cleaning the window surface. Any dirt, dust, or oils can interfere with the tint’s adhesion. Use a glass cleaner and lint-free cloth to ensure a spotless surface. Don’t forget to clean the surrounding areas as well to prevent any overspray from sticking to unwanted surfaces.
2. Protect the surrounding area: Use masking tape and newspaper or plastic sheeting to cover areas you don’t want to be tinted. This includes window frames, car interiors, or nearby furniture if you’re working indoors.
3. Shake the can: Before spray applying window tint, shake the can vigorously for at least a minute. This ensures that all components are well-mixed for even application.
4. Test spray: Always do a test spray on a piece of cardboard or inconspicuous area to get a feel for the spray pattern and intensity.
5. Begin spraying: Hold the window tint spray can about 6-8 inches away from the surface. Start spraying using steady, even strokes. Move the can in a horizontal motion, slightly overlapping each pass to ensure full coverage.
6. Apply thin layers: It’s better to apply several thin layers rather than one thick layer. This helps prevent drips and ensures a more even finish. Allow each layer to dry for a few minutes before applying the next.
7. Check for consistency: After each layer, step back and look at the window from different angles to check for any unevenness or missed spots.
8. Build up to desired tint: Continue applying layers until you achieve the desired level of tint. Remember, it’s easier to add more than to remove excess.
9. Allow to dry: Once you’re satisfied with the tint level, let the window dry completely. This usually takes about 24 hours, but refer to the product instructions for specific drying times.
10. Final inspection: After the tint has dried, inspect the window in good lighting. If you notice any imperfections, you may need to apply an additional layer or, in worst-case scenarios, remove the tint and start over.
Remember, practice makes perfect. If you’re new to using spray on window tint, consider practicing on an old piece of glass or a less visible window before tackling your main project. This will help you get a feel for the spray pattern and how many layers you need for your desired tint level.
For those working with automotive applications, pay special attention to edges and corners. These areas can be tricky and may require extra care to ensure proper coverage. Some car enthusiasts prefer to remove the windows for tinting, which can make the process easier but requires more technical skill.
If you’re using a tinting window film spray, the application process might differ slightly. These products often require a wet application method, where you spray the solution onto the window and then apply a pre-cut film. Always follow the manufacturer’s instructions for the best results.
Congratulations! You’ve successfully applied your spray window tint. Now, let’s focus on maintaining that perfect finish and troubleshooting any issues that might arise. Proper care will ensure your tinted windows look great and function effectively for years to come.
Maintenance for spray-tinted windows is relatively straightforward, but it does require some attention. Here are some tips to keep your tinted windows in top condition:
- Wait before cleaning: Allow at least a week after application before washing the tinted windows. This gives the tint ample time to cure fully.
- Use gentle cleaning methods: When it’s time to clean, use a soft, lint-free cloth and a mild soap solution. Avoid ammonia-based cleaners as they can damage the tint.
- No abrasives: Stay away from abrasive materials like paper towels or rough sponges that could scratch the tint surface.
- Regular inspections: Periodically check your tinted windows for any signs of peeling, bubbling, or discoloration.
Despite your best efforts, you might encounter some issues with your spray tint over time. Here are some common problems and how to address them:
1. Bubbling: Small bubbles might appear if moisture gets trapped under the tint. In most cases, these will disappear as the tint cures. If they persist, you may need to reapply the tint in that area.
2. Peeling: If the edges start to peel, it’s often due to improper application or exposure to harsh conditions. You can try to reapply the spray tint to these areas, but in severe cases, you might need to remove and reapply the entire tint.
3. Scratches: Minor scratches in the tint can sometimes be buffed out with a microfiber cloth. For deeper scratches, you might need to touch up the area with additional spray.
4. Fading: Over time, sun exposure can cause the tint to fade. If this happens, you may need to reapply a fresh coat of tint.
5. Uneven application: If you notice streaks or unevenness after the tint has dried, you can try adding another thin layer to even out the appearance. If the problem persists, you might need to remove the tint and start over.
Remember, the key to troubleshooting is patience. Don’t rush to fix issues immediately after application, as some minor imperfections may resolve themselves as the tint cures. If you’re unsure about how to address a problem, consult the product manufacturer or a professional tinting service.
For those who used a window tint spray can or bottle, keep in mind that touch-ups are relatively easy. You can often spot-treat areas that need attention without having to redo the entire window. Just be sure to clean the area thoroughly and follow the application steps carefully for the best results.
Lastly, if you find that spray tinting isn’t giving you the results you want, don’t be discouraged. You might want to consider professional tinting services or explore other DIY options like static cling films. The goal is to find a solution that works best for your specific needs and skill level.
