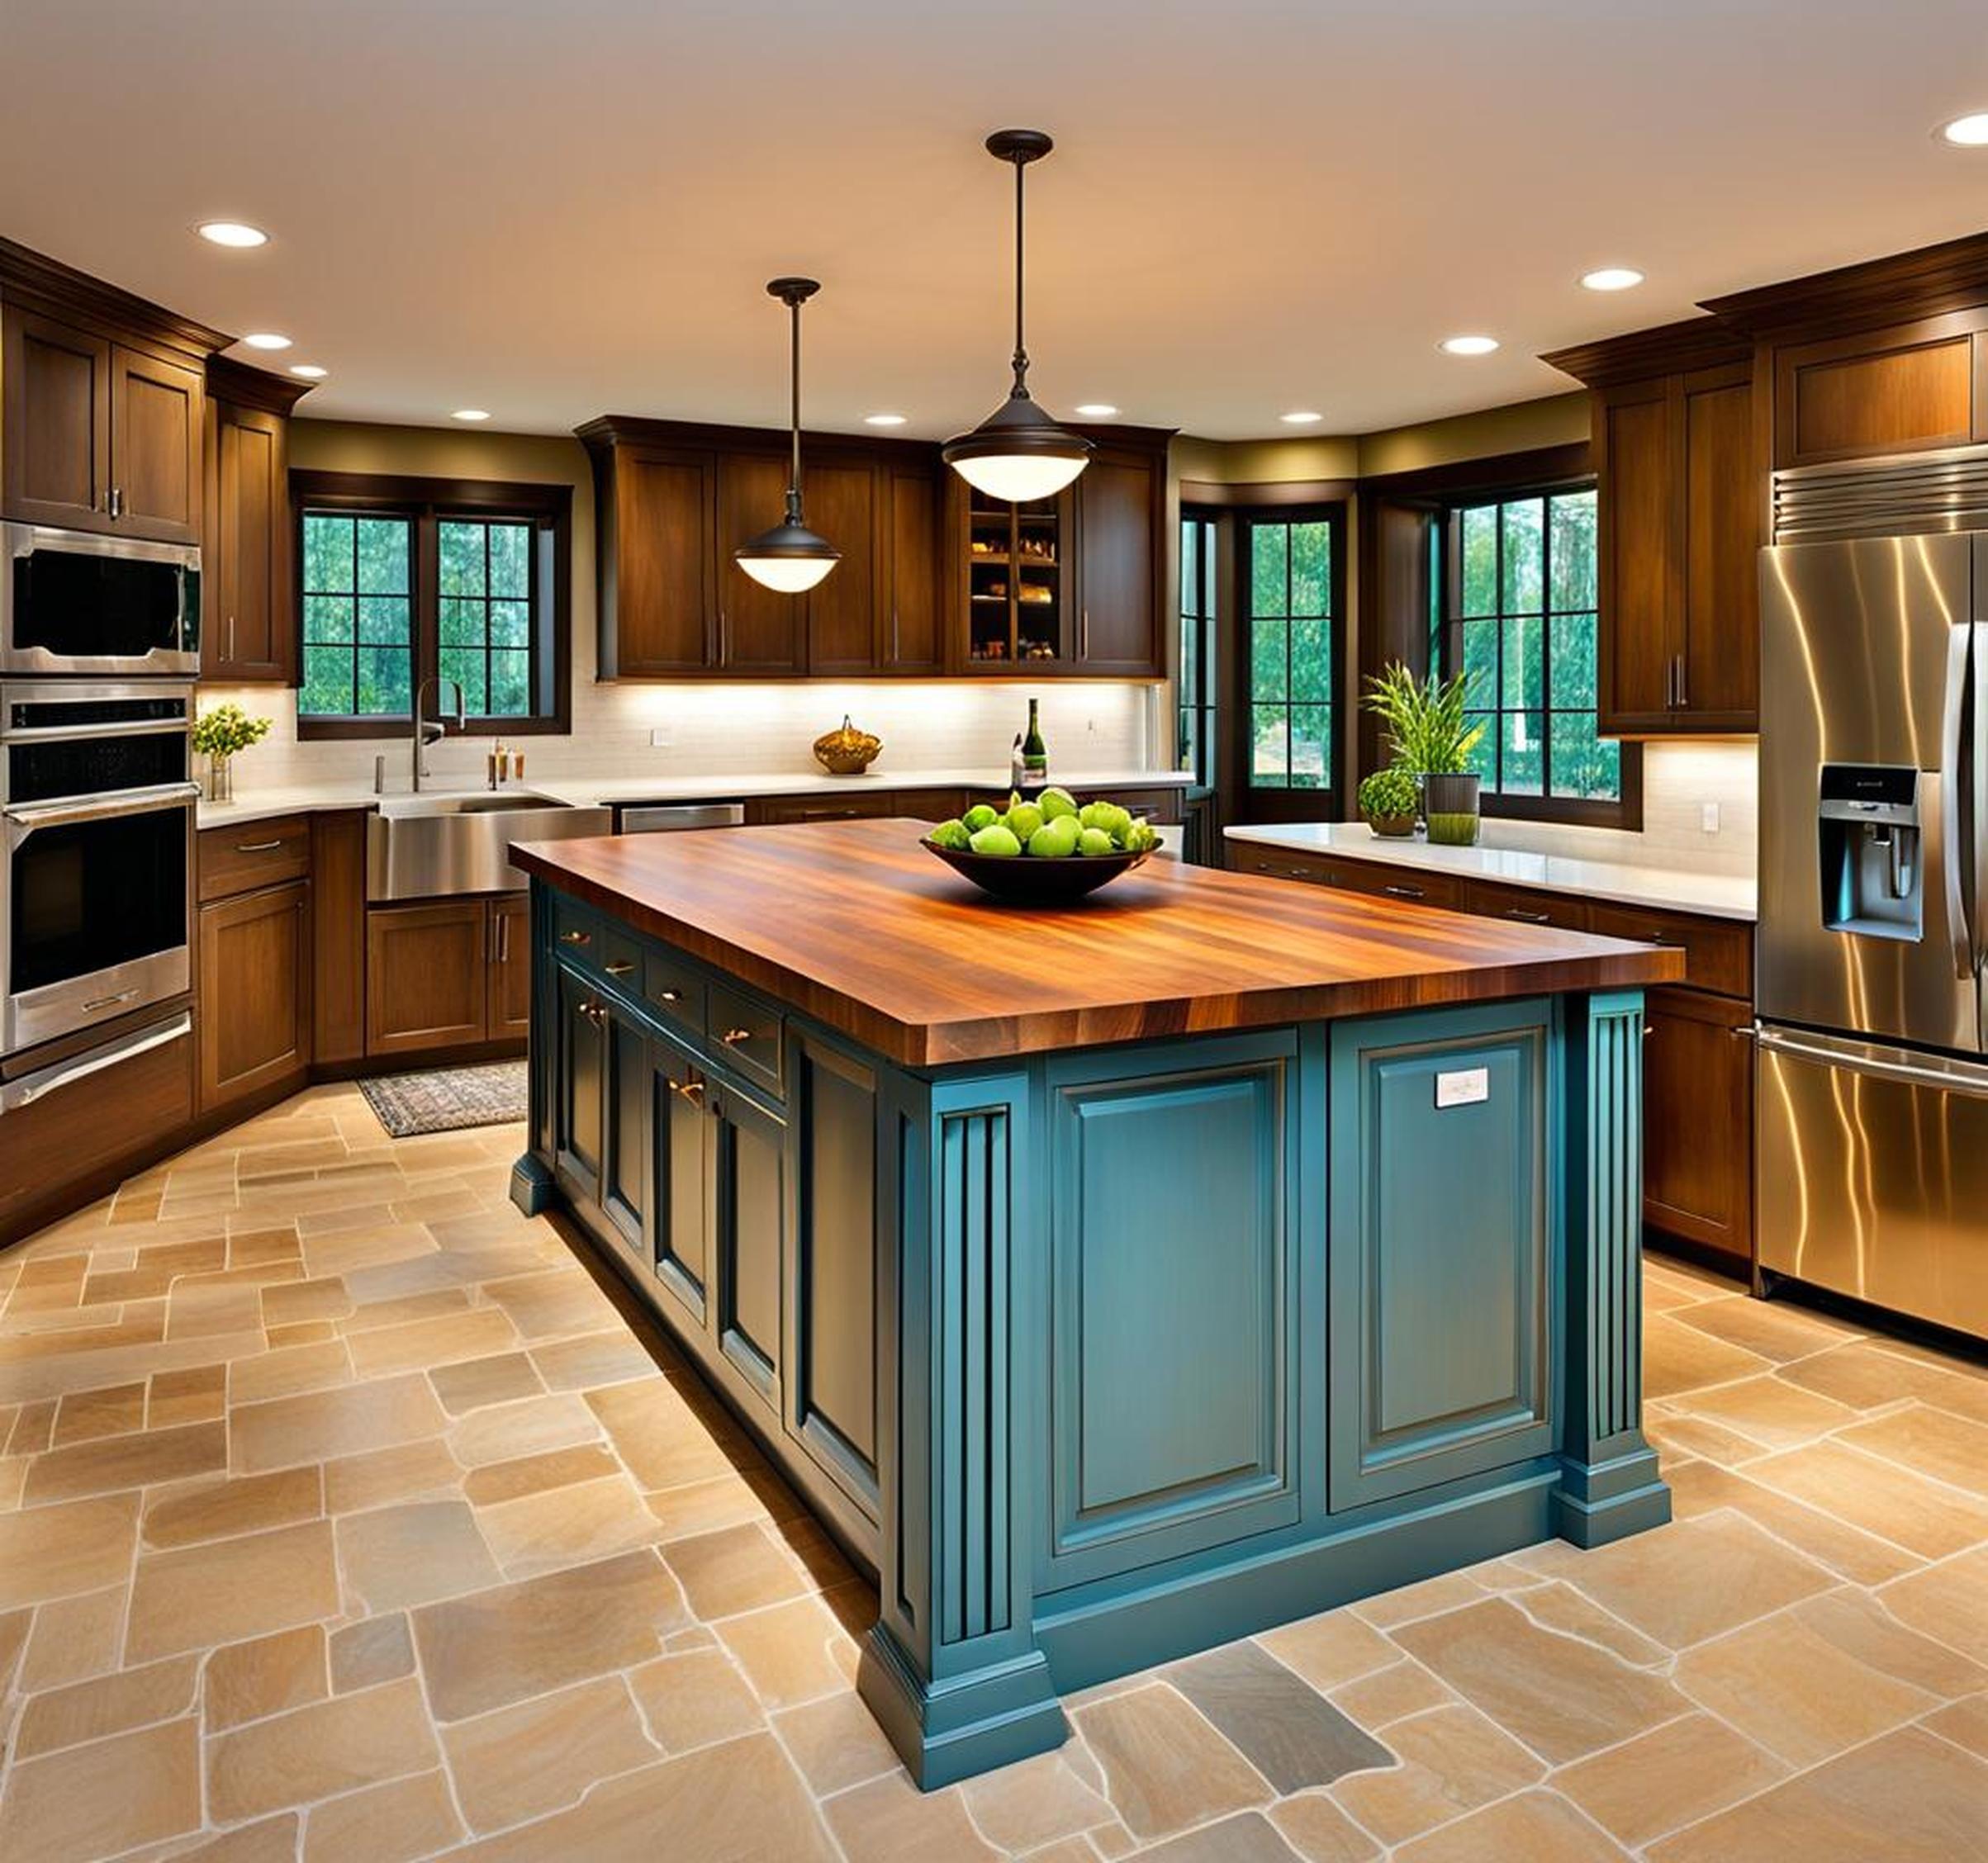
If your kitchen island is looking tired or you’re seeking to add more storage and workspace, one inventive solution is repurposing cabinets to create a customized island. With a little planning and DIY spirit, you can give new life to old cabinets and enjoy a beautiful, functional centerpiece for your kitchen.
Constructing your own island from repurposed cabinets allows complete creative freedom. You can choose the ideal size, shape, and storage solutions to suit your cooking and lifestyle needs. This project also comes at a fraction of the cost of buying a premade island, and gives existing cabinets new purpose.
Select Cabinets to Form the Base
Start your makeover by taking stock of which cabinets to use. Consider what you have available, whether from a remodel or sourcing secondhand. Standard kitchen base cabinets provide a sturdy foundation and ample storage space. Corner cabinets cleverly utilize awkward angles. Wall mounted cabinets can also be adapted by removing the hanging rail.
Remember to leave room for overhangs when calculating the footprint. Optimal clearance is around 4 ft around all sides. Also ensure there are accessible pipes or wires before securing to the floor.
Incorporate Special Touches
Customizing with special features takes your DIY island to the next level. Attach a wooden chopping block for meal prepping, or include wine racks or a mini fridge to entertain in style. Open shelving keeps items visible and within arm’s reach. For more surface area, don’t overlook the back panel for mounting handy hooks, knife blocks or even charging stations.
| Cutting Board | Prep meals conveniently |
| Wine Storage | Built-in racks keep bottles stored yet displayed |
| Sink | Wash produce or dishes without traveling |
| Open Shelving | Increase storage and allow display |
| Charging Station | Power up devices right at the island |
Choose a Countertop and Hardware
Tying everything together with a countertop and hardware gives your island a furnished feel. Butcher block counters complement repurposed style. Other budget-friendly options include laminate or tile. Contrasting hardware makes drawers and doors pop. Go for brushed metals, glass knobs, or eclectic vintage pieces.
For maximum mobility, attach locking casters to the base. Consider inset lighting underneath to illuminate the floor space. Keep an extension cord nearby for easy appliance access.
Join Cabinets Securely
With design decisions made, now get building. Carefully dismantle existing cabinets maintain structural integrity. Thoroughly clean and sand surfaces before reassembling.
Align cabinets precisely before joining them together. Construct a stable frame by screwing cabinets through the cabinet backs. For more strength, additionally use corner blocks, glue, and L brackets. Taking time to properly fuse cabinets means your island won’t loosen or separate later on.
The final step is accessorizing your bespoke island with decorative trim and panels. Raise it up on chunky feet or leave open and airy. Complementing the design with a fresh paint color ties the whole look together. Then simply slide your reinvented island into place and enjoy the maximized workspace!
Revitalizing old cabinets into a DIY kitchen island unlocks their potential. This thrifty upcycle project boosts storage, surface area, and style. Our guide covered key steps from planning measurements to fastening methods. Feel inspired yet to give outdated cabinets new purpose? Let us know how your makeover turns out!
