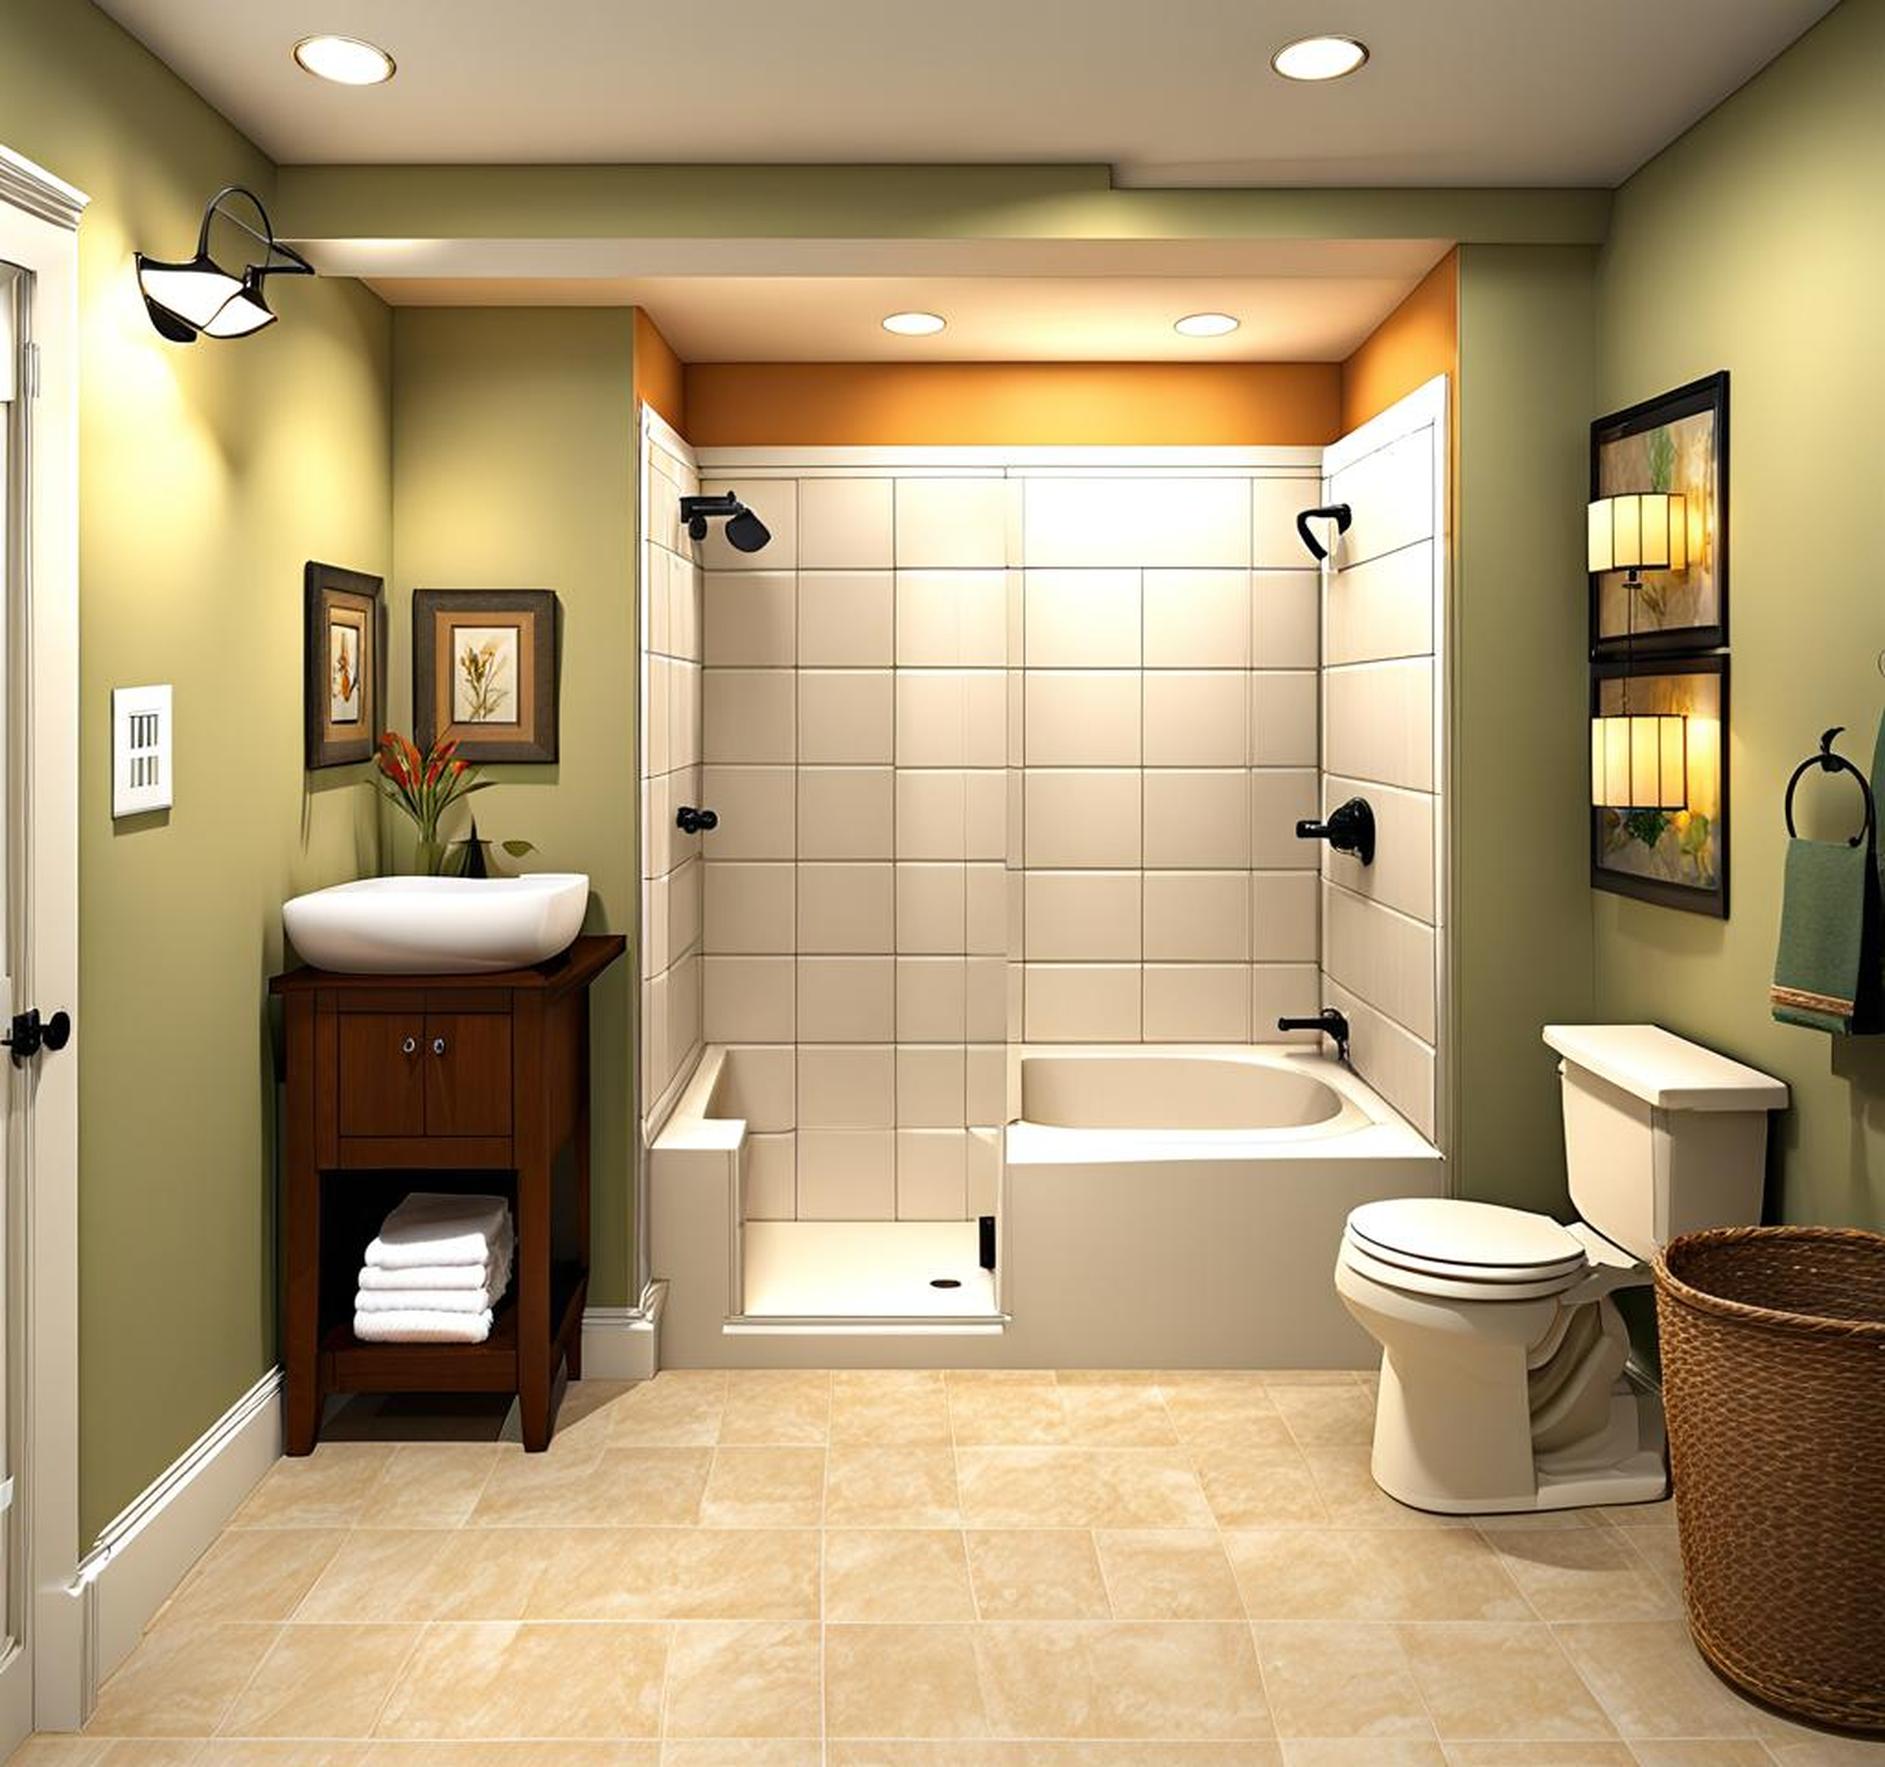
Is your basement an unused wasteland of empty space? Transform it into a functional living area by adding a bathroom–without blowing your budget. With some strategic planning and cost-conscious choices, you can create an affordable DIY basement bath that increases your home’s value and convenience.
Follow our guide to learn insider tips for installing basement plumbing on a budget. We’ll walk through laying the groundwork, optimizing the layout, selecting materials, and doing the work yourself to turn your basement into a comfortable, finished space.
## Laying the Groundwork
Before you can start building, you need to set the stage. Carefully choosing where to locate the new bathroom and managing required permits will ensure your project starts off on the right foot.
### Choosing the Right Location
The most cost-effective basement bathroom location is directly below an existing bathroom on the floor above. This positioning allows you to tie new drain and supply lines into the existing plumbing with minimal alteration. If possible, situate the new basement bath near the bottom of the staircase. An upstairs-downstairs layout facilitates proper ventilation.
### Managing Permits
Like any home renovation project, you’ll need to secure the proper permits before getting started. A licensed plumber can help navigate what’s required, but typical permits include:
- Building permit for structural changes
- Plumbing permit for new drain and supply lines
- Electrical permit for lighting circuits
- HVAC permit for exhaust ventilation
Research permit costs and plan applications in your area. Getting permits may take a few weeks, so file early to avoid project delays.
### Controlling Moisture
Moisture control is crucial for basement bathrooms. Waterproofing strategies like vapor barriers, adequate ventilation, and dehumidification prevent mold growth and deterioration.
Install plastic sheeting or closed-cell foam as a vapor barrier behind walls and under the floor. A quiet bathroom fan vented outside regulates humidity. A dehumidifier also helps maintain optimal basement moisture levels.

## Optimizing Layout and Materials
Careful planning and material selection keep costs low without sacrificing style or function.
### Planning Bathroom Layout
Consider standard fixture sizes and minimum clearances when designing your ideal layout. Toilet and shower clearances are typically 21-24 inches. Optimize every inch by recessing pipes into walls and choosing space-saving rectangular sinks.
Get creative to work around obstacles like pipes or ductwork. Curbless showers, corner sinks, and pocket doors all maximize functionality in tight spaces.
### Picking Flooring
Your flooring choice must stand up to a damp basement environment. Luxury vinyl plank or tile flooring replicates the look of materials like wood or stone at a fraction of the cost. With vinyl, you avoid susceptibility to moisture damage and pricey professional installation.
Laminate flooring is also budget-friendly while resisting water better than hardwoods. Other basement-friendly options include poured concrete with radiant heating or stained polished concrete.
### Selecting Fixtures and Materials
Outfitting an entire bathroom gets expensive quickly, but you can save substantially by buying used or vintage items. Check out estate sales, antique stores, and online classifieds like Craigslist.
Salvage warehouses like Habitat for Humanity ReStore have fixtures, lighting, tile, and building materials at huge discounts. Mix new contemporary elements with vintage charm for a custom look and feel.
## Doing It Yourself
By DIYing the plumbing, electrical, and framing work, you can trim thousands off the project cost. Arm yourself with the right knowledge before getting started.
### Basic Plumbing
Connecting new pipes to existing plumbing lines is totally doable for a dedicated DIYer. Use flexible rubber couplings to link drain lines from the new toilet, sink, and shower to existing PVC or cast iron pipes.
Copper crimp fittings make supply line connections a cinch. Position valves for easy access. If you need help, consult an experienced plumber for part of the work.
### Adding Electrical
Safe electrical wiring is non-negotiable. Run wiring inside wall framing for outlets near the sink and mirror. For lighting, you can install new circuits or tap into existing basement lighting safely.
Choose GFCI outlets in bathrooms for added safety near water sources. Hardwired lights provide flair, or inexpensive track lighting offers flexibility.
### Tiling Walls
Tiling the shower and backsplash yourself is an achievable task. Choose waterproof cement backerboard as your substrate. Apply thinset mortar before laying tile in a level, even pattern.
Use a level and spacer to keep uniform grout lines. Let the thinset cure fully before grouting. Apply grout with a float and sponge for professional results.
## Enjoy Your New Basement Bathroom
With diligent planning and cost-saving material choices, it is possible to add a functional bathroom to your basement without breaking the bank. Follow this guide to reuse existing plumbing, shop secondhand, DIY the labor, and avoid common pitfalls.
Soon that unused basement space will be transformed into a convenient living area with a brand new bath. The small upfront investment pays ongoing dividends in enhanced home value and comfort.
We’ve covered tips for laying the groundwork, optimizing layout, choosing economical materials, and doing the plumbing, electrical, and tiling yourself. Put these strategies into action to get more from your basement–and stay within your budget!
