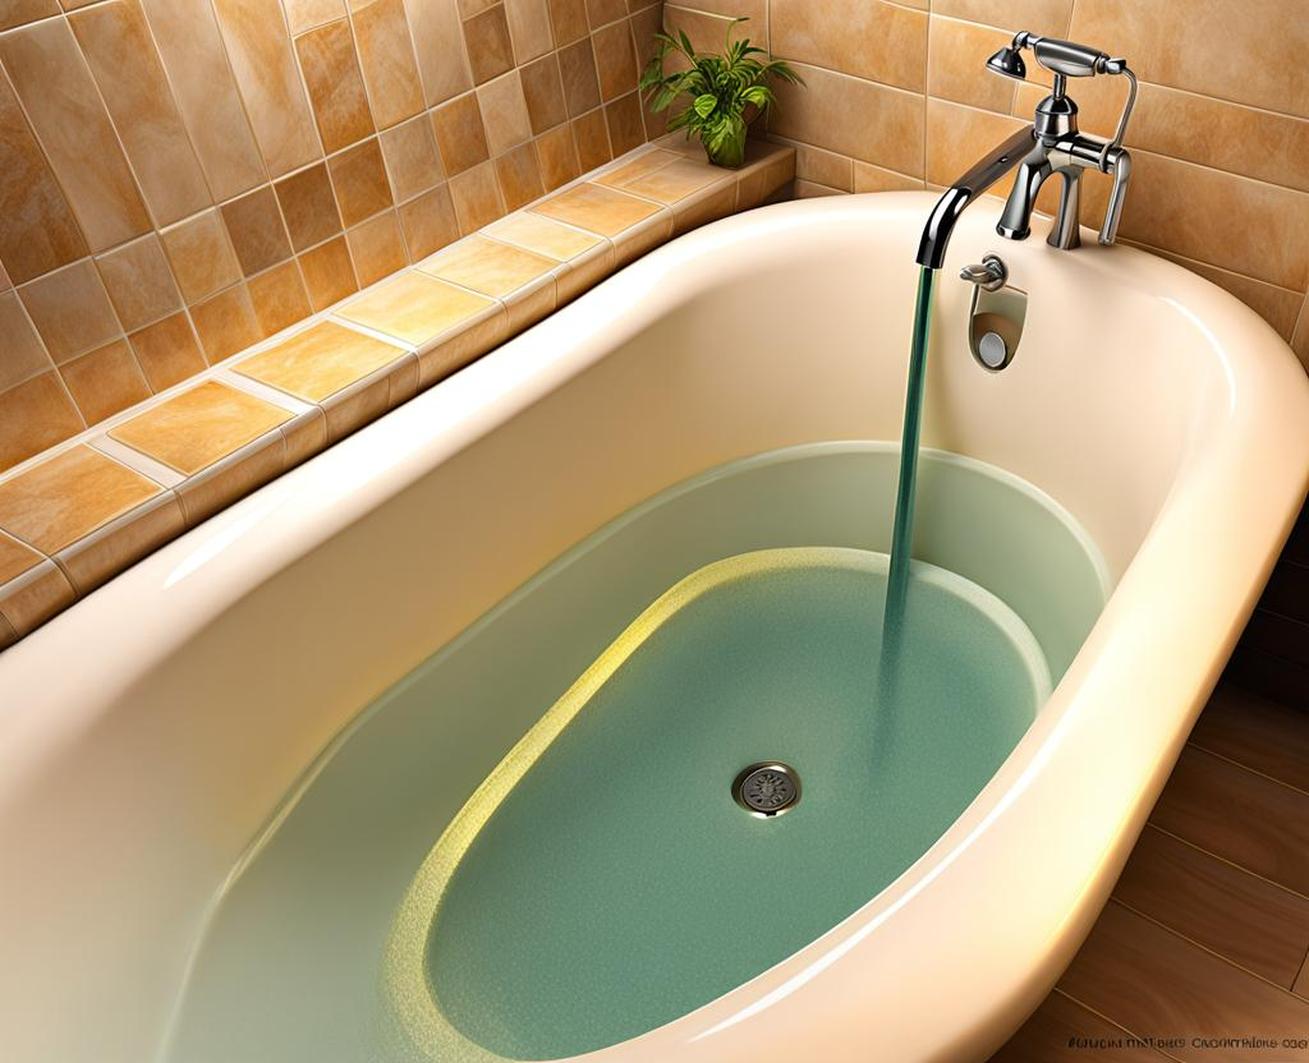
Is your bathtub drain clogged, causing water to accumulate around your feet? Don’t panic – with a few simple tools and these easy steps, you can have your tub draining properly in no time.
A functioning tub drain is crucial for relaxing soaks. When complications arise with the trip lever or drainage apparatus beneath, it leads to unsightly backups and soggy cleanup. Thankfully, most tub drain repairs can be tackled successfully over a weekend with basic mechanical skills.
Step 1: Diagnose the Problem
Before attempting to unclog a stubborn tub drain, it helps to understand the anatomy of the drainage system. Lifting the trip lever operates a linkage connected to a bar under the tub. This bar lifts a stopper in the drain pipe to allow water flow. Issues can occur both with the visible plumbing fixtures and the hidden pipe mechanisms.
First inspect the accessibility and function of the trip lever itself. Can you fully lift and lower it? If unable to move, grime and mineral deposits may be jamming the works. Take note of any loose, disconnected, or broken parts too. Testing lever action will determine if deeper diagnosis is needed.
Inspect Linkage Movement
The linkage connecting the trip lever should exhibit free range of motion. Restriction during the lift-lower cycle indicates a stuck component like the operating rod or the bar under the tub. Buildup, kinks, or disconnected sections can all immobilize this mechanism.
Visually Inspect Drain
Peer down into the drain opening while operating the trip lever. The stopper at the bottom should rise and lower in concordance with lever movement. If no stopper is visible, the issue may lie with the concealed piping or trap beneath the tub. You can also fill the tub with water to check filling and drainage speeds for any noticeable blockage.
Step 2: Clean the Drain
If inspection proves the trip lever and linkage to be operational, sluggish drainage points to a clogged pipe. Start by detaching the visible plumbing hardware from around the tub drain.
Remove Drain Cover
Use a wrench or pliers to detach and extract the decorative drain cover piece along with connected rods and fasteners. This exposes the drain pipe opening for cleaning access.

Extract Hair & Debris
Insert a small snake or bent wire down the drain pipe to fish out hair, soap scum, and other debris that may be trapping water. Aim to clear at least 12 inches down into the pipe route to ensure no deeper clogs remain.
Clear Pipe & Drain
For more stubborn accumulations, pour a homemade baking soda and vinegar treatment down the wide-open pipe. Let bubble for 10 minutes then flush with very hot tap water to dissolve grease residues. Avoid chemical drain cleaners which can damage pipes.
Replace Drain Hardware
Once confident the pipes are clear, reassemble plumbing components in reverse order, taking care to securely hand tighten. Adjust lift rods, fasteners, and compression pieces until any previous drainage restriction is relieved.
Step 3: Adjust or Replace Components
If the preceding steps fail to improve drain function, further repairs are needed. Commence by disconnecting and examining key parts of the trip lever apparatus.
Adjust Linkage
The lift rod must maintain proper slack when the trip lever rests in both the fully up and down positions. If too loose, shorten adjustable connecting chain links as needed to restore responsive lever action.
Replace Broken Parts
Components like the actual trip lever, lift rod, clevis hooks, or full drain linkage may need replacement if cracking or corrosion is found. Take broken parts to the hardware store to match replacement pieces.
Carefully follow manufacturer instructions when installing new drain hardware. Getting the assembly sequence and positioning exactly right is key for smooth lever operation.
Test Lever Movement
After any repairs to the trip lever or linkages, fill tub and test system functioning. Achieving free range of motion along with unimpeded water flow confirms your DIY fix was successful!
Additional Troubleshooting Tips
For extremely stubborn tub drain issues that resist clearing, involve wider plumbing systems. Inspect supply lines, valves, and waste pipes under and around the tub. A damaged section could impair water flow enough to also affect drainage.
If multiple attempts to get your bathtub drain working fail, don’t destroy your weekend in frustration. Pick up the phone and have a professional diagnose and remedy the problem efficiently using industry expertise and tools.
As you luxuriate in your freshly unclogged tub, enjoy the satisfaction of overcoming a household plumbing headache. Not only are you now relaxed, your wallet is too thanks to fixing the issue yourself. Knowing how to keep tub drains clear and functioning optimizes enjoyment of long, stress-melting baths going forward.
