Transforming your kitchen with a stunning new backsplash is easier than you think. We’re spilling all the tips and tricks to install picture-perfect tile backsplashes that upgrade your space with personality and pops of color. With a splash of creativity and our foolproof how-to, your walls will be magazine-worthy in a weekend.
A backsplash protects your walls from inevitable splatters and stains in a hardworking kitchen. Beyond function, it dresses up your design with limitless colors, materials, shapes and arrangement options. Installing a backsplash yourself saves thousands over pro installation. We’ll guide you through picking dazzling materials, prepping like a pro, laying flawless tiles, grouting and sealing for a masterpiece that looks like you spent big.
Why Install a Kitchen Backsplash?
Upgrading from a boring painted wall to an eye-catching backsplash inserts character and cuts down messes. Backsplashes shield walls from water, oil splatters and sauces reducing cleanups. An easy DIY weekend project pumps value into your home. Here’s why you should install a backsplash:
- Protects Walls: Backsplashes act as a sacrificial barrier protecting painted walls from inevitable kitchen messes.
- Prevents Damage: Grease, water and food splashes can stain, yellow and degrade drywall without a backsplash.
- Easy To Clean: Wiping splatters from a smooth non-porous backsplash is much simpler than repainting.
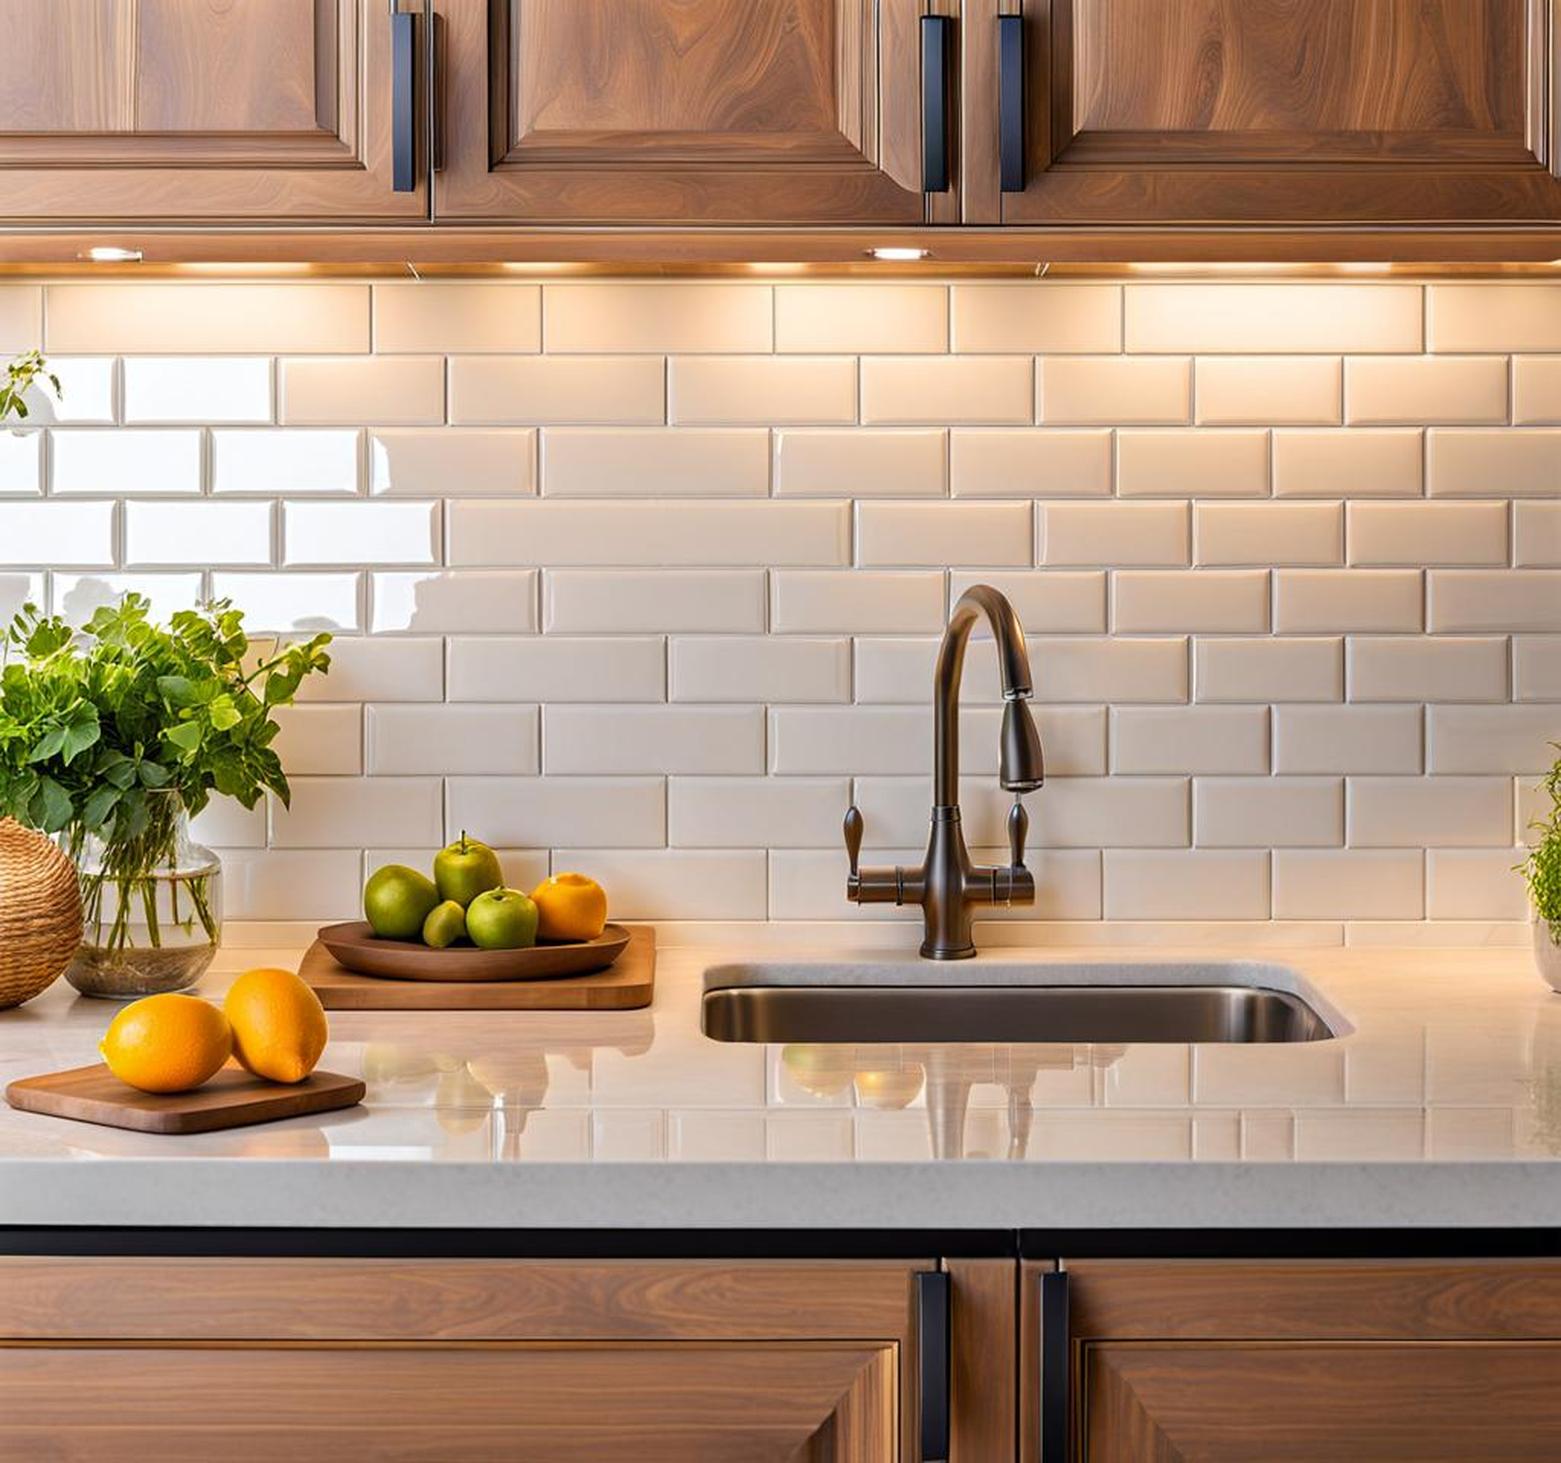
- Stylish Accent: From sleek subway tiles to artful mosaics, backsplashes inject personality.
- Increased Home Value: Updating to trendy backsplash materials quickly pays dividends.
- DIY Project: Installing a backsplash yourself saves thousands over contractors.
Backsplash Materials
Choosing your backsplash tiles or sheets sets the tone for your whole kitchen’s style. Play with shape, color and texture mixing materials, sizes and layouts. Consider maintenance and costs balancing your budget with long-lasting durability:
Ceramic Or Porcelain
Glazed ceramic and porcelain tiles are wildly popular choices renowned for durability. With endless shapes, sizes, colors and sheens from matte to shiny, the versatility suits any motif. Either material resists moisture, heat and stains better than organic materials. Opt for rectified edges and consistent sizing for seamless alignment.
Glass Tiles
Sleek glass backsplash tiles infuse modern sparkle. Translucent, opaque or frosted finishes catch the light elegantly. Iridescent glass mosaics create beguiling mermaid-hued shimmers. Prone to chipping, select tempered or thick tiles and cut carefully. Avoid behind stoves.
Natural Stone
Granite, marble, travertine and slate backsplashes generate an organic vibe. Each has unique natural veining in an array of colors from bold to neutral. Soapstone and quartzite also available; both very resilient. Stone costs more, requires sealing and can stain. Check how porous the stone is before deciding.
Metal Tiles
Mirror-finish stainless steel, mosaic penny rounds or embossed tin tiles impart industrial edge. Mix metal and glass tiles for ultra-modern atmospheres. Use care when cleaning metal; some finishes scratch or erode. Stainless steel endures beautifully.
Backsplash Height and Layout
Standard backsplash height falls between 4″- 6″ above countertops protecting the wall behind sinks or ranges. Full height backsplashes reaching up to bottom cabinets make bigger visual impact covering more wall space. Choosing funky shapes, mosaic mixes or distinct materials helps full heights feel less overwhelming.
Creative layouts amp visual dynamism with contrasting materials or using multiple sized tiles. Imagine brickwork, checkerboard, chevron, herringbone and picture frame layouts. Tiles with varied textures, sheens and tones interplaying across the wall breaths life into mundane spaces.
Match Cabinets and Counters
Tying your backsplash into existing cabinetry and countertops pulls the whole room together. Match cabinet stains to wood plank backsplashes or echo granite counters and metals within the backsplash materials and colors. Accent with pops of brightness; imagine sunny yellow glass subway tiles against chocolate cabinets.
Getting the Right Tools
Installing backsplash tile successfully hinges on using the proper tools. DIYing requires few special supplies beyond home improvement staples. Ensure you have these essential tile setting tools:
- Notched Trowel: Key for evenly combing thinset adhesive onto walls before mounting tile.
- Tile Cutter: Cut ceramic tiles to exact sizes; manual snapper or electric wet saw.
- Grout Float: Helps set tile evenly. Essential for forcing grout into seam gaps.
- Tile Spacers: Create consistent grout line widths between tiles.
- Grout Sealer: Protects porous grout from staining once dried.
- Rubber Grout Float: Smooths grout lines and cleans excess.
- Sponges & Buckets: For wiping up water and grout mixture.
- Safety Gear: Gloves, dust masks and goggles for cutting.
Preparing the Wall Surface
Installing backsplash tile over damaged, uneven or dirty walls spells disaster. Don’t skip vital prep ensuring surfaces are smooth, clean and ready for quality adhesion. *Only apply tile backsplash to moisture-resistant wallboard, cementboard or water-resistant plaster walls.
Clean Thoroughly
Eliminate all grease residue, soap film, dust and oils so thinset mortar bonds tightly. Hot water and ammonia-based cleaners like tsp dissolve kitchen grime. Rinse fully; traces impede adhesion. Sand and scrape paint drips or leftover wallpaper adhesive. Fill any cracks or holes.
Check Level & Wall Damage
Walls must be perfectly plum and flat. Verify with a level checker that surfaces don’t slope outward. Bulges impede proper installation. Floating walls using shims or furring strips levels uneven areas. Sand down high points or use joint compound to fill indentations.
How To Cut Tile
Measuring precisely before cutting prevents expensive tile waste and cracked tiles. Avoid narrow slivers under 1″ against walls; adjust layouts to utilize tile pieces completely. Cut holes for outlets, plumbing or switches with mosaic nippers before mounting.
Measure Twice, Cut Once
Map out your entire tile layout including potential cuts before adhering any. Measure each wall separately; never assume parallel uniformity. Note measurements to make all cuts before installation. Adjust layouts as needed to limit piecing small tiles.
Mark Lines Before Cutting
Double-check measurements marking cutting lines with a straightedge and pencil directly on tiles. Ensure marks are dark and crisp to follow while cutting. Utilize a square ruler for flawless 90-degree corners.
Manual Tile Cutter vs Wet Saw
Basic snap tile cutters efficiently crosscut small rectified tiles under 18″. Position wheels on marked lines applying firm pressure down and away to score and snap cleanly. For specialty cuts, intricate tiles or natural stone, use a wet saw.
Electric wet saws cut ceramic, porcelain or stone tiles immaculately with adjusting blades and continuous water flow to limit friction and dust. Master straight lines or curve detail work; these saws create polished, custom cuts outperforming manual snappers.
Applying Thinset Mortar
Thinset adhesive mortar durably mounts backsplash tiles to walls long-term. Using the proper trowel ensures maximum coverage across the wall and tile backs. Avoid air pockets leaving gaps in adhesive thickness.
Mortar Coverage Guidance
Refer manufacturer advisories to choose the optimal thinset mortar trowel notch size for specific tile dimensions. Small mosaic tiles require 1/8″ notched trowels; medium tiles need 3/16″-1/4″ notches. Larger tiles may require up to 1/2″ notched trowels for full mortar contact and transfer.
Trowel Techniques
Hold trowel at 45 degree angle spreading thinset adhesive firmly onto the wall’s surface. Apply even layers combing same direction throughout. Consistently replace dried mortar; do not re-wet. After combing mortar onto entire planned area, gently flatten ridges for ideal contact.
Setting the Tiles
Mind your spacers, adjustments and gently setting tiles avoids lippage between misaligned edges once grouted. Plot starting points and work methodically outwards. Don’t rush; tiles can be nudged for precision over 20 minutes while mortar is wet.
Start Tile Layout in Middle
Centering initial tiles along focal backsplash points prevents miscalculations on side walls. Measure the mid-line point or use a plumb line marker. Begin applying tile from center across wall, verifying alignments as you go.
Mind The Spacers
Plastic spacers keep precision 1/16″ or 1/8″ gaps between tiles for clean grout line continuity. Place 4 spacers per tile pressing into mortar when setting. Ensure spacers connect each tile, being careful not to shift alignments.
Check Bond Strength
After setting 4-5 tiles, lift a tile checking mortar transfer contact across 80% of the back. If lacking, remove and adjust trowel angle or notch size to improve adhesion.
Adjust & Align
Gently slide newly set tiles across mortar checking alignments to create flawless lines. Nudge misaligned tiles immediately before mortar dries. Use a level and spacers to maintain precision.
Grouting Seams
Grout fills joints uniformly with color, seals tiles and stabilizes for a polished unified look. Ensure mortar has cured fully before this step which can loosen unset tiles. Mix grout floating into seams to seal tiles securely.
Let Mortar Cure Completely
Rushing grouting before adhesive mortar has cured for 24-48 hours risks loosening tile bonds. Don’t grout prematurely. Verify mortar has dried completely checking firm tile corners before proceeding.
Mixing Grout
Choose suitable grout for your tile material and space. Mix powdered grout using less water for narrower seam widths. Replace half the water amount with additive like Grout Boost to resist staining and improve consistency.
Force Into Seams
Hold grout float at 45 degree angle firmly packing pools of grout across all seams to fill completely. Hold edges flush pressing grout into crevices. Leave no gaps or pinholes for cracks and staining later.
Clean Excess Grout
Wipe diagonally across tiles with minimal pressure to avoid pulling grout from seams. Clean tiles and grout lines methodically transitioning to damp sponges rinsing often. Allow drying 72 hours, avoid surface contact.
Finishing Touches
Pull your stunning new backsplash together with subtle yet vital finishing details. Clean and seal grout to protect color and finish edges with caulk hiding imperfections.
Fill in around sinks, changes in materials and perimeter edges with silicone caulk matching grout color. Smooth the bead with dampened fingers for clean uniform lines. Caulk hides minor cuts and seam gaps.
Before sealing, ensure grout has cured fully, keeping the area dry 72 hours. Apply grout sealer liberally across all grouted areas. Let soak in 10-15 minutes, then wipe gently avoiding excess pooling. Reapply yearly.
Installation of a backsplash requires no professional experience, even with the right tools. Before you know it, that blank wall blossoms into an artistic focal point showcasing your unique style.
