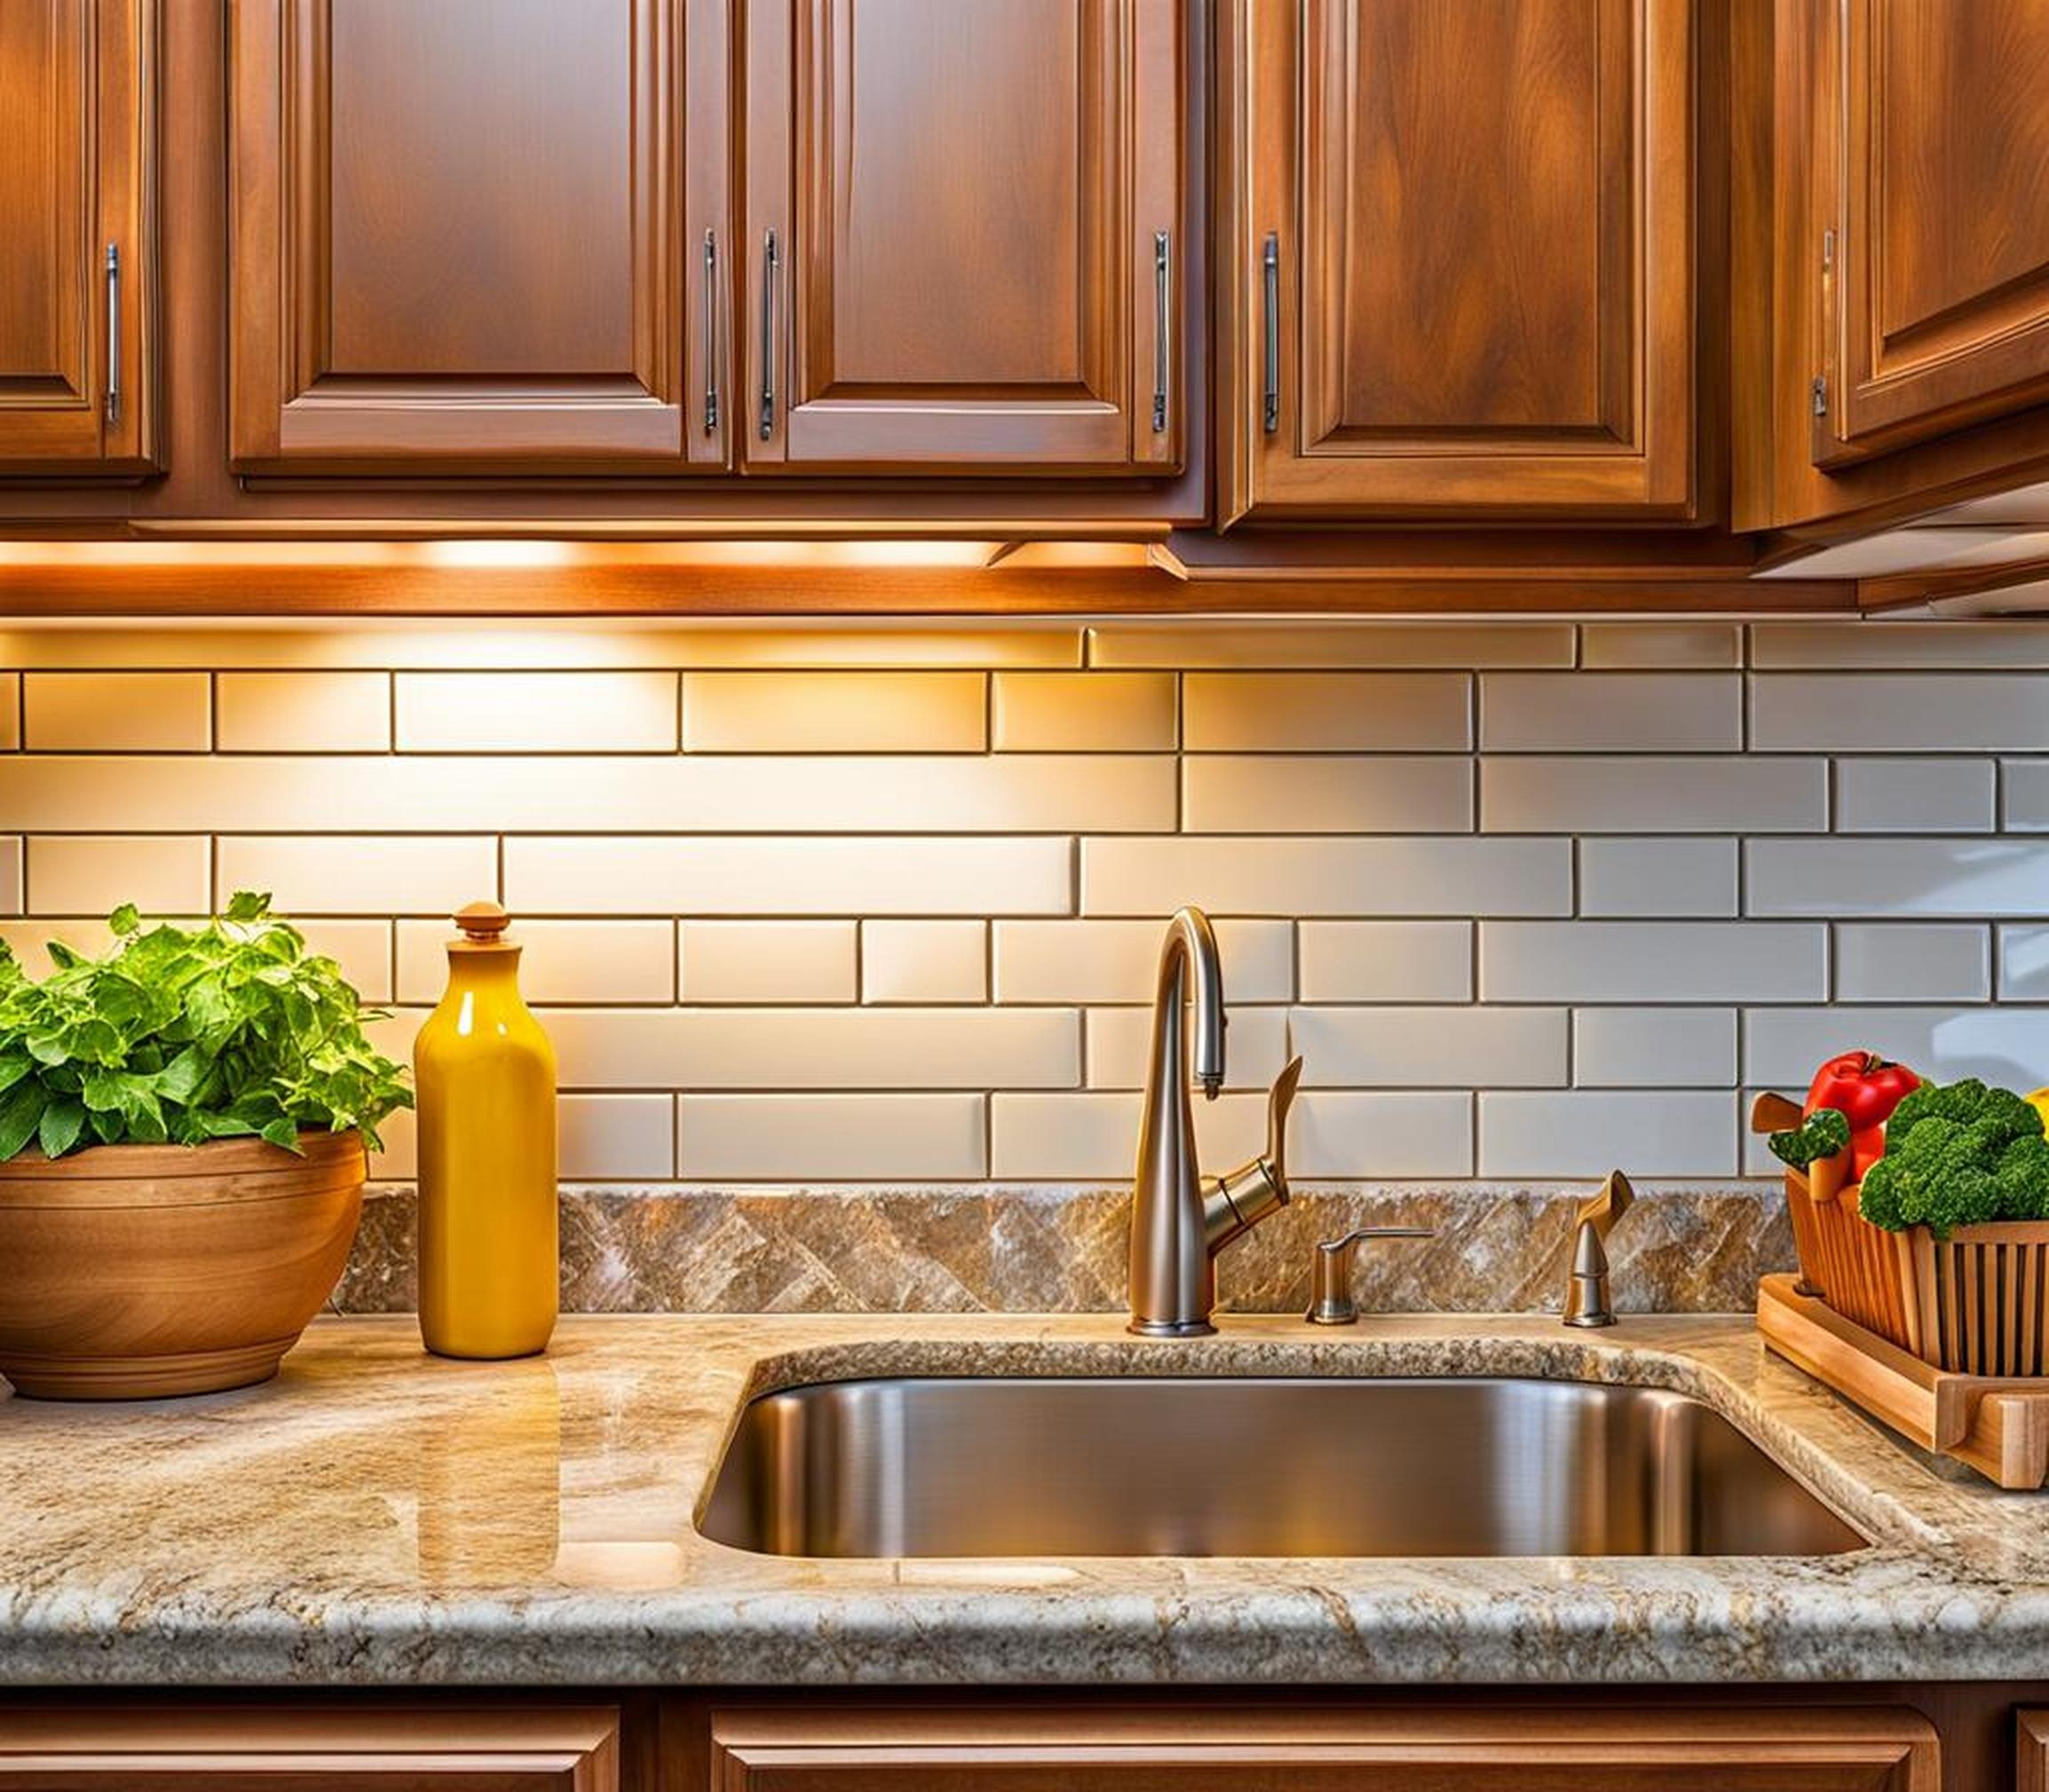
Is your kitchen backsplash looking tired and dated? Outdated tile or grimy grout can make even the nicest kitchen feel dingy. If your backsplash has seen better days, it may be time for a fresh new look.
Replacing a backsplash is an easy and affordable way to give your kitchen an instant facelift and add value to your home. But first, you need to tear out the existing backsplash without damaging your walls. Don’t worry – with the right tools and techniques, you can destroy that outdated backsplash in just 6 easy steps!
Step 1: Gather Your Materials
Destroying a tile backsplash takes some brute force, so having the right gear is key. Arm yourself with these essential tools before getting started:
- Safety glasses and dust mask
- Hammer
- Putty knife and chisel
- Screwdriver and pry bar
- Utility knife
- Reciprocating saw (for stubborn areas)
You’ll also need drop cloths to protect surrounding surfaces from debris and garbage bags for tile disposal. Avoid making numerous trips to the garbage by bringing plenty of heavy duty bags.
Other Handy Tools
While not mandatory, the following items can make demolishing your backsplash a bit simpler:

- Paint scraper for thinning adhesive
- Grout removal tool
- Oscillating multi-tool
Step 2: Clear Countertops and Cover Surfaces
Now it’s time to prep your demolition zone. Start by clearing everything off your countertops and removing any decor or appliances from the backsplash area. You’ll make less of a mess if there’s nothing in the demolition zone to potentially break or coat with dust.
Cover remaining surfaces that can’t be cleared with plastic sheeting or drop cloths. Use painter’s tape to securely border off surfaces you want to protect, like countertops or cabinets. Prevent damage by covering appliances with blankets or moving smaller items to another room.
Shut Off Electricity to the Area
If your backsplash houses any electrical outlets, switches, or under-cabinet lighting, temporarily shut off power to avoid nasty shocks. At your breaker box, locate the circuit labeled for the kitchen and flip the switch to “off.”
Double check power is off by trying to turn on the garbage disposal or a nearby outlet. Proceed with demolition once you can confirm electricity flow has halted.
Step 3: Break the Tile Seal
Here comes the fun part – time to destroy that outdated backsplash! Start by prying off any cracked, loose, or missing grout with a screwdriver or pry bar. Focus first on the grout lines as this step loosens tiles for easier removal.
Use your hammer and putty knife/chisel to start popping whole tiles off the wall. Carefully wedge the blade of your putty knife or chisel under one corner of a tile and gently tap the handle. Apply controlled blows rather than full swings of the hammer.
Work methodically in small sections until tiles release their adhesive grip. Target areas around electrical outlets last, gently freeing tiles to avoid damage.
Dealing with Stubborn Tiles
Some adhesive may prove tricky to defeat. Try heating old mastic first with a blow dryer or heat gun to loosen its bond before prying. For exceptionally stubborn spots, use a utility knife to cut tile into smaller, more manageable pieces before removal.
A multi-tool or rotary tool like a Dremel can also help if encountering intense adhesive resistance behind a tile. Take care not to gouge into the drywall behind.
Step 4: Remove Remaining Adhesive
Once tile devastation is complete, it’s time to deal with the sticky remnants. Use your putty knife, hammer, or chisel in scraping motions to remove the majority of dried adhesive clinging to the wall.
Then use 120-grit sandpaper, a drywall sanding sponge sander, or adhesive removal tool to smooth and thin any lingering residue. Work in sections until only a thin film remains. Some adhesive residue is acceptable, especially if removing thinset mortar which bonds very securely.
Extra Cleaning Solutions
For wall spaces with intense leftover gunk and built up grime, try:
- Diluted white vinegar solution to cut through residue
- Hot water to loosen bonds
- Environmentally-friendly adhesive remover if dealing with old mastic
(Avoid harsh chemical removers which can damage drywall.)
Step 5: Properly Dispose of the Rubble
That dated backsplash is officially destroyed, but don’t let your hard demolition work turn into a horrible mess. Carefully contain chipped tile pieces, grout dust, adhesive globs, and any other debris
Hold broken tile shards securely within heavy duty garbage bags or covered buckets when transporting to avoid spillage. Review local regulations for proper disposal methods in your area. Many facilities require old tile and adhesive be brought to special waste or construction debris sites.
Once you’ve wiped the slate totally clean of tile and adhesive, wash the backsplash area thoroughly with an all-purpose cleaner. Sugar soap or TSP substitute work well to remove grimy residue.
Inspect the wall for any damage in need of patching before installing your exciting new backsplash. Check electrical outlets still function properly before reconnecting power.
If severe uneven spots remain from gouges or adhesive clumps, use drywall joint compound and sandpaper to smooth. The goal is creating a blank, stable surface for your fresh backsplash materials to properly bond.
Pat yourself on the back – you’ve successfully completed demolition and can now install a spectacular new backsplash. No more feeling trapped staring at outdated tile and grody grout whenever you cook. The dream backsplash you’ve been envisioning is almost within your grasp!
