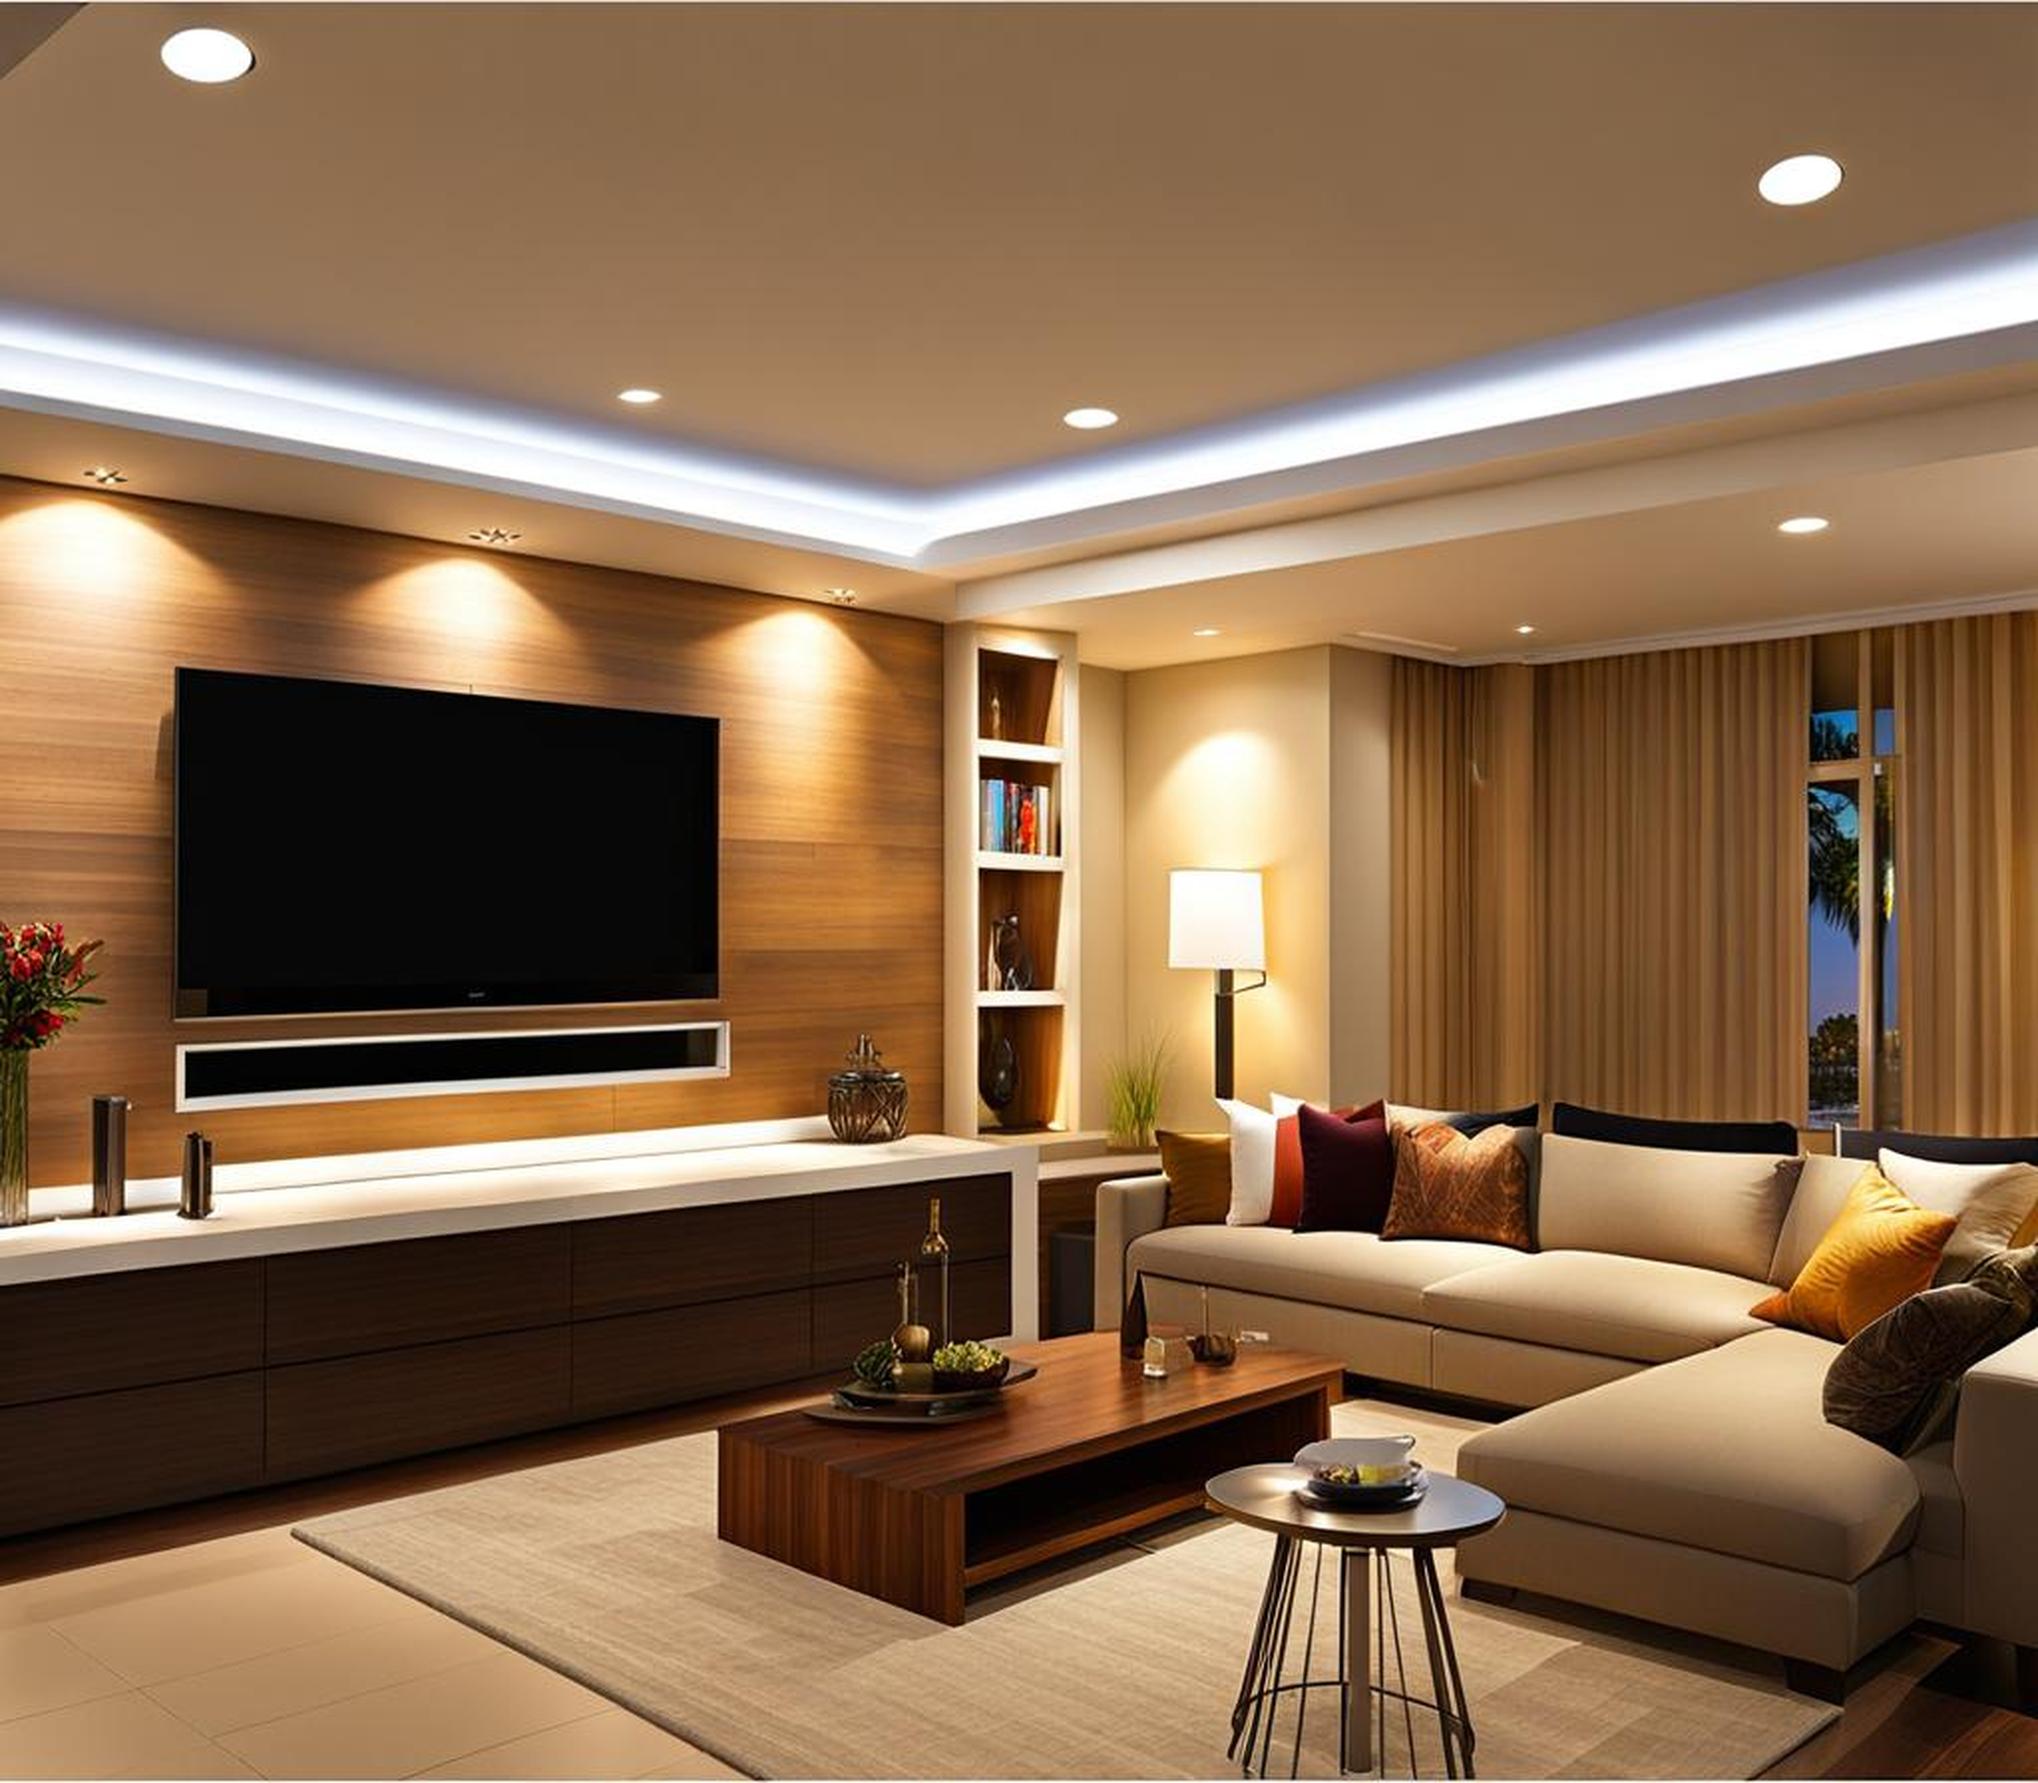
A well-designed recessed light layout can make your living room shine. The strategic placement of recessed lighting highlights your living space beautifully without glaring light. With recessed lights, you can create soft ambient lighting as well as illuminate focal points to make your artwork or architectural details pop. Follow these 5 steps to design a flawless recessed light layout for your living room.
Step 1: Determine Your Lighting Goals and Needs
First, decide what you want your recessed lighting to achieve. Recessed lights are available in three main types:
- Ambient lighting – Provides overall general illumination for the room
- Accent lighting – Focuses light on particular areas like art or architectural details
- Task lighting – Offers targeted light for activities like reading
Consider your living room’s size, ceiling height, and activities. If it’s a large room, ambient recessed lighting can create cozy warmth. For a focal point like artwork, use accent lighting. Near seating areas, add task lighting for reading nooks.
Calculate how much lighting you need. Living rooms typically require 20-40 lumens per square foot. Factor in ambient daylight from windows to avoid excessive light levels.
Step 2: Map Out Fixture Locations on a Floor Plan
Draw your living room’s layout to scale using graph paper or room planning software. Mark ideal spots for your determined lighting goals – entrances, seating areas, artwork. Space the fixtures evenly using this standard guideline:
Ceiling Height / 2 = Distance Between Lights
For example, a room with 8 foot ceilings would place recessed lights 4 feet apart. Avoid installing fixtures directly above sofas or chairs to prevent glare.
Select your preferred recessed lighting type like downlights, wall wash lights or linear lighting. Each has different beam angles from wide to focused, impacting light spread.
Step 3: Choose Your Fixtures and Controls
Now select your fixtures considering finish, size, features, and controls:
- Finish – Choose white, metallic, or colored trims.
- Size – Standard, mini or micro. Mini is ideal for rooms with short ceilings.
- Features – Go for dimmable, rotating, or eyeball adjustability.
- Controls – Dimmers, remote controls, or smart home automation.
Step 4: Install Fixtures and Test the Layout
Proper installation is key for flawless performance and safety. Hire a professional electrician to handle the electrical requirements. Position and secure the housings carefully based on your plan.
Test the lights at night to evaluate your layout. Are there unintended shadows or dark areas? You can adjust beam angles or add fixtures to improve coverage. Use dimmers to set the right ambiance.
Common troubleshooting tips include:
- Widening beam angle to spread narrow light
- Increasing fixture wattage for darker corners
- Changing cool white to warm white color temperature
Add stylish supplemental lighting like pendant lights, sconces and table lamps. These provide flexible task lighting while accentuating your decor. Install dimmer switches to control different lighting moods for entertaining or relaxing evenings.
The strategic placement of recessed lighting forms a strong foundation for living room illumination. Following these 5 steps will help you design a flawless layout tailored to your space. Proper planning and layering in supplemental decorative fixtures creates a warm, welcoming ambiance for all your living room activities.
