Painted rocks are gaining popularity as a fun, creative way to add artistic touches to gardens and outdoor living spaces. From simple, solid designs to intricate patterns and images, a coat of colorful paint can transform ordinary rocks into unique, personalized garden accents.
In this post, we’ll walk through everything you need to know to create your own painted rocks to decorate your garden. You’ll learn rock selection tips, basic supplies needed, design ideas, placement suggestions, and maintenance to ensure your hand-painted rocks enhance your outdoor oasis all season long.
Choosing Rocks for Painting
For creating painted garden rocks, you’ll want to look for rocks that have a smooth, flat surface that acrylic paint can easily adhere to. River rocks are a great option, as they tend to have an oval, flat shape perfect for painting. You’ll also want rocks of different sizes and shapes to work with.
Larger rocks can become focal points in your garden, painted with big, bold designs. Smaller rocks are perfect for adding tiny pops of color and intricate details as accents. Aim for a range of sizes – from rocks small enough to fit in the palm of your hand to larger statement rocks up to the size of your head.
Before painting, it’s important to properly clean and prepare your rocks. Give them a good scrub with soap and water to remove any dirt or debris. Allow to fully dry. For a smooth painting surface, you can use fine grit sandpaper to gently smooth any rough spots on the rocks.
Necessary Supplies
To get started painting garden rocks, you’ll need:
- Acrylic craft paint – formulated for outdoor use
- Paint pens and small brushes
- Clear acrylic sealer like Mod Podge
- Container for washing rocks
- Paper towels for drying
Aim for weather-resistant acrylic paint made specifically for outdoor surfaces. Test brands on sample rocks before fully committing. You’ll also need paint pens for detail work and paintbrushes in small sizes like 00 or 000 to handle finer details.
A clear acrylic sealer is essential at the end to protect your painted designs from sun damage and wear. An outdoor varnish or spray sealant also works well for rock protection.
Design and Painting Techniques for Garden Rocks
Now comes the fun part – using your imagination to design the perfect painted rocks for your garden! Start with solid base coats in your favorite colors. You can do a single color or create patterns with contrasting colors like polka dots, stripes, chevron, etc.
From there, add details and dimension using paint pens and small brushes. Paint pens give you control for crisp lines and are great for lettering. Brushes help blend and soften edges. Play with layering colors and adding textures with techniques like dry brushing.
Some garden rock painting ideas include:
- Florals and leaves
- Butterflies, ladybugs, bees
- Geometric patterns
- Mandalas
- Positive words and phrases
Feel free to get creative and paint anything that brings you joy! Use stencils if you need help with complex designs. Start simple if you’re new to rock painting. You can always add details in layers as your skills improve.
Applying a Sealant
Once your painted rocks are completely dry, it’s vital to seal them to protect the artwork from sun exposure and moisture. Use a clear acrylic sealer like Mod Podge or an outdoor varnish.
Working outside or in a well-ventilated area, apply 1-2 coats of sealant following the product instructions. Use a brush or spray bottle to apply a thin, even layer. Give each coat time to fully dry before adding another.
The sealant acts like a protective barrier over the painted designs. Reapply every year or as needed if you notice wear and fading to give your rocks a refresh.
Rock Placement Ideas for Garden Decor
Now comes the fun part – artistically arranging your painted rocks around your garden and outdoor living areas. Place them purposefully to enhance the overall look and feel of your space.
Rock border edges along garden beds and pathways. Use rocks to frame the outer edges of planting areas or line pathways. Arrange them in eye-catching patterns or color gradients.
Accent rocks around plants and flower beds. Add pops of color by tucking painted rocks around foliage, in empty spots between plants, or along the front of flower beds.
Plant markers and garden labels. Paint names, numbers, or symbols on rocks to identify plants. Place them at the base of plant or stake into the ground.
Garden stepping stones. Larger, flat rocks can become colorful stepping stones leading through your garden.
Decorate walls and fences. Painted rocks add whimsy and personality when placed along garden walls, borders, around mailboxes, etc.
Let your creativity guide you to find the perfect placement for your painted rocks to spruce up your garden. Shift them around seasonally for a fresh look.
Seasonal and Holiday Painted Rocks
You can adapt your rock painting designs to match the season or holiday. Paint spring flowers and butterflies for spring. Bold sunflowers and ladybugs for summer. Leaves and acorns for fall. Snowmen and snowflakes for winter.
For holidays like Valentine’s Day, Easter, 4th of July, Halloween, and Christmas try painting fun designs to complement each season. Change out your painted rocks as you transition between seasons and holidays.
Store painted rocks that aren’t in use for a particular season indoors so they remain protected and don’t get weathered. Switch them out as needed to keep your garden decor looking fresh.
Kindness Rocks Movement
Beyond decorating your own garden, you can also spread joy through painted rocks by participating in the Kindness Rocks movement. This trend involves painting inspirational designs and positive messages on rocks and leaving them in public places for others to find.
Paint your rocks with words of affirmation, inspirational quotes, flowers, hearts, mandalas, etc. Seal them well. Then, leave them along walking trails, park benches, libraries, or anywhere people frequent as surprise treasures.
Finding a beautifully painted rock brightens someone’s day and reminds them to spread more kindness. Get the whole family involved in painting kindness rocks to hide in your community.
Ensuring Durability
To get the most longevity out of your painted garden rocks, make sure you:
- Use exterior-grade acrylic paints and sealants.
- Apply sealant properly in thin, even layers.
- Reapply sealant every year or as needed.
- Touch up paints chips or faded areas as necessary.
With quality craft paint, a good sealant, and occasional maintenance, your painted rocks can enhance your garden for many years. Reseal them anytime you notice fading or wear.
For extra durability, you can use a UV-resistant spray paint as your base coat before painting designs. This helps protect against sun damage over time.
Showcase Your Painted Garden Rocks
Be strategic about placing your painted rocks in spots where visitors to your garden will notice and appreciate them. Arrange groups of rocks along borders or pathways for maximum visual impact.
Use large statement rocks to lead people through your garden space. Place eye-catching designs near seating areas where people can admire them up close.
Group rocks with cohesive themes or color palettes to create little vignettes. You can paint rocks to match your garden’s overall style – whether that’s colorful and eclectic or neutral and minimalist.
Show off your rock painting skills by incorporating unique shapes like hearts, stars, or diamonds. Let your painted rocks reflect your creativity to others who visit your garden retreat.
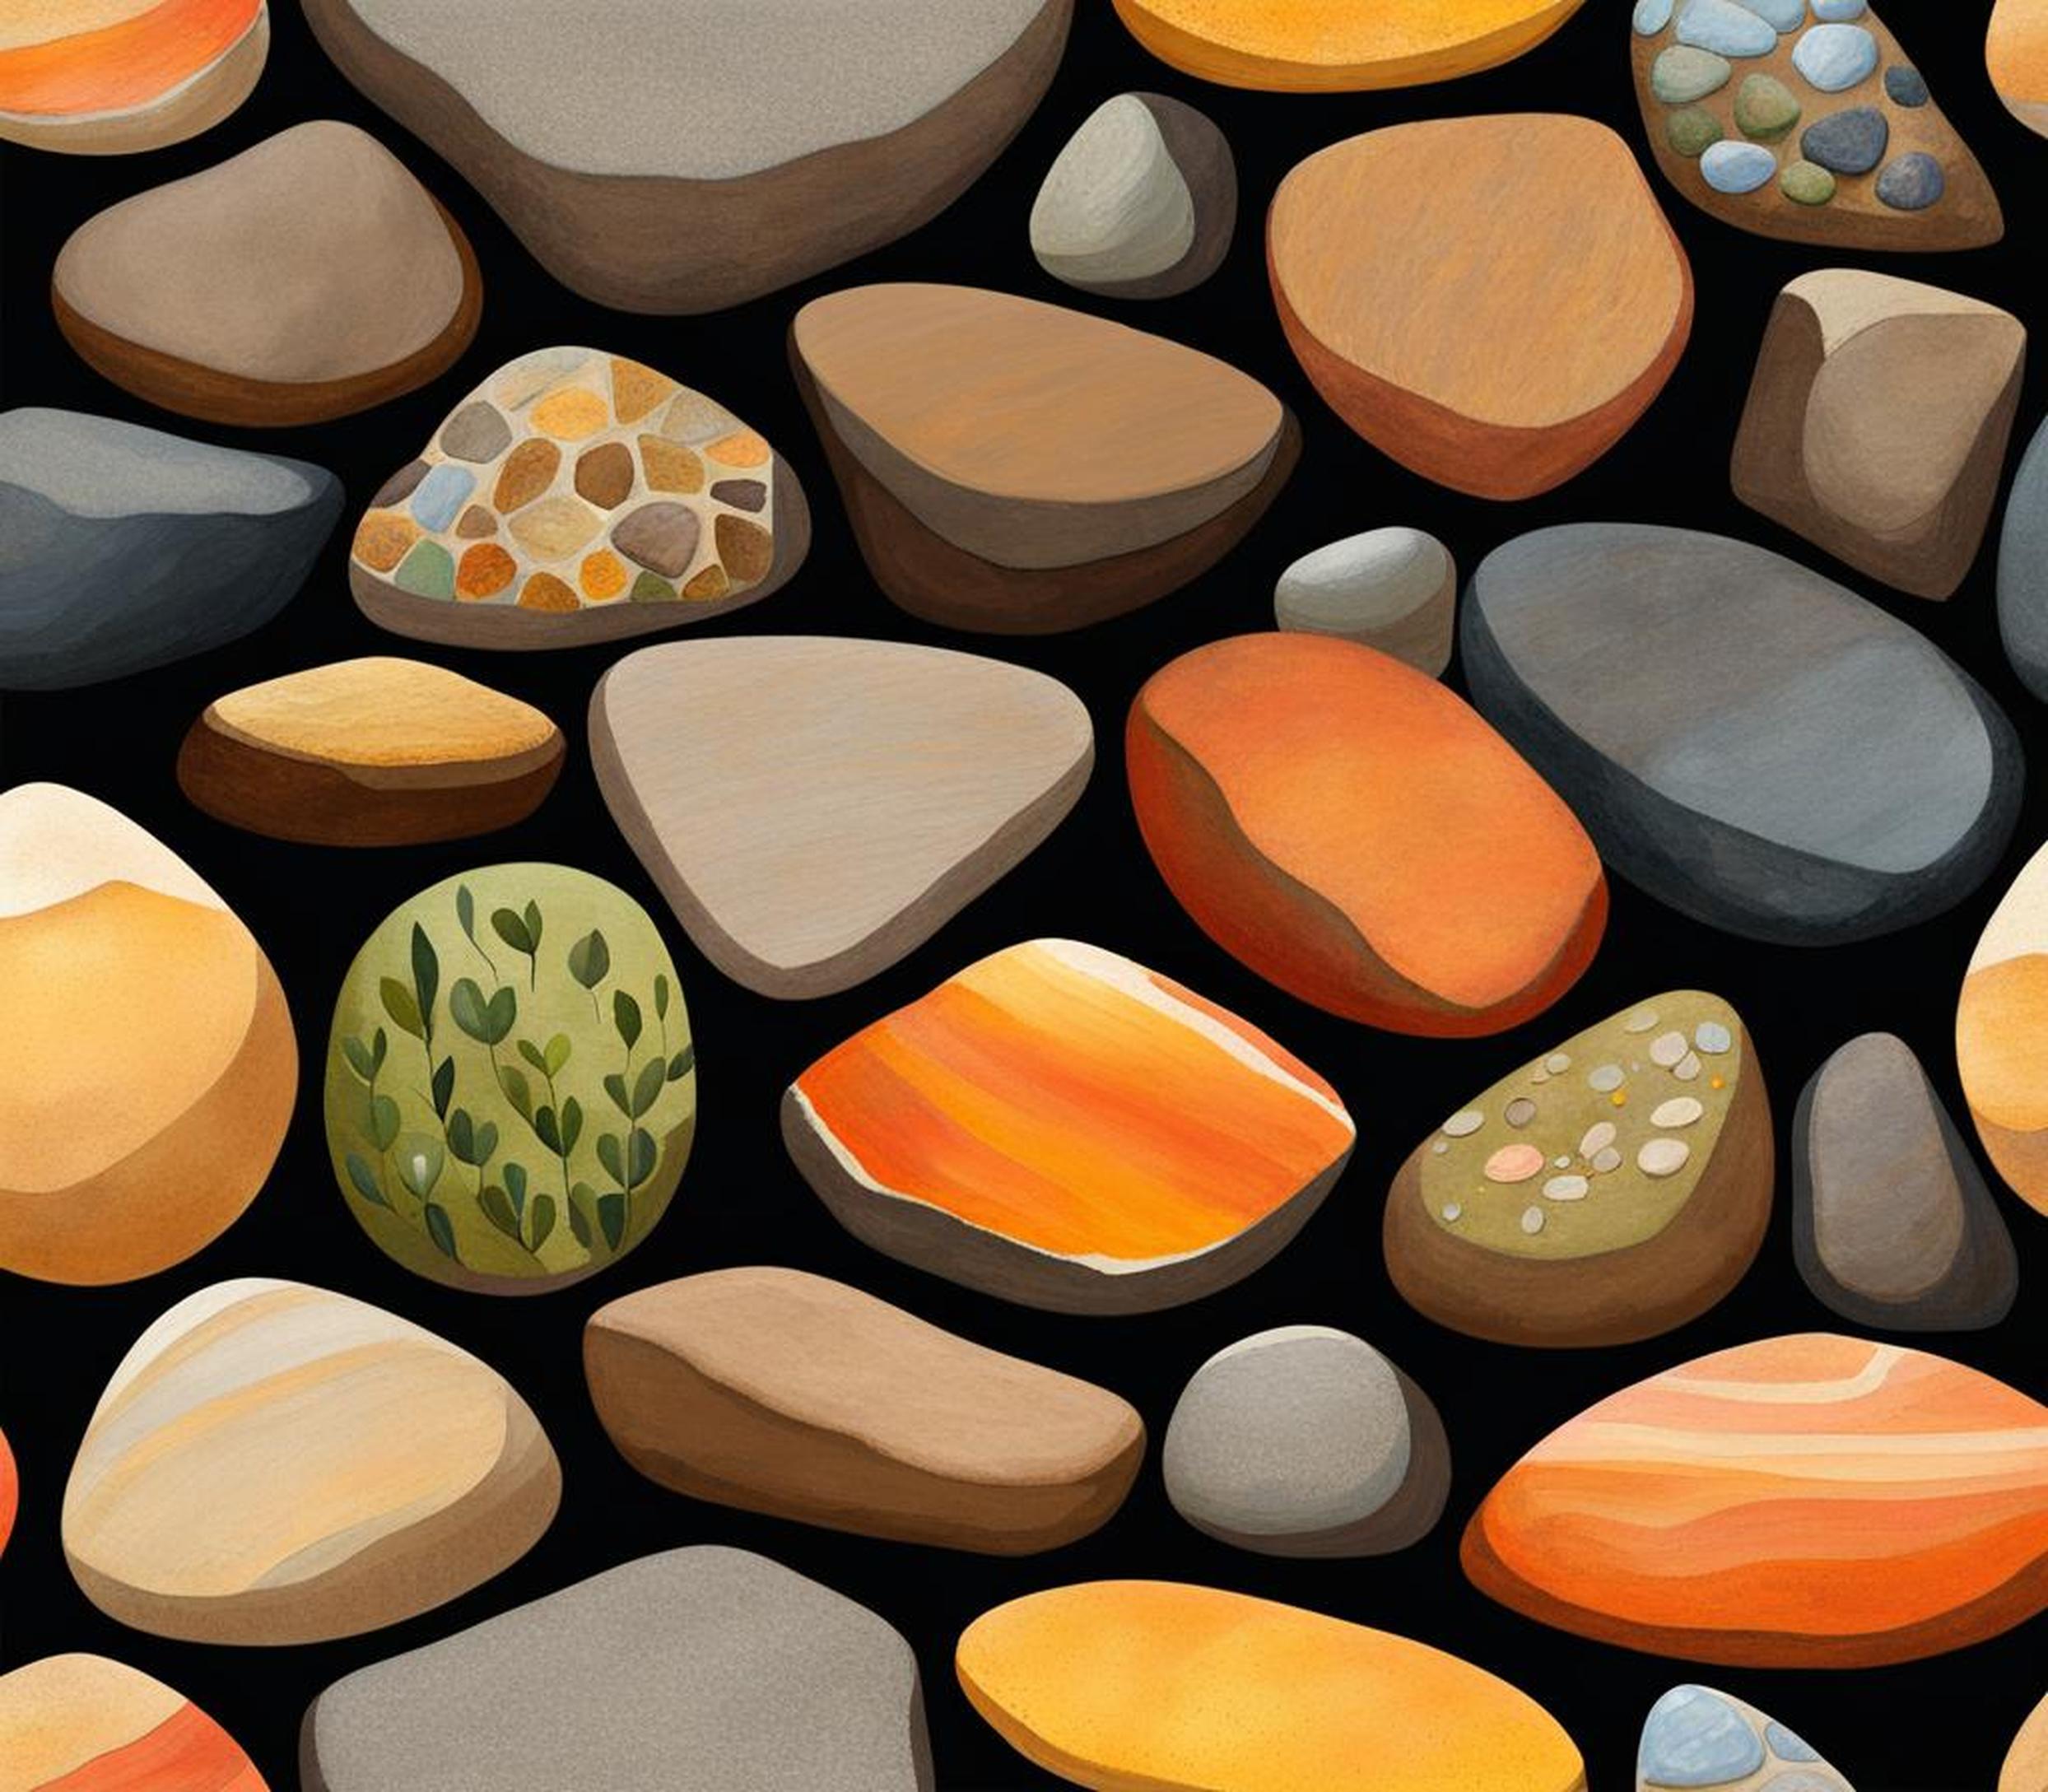
Need a spark of inspiration before getting started? Below we’ve included a gallery of charming painted rocks in garden settings. Let these photos ignite your creativity for brainstorming the perfect rock designs to decorate your own outdoor space with.
[Gallery of photos with painted rocks in gardens]
Armed with some inspiration, supplies, and techniques, you’re ready to create show-stopping painted rocks for your garden. Take your time designing rocks that reflect your personal taste and style. Enjoy the relaxing process of painting. Then take pride in decorating your outdoor oasis with your unique hand-painted rocks.
You can make painted rocks that add artistic charm to your garden with a little creativity. Your flowers and plants will love the company of their new artfully decorated stony friends.
