Have you ever measured and cut curtain rods, only to realize they’re far too short for your windows? As home decorators, we’ve all been there. But before you relegate those lovely rods to the trash and shell out for pricey new ones, consider this: with a little creativity and DIY spirit, you can reattach and extend those snipped pieces to fashion the perfect custom length.
Read on to learn reattachment methods using household materials, how to mix and match cut sections for a seamless look, and decor pointers to maximize their newfound length.
Reasons Why Curtain Rods May Be Too Short
Many homeowners initially cut their rods too small due to common measuring mistakes. For example:
- Ordering pre-cut rods online that ultimately don’t fit
- Miscalculating window width during initial measurements
- Dimensions changed during kitchen or bath renovation
- Desiring longer curtains without purchasing another window treatment
Luckily there are straightforward techniques to rescue improperly sized curtain rods. The solutions provide adjustable extension ease without breaking your decor budget.
Traditional Extension Options
Before examining DIY revival methods, let’s review standard ways to join shorter rods for boosted coverage.
Buying Specific Curtain Rod Extension Connectors
These handy cylindrical connectors have pre-drilled setscrew holes to lock two rods inserted in each end. The sleeves slide over adjoining rods for a secure hold. They manufacture connector tubes in various metals and plastics to coordinate with most decorative finishes. While very effective, purchasing extensions solely for lengthening can get pricey.
Joining with Wooden Dowels
For a more affordable option, custom cut and sand wooden dowels to fit smoothly within curtain rod interiors. After gluing and stabilizing with a screw, the rods integrate seamlessly. However, wooden connectors require some DIY finesse and tools.
Alternative DIY Extension Solutions
Before shelling out on specialized extenders, rummage around your home or hardware store for household items to bridge the gap between sawn rods. The materials likely already reside in your reserves, offering budget-friendly versatility.
Using Common Household Materials
With a little imagination and MacGyver-esque vision, you can fashion rod joiners from PVC piping or metal conduit materials:
- PVC Pipes: Measure needed length, cut pipes to size, cement pieces together and into rod ends. Paint to disguise.
- Metal Conduit: Cut, connect conduit to rod ends with junction box connectors. Spray paint metallic color to match rods.
Method Comparison
| Extension Material | Durability | Adjustability | Cost | Skill Level |
|---|---|---|---|---|
| Wood Dowels | Moderate | Low | Cheap | Intermediate DIY Skills |
| PVC Piping | Highly Durable | High | Very Affordable | Easy DIY Project |
Get creative splicing household items for an adjustable, resilient curtain rod revamp without draining your decor budget!
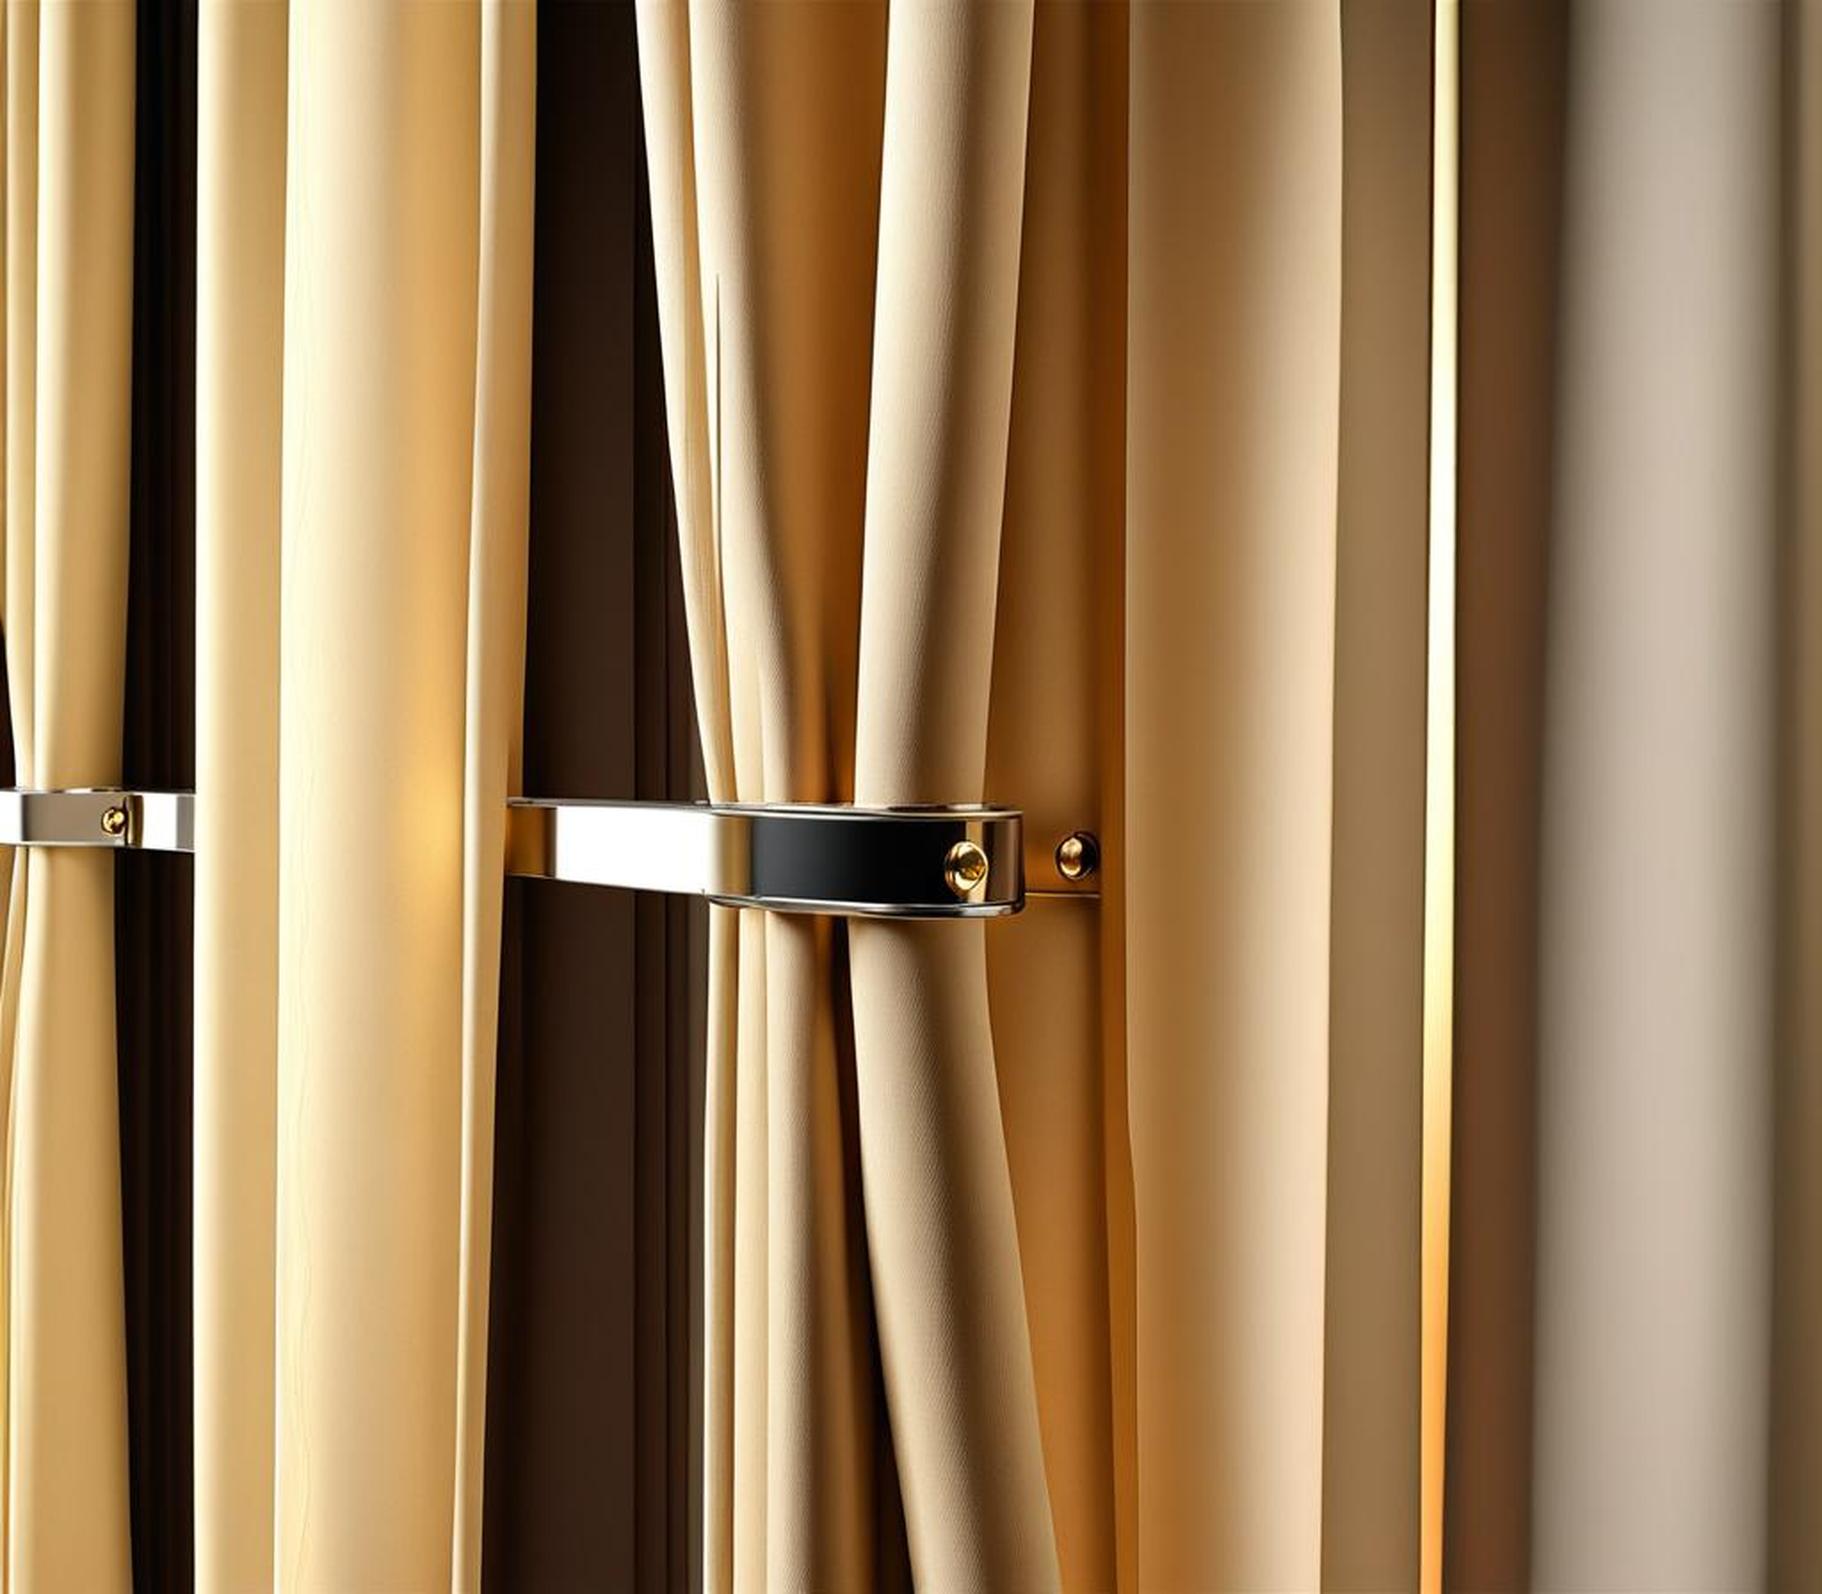
Reattaching Snipped Curtain Rod Sections
If you possess the sawn remnants of once glorious rods, rejoice! The dismembered parts contain the DNA for rebuilding an even better window treatment. Let’s explore methods for seamlessly fusing the amputated extremities.
Taking Apart Rods and Prepping Ends
First, fully detach your botched rods:
- Unscrew and remove decorative finials from each end
- Take out center support brackets to free rod halves
- Gently slide out cut sections from brackets
With the rod pieces separated, now prep the severed ends:
- File down rough edges and use sandpaper to smooth
- Clean contacting areas with rubbing alcohol
The fused junction will seamlessly disguise your surgical enhancements. Onward to reattachment!
Connecting and Securing Rod Halves
Adhere your expertly honed rod tips using strong epoxy glue formulated for metals and plastics. Allow to fully cure before handling. Prevent subtle twisting with added stabilization:
- Position metal plates across the adhesive joint
- Anchor into rod material with several sturdy screws
The steel plates strengthen the union and improve load-bearing capacity for smooth curtain action. Plus, they easily hide behind hardware brackets.
Testing Extensions to Ensure Proper Fit
Before hanging your refreshed window treatments, verify the rehabilitated rods meet length and stability needs:
- Evaluate if ends align evenly with no lopsided sagging
- Ensure suitable overlap with wall or window edge
- Test durability with curtains attached and gliding smoothly
Make final adjustments before mounting stationarily. Accounting for alignment and proportion prior prevents headaches down the road.
Decorating Considerations
A few final accent tweaks polish off the spruced rods’ comeback tour. Given the extensions, think through ornamental elements which enhance the lengthened rods’ glory:
- Match connector colors to rod metal finishes
- Add paint if needed to camouflage DIY handiwork
- Consider long curtains which puddle onto floors for a luxe effect
Then highlight their impressive stature with light grazing curtain tops or proud finials that draw the eye upward. Bravo on breathing new life into lackluster window rods!
Before consigning cut-short curtain rods to the trash and starting anew, revive them with creative extension and reattachment. Use our guide to combine remnant sections with everyday household items for budget-friendly, adaptable length. Then deploy stabilizing adhesives and anchors to artfully fuse for durable wear.
Rehabilitating rods prevents waste and saves on expensive replacements. With some simple measuring, cutting, joining, and decor considerations, you can refashion window treatments perfectly sized for even the most uniquely shaped openings. DIY projects not only spark joy through problem-solving, but also allow crafting charming touches making any house into a home.
