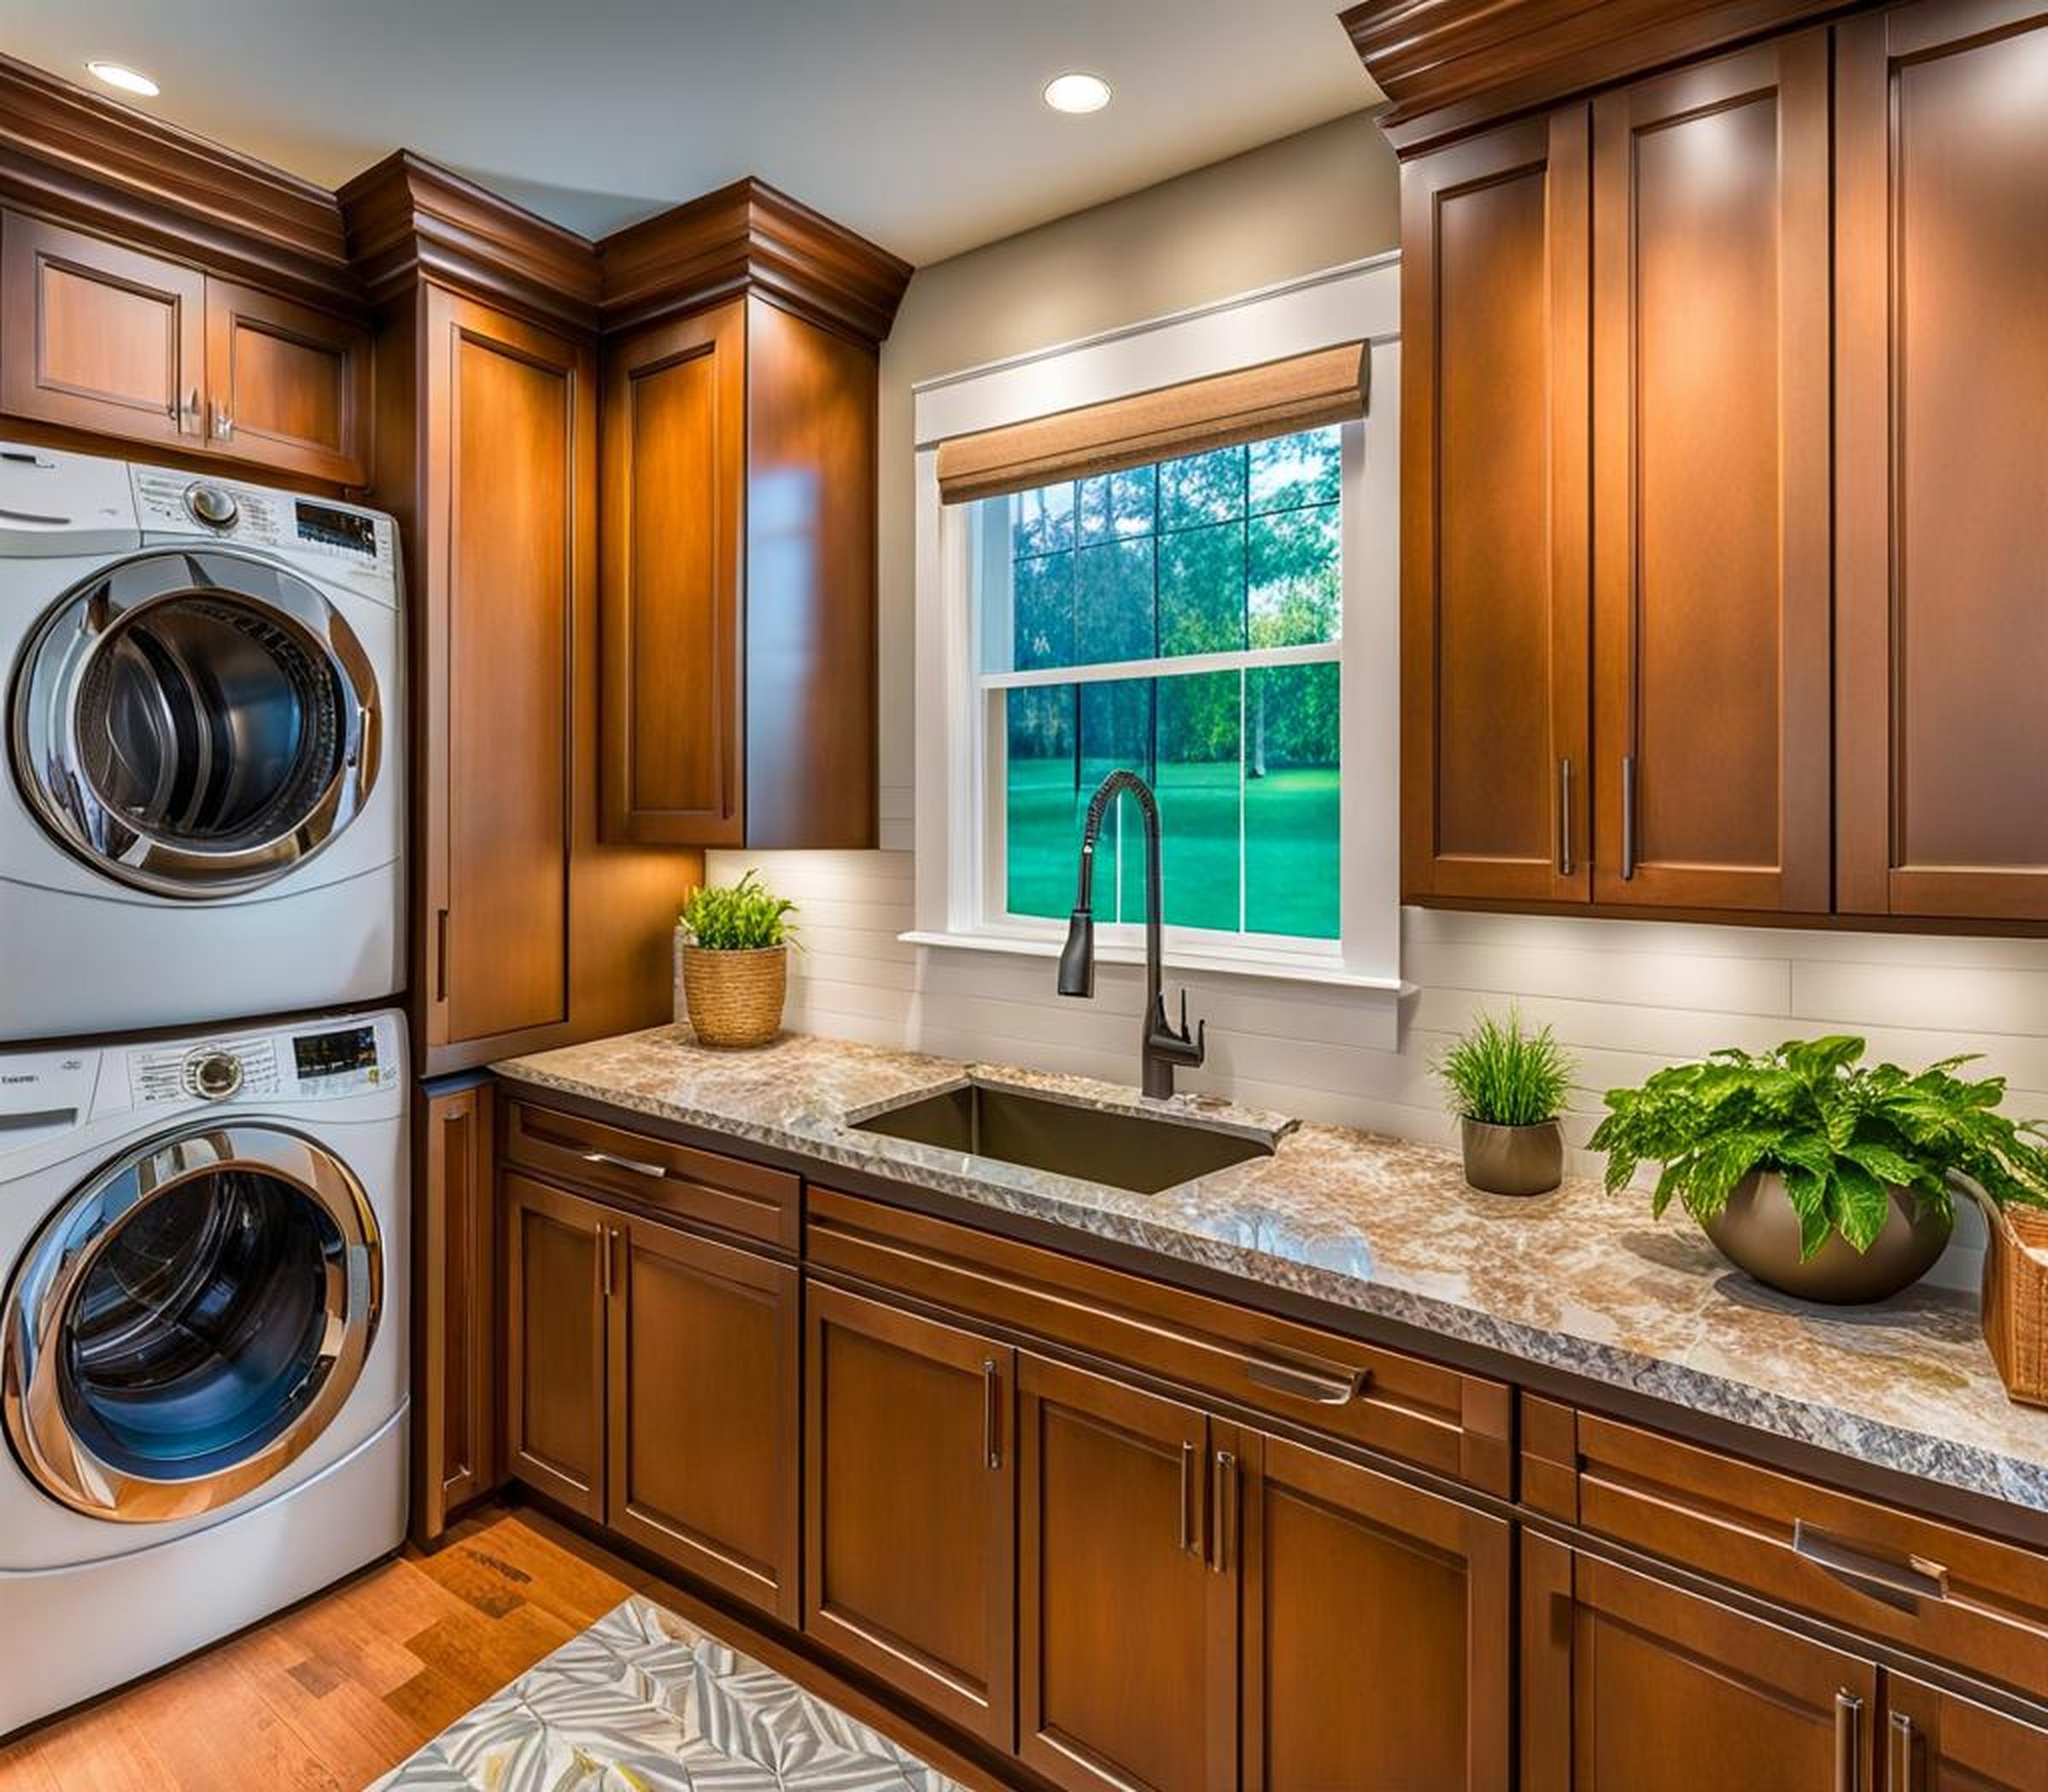
Do you ever feel like your laundry room is a cramped, cluttered mess? Between the bulky appliances, piles of detergent bottles, and overflowing hampers, it can be a struggle to even fold a towel in the average laundry room. But what if we told you it was possible to transform that tiny, chaotic space into a stylish and supremely functional room? The secret is installing a custom countertop above your washer and dryer.
Adding a countertop completely changes the look and practicality of your laundry area. You gain much needed real estate for folding, sorting, and doing laundry tasks right on top of your machines. A sleek, built-in countertop also makes your laundry room look polished and put-together. With some careful planning and DIY handiwork, you can create the laundry room of your dreams.
Benefits of Adding a Laundry Countertop
Let’s start by looking at all the ways a countertop can maximize your laundry room:
Increased Storage
A countertop above the washer and dryer provides the perfect space to store all your laundry supplies. No more rummaging under the sink or in crowded cabinets. Keep laundry baskets, detergent bottles, fabric softener, stain removers, ironing boards, and other essentials conveniently close. Extra storage also means you can buy supplies in bulk and stock up on extras.
Improved Functionality
One of the biggest perks of adding a countertop is that you can fold, sort, and prep laundry directly on top of the appliances. No more carrying baskets back and forth across the room or struggling to find workspace. The countertop creates a seamless laundry prep station. You’ll also appreciate being able to easily add detergent, softener, and other wash products without bending down or reaching across the room.
Enhanced Aesthetics
A custom countertop gives your laundry room a cohesive, built-in look that feels much more polished than standalone appliances. The sleek, unified aesthetic makes the most of the space. You can also customize the countertop with materials and colors that match your existing decor. For example, tie in wood tones from your cabinets by using a butcher block counter. The result is a laundry room that looks professionally designed.
Planning Your Laundry Countertop
Now that you’re convinced of the benefits, let’s focus on the planning process. Careful planning ensures your new laundry countertop fits the space properly and suits your needs.
Measure Carefully
The first step is confirming the dimensions of your washer and dryer and the amount of space around and above them. This allows you to determine what size countertop will fit. Be sure to account for the countertop overhang on each side. You’ll also want to leave 8-12 inches of clearance between the counter and appliances for opening the washer door and allowing room for venting. Measure meticulously to ensure your new counter will work in the space.
Choose Material
With the size figured out, it’s time to pick the right countertop material. Look for something durable that will hold up to laundry room wear and tear. Popular options include:
- Laminate – Affordable, easy to clean, and water-resistant
- Quartz – Non-porous and highly resistant to stains
- Granite – Beautiful and durable natural stone
- Concrete – Modern with customizable finishes
- Butcher Block – Warm wood tones if properly sealed
Also factor in the look you want and your budget. Prefabricated counters are cheaper than custom. DIY installation also saves on labor costs.
Design Supports
An important part of planning is determining how to physically support the weight of the countertop. Since most laundry rooms don’t have walls on all sides, you’ll need to add supports. Cleats attached to the wall provide stability and prevent tipping. Gables are boards that run perpendicular underneath the counter to prevent sagging. Sturdy brackets in corners also add reinforcement. Plan the placement of supports carefully.
Step-by-Step Installation Guide
Now let’s go through the installation process step-by-step:
Building Supports
Start by cutting 2×2 lumber to size for your cleats and gables. Use a miter saw for clean cuts at precise angles. Attach the boards securely to the wall with toggle bolts. Use a level to ensure the supports are even. The tops of the cleats should align with the desired height of your countertop. Leave a 1/4″ gap between the wall and supports to account for any unevenness in the wall.
Cutting the Countertop
With the supports in place, you can cut the countertop pieces to size. Take precise measurements and mark the cut lines. Use a circular saw or jigsaw to make straight cuts. For a custom look, miter the edges. Finish by sanding cut edges smooth. Make any additional cutouts for a sink or appliances at this point.
Installing the Countertop
Now you’re ready for installation. First, run a bead of construction adhesive along the tops of the supports. Carefully place the countertop pieces into position on top. Use screws into the supports underneath to firmly secure the counter. Apply adhesive to the seams between countertop pieces and clamp until dry for a seamless look.
Finishing Touches
Your new laundry countertop is almost complete! Clean and seal the surface with an appropriate sealer to protect it from stains and damage. Apply caulk along the gap between the counter and the wall for a polished look. For added function, consider adding storage bins, trays, and other organizational items.
Maintaining and Protecting Your Laundry Countertop
To keep your new counter looking like new, be sure to:
- Use trivets and mats under appliances to prevent scratches and heat damage.
- Promptly wipe up any spills to avoid stains.
- Reapply sealant periodically to maintain water resistance.
- Avoid placing excessively heavy objects on the counter that could cause stress.
Follow these tips and your stylish laundry countertop will stay in great shape for years to come!
As you can see, installing a countertop above your washer and dryer is an easy weekend project with dramatic results. You’ll gain attractive new surfaces for folding and laundry prep, while also enhancing the form and function of your space. No more messy, disorganized laundry rooms! We hope this guide gave you the information and inspiration you need to create your dream laundry area. Happy counter-topping and enjoy showing off your laundry room makeover!
