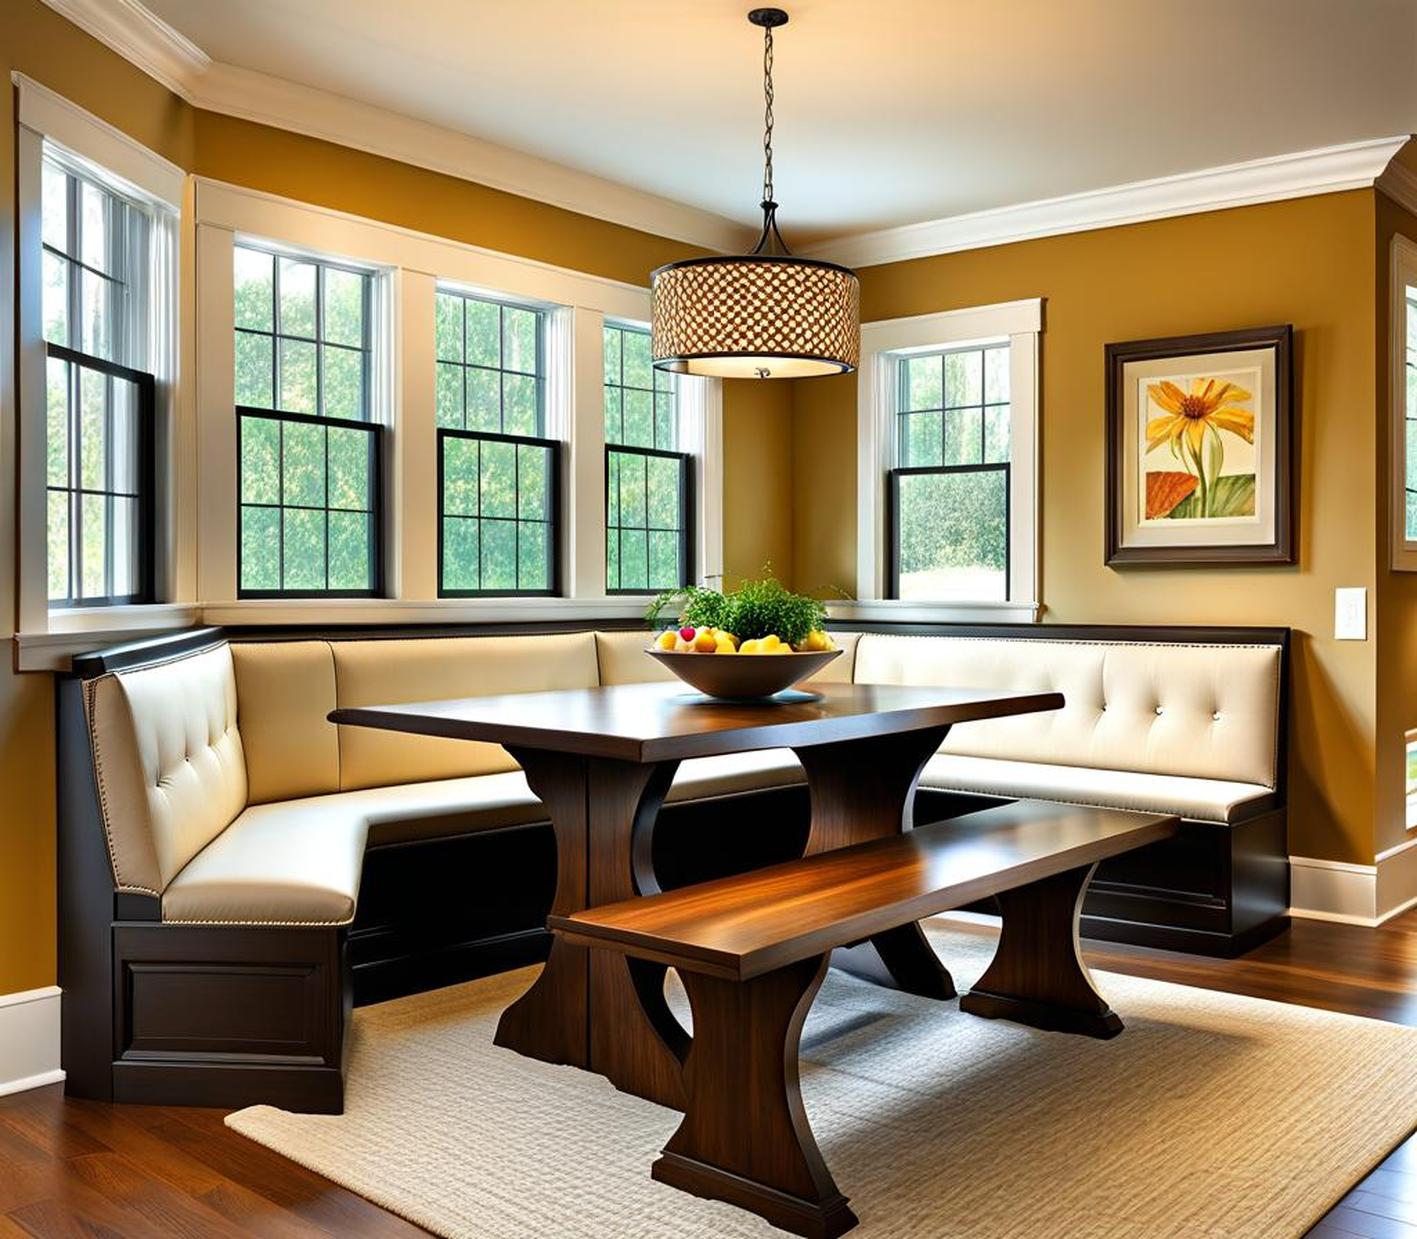
An L-shaped breakfast nook bench is the perfect way to add extra seating and storage to your kitchen or dining area. Tucked neatly into a corner, these built-in benches maximize your available space while providing a cozy spot for family meals and coffee breaks. Constructing your own DIY L-shaped bench is also a great weekend woodworking project for the homemade furniture enthusiast.
With some basic carpentry skills and these step-by-step instructions, you’ll be able to create a customized bench that fits your unique space and style.
Choosing a Location
Assessing Your Space
When deciding where to build your L-shaped breakfast nook bench, start by carefully measuring the corner area you want to place it in. Make sure there is enough space for the bench, taking into account any doors, windows, or appliances nearby. A good benchmark is at least 60-90 inches along the long side, and 30-40 inches on the short side. This allows seating for 3-4 average-sized adults. Consider traffic flow in the room as well. Try to avoid bottlenecks where people will be brushing by those seated at the bench frequently.
Maximizing Seating Capacity
Standard L-shaped nook benches seat 3-4 people comfortably. However, you can customize the dimensions to fit more if needed. For additional seating, make the long side of the bench extra wide or elongated. Just keep in mind the space constraints of your room. You want those seated at the end to have enough leg room and not feel cramped. The short side of the bench should be at least 30 inches to accommodate a seat. With a longer short side, you can fit a fifth person or more!
Design Considerations
Materials
L-shaped breakfast nook benches are typically made of wood. Oak, maple, and pine are all good choices that can be stained or painted. The frame consists of 2x4s, providing stable support. Plywood is an affordable and versatile option for the tabletop and bench seats. Choose at least 3/4 inch thick plywood for a smooth and sturdy surface.
Dimensions
As mentioned previously, a common L-shaped nook is around 90 inches along the long side and 60 inches along the short side. But feel free to adjust these dimensions up or down based on your available space. Just make sure to leave enough room for people’s legs under the table and for comfortable movement getting in and out of the bench area.
Comfort Factors
To maximize comfort, consider adding backrests at an angle, cushions, and pillows. The bench seat itself can just be a wooden surface. But pillows, foam, or even springs can be used to pad it for extra relaxation. Backrests around 18-24 inches high provide good lumbar support. Tilting them slightly toward the table makes prolonged sitting more comfortable.
Storage Options
One benefit of a DIY bench is the ability to incorporate customized storage solutions. Leaving the base open or adding doors, drawers, and shelves are all great options. Display shelves let you show off decorative items and keep frequently used dishes or utensils within reach. Enclosed storage with doors allow you to tuck away clutter discreetly. Drawers are perfect for storing linens and silverware.
Aesthetic Style
When planning the look of your L-shaped breakfast nook bench, consider colors, materials, and decorative accents. Distressed paint techniques like ragging or dry brushing add vintage charm to wooden benches. Contrasting wood stains or multi-colored paint can create striking designs. Incorporating tile, metal, or stone on the backsplash or tabletop provides visual interest. The options are endless for personalizing it to suit your home’s style!
Building the Frame
Cutting the Wood
A miter saw is the perfect tool for cutting the wood pieces to size with precision. Evaluate the measurements of the space and create a cut list to minimize waste. Cut all the pieces for one side, ensuring corners are square or angled properly. Then repeat the process for the other side and connector piece.
Joinery Options
For a simple and sturdy DIY bench, use pocket holes to join the 2×4 frame pieces. If you prefer the look of a hidden connection, opt for wood glue and stop blocks instead. Incorporating corner braces adds even more strength and reinforcement to the structure. They help keep the bench square and stable.
Securing the Structure
Once fully assembled, position your L-shaped breakfast nook frame in the corner space. Use a spirit level to double check it is even and square. To prevent tipping or shifting, secure the bench frame to the wall on at least two sides. Predrill holes and use 3-inch screws driven into wall studs for a sturdy attachment.
Adding the Tabletop
Plywood vs. Solid Wood
Plywood is the most cost-effective and straightforward choice for a DIY bench top. It resists warping better than solid wood. But for a more seamless, upscale look, you may opt to use solid wood boards. Species like oak, walnut, or maple create a beautiful natural pattern. Edge-glue the boards to make a panel wide enough for your design.
Allowing for Overhang
Having a slight overhang on the sides of your breakfast nook bench top ensures plenty of leg room and easy access. A 1-2 inch overhang is typical. Just make sure to take this into account when calculating the overall width and length measurements.
Finishing Edges
You’ll achieve the most polished look by finishing the bench top separately before attaching it. Round over or bevel the front edge. Then it is ready for priming, painting, staining, or clear coating. Affix trim pieces around the sides and back for a built-in custom appearance.
Extra Touches
Storage/Shelving
Take your bench functionality to the next level by integrating storage compartments. Built-in shelves, drawers, or cabinet areas keep items organized while maximizing every inch. Adjustable dividers also let you modify storage zones based on your evolving needs.
Cushions
For best comfort, top your L-shaped breakfast bench with cushions. Foam padding covered in your choice of fabric adds softness without losing structure. Box cushions with backs are popular for extra support. You can also use bench cushions secured with hooks or Velcro.
Decorative Details
To give your DIY bench personality, include special accents that reflect your style. Contrasting wood species, like using maple for seat panels on a walnut base, adds eye-catching contrast. Paint techniques like ragging or stippling create texture and dimension. Carving, routing, or inlay work on the legs or trim provides visual appeal.
As you can see, building your own L-shaped breakfast nook bench is an achievable weekend project for DIYers of all skill levels. With proper planning and construction, you can create a customized nook that saves space while providing extra storage and seating. We hope these tips and step-by-step instructions empower you to build a beautiful, functional bench tailored perfectly to your home.
Space-Saving Options:
If you have a small space, consider using corner brackets or L-shaped brackets to maximize your storage and seating area. This can also help free up floor space for other furniture or activities.
Lighting:
Adding under-cabinet lighting or a pendant light above the bench can create a cozy ambiance and make it easier to see while enjoying your breakfast or coffee.
Functional Storage:
Consider adding pull-out drawers or shelves to your L-shaped bench for additional storage options. This can be especially helpful for storing dishes, utensils, or other small items.
Color and Texture:
Experiment with different color schemes and textures to create a unique and inviting space. You might consider adding a backsplash or decorative tile to the back of the bench for a pop of color or pattern.
Comfort and Ergonomics:
When choosing cushions or seats for your L-shaped bench, consider factors such as comfort, support, and durability. You might also consider adding armrests or adjustable seats to accommodate different body types and preferences.
Make sure to take into account accessibility needs, like optimal seat height and clearance for wheelchair access. This ensures your DIY bench can be enjoyed by all.
