Installing a fireplace can transform any living space into a warm, inviting area for relaxing. But before enjoying glowing fires, you need to construct the perfect fireplace wall. Building this structural foundation requires planning, framing, fireproofing, and finishing. Fortunately, with the right materials and some carpentry skills, you can create a safe, attractive showcase for your hearth.
Choosing the Optimal Fireplace Wall Location
When embarking on any fireplace project, first decide on the location. We recommend installing it on an interior wall away from drafts near windows or doors. Positioning it centrally often works well to allow heat distribution throughout the room. Just confirm the planned firebox area lacks plumbing or electrical lines before cutting into walls. Consider leaving room for accompanying features like media consoles or wall mounts too.
Ventilation requirements also influence placement. While electric fireplaces need less air flow, most wood-burning or gas units require properly sized chimneys and flues. Check clearance guidelines to ensure sufficient space from ceilings and combustibles. Getting this right early prevents expensive relocations down the road.
Taking Measurements
Once satisfied with placement, take precise measurements of the entire wall space. This should include the planned opening size per the chosen firebox/insert dimensions. Be sure to note stud locations as structural points for securing the framework. Accounting for design features like hearths, mantels or recessed media alcoves also helps envision the finished product.
Selecting Materials
With measurements complete, compile all framing lumber and supplies. Typically 2×4 boards suffice for basic wall structures. Use higher quality kiln-dried studs to prevent warping. We also recommend the following:
- Fire retardant sheathing
- Concrete backer board
- Galvanized framing nails
- Wood screws
- Insulation
Gather any specialty items like rebar or cinder blocks too if planning a weight-bearing mantle design.
Constructing the Fireplace Wall Frame
Now comes the fun part – building the actual framework to house your fireplace. Just take things step-by-step to create a level, solid structure.
Installing the Bottom Plate
Start by fastening a 2×4 board horizontally along the floormarking the base of the wall. Secure it to the cement using a powder-actuated nail gun or concrete anchors. Ensure it sits perfectly flush and level.
Placing Vertical Studs
Cut 2×4 studs to exact vertical measurements from floor to ceiling. Nail them into the bottom plate evenly across at 16 inches on center. Mind interior corners needing extra jack and king stud support. Use a spirit level often to maintain plumb alignment. Don’t forget about framing in any box-outs for future media consoles too.
Including Headers
Structural openings like the fireplace flue need a strong header across the top. Using multiple 2×12 boards, anchor this securely to the jack studs at each side. Consider using steel angle irons above the header to reinforce further weight loads.
Applying Fire-Safe Sheathing
Protecting the interior wallspace means installing panels that can withstand high temperatures. Cement backerboard works excellently, providing non-flammable shielding up to 2,400degF. Use galvanized screws when affixing these panels over the existing framework.
Sealing Everything Up
Prevent potential heat damage or drafts by sealing all sheathing joints with fiberglass mesh tape and fire-rated caulk. Be sure covering the entire surface areahere – including over frame header and around venting gaps.
For extra insurance, we recommend tacking up sheet metal flashing too. Aluminum and stainless steel holdup best. Lay overlapping strips across stud seams and openings prone to expansion.
Inserting the Fireplace Unit
Now for the exciting fireplace installation! Carefully follow manufacturer guidelines to properly place your insert or build site-made brick hearth. Here’s what you can expect regardless of style:
- Level and plumb mounting
- Venting/duct connections
- Gas line or electrical wiring
- multiple safety checks
Take things slowly, correctly adjusting as you go for the most seamless fit. Built-in fireplaces take more framing adjustments to house masonry materials. But pre-fabricated inserts should fit like a glove once you’ve prepped the opening.
Checking Clearances
Ensure minimum clearance requirements are met around the fully installed fireplace. Generally, mantels need at least 12 inches space above. Surrounding combustible materials should sit no closer than 6 inches from vent outlets. Refer to codes and manual specs to confirm exact allowances.
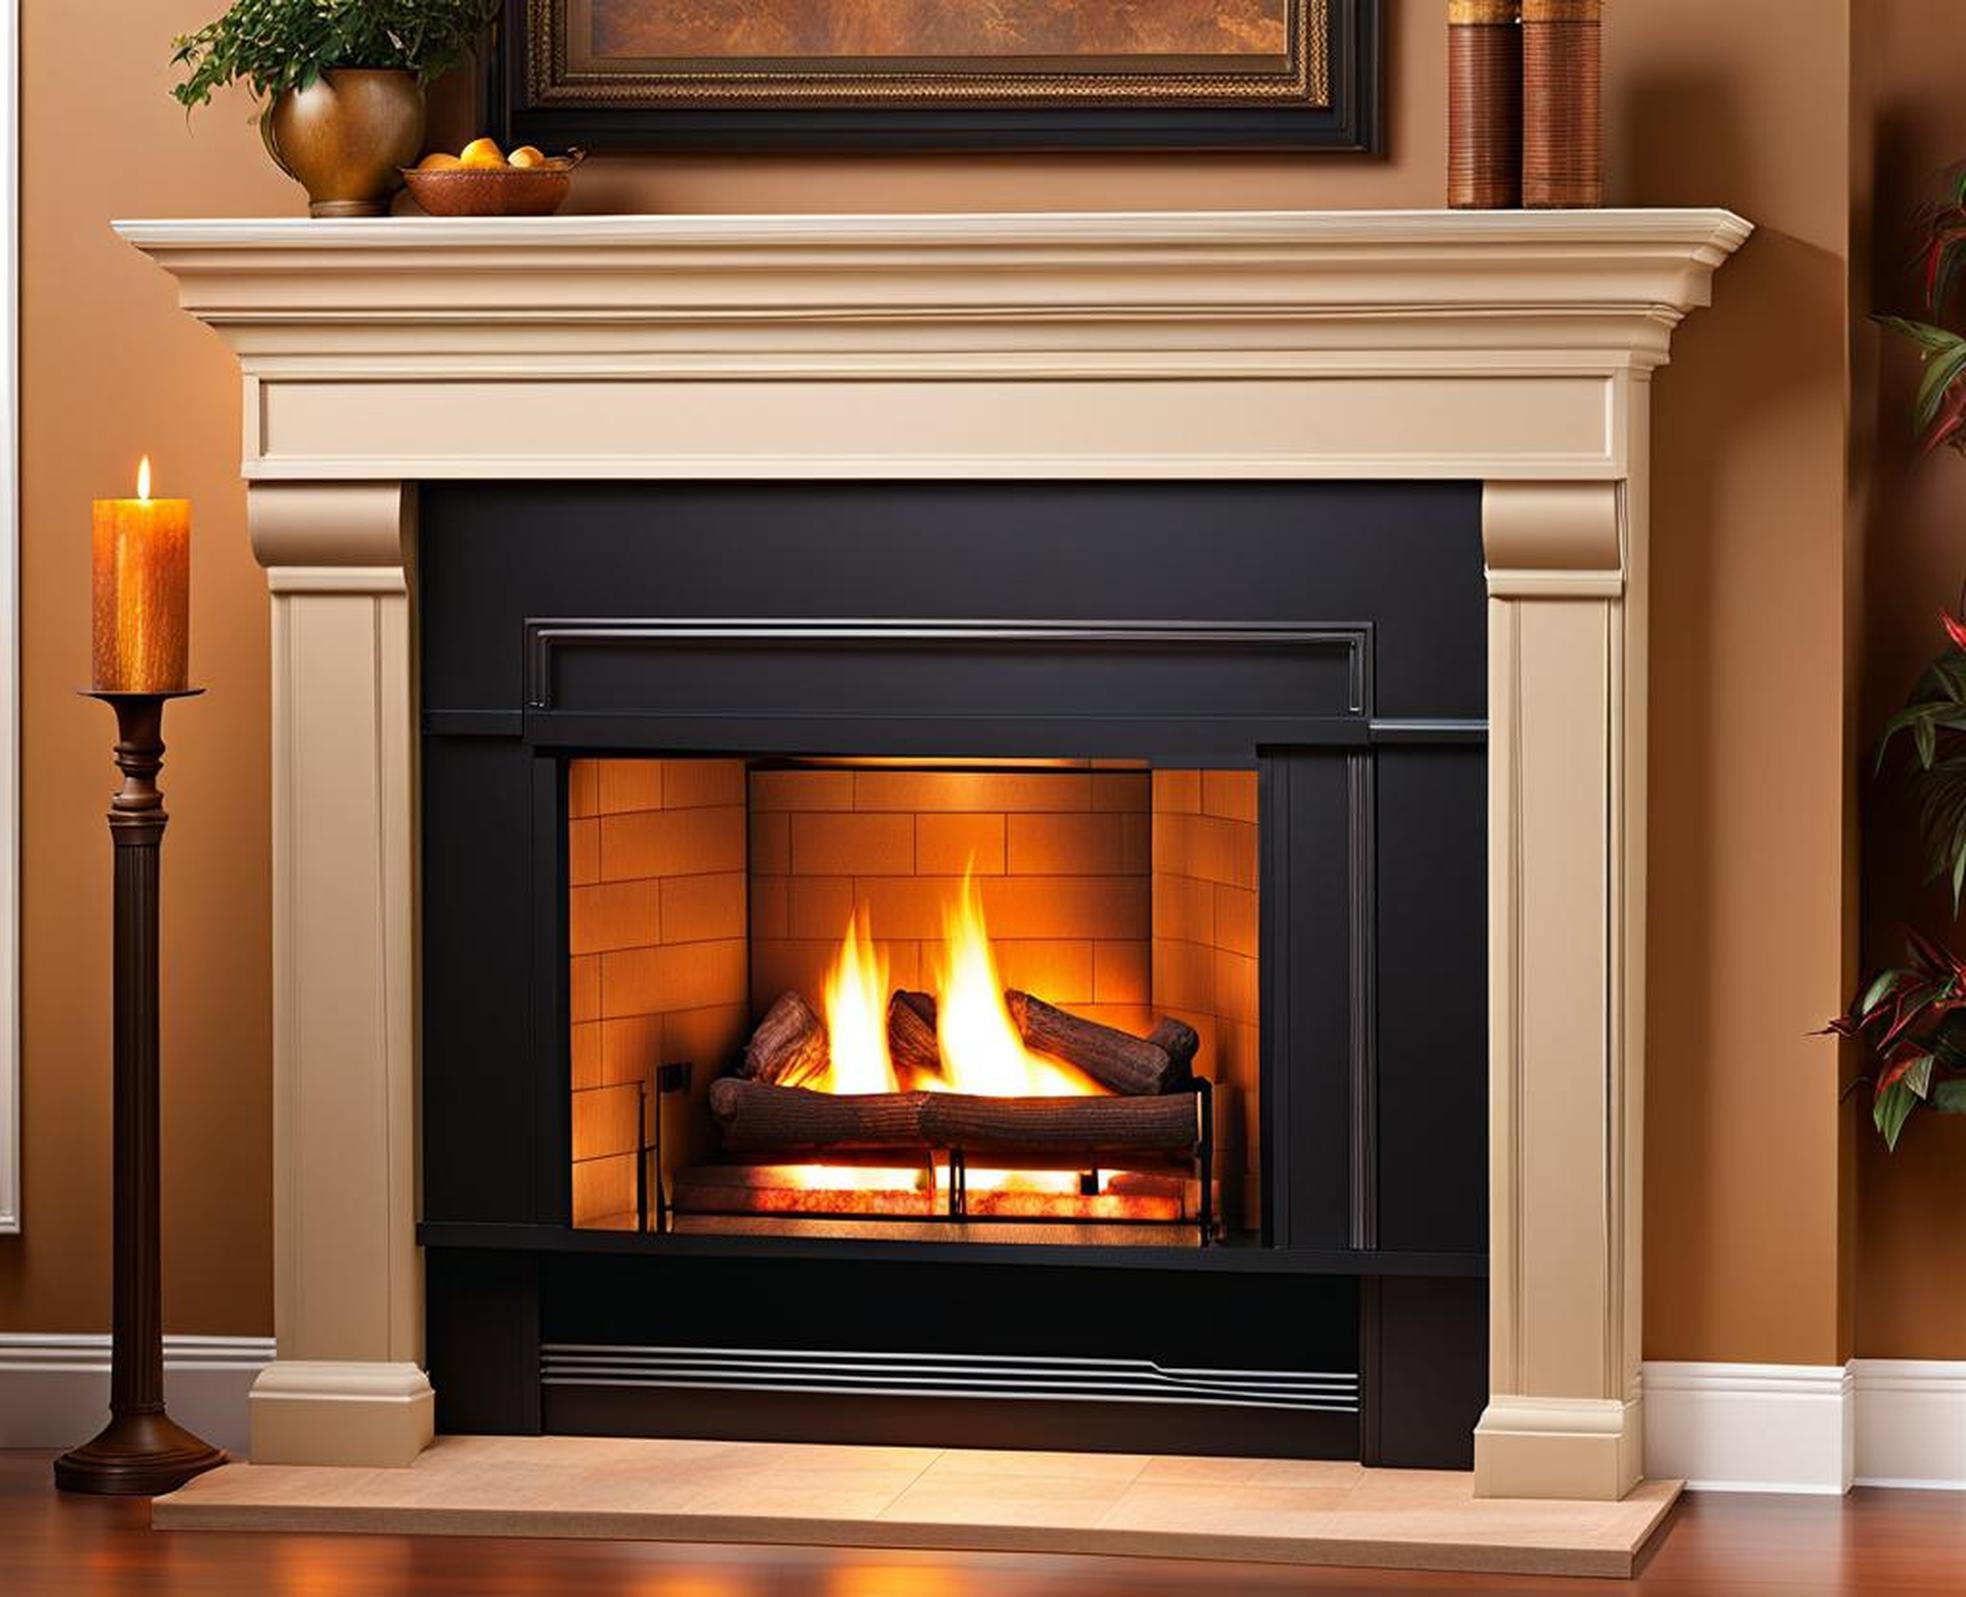
Applying Finishing Touches
The final and arguably most fun phaseis fireplace wall trimming! Mix and match various materials to achieve your dream aesthetic:
- Stone veneer – faux rock adds rugged, outdoorsy charm
- Tile – elegant ceramic or porcelain options suit modern spaces
- Shiplap – rustic wood-look with contemporary hues
- Feature paint – accent walls or gradients using fire-rated paint
Finish off by installing custom mantels and hearth extensions to specification. And consider wiring for mood lighting behind wall sconces or recessed floor outlets.
Media Integrations
For seamless audiovisual integrations, recess the necessary components prior to final material placement. This keeps TVs, speakers and gaming consoles subtly embedded while still flanking the focal fireplace. Hide unsightly cords behind false mantle panels or in column builds enclosing entertainment units.
Fireplace Wall Safety
Never overlook fire safety with hearths. Include fire extinguishers and smoke/CO detectors when inspecting completed builds. Ensure appliances sit on level, solid bases with no debris underneath. Confirm exterior wall stacks include rain caps and vermin screens too.
Run several empty test fires at first, checking for proper ventilation drawing. Instruct everyone in the home on operating the fireplace, including safe cleanup. Always use protective gloves and tools when handling hot materials. Taking these precautions helps prevent unnecessary fire risks.
Regular Upkeep
Follow the manufacturer’s maintenance schedule to keep your fireplace in peak shape. Log when performing tasks like chimney sweeping, air intake cleaning or replacing fire brick or grate components. Hire certified chimney professionals annually to inspect and service built-up creosote too.
With some planning and elbow grease, anyone can achieve a stunning fireplace focal point. Just follow structural guidelines for seamless builds. Mesh code compliant frameworks with fire-rated sheathing and casings. Then insert your firebox of choice according to spec before applying gorgeous finishes. Soon you’ll enjoy fireside relaxation in your new custom hearth haven.
For more fireplace inspiration, check our media gallery. And contact our contractors for professional consultations or quote requests. Here’s to happy home heating ahead!
