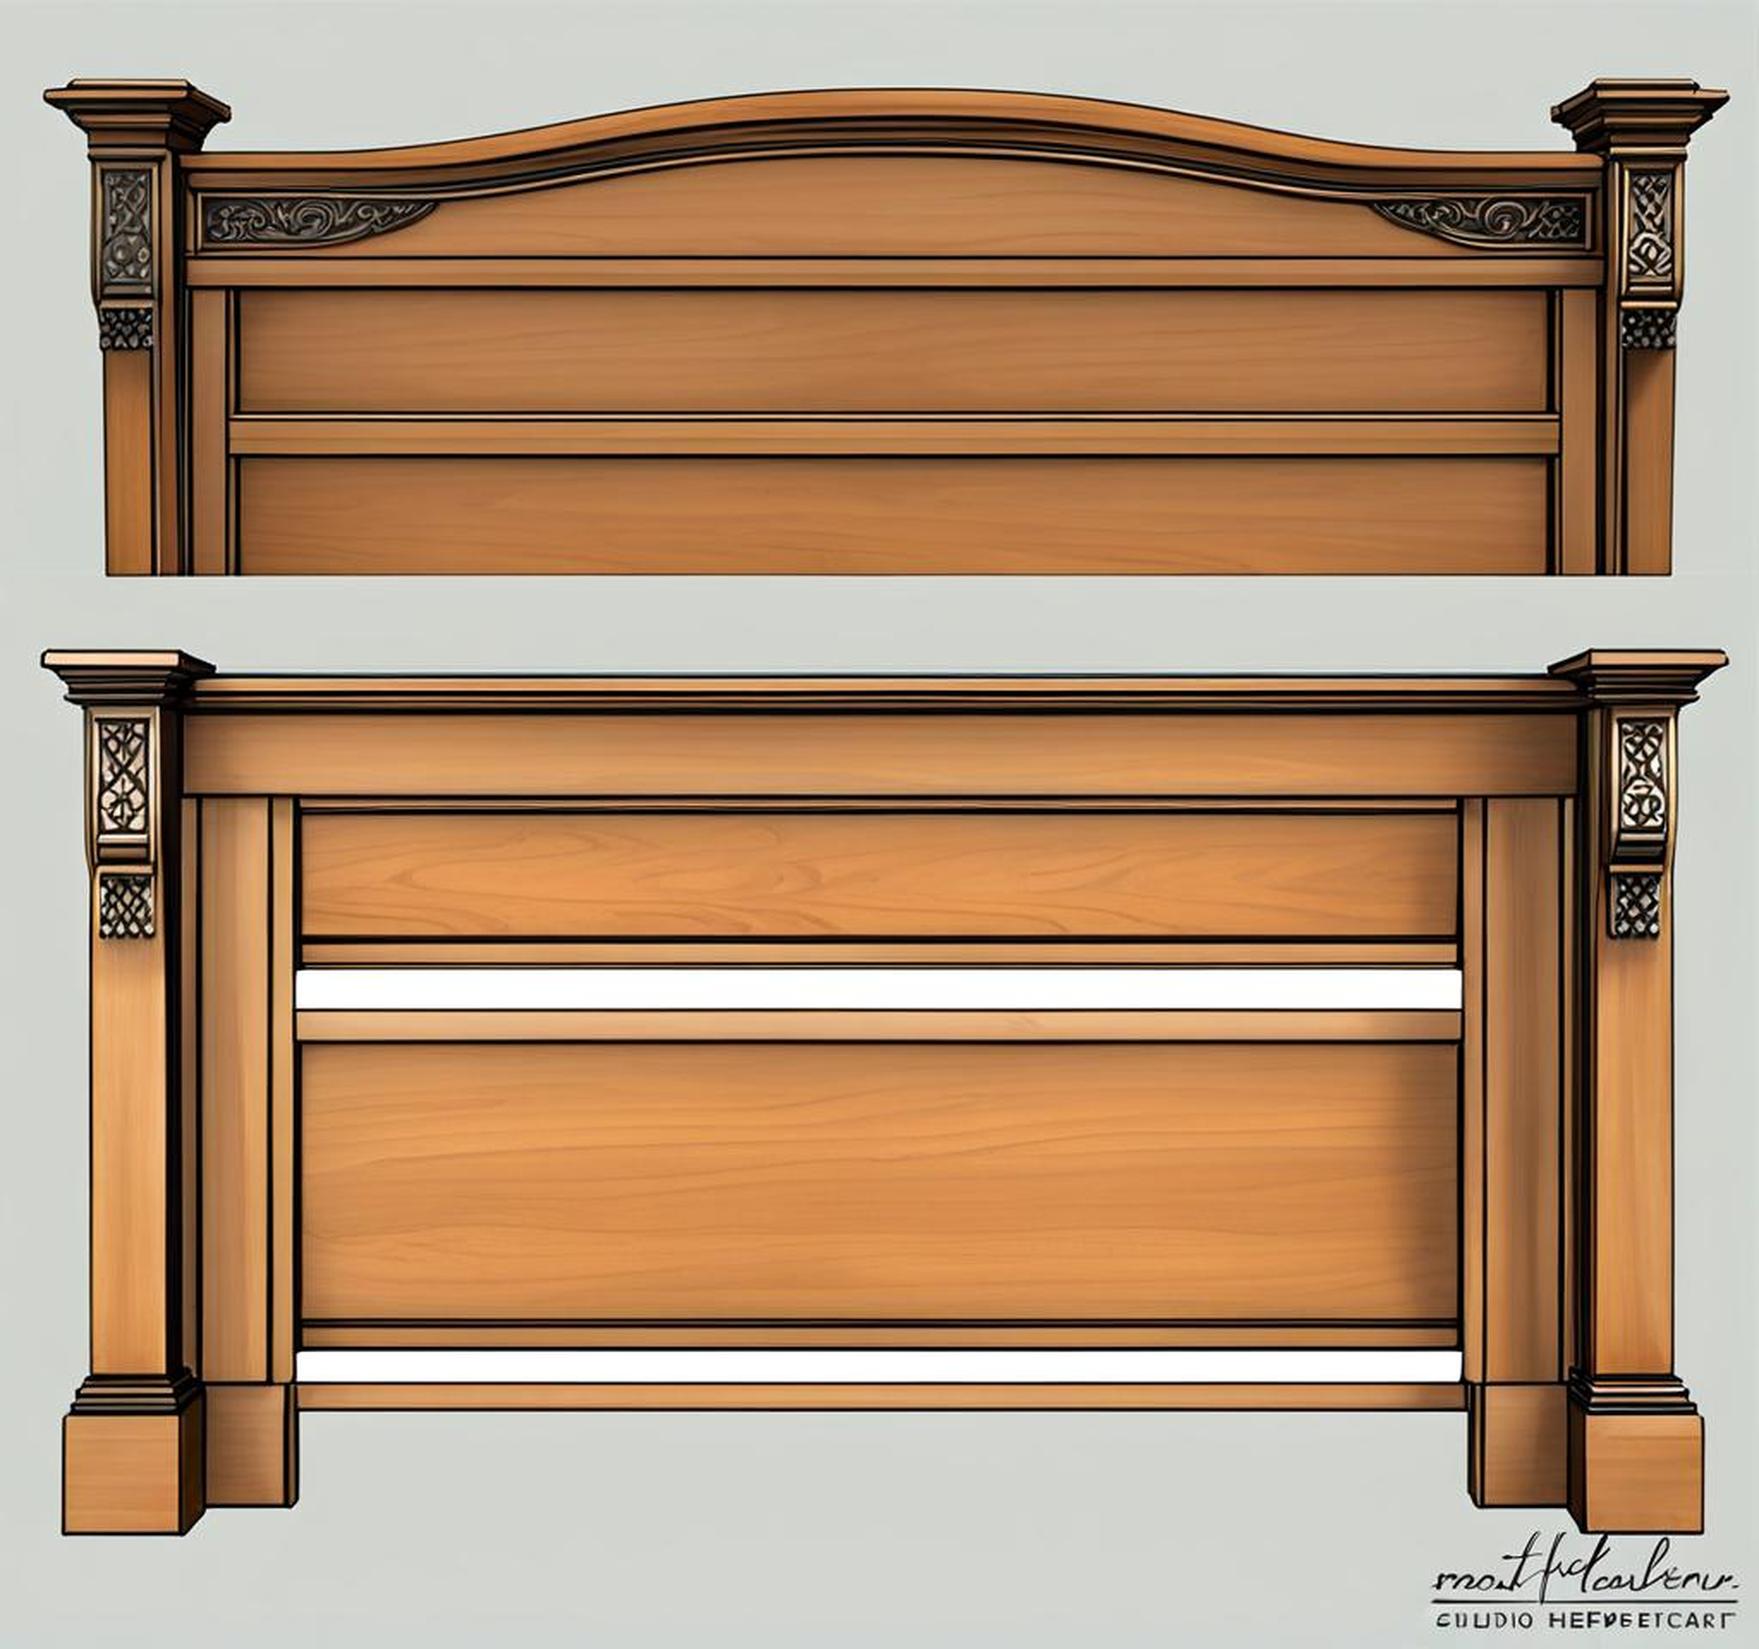
A beautiful, handcrafted headboard can totally transform the look and feel of your bedroom. But most king size headboards can cost a small fortune, putting them out of reach for budget-conscious DIYers.
Luckily, you don’t need fancy tools or pricey materials to construct a showstopping king headboard with rustic chic style. With some basic wood, a free weekend, and our step-by-step DIY tutorial, you can build a custom king size headboard that looks like a million bucks – without spending a lot of dough.
Planning Your Rustic Chic King Headboard
Before you break out the power tools, there are a few key things to decide that will impact the style and functionality of your finished headboard:

- Freestanding or wall mounted?
- Upholstered or wood?
- What rustic elements to incorporate – distressing, reclaimed materials, etc.
- Budget for materials
- Basic dimensions
For this tutorial, we opted for a wall-mounted, wood frame headboard with rustic touches like distressed edges and reclaimed barn wood accents. Plus a small upholstered panel for comfort. We set a max $100 budget for all materials.
Sourcing Materials on a Budget
One way to seriously cut costs for a DIY king headboard is to source recycled, reclaimed or leftover materials whenever possible. Check out garage sales, thrift stores, Craigslist/Facebook Marketplace or even construction dumpsters.
For our project shopping list, we scored:
- 3 8-foot 1×4 pine boards from Home Depot ($2 each from the discount pile)
- 6 feet of pine roof rafters from a construction site dumpster (free)
- Half sheet of plywood with water damage on one side ($5 from Habitat for Humanity ReStore)
- Upholstery foam and fabric scraps from a buddy who works at an auto shop (free)
Supplemented the scavenged goods with some essential hardware:
- Wood screws
- Stainless steel finish nails
- Wood glue
- Sandpaper
- Wood stain
- Polyurethane
Building a Rustic Chic King Size Headboard
Let’s walk through the process of constructing your budget-friendly king headboard step-by-step!
Step 1 – Construct the Frame
Measure the width of your king mattress and bedframe to determine how wide to make the headboard frame. Standard is around 76-78 inches wide but always best to custom fit your frame.
Cut the 1×4 boards with a miter or circular saw to the needed lengths – two boards the width of your frame for the vertical posts and two boards the desired height (we did 42 inches) for the horizontal crossbeams.
Assemble into a rectangle using wood screws and wood glue for rigid strength at the joints. Use scrap rafter pieces inside the frame for stability.
Step 2 – Add Rustic Design Elements
Now you can start giving your basic headboard frame some rustic farmhouse charm using simple but effective techniques like:
- Distressing – Use hammers, chisels and chains to dent, chip and fray the edges of boards.
- Reclaimed materials – Screw on slices cut from old wooden crates or pallets found at Habitat ReStore.
- Hardware – Swap out modern screws for old square nails and hinges.
- Staining – Choose darker wood tones like walnut, espresso or cherry.
Step 3 – Add Comfort with Upholstery
An optional way to enhance both aesthetics and comfort is adding a small upholstered panel. This soft cushion will make your king headboard nicer to lean against when sitting up in bed.
Use plywood, foam scraps and fabric remnants to upholster a 24 x 42 inch rectangle panel attached to the center of the frame.
- Cut plywood and foam to size with utility knife.
- Staple fabric edges to backside of plywood rectangle.
- Attach finished upholstery panel to frame front with screws.
Step 4 – Complete Finishing Touches
The final construction steps help protect and preserve your DIY king headboard while also accentuating that charming distressed style:
- Sand edges smooth.
- Apply wood conditioner.
- Stain in desired hue.
- Seal with polyurethane.
- Attach French cleat brackets for mounting to bedroom wall.
Customizing Your Rustic Chic King Headboard Design
The wonderful thing about DIY furniture projects is the ability to freely customize to your needs and personal taste!
Some options for tweaking our tutorial plans include:
Add Lights
Warm up a rustic design by incorporating soft lighting:
- Twinkle lights
- Reading sconces
- Bedside lamps
Include Storage
Function meets form with discreet storage areas:
- Baskets under corner shelves
- Cabinets with hidden door fronts
- Peg rails to hang items
Vary Fabric Choices
Swap the upholstery fabric to match your room’s color scheme – try burlap, faux leather, flannel plaids or tapestry prints for lots of rustic flair.
Adjust Dimensions
Size your DIY headboard exactly to your mattress width, height preferences and available wall space.
Add Unexpected Elements
Make a bold style statement by tastefully blending modern and industrial materials like:
- Exposed brick or concrete
- Galvanized metal
- Wire mesh
Now it’s time to stand back and admire your budget-friendly king size headboard that looks like it cost 10x what you spent!
Mount it properly to studs in the wall. Style your beautiful bedroom oasis. Then show off photos of your amazing creation on Instagram and Pinterest to inspire other DIYers.
And next time you need custom furniture on a tight budget, remember just how easy and affordable it can be to construct things yourself. No need to sacrifice style or quality for savings when you DIY!
