Farmhouse decor never seems to go out of style. The classic farm table is always in demand for family dining areas or kitchen spaces. We particularly love the cozy vibe of a square table seating four. But quality farmhouse tables can cost a pretty penny from high-end retailers. Instead of spending your budget on an overpriced table, why not build your own?
Crafting a square farmhouse table that seats four does not have to break the bank. With some handy DIY skills and budget-friendly materials, you can create a gorgeous focal point for under $150. From choosing the right wood to sanding techniques, our guide shares pro tips to construct an incredible farm table.
Choose the Right Materials
The first step for any carpentry project is gathering quality materials built to last. Farmhouse style trades the refinement of finished wood for a more natural, rustic aesthetic. Pine, oak, poplar, and maple all have great rustic charm at budget prices. Here are some material considerations for crafting your table:
- Opt for kiln-dried wood around 3/4″ thick to prevent future warping and cracks.
- Sand and finish the wood for protection from spills and scratches during decades of use.
- Source hardware like wood screws and wood glue for a study build.
We recommend using the most cost-effective wood available and enhancing it with finishes and distressing techniques.
Our Favorite Budget Woods
While exotic woods like mahogany or teak have striking grains, quality lumber gets pricey. For DIY projects, these affordable options work beautifully:
| Wood Type | Characteristics |
| Pine | Soft wood, inexpensive, stains well |
| Oak | Sturdy, naturally rustic looking grain |
| Poplar | Neutral hue good for paint/stain |
| Maple | Harder wood good for high-wear areas |
Design and Dimensions
One of the beauties of DIY is the chance to customize your creation. Consider how you want to use your farmhouse table before finalizing dimensions and details. Plan for plenty of leg room, spacing between settings, and an accessible height for diners to comfortably enjoy meals.
Standard Farm Table Size for Four People
The perfect size accommodates four place settings without feeling cramped. Allow at least:
- 36-42 inches square surface area
- 29-31 inches tall height
This offers each diner sufficient personal space while keeping an intimate scale for cozy family meals. Just ensure enough surrounding space to pull chairs out and stand up comfortably.
Building the Table Base
A sturdy base establishes proper balance and weight distribution. It prevents teetering or future sagging even with decades of heavy use. Use properly dried lumber around 2″ thick for barn-style end legs. Then incorporate thick crossbeams for lateral stability.
Cutting Legs to Size
Measure and mark your leg cuts based on the planned table height. Remember to account for the depth of the tabletop when calculating the leg length. We recommend cutting four legs equally between 27-29 inches for a counter height farm table around 30 inches tall. Smooth any rough edges with a sander for a polished finished look.
Attaching Crossbeams
Connecting lateral beams between the legs boosts stability so the table won’t wobble with daily use. They also provide joints to attach the table top. Cut two beams equal to your desired table length and two more for width. Use sturdy wood screws sunk into pre-drilled pilot holes to attach each beam, ensuring corners align in a square orientation.
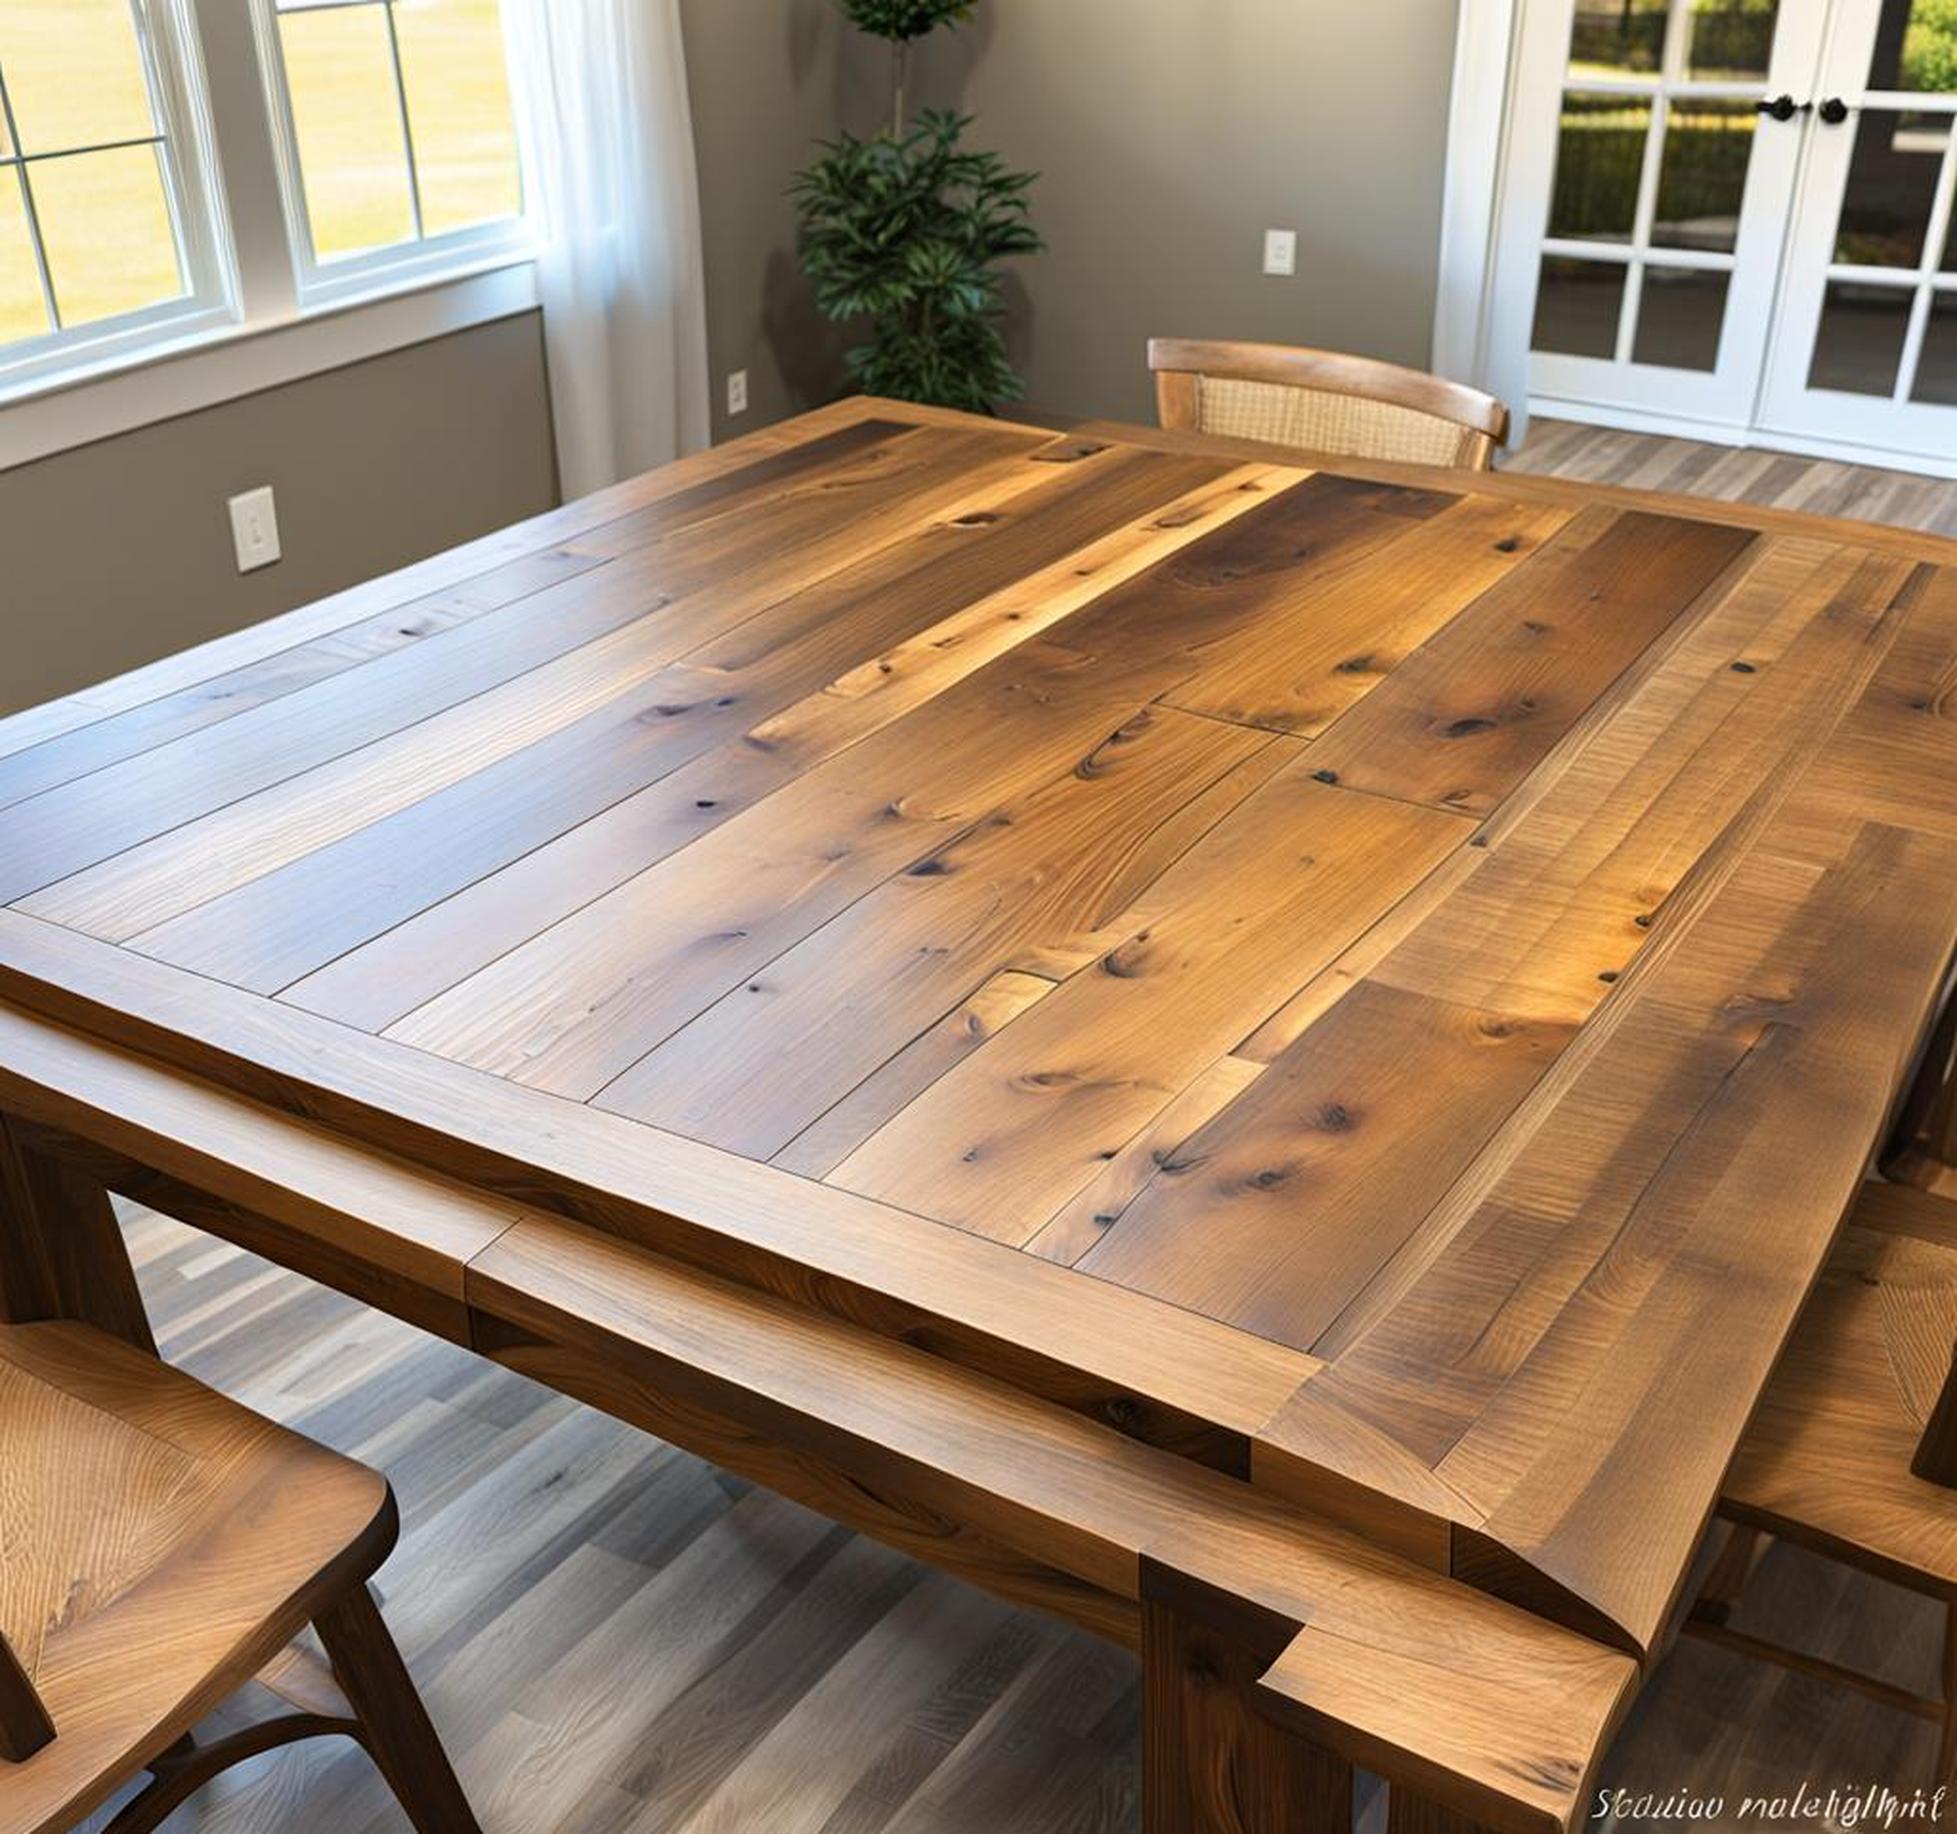
Crafting the Tabletop
Now for the piece de resistance! While often made as a single slab, you can edge-join narrower boards to create your rustic tabletop on a budget. Allow each board to acclimate to your home’s temperature and humidity for several days before the glue up to prevent future cracks or warping. Be sure to multiply the width by length dimensions by 1.25″ to accommodate the overhang over the base.
Prep and Sand Before Finishing
Completing initial sanding before assembly streamlines finishing the tabletop later.
- Sand each board up to 120 grit removing any rough spots or defects.
- Ease edges with a small 45-degree chamfer using 120 grit paper to prevent splintering.
This prep work creates a smooth surface ready for your choice of stain, paint, or clear coat. Tung or walnut oil are excellent protective wood finishes safe for dining surfaces.
Extra Touches of Style
Transform raw lumber into a showstopper farm table with these easy enhancements:
Distressing Techniques
Create the illusion of a well-loved antique using tools to mimic signs of age and wear. Wire brushes pull up fibers while chains dragged across the surface leave grooves and texture behind.
Custom Wood Burning
Incorporate personal touches like family initials or other designs burned right into the wood with a small pyrography tool. This handcrafted detail adds a special sentimental element to your DIY table. Consider matching other decor accents like window frames or cabinetry for a pulled together farmhouse look.
Comfortable Seating for 4
An intimate square table encourages connection during family dinners and game nights. Complement your handcrafted table with chairs offering lumbar support and creature comforts.
Allow Plenty of Leg Room
Measure table clearance to allow pulling chairs out and sitting down comfortably while preserving an intimate distance between places. Bar stool height chairs with footrests maximize leg room.
Cushioned Seats and Backs
While wood chairs match farmhouse style, generous foam cushions prevent sore spots during lingering meals full of laughter and conversation.
Style Complements
Incorporate design details like exposed joinery or distressed wood finishes for pulled-together rustic charm throughout the space.
Step-by-Step Assembly Instructions
Once all individual components are complete, it’s time for final assembly. Have an extra set of hands available to help align pieces during glue up and initial fastening before the adhesive dries.
Joining Base to Tabletop
Run a continuous bead of exterior-grade wood glue along the top edges of the base. Then place the tabletop centered on all sides allowing the top to fully contact the glue. Immediately drive wood screws upwards through the beams into the bottom of the tabletop to firmly fix in place.
Sand Away Imperfections
Let assembly fully cure for 24 hours before sanding away any imperfections for a smooth uniform surface. Ease all sharp table corners and edges with 120 grit sandpaper to prevent future snags and injuries.
With proper care and maintenance, a DIY farm table should serve your family for generations. Keep it looking like new with these tips:
- Use placemats during meals to prevent hot pans or spills from damaging the finish.
- Clean up messes quickly using a soft cloth with warm water and mild detergent then dry immediately.
- Reapply protective finishes like tung oil annually to shield from wear.
- Periodically check for levelness and tighten joints if needed.
Now that you know how to craft it yourself, you’ll never view rustic furniture the same again. The proud feat of building a farmhouse dining table seating four people establishes treasured family memories around homemade meals. Our step-by-step tutorial takes the guesswork out of constructing this focal piece on a budget. Before you know it, you’ll be hosting friends and family around your hot new square table!
