Is your backyard deck lacking that essential access point to seamlessly connect it to your yard? Do guests gingerly sidestep down makeshift arrangements of bricks or pallets to uncomfortably access your elevated entertaining space? Now is the time to transform your deck by designing and building sturdy, stunning stairs to give your exterior living area the curb appeal and functionality it deserves.
In this post, we will guide you step-by-step through the process of DIY deck stair construction you can complete in a weekend. With proper planning and preparation, you can create a beautiful staircase that provides safe and reliable access to your deck for years to come. Whether your style is traditional or modern, simple or intricate, we will cover building techniques for various stair types so you can tailor your project to match your deck design and yard landscape. Let’s get started planning your dream stairs!
Types of Deck Stairs and Styles
Deck stairs come in many shapes and forms, but most fall under two main categories: traditional staircases with stringers or contemporary deck box steps. Within these options, you can incorporate a range of designs and material choices to complement your deck aesthetic.
Traditional Staircases
The classic deck staircase utilizes diagonal stringers, or support boards, installed on either side of the stairs. These stringers connect the deck to the ground while providing stability for each step. Riser boards are nailed vertically between each step, and tread boards are fixed horizontally across the stringers to create the walking surface.
Traditional deck steps require more carpentry skills but provide a timeless, elegant look. This style also allows you to more easily incorporate custom shapes and multi-level designs.
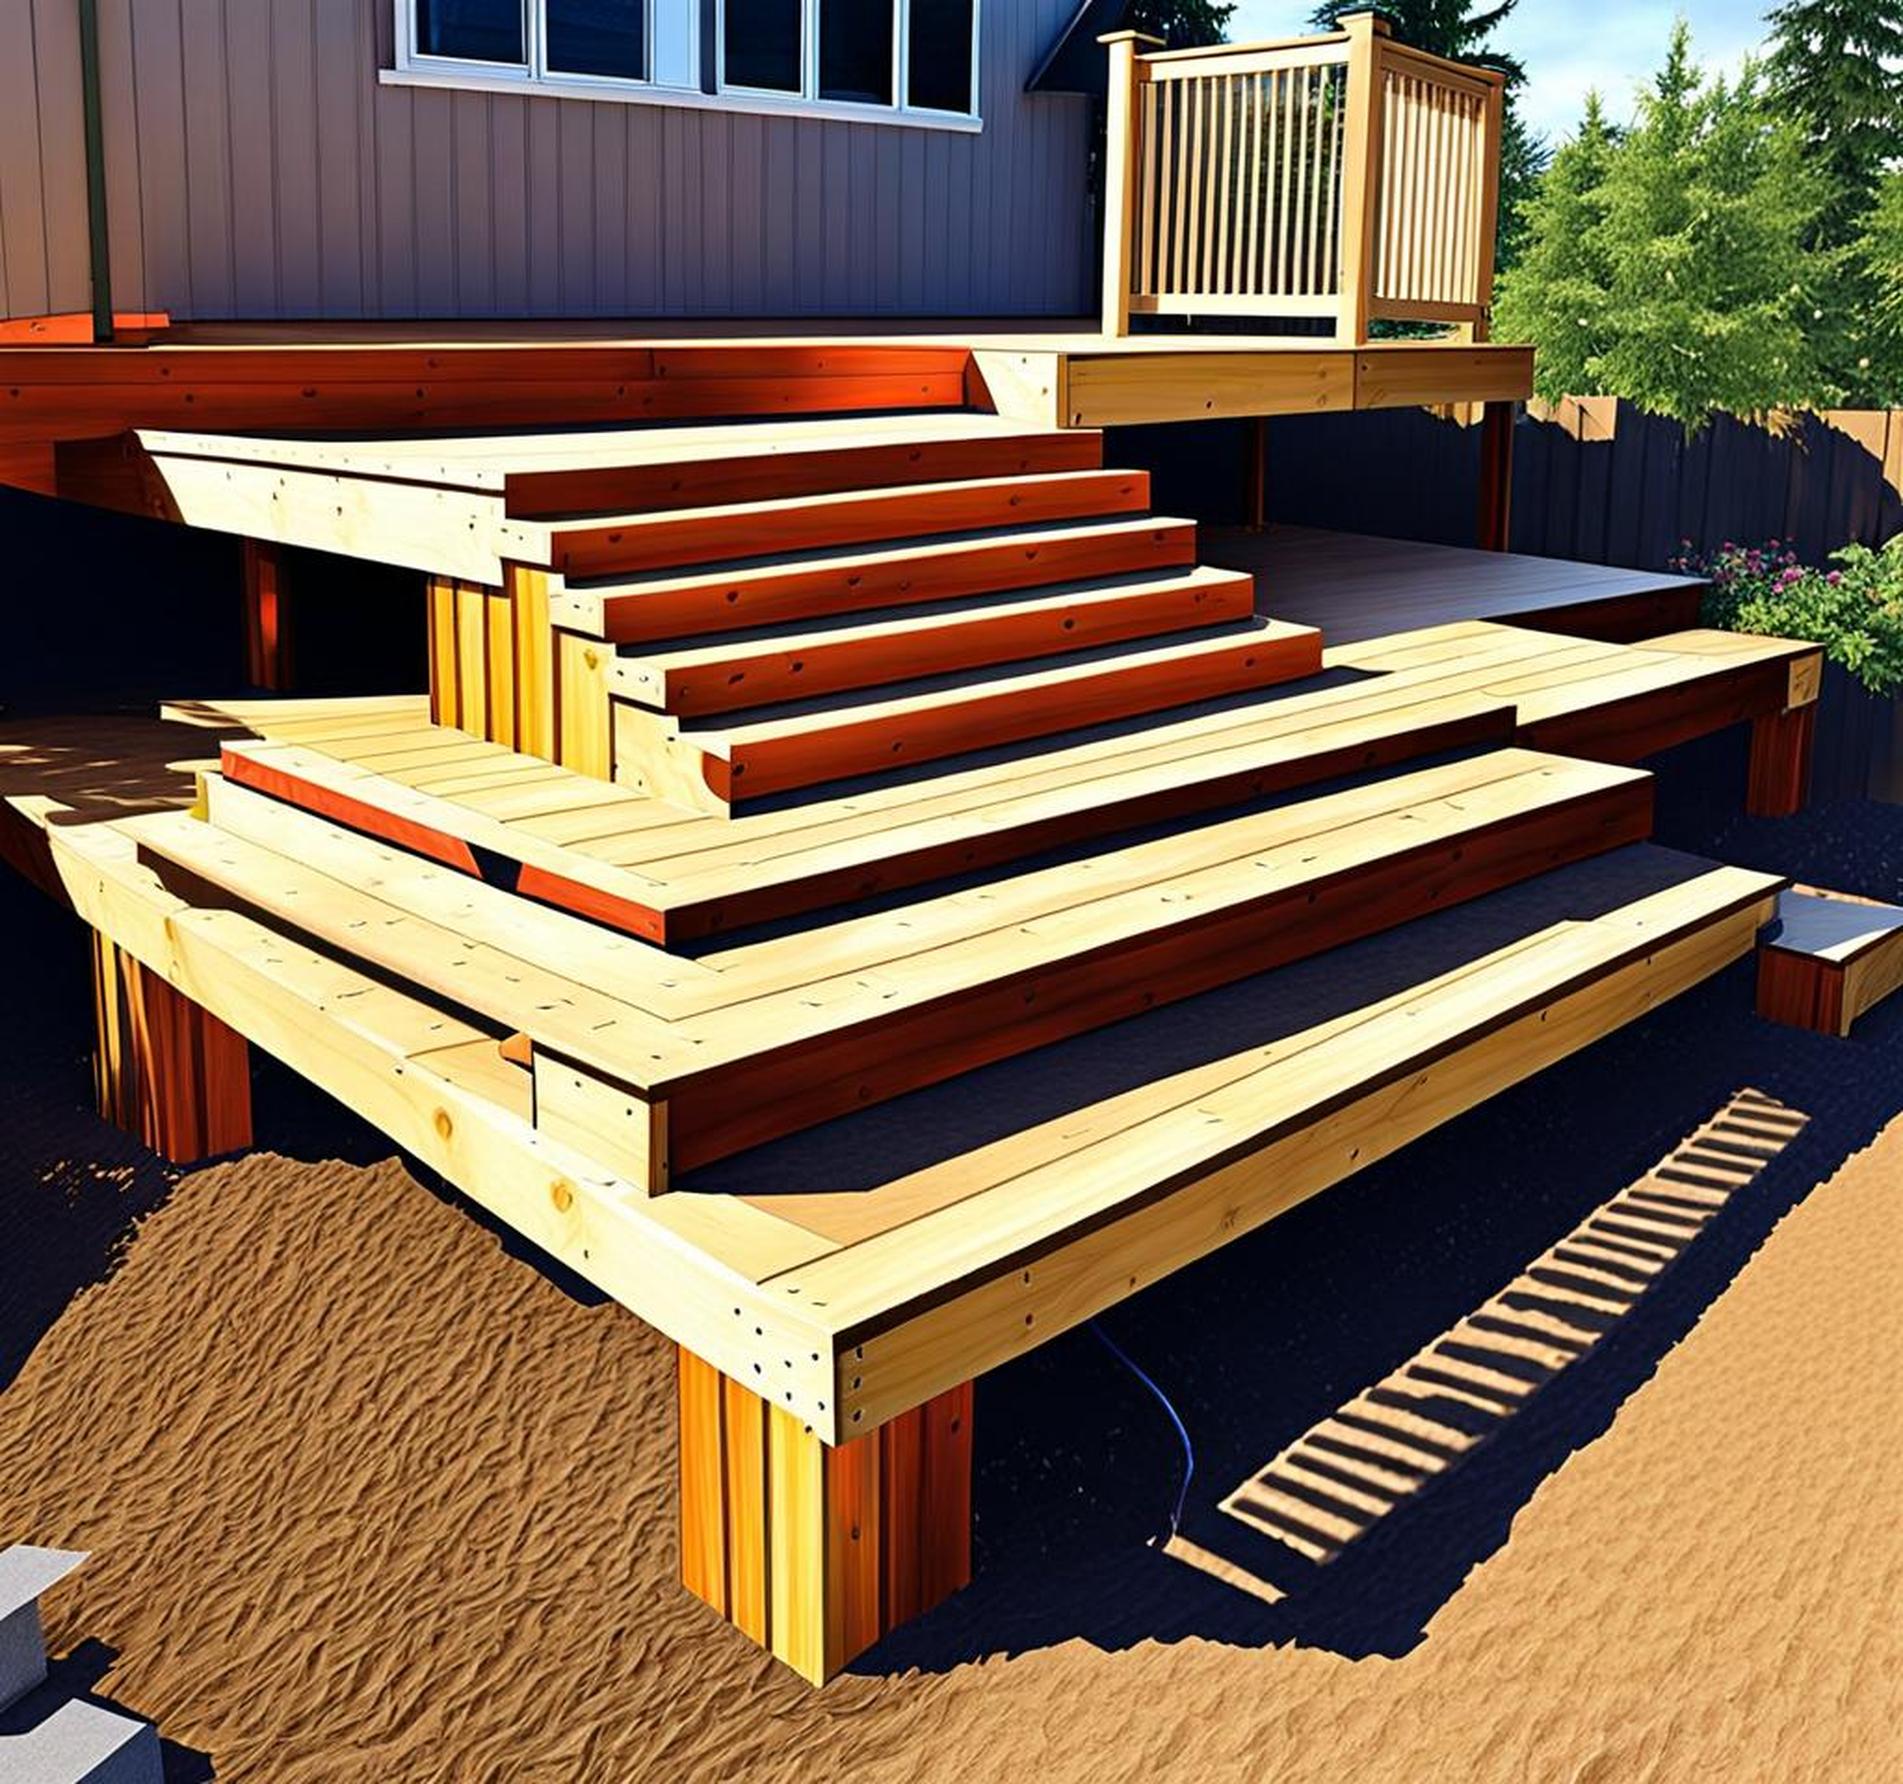
Deck Box Steps
As a more contemporary alternative, deck box steps are growing in popularity for their simplicity. Box steps utilize a series of wooden boxes stacked in a staggered formation to form each step rather than diagonal stringers. The boxes anchor securely to the deck frame and each other.
Deck box stairs offer a sleek, minimalist style that complements modern deck materials and architecture. Without stringers, they tend to have a lighter, more floating aesthetic. They also require less carpentry skill and are easier to customize.
Material Options
For durability and visual appeal, pressure-treated lumber is a popular deck stair building material. Pre-treated with protective chemicals, this lumber withstands exposure to moisture and insects. Composite decking offers another great option combining plastic and wood fibers for heightened weather-resistance and low maintenance.
For landings or multi-level stairs, concrete pads and pavers can provide an attractive, solid foundation. Wrought iron and glass are also interesting materials to incorporate for railings and accents.
Staircase Features
Beyond the treads and risers, you can integrate special touches and features into your stairs for added function and flair. Safety railings should be installed on higher staircases per code. Lighting brightens the stairs for nighttime use. Interesting shapes, built-in planters, shelving and contrasting materials all help your stairs make a statement.
Planning Your Deck Stairs
Careful planning is required before starting your DIY deck stair project. Follow these steps to map out the perfect design customized to your space.
Measure and Design
The first task is taking detailed measurements of the installation area, including the height from your deck surface down to the ground. Referencing local building codes, you can then determine the ideal total number of steps needed based on standard tread depths and riser height between steps.
With measurements in hand, sketch your design on graph paper. Map out the staircase shape, including landings, and features like railings and lighting. This plan will guide your construction.
Choose Stair Type
Next, decide whether you want to build a traditional stringer staircase or deck box steps. Consider your design preferences, skill level, timeline and budget. Stringer stairs require more intricate carpentry but allow total customization. Box steps offer a simpler, more modern DIY stair project.
Also determine if you want a single sloped staircase or multi-level stairs with landings and turns. Your measurements and layout should inform what works best for your space.
Pick Materials and Supplies
With your stair design mapped out, make a detailed shopping list of building supplies. This includes your preferred decking lumber, composite or concrete; fasteners and hardware like joist hangers, anchors, nails and screws; and necessary tools like a circular saw, drill, level, tape measure and more. Purchase everything you need so it’s on hand for the build.
How to Build Deck Steps
Now comes the fun part: constructing your deck stairs! Using your plan as a guide, follow these steps:
Prepare the Location
First, thoroughly prepare the stair installation area. Remove any debris or vegetation and level the ground as needed. The existing deck structure must be able to safely carry the added stair weight and movement. Reinforce the deck frame as required.
For deck box steps, a concrete pad poured as your bottom step foundation provides extra stability. Overall, ensure the base is sturdy, solid and level so your staircase begins on steady footing.
Install Stringers or Base Boxes
For stringer stairs, measure and mark where your diagonal supports will be installed before carefully cutting them to size. Use several heavy-duty deck screws to anchor them into the deck frame. The bottom ends should be buried in the ground or installed atop a concrete pad.
For deck box steps, construct the solid wooden base boxes and stack in place, staggered appropriately. Secure them well to the deck substructure and each other. Check for evenness and uniform spacing as you go.
Add Risers and Treads
With stringers or base boxes in place, mark and cut riser boards to fit snugly between each step. Nail them into position. Then measure and install tread boards across the risers, screwing them into the stringers or atop the staggered boxes.
Pre-drilling boards avoids splitting. For box steps, measures treads and risers one box at a time for a custom fit. Construct landings the same way.
Include Railings and Finishing Touches
Once steps are framed, it’s time for detail work. Carefully measure and install balusters and railings following code for proper height and spacing from the tread edges. You want maximum safety and stability.
Also drill holes and add lighting along the sides of the stringers or boxes to illuminate the stairs. Consider decorative material like stone veneer on risers or contrasting composite colors on treads to upgrade the look.
Lastly, backfill below the stairs with gravel and add mulch or plants around the sides. Durable, attractive stairs complete your deck structure.
Maintaining and Improving Your Stairs
Your DIY staircase provides lasting functionality and beauty to your deck. Perform regular maintenance to keep your stairs in peak condition.
Inspect for loose fasteners, protruding nails, splintered wood or other hazards and damage. Make repairs immediately to prevent exacerbation over time. Re-staining or sealing tread materials preserves against weathering and keeps surfaces looking rich.
For enhancements, consider adding sculptural planter boxes, bench seating on stair landings or decorative ironwork along railings. Improving the stairs’ ambiance and charm keeps your backyard feeling fresh. And guests will be amazed at what you achieved in one weekend of determined DIY building.
Adding the perfect staircase provides your elevated deck with an essential connection to the yard while making a stylish statement. By following our tips on planning, materials and the construction process, you can create beautiful, safe deck stairs customized to your needs through an achievable weekend DIY project.
Knowing you designed and built the stairs yourself using the detailed guidance above will make you beam with satisfaction every time you access your deck. Then it’s time to put your new steps to use by hosting lively gatherings and peaceful moments of relaxation in your enhanced outdoor living space.
