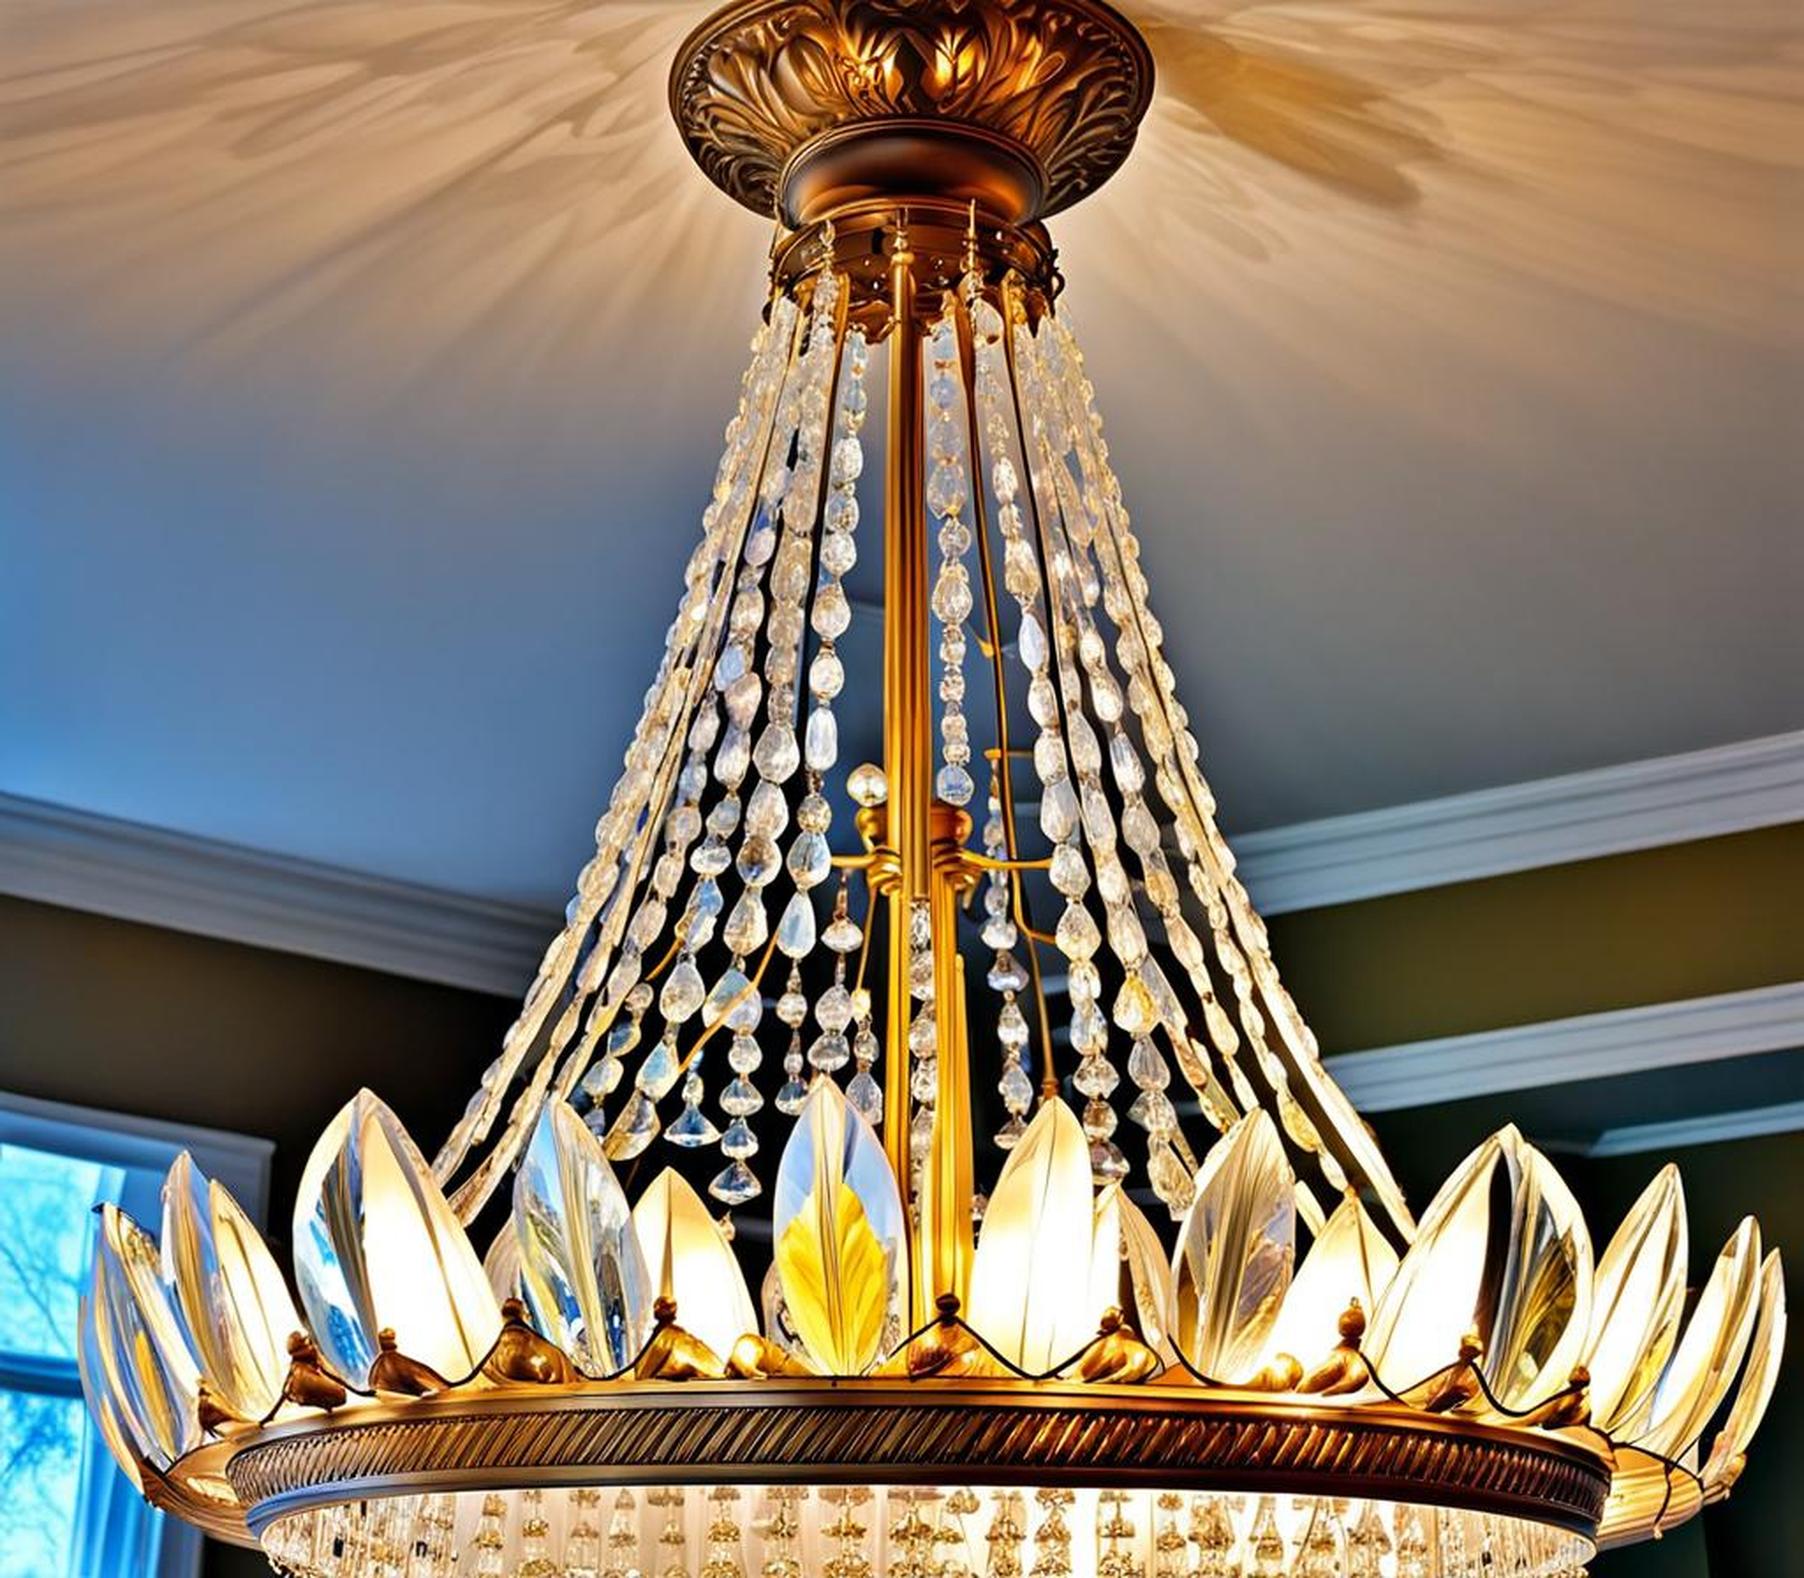
Chandeliers add drama and elegance to home decor with their glimmering crystals and dazzling lights. But when a glass panel breaks, it can turn your beautiful fixture into an eyesore. Replacing the glass may seem daunting, but it’s very doable as a DIY project.
Assessing the Damage
Before ordering replacement glass, inspect your chandelier to identify exactly what needs fixing. Carefully remove any loose shards dangling from broken panels using thick gloves for protection. Determine how many panels are damaged and if the remaining ones are stable or loose. Take measurements and photos to find accurate replacement glass.
Measuring the Opening
To select replacement glass, precise measurements are key. Record the height, width, and depth of each panel opening using a tape measure. Note details like edge shapes and drilling holes for hanging wires. Measure multiple times for accuracy. Compare your measurements against each manufacturer’s listed dimensions when ordering.
Removing the Broken Panel
With broken shards cleared away, start panel removal. Examine connections like screw anchors, clasps, or tabs securing glass panes. You may need to detach canopy mounts or trim pieces first to access fasteners.
| – Use caution when handling broken fixtures | – Locate all hidden contact points |
| – Detach old panel without bending arms | – Label pieces during disassembly |
Gently pry the panel loose at attachment points. Be extra careful with antique chandeliers, preserving dangling crystals and beads. Remove every shard and clean all surfaces before installing replacement glass.
Installing the New Panel
Once accurate glass panels arrive, prep for installation. Apply a strong adhesive like clear silicone or epoxy to the panel edge or frame mount. Carefully align new glass, checking angles match existing hang points.
Allow adhesive to fully cure per manufacturer instructions, often 24 hours. Reassemble any unattached chains, arms, or canopy pieces. Inspect electrical wiring and use wire nuts to reinforce connections if fraying exists. Restore power and test functionality of all light bulbs.
Chandelier Safety Tips
While glass replacement improves aesthetics, preventing future breaks is key. Consider replacing delicate crystal panels with durable tempered or acrylic glass options. These withstand higher heat and stronger cleaning solutions without cracking.
Select low-wattage LED bulbs producing less fixture heat. Regularly dusting and gentle cleaning keeps panels clear for light reflection. Over time, check for any loose glass panes or frayed hanging wires requiring hardware adjustments.
Monitoring for Issues
Well-maintained chandeliers should hang securely without issues. However, slowly developing problems can cause safety hazards if ignored. Listen for any buzzing noises indicating faulty electrical connections needing professional repairs. Watch for broken links in hanging chains which can destabilize glass panes or whole fixtures.
As seen in this DIY guide, glass panel replacement restores the beauty of broken chandeliers. With some patience, right materials, and safety measures, homeowners can tackle most chandelier repairs themselves instead of calling electricians. As lighting centerpieces, functional and dazzling chandeliers keep your spaces sparkling.
