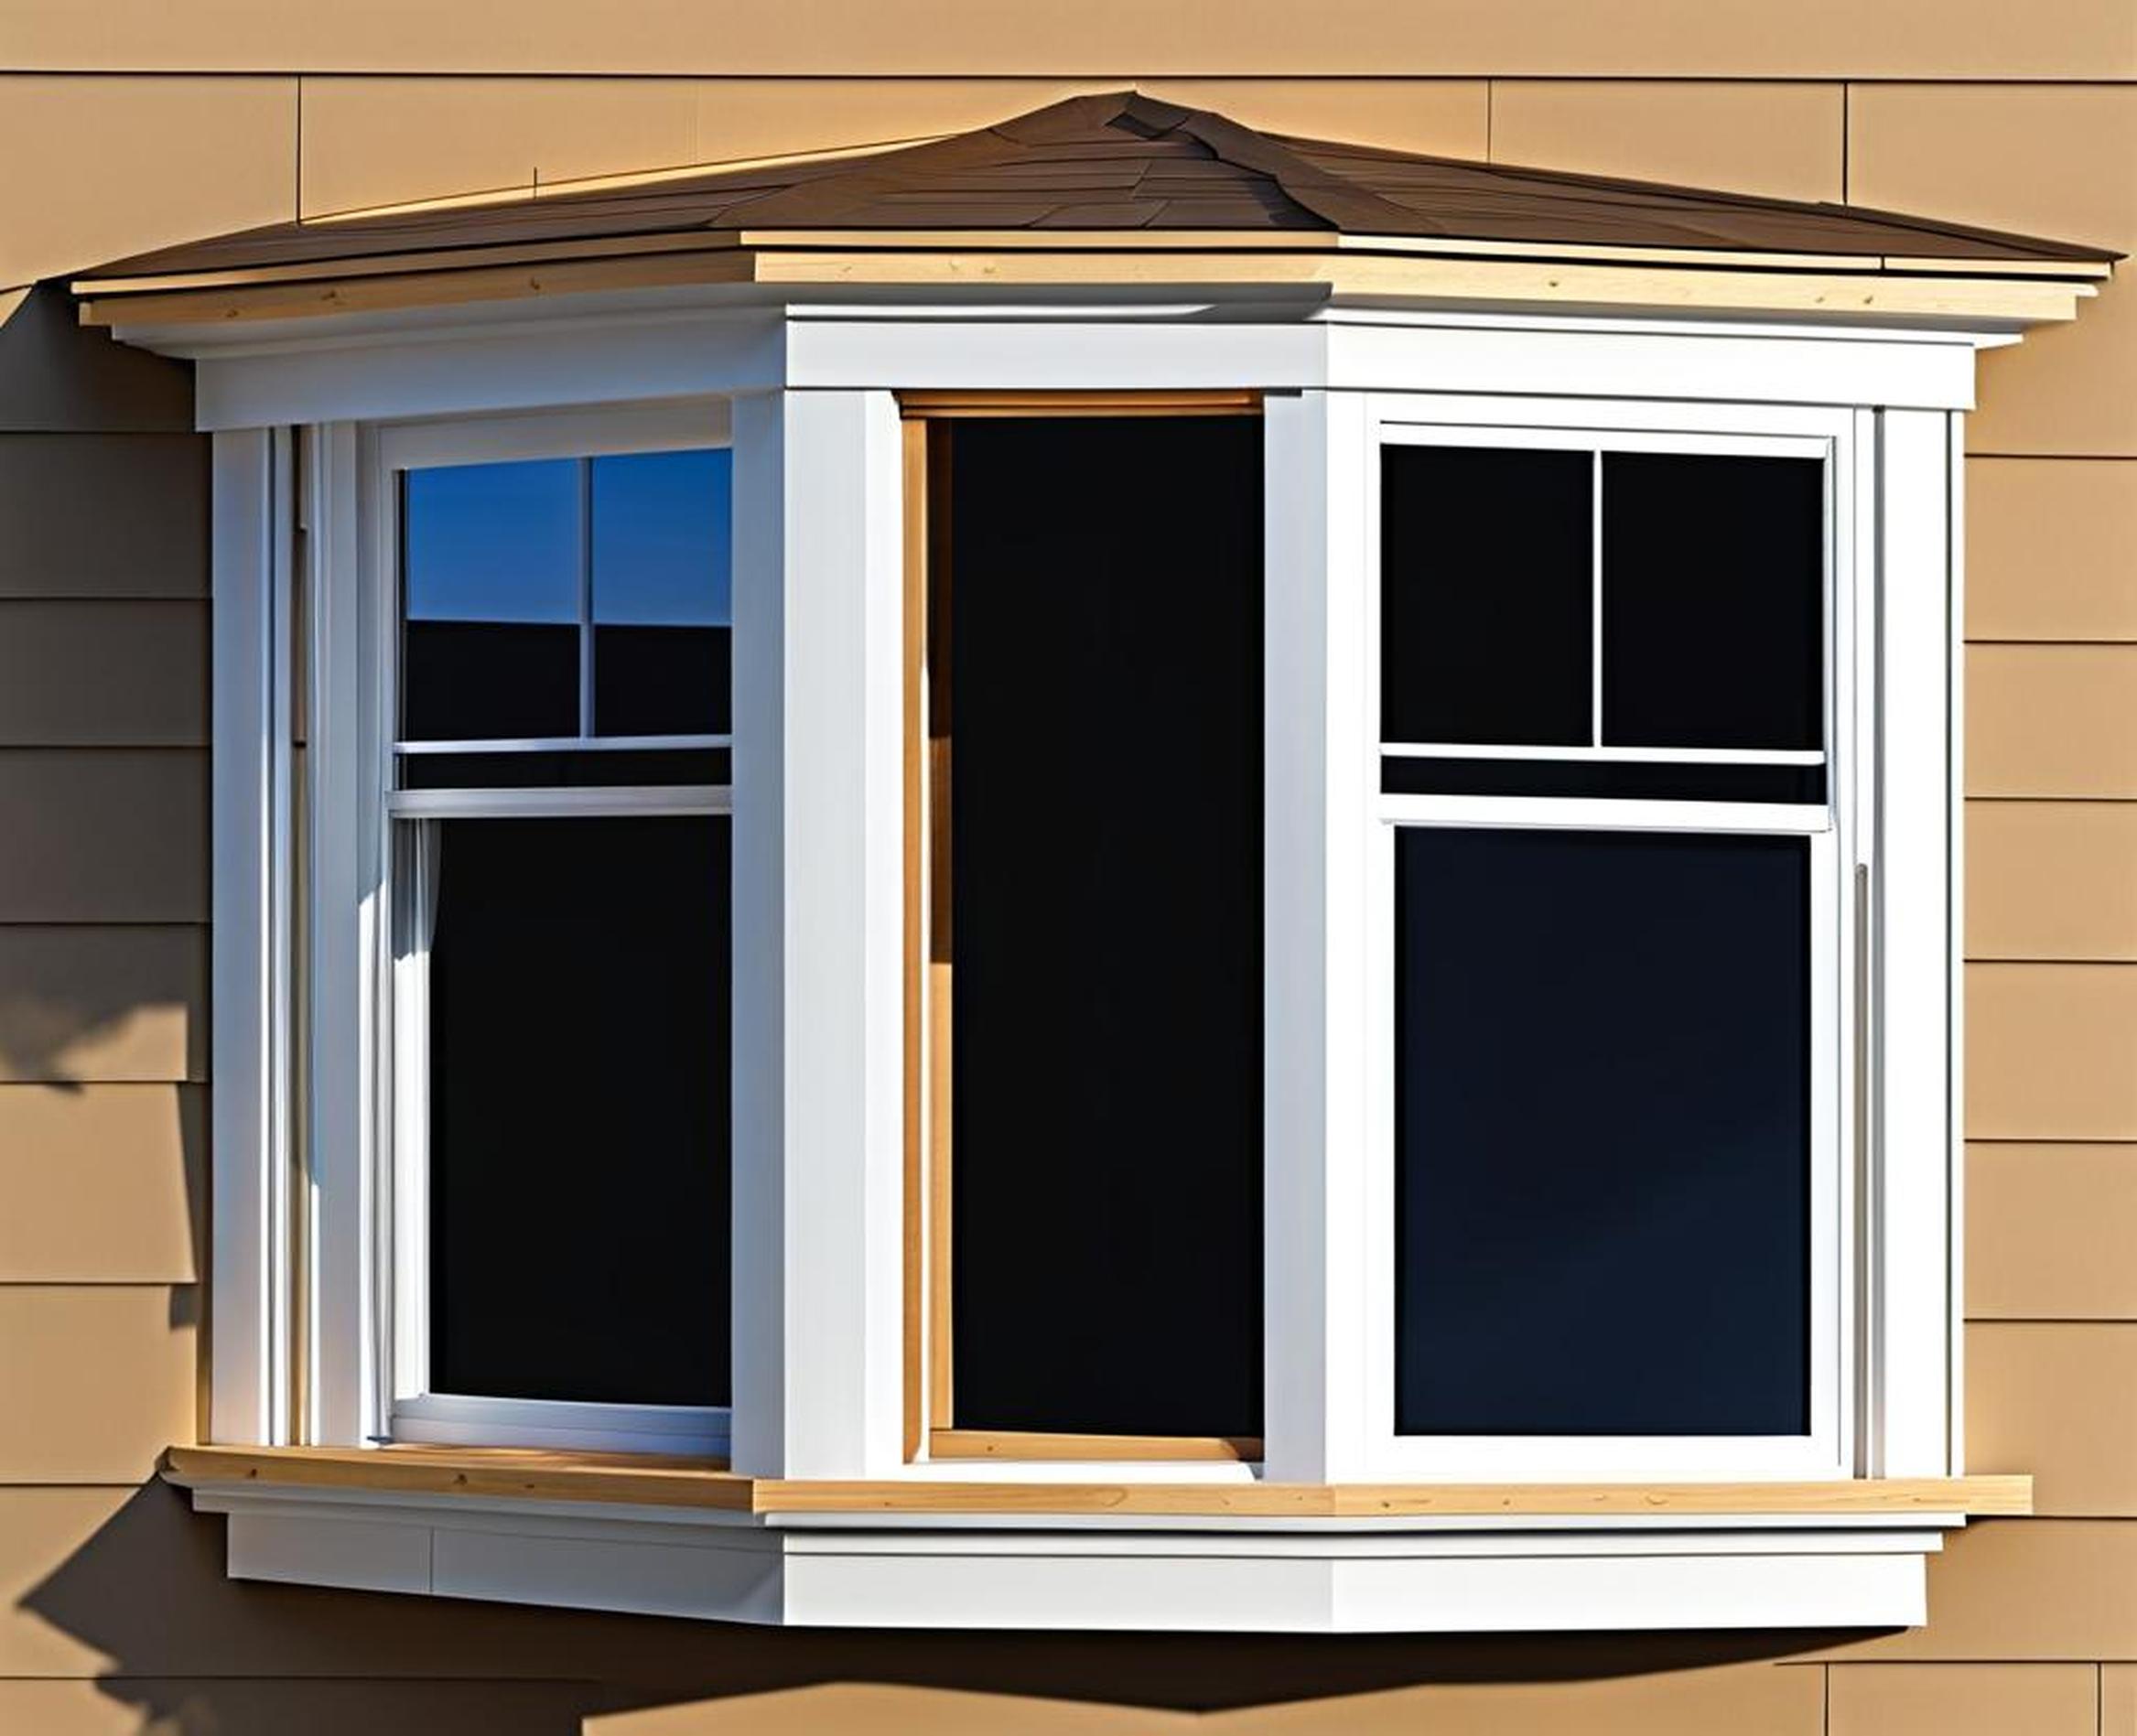
If you’re looking to add a bay window to your home, proper framing is crucial for structural integrity and energy efficiency. Bay windows have an angled projection that makes their framing more complex than typical vertical windows. In this comprehensive DIY guide, we’ll walk through the entire process of framing a bay window successfully.
What Is a Bay Window?
A bay window is a window space that juts outward from a home, forming an alcove inside. The angles and complex geometry of a bay window distinguish it from a more straightforward bow window. Bay windows typically consist of three sections – one large center picture window flanked by two smaller windows angled 30-45 degrees.
Common interior bay window sizes range from 4 to 8 feet wide and 1 to 3 feet deep. The projection dimensions are limited by the roof overhang’s size. Bay windows come in a variety of shapes like squared, rounded, or polygonal. The most popular options are angled bays with a flat front or 30-45 degree angles on each side.
Benefits of Bay Windows
There are several excellent reasons to add a bay window to your home:
- Increased natural light – the protruding shape captures more ambient light.
- Extra interior space – the window’s alcove adds usable floor area.
- Enhanced views – the wider perspective provides improved visibility.
- Ventilation – operable windows improve air circulation.
- Architectural interest – bay windows add curb appeal and style.
Framing Considerations
Proper framing is crucial for any window but especially important for irregular bay window geometry. Here are some key factors to consider:

Structural Integrity
The angled projection of a bay window produces complex structural forces. Robust framing is vital to withstand vertical and lateral loads. Insufficient framing can lead to sagging, deformation, or collapse.
Irregular Shapes
Accurately cutting and assembling the studs, headers, and cripples for the bay’s unique shape requires precision. Prefabricated framing kits simplify the process considerably.
Settling Allowances
Like all construction, bay windows will settle slightly over time. Proper framing must accommodate this movement to avoid cracked drywall or broken glass.
Insulation
The varied cavity depths of a bay window make insulation challenging. Careful sealing and packing are necessary to minimize thermal bridging and energy loss.
Construction Steps
Now that we’ve covered some essential framing considerations, let’s look at the step-by-step process:
Foundation and Subfloor
Lay a solid foundation for the bay window using concrete footings or a raised wood platform. Build up the subfloor to the desired height and enclose below if needed.
Corner Posts
Install sturdy corner posts on each side of the bay window to anchor the assembly. Use metal brackets to secure the posts.
Bottom Frame
Construct the bottom frame using a built-up 2×12 beam. Position joist hangers and support posts to carry the weight.
Stud Walls
Erect vertical studs secured top and bottom by the beam and base plate. Space studs 16″ on center for maximum stability.
Cripple Studs
Frame cripple studs between the top plates and window header to transfer loads. Use solid blocking behind them.
Window Integration
Install the window unit on top of the framed bottom sill. Flash properly before trimming out the interior.
Insulation
Insulate the walls with fiberglass batts, carefully sealing any gaps. Use spray foam for the trickier spots.
Sheathing
Cover exterior walls with weather-resistant sheathing like plywood or OSB. Don’t forget the house wrap.
Roof Integration
Tie everything together by properly flashing where the bay roof meets the existing structure.
Interior Finish
Complete the bay window by trimming it out with desired casings and installing drywall inside.
Structural Load Path
For a bay window’s framing to perform properly, it must create a continuous load path. This structural chain transfers forces from the roof above down into the foundation.
Roof Rafters
The roof rafters collect snow, rain, and wind loads. They transfer these downward into the…
Window Header
The built-up header above the window opening must support the roof rafters’ weight. It transfers loads into the…
Cripple Studs
The cripple studs on each side of the header pass forces down through compression into the…
Wall Studs
The vertical wall studs transfer the compressive loads through the walls and into the…
Bottom Plate
The bottom plate distributes the loads across the entire bay window base into the…
Foundation
The concrete footings or foundation walls ultimately transfer all vertical and lateral loads into the underlying soil.
Common Framing Mistakes
Even experienced builders can make mistakes framing bay windows. Here are some of the most common issues and how to avoid them:
Weak Header
Undersized headers will sag under the roof loads. Use a built-up 2×12 header minimum.
Loose Posts
Inadequate post connections allow vibration and racking. Use galvanized metal ties.
Insufficient Insulation
Gaps or compressed insulation reduces energy efficiency. Seal and pack carefully.
Poor Flashing
Improper shingling and flashing details lead to leaks. Integrate with step flashing.
Cracks from Settling
Failing to allow for minor settling stresses materials. Leave 1/4″ gaps.
Tips for Successful Framing
Follow these best practices to achieve excellent results framing your bay window:
- Allow at least 12″ roof overhangs for proper water management.
- Use pressure-treated lumber or naturally rot-resistant woods.
- Seal everything thoroughly with caulk and expandable foam.
- Secure all connections snugly to minimize vibrations.
- Test the framed assembly before installing interior drywall.
framing a bay window yourself can save thousands of dollars. Just remember to design the structural framing carefully, use quality materials, and take your time. Patience and precision are key. We hope this guide gives you the knowledge needed to frame your bay window successfully!
