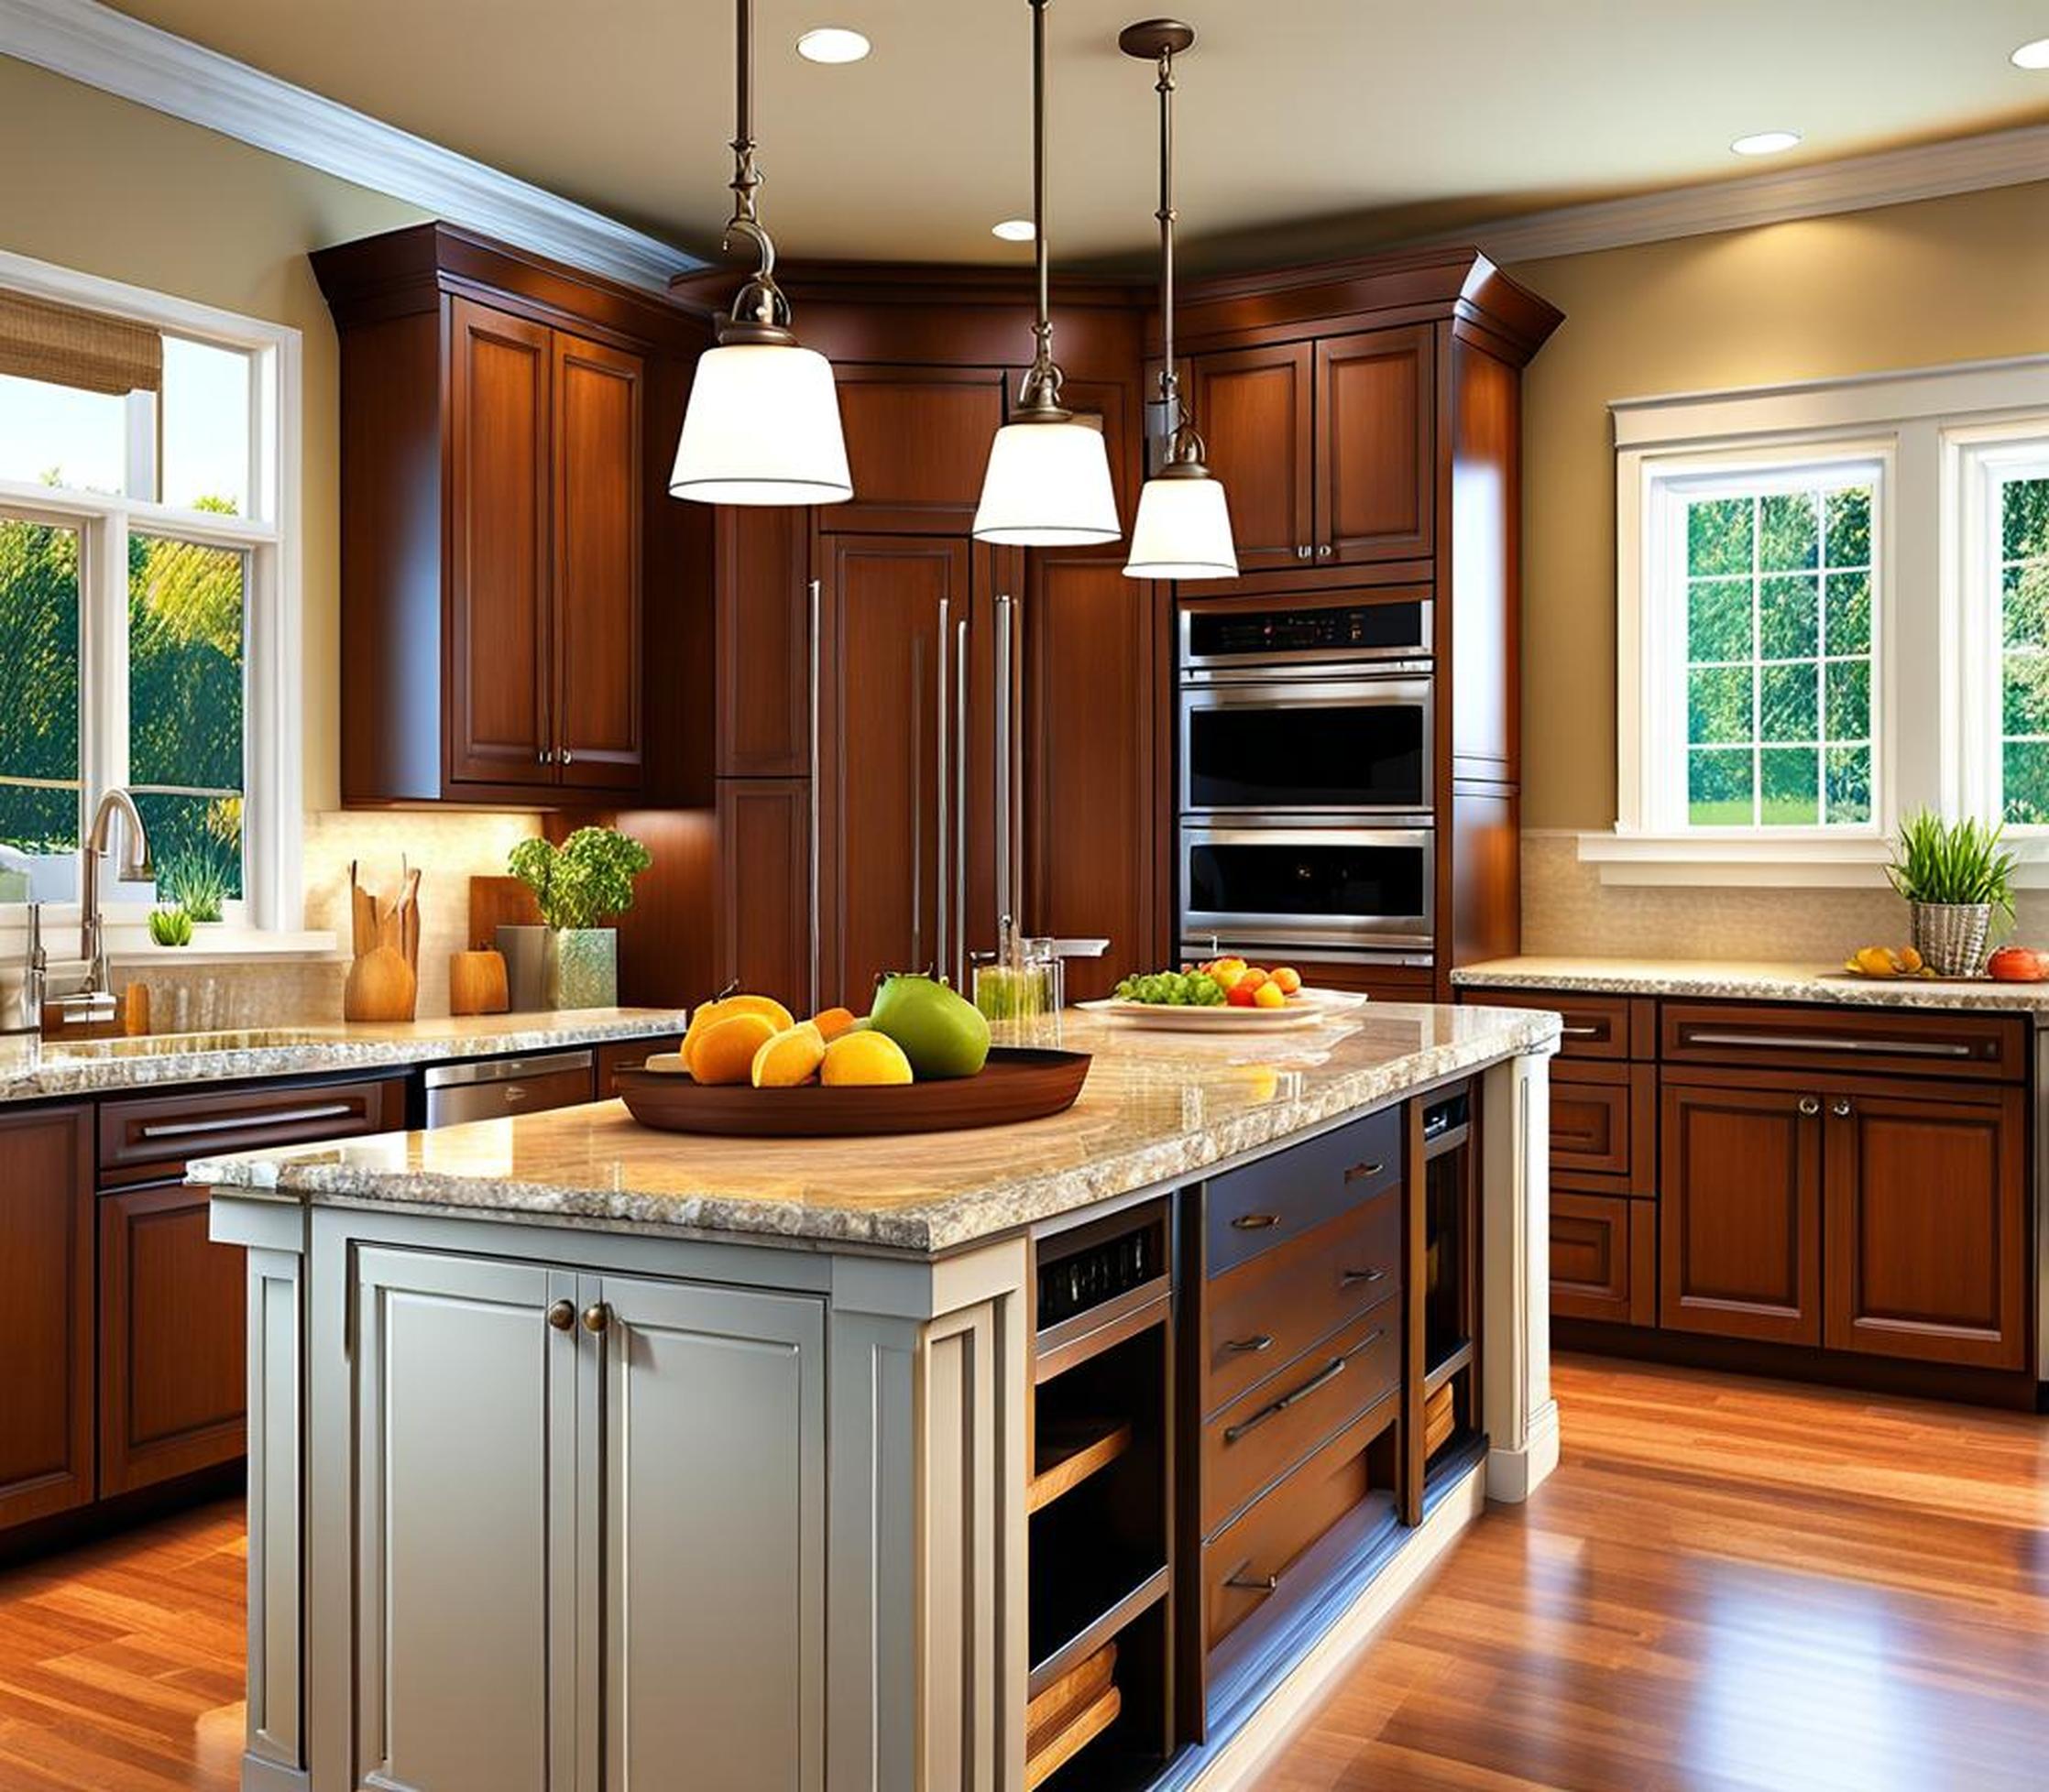
Is your kitchen lacking personality? Do you wish you had more space for meal prep, dining, or entertaining guests? Adding a kitchen island with seating for four can totally transform the look, functionality, and ambiance of your culinary space.
A thoughtfully designed 4 seat island not only provides extra counter area and storage, but becomes a stylish focal point and social hub for family and friends. Keep reading for tips on dimensions, seating options, and design elements to create your dream island!
Determine Your Goals for a 4 Seat Island
Before diving into dimensions and materials, first identify how you want to use your new kitchen island. This will inform important design decisions.
Additional Seating and Dining Space
Extra seating at a 4 seat island opens up room for casual dining, homework, or hanging out in the kitchen. It’s perfect for large families or frequent guests. Just be sure to allow enough space per seat for dining comfort.
Extra Prep Area and Workspace
Make your island a functional workhorse with added counter space for meal prep, rolling out dough, staging platters, and more. Built-in storage like shelves, cabinets, and drawers maximize functionality.
Hub for Entertaining and Social Gatherings
Situated in the center of your kitchen, an island naturally becomes a social hub for entertaining. Guests can gather around for appetizers and cocktails while the hosts prep and cook.
Complement Your Kitchen’s Style
Use your island to amplify your kitchen’s aesthetic – whether sleek modern, comfy farmhouse, or traditional. Tie in finishes like countertops and hardware for a cohesive look.
Consider the Dimensions
When planning your 4 seat kitchen island, carefully consider the length, width, and height to maximize comfort, functionality, and flow.
Length – Allow 2+ Feet Per Seat
As a rule of thumb, allow at least 2 feet of space per seat at your island. For 4 seats, plan on an island that’s approximately 8-9 feet or longer. This ensures enough leg room, elbow space, and surface area for each diner.
Width – At Least 3-4 Feet Wide
An island width of 3-4 feet or wider enables comfortable circulation around seated guests. Narrow islands can feel cramped and limit traffic flow in the kitchen.
Height – Counter vs. Dining
Standard counter height islands are 36 inches tall – suitable for bar stools. For a dining height island, choose 40-42 inches to match typical dining tables and chairs. Dining height feels more substantial and elegant.
Choose the Right Seating
One of the most exciting parts of planning a kitchen island is selecting seating! Bar stools, dining chairs, banquettes, and benches each have their pros.
Bar Stools – Stylish, Space-Saving
Bar stools are a popular choice for kitchen islands. Often backless, their compact footprint saves space while lending a casual, trendy vibe. Look for adjustable height, lumbar support, and comfy cushioning if used for extended periods.
Dining Chairs – Complement Existing Set
Opt for dining height chairs in a style matching your existing kitchen set for visual continuity. This also allows you to pull chairs over from the dining table when extra seating is needed.
Built-In Banquette – Cozy Dining Nook
For a more intimate, diner-style feel, install a wraparound banquette as part of your island. Family and friends will love sliding in together on the spacious bench seating.
Incorporate Storage
Maximize functionality and keep your kitchen organized with ample built-in storage options.
Drawers, Shelves, Cabinets
Incorporate deep drawers for cooking tools and shallow drawers for cutlery. Shelves neatly store vessels and appliances. Base cabinets offer larger storage for less frequently used items.
Hide Small Appliances
Designate a cabinet or two where you can tuck away small appliances when not in use. This keeps the counter clear for food prep and serving.
Include Functional Elements
Don’t just stop at seating and storage! Consider adding functional elements to enhance your island’s capabilities.
Sink
Add a sink to your island for easy food prep clean-up. Position the sink across from your kitchen’s main prep area for efficient triangular workflow.
Outlets
Incorporate electrical outlets, USB ports, or wireless charging into your island design. This allows you to easily power phones, laptops, and other devices when working or dining at the island.
Pendant Lights
Install pendant lights over the seating area to illuminate the surface for dining, entertaining, puzzles, or homework sessions.
Complement Your Decor
Tie your island into your kitchen’s overall aesthetic for a cohesive, pulled-together look. Design and finish elements to coordinate include:
Cabinetry
Use matching cabinets on the island and surrounding kitchen walls. Consistent design and finishes connect the two visually.
Countertops
Echo your countertop material – whether quartz, granite, butcher block, or tile. A matching island countertop blends beautifully.
Hardware
Coordinate your cabinet knobs or pulls. Go for matching finishes like brushed nickel or black for a continuous look.
Focal Point
Choose a showstopping countertop material like marble or exotic quartz to make your island the decorative focal point of your kitchen.
U-Shaped Design for Maximum Seating and Storage
A U-shaped island with seating on two or three sides provides additional seating capacity compared to a straight counter. The U shape also enables prime storage space in the center cabinetry.
Incorporate Lighting for Ambiance
Strategically placed lighting makes any kitchen island more inviting and functional:
- Under-cabinet LED strip lighting illuminates the counter for tasks.
- Hanging pendant lights above the seating area create ambiance for dining.
- Lantern-style lights on the island ends provide decorative accent lighting.
Built-in Refrigerator or Wine Cooler
Consider incorporating cabinetry for a refrigerator, beverage cooler, or wine chiller in your kitchen island design. This provides easy access to refreshments without leaving the dining area.
Breakfast Bar or Banquette Seating
Instead of individual stools or chairs, opt for extended counter overhang or built-in banquette seating on one side. This accommodates more guests comfortably.
Charging Ports and Outlets
Installing charging ports, electrical outlets, or even wireless chargers enables guests to conveniently power devices right from the island while working or dining.
Integrated Sink and Dishwasher
An island sink makes food prep cleanup a breeze. For even more convenience, consider adding an integrated dishwasher to handle post-meal messes fast.
Take your island up a notch by incorporating cabinetry with a built-in oven, toaster oven, or grill. This provides easy access when cooking for a crowd.
Carefully consider how you’ll use the space and let your personal style shine through. Happy designing your new favorite hangout spot!
