If your fireplace has seen better days, a DIY surround makeover can completely transform its look. With a variety of affordable materials like tile, wood panels, shiplap, and more, you can create a customized fireplace surround that becomes the focal point of your living room.
Get inspired to give your fireplace a fresh new look with step-by-step instructions for popular surround styles. Amp up your space with these amazing designs you can do yourself!
DIY Brick Fireplace Surround
For those who prefer a more traditional and classic look, a brick fireplace surround could be a great option. This durable and timeless material adds texture and visual interest to any decor. Here’s how to create your own DIY brick fireplace surround.
Benefits of Brick
Brick has remained a popular fireplace surround material for good reason. It offers:
- A classic, timeless look that fits well in traditional rooms.
- Extreme durability and ability to withstand high heat.
- Beautiful texture and color options from contrasting brick patterns.
Planning Your Layout
When taking on a DIY brick fireplace surround, start by:
- Measuring the dimensions of your fireplace.
- Deciding on a brick pattern like herringbone, stacked, or running bond.
- Purchasing enough standard-sized brick and supplies like mortar and grout.
Prep and Installation
To install your DIY brick surround:
- Clean the entire fireplace area so bricks adhere properly.
- Apply a layer of mortar using a trowel and brush.
- Lay bricks in your chosen pattern, tapping them into the mortar base.
- Allow the mortar to dry completely, usually about 24 hours.
Grouting and Sealing
Finish off your DIY brick surround by:
- Mixing grout and applying it over the bricks to fill gaps.
- Letting the grout dry slightly and then cleaning off excess.
- Sealing the bricks to protect from stains and moisture.
Design Inspiration
From traditional to modern rustic, brick fireplace surrounds work with many decor styles. Get inspired by these examples:
| Traditional | Farmhouse | Rustic |
| Crisp white mantel and dark red bricks for refined style. | Soft white painted bricks complement wood beam mantel. | Heirloom brick pattern mixed with wood for natural style. |
DIY Concrete Fireplace Surround
If you want a modern, minimalist look, a concrete fireplace surround is a striking option. With custom molds, you can achieve flowing shapes that make a statement.
Benefits of Concrete
Concrete as a fireplace surround material offers:
- A smooth, sleek appearance for modern interiors.
- The ability to create custom curved shapes and textures.
- Durability and heat resistance comparable to brick.
Forms and Molds
Start your DIY concrete fireplace surround by:
- Building a wooden form secured around the entire fireplace.
- Choosing a mold to impart texture, like wood grain.
- Adding rebar or mesh to reinforce the concrete.
Mixing and Pouring Concrete
Next, it’s time to pour your concrete:
- Prepare premixed concrete per package instructions.
- Pour concrete into form, tamping to avoid air pockets.
- Smooth and level off the surface with a trowel.
Finishing Concrete
Once cured, complete your concrete fireplace surround by:
- Allowing concrete to cure fully for several days.
- Sanding the surface smooth.
- Applying sealant and optionally painting or staining.
Design Inspiration
Get inspired by these sleek concrete fireplace surrounds:
| Modern | Industrial | Minimalist |
| Smooth concrete creates contemporary look. | Exposed aggregate finish and metal accents. | Simple floating concrete shelf and clean lines. |
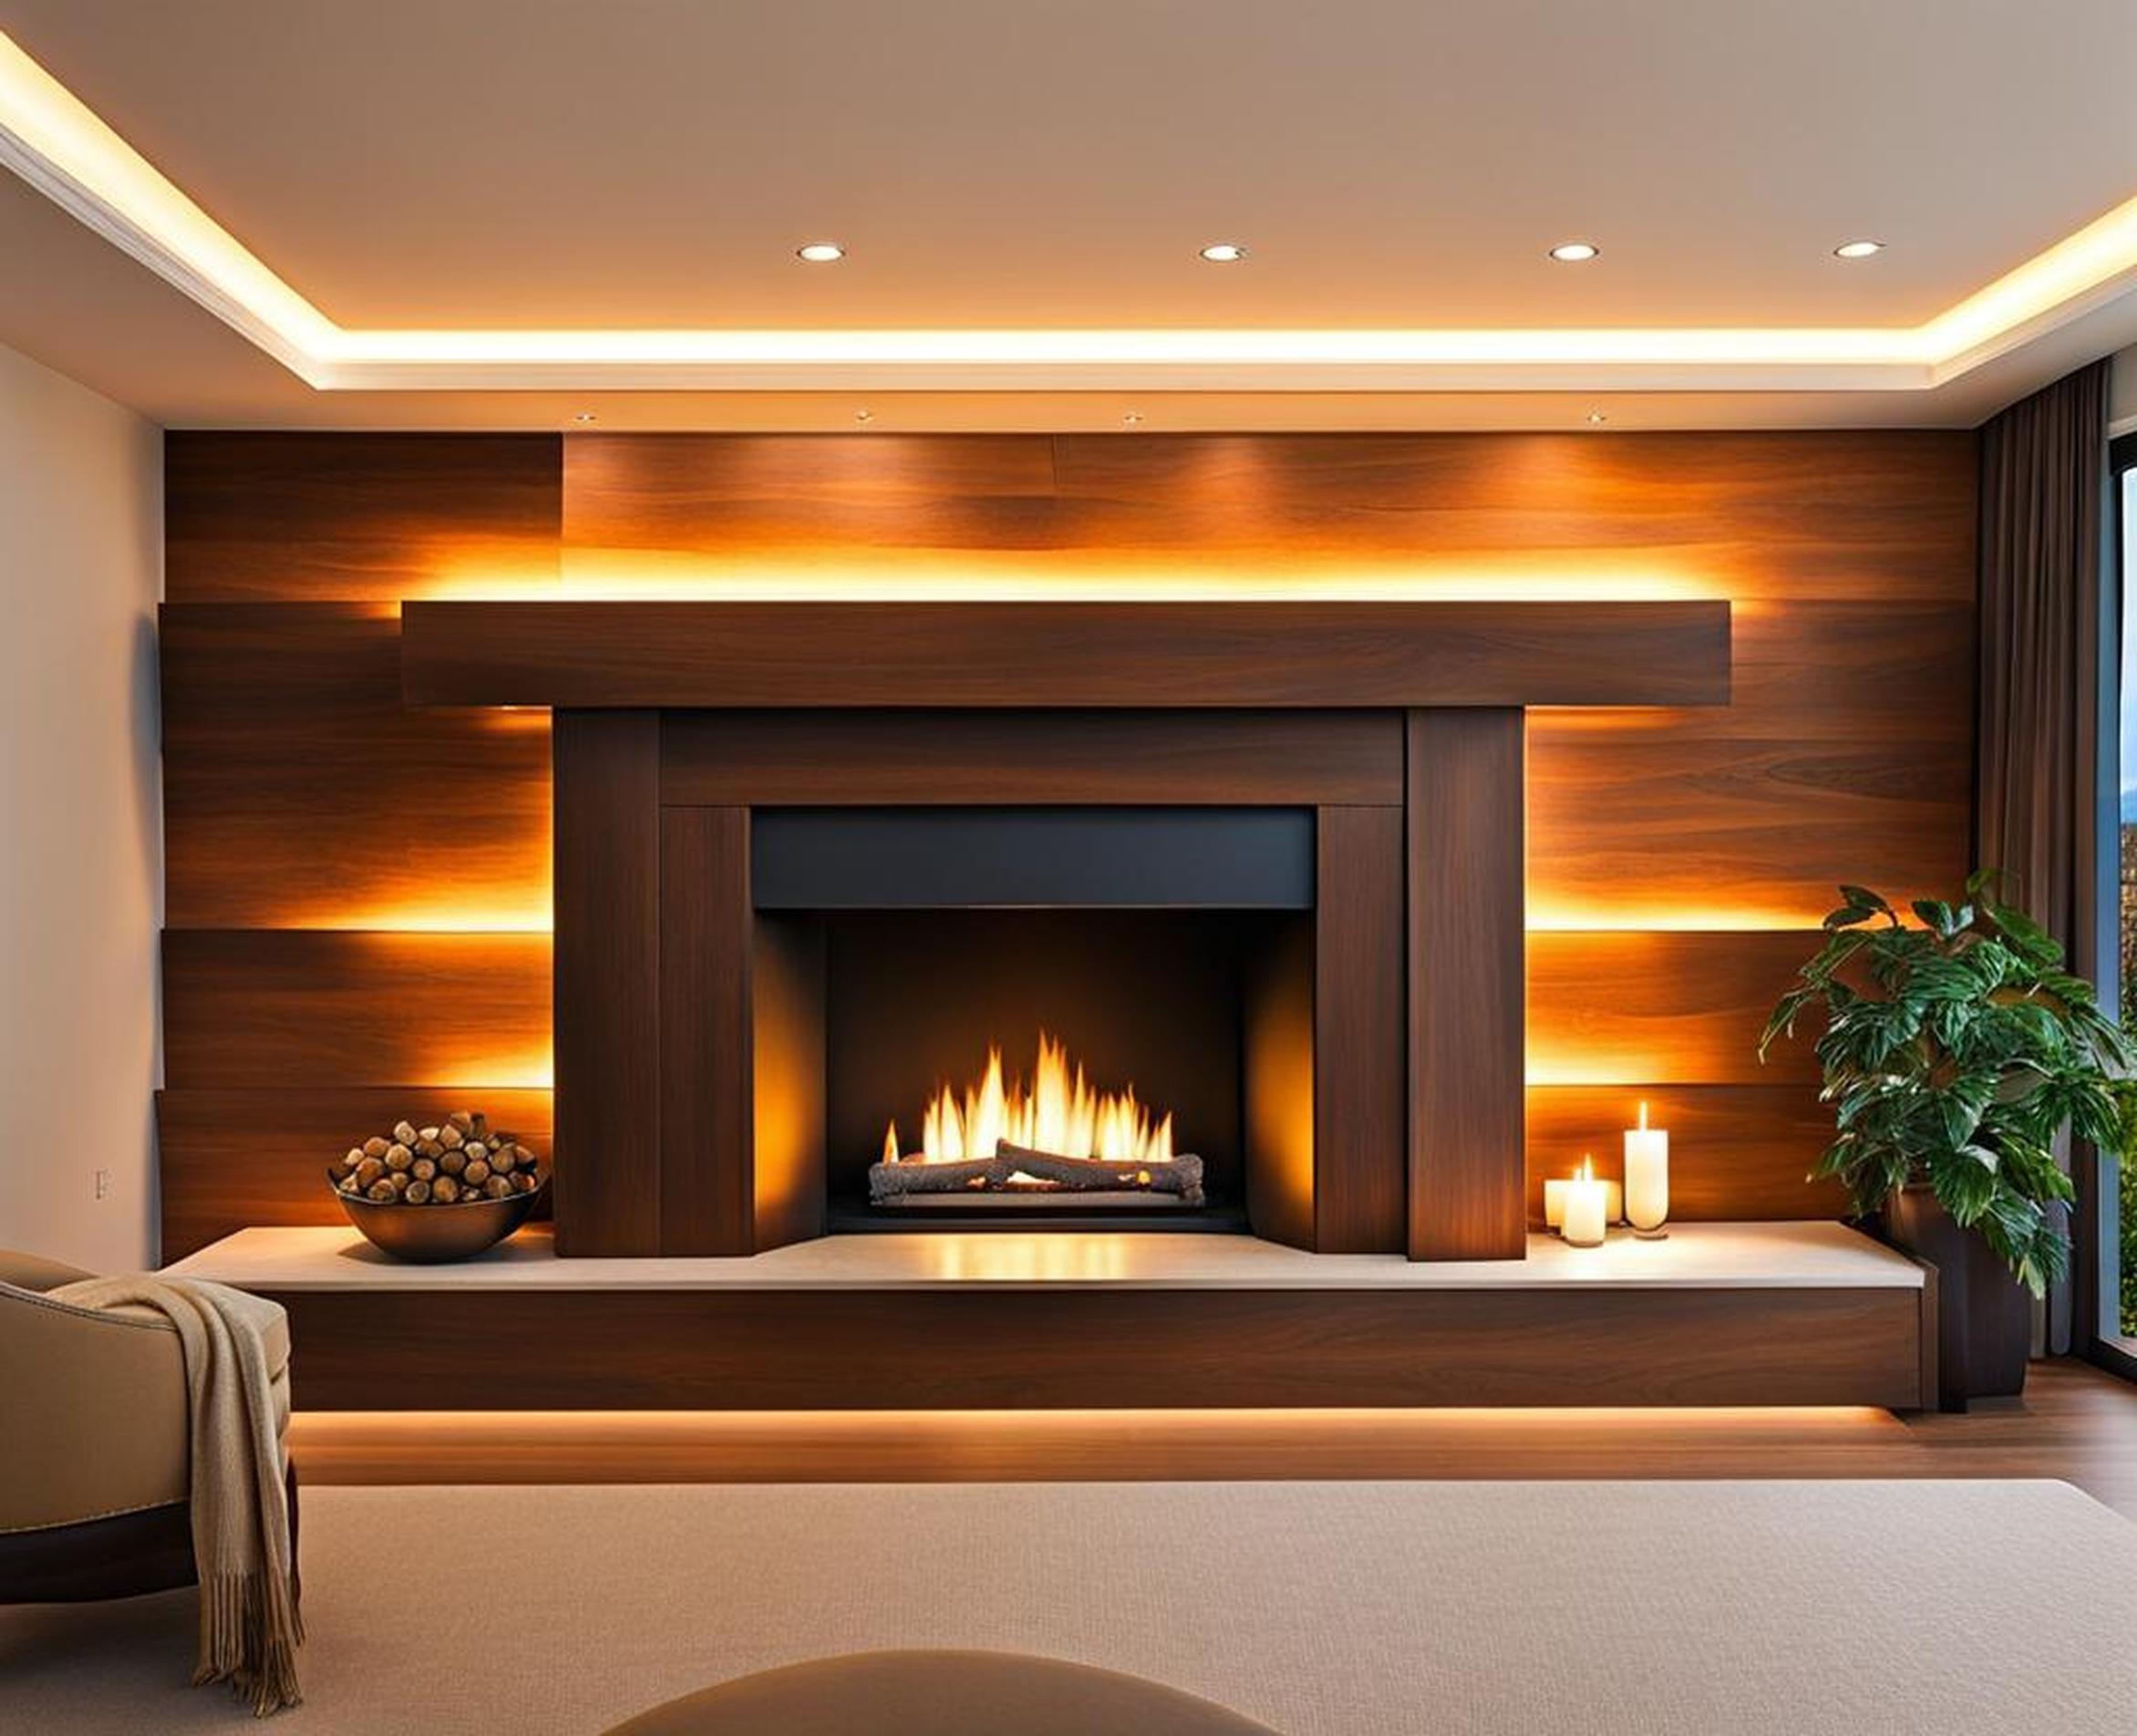
DIY Wood Panel Fireplace Surround
Want to warm up your fireplace area? Consider a DIY wood panel surround. The natural material gives a cozy, inviting feel.
Benefits of Wood
Some benefits of a wood panel fireplace surround:
- Warmer and more natural appearance than stone or brick.
- Typically more affordable and easier to install than other materials.
- Many wood species and finish options to choose from.
Planning the Design
Start planning your DIY wood surround by:
- Measuring the dimensions of the firebox and wall area.
- Sketching the pattern and layout for the wood panels.
- Allowing 1/4″ expansion gaps between boards.
Cutting and Installing Wood
To install the wood paneling:
- Cut boards to measured length, mitering edges at corners.
- Attach boards to the wall overeven mortar or adhesive.
- Fill any gaps with wood filler for a seamless look.
Finish Options
Complete your DIY wood surround by:
- Sanding lightly between coats.
- Choosing a paint, stain, or natural finish.
- Adding decorative trim or molding.
Design Inspiration
From modern to farmhouse, wood paneling adapts to many decor styles:
| Modern | Farmhouse | Rustic |
| Sleek ebony stained wood panels. | Crisp white painted boards and wood mantel. | Weathered barnwood planks for natural look. |
DIY Stone Veneer Fireplace Surround
Faux stone veneer panels make an inexpensive alternative to real stacked stone. Achieve a natural look without the weight and labor.
Benefits of Stone Veneer
Some perks of using faux stone veneer for a fireplace surround:
- Mimics the look of real stone for a fraction of the cost.
- Many color and pattern options like stacked, ledgestone, etc.
- Lightweight material that’s easy for DIY installation.
Choosing Your Stone
Select your preferred stone veneer style:
- Stacked for a random, natural appearance.
- Ledgestone for horizontal, layered look.
- Fieldstone for flatter, irregular shaped stones.
Installation Tips
Install your DIY faux stone surround by:
- Cleaning and preparing the fireplace surface.
- Applying mortar adhesive to the back of stones.
- Cutting pieces to fit and arranging for your desired pattern.
Grout and Seal
Finish up your DIY stone veneer surround by:
- Letting mortar fully cure before grouting.
- Grouting lines between stones for a finished look.
- Sealing the veneer to protect the color and finish.
Design Inspiration
Stone veneer fireplace surrounds complement these interior styles:
| Traditional | Rustic | Lodge |
| Elegant marble surround and carved mantel. | Natural fieldstone veneer in earth tones. | Stacked stone enhances wood beams and antlers. |
DIY Shiplap Fireplace Surround
On-trend shiplap makes for a budget-friendly fireplace surround project. The reclaimed-style boards add rustic farmhouse charm.
Benefits of Shiplap
Reasons to consider a DIY shiplap surround:
- Achieves a rustic-chic style with simple boards.
- Quick and easy project even for beginners.
- Infinitely customizable with different stains and paints.
Planning and Measuring
Start your DIY shiplap fireplace surround by:
- Mapping out the layout and total number of boards needed.
- Accounting for inside corners and edge boards in your measurements.
Cutting and Installing Boards
To install the shiplap:
- Cut boards to measured length, mitering edges.
- Attach boards horizontally with finish nails and adhesive.
Finishing Details
Finish off your DIY shiplap surround by:
- Filling gaps between boards with painter’s caulk.
- Sanding, priming, and painting boards your desired color.
- Optional: Add decorative trim or molding to frame it.
Design Inspiration
See how shiplap fireplace surrounds enhance these decor styles:
| Farmhouse | Cottage | Coastal |
| Soft white shiplap and antique-inspired mantel. | Painted sky blue boards suit cheerful cottage rooms. | Weathered gray-toned boards complement beach decor. |
DIY Tile Fireplace Surround
Tile is a versatile and affordable option for DIY fireplace surrounds. Pick your preferred tile material, color, and shape to customize it.
Benefits of Tile
Reasons tile makes a great fireplace surround material:
- Affordable way to add color, texture, and patterns.
- Many size, color, and material options like ceramic, porcelain, or stone.
- Durable, heat-resistant surface that’s easy to clean.
Choosing Your Tile
Selecting tile for your DIY surround:
- Pick a material like ceramic, porcelain, or natural stone.
- Choose a size and shape with consistent dimensions.
- Buy enough for your planned pattern and layout.
Setting Your Tile
Install tile on your fireplace by:
- Prepping the surface and applying thinset mortar.
- Laying tiles in your chosen pattern.
- Letting thinset fully cure before grouting.
Grout and Seal
Finish off your DIY tile surround by:
- Grouting between tile joints for a polished look.
- Applying grout sealer to protect from stains.
Design Inspiration
See how tile fireplace surrounds complement these decor motifs:
| Modern | Bohemian | Traditional |
| Sleek marble herringbone tile pattern. | Colorful Moroccan-style tile with global charm. | Classic white subway tile and carved mantel. |
DIY Faux Fireplace Surround
If your space lacks a real fireplace, create the look with a DIY faux fireplace surround. Style it with your choice of materials on a budget.
Benefits of Faux Fireplaces
Reasons to consider a faux fireplace surround DIY:
- Inexpensive project great for renters, apartments, or rooms without fireplaces.
- Easy to change up materials and styles down the road.
- Looks realistic with some DIY work and accessorizing.
Building the Base Structure
Construct a faux fireplace surround by:
- Framing out the fireplace area with wood boards.
- Attaching a mantel board to the top.
- Optional: Add facing materials like tile, shiplap, brick veneer, etc.
Accessorizing the Space
Make your faux fireplace convincing by:
- Incorporating fireplace tools, wood logs, and candles.
- Hanging artwork above the “mantel” and adding greenery.
- Using warm lighting like sconces or table lamps.
