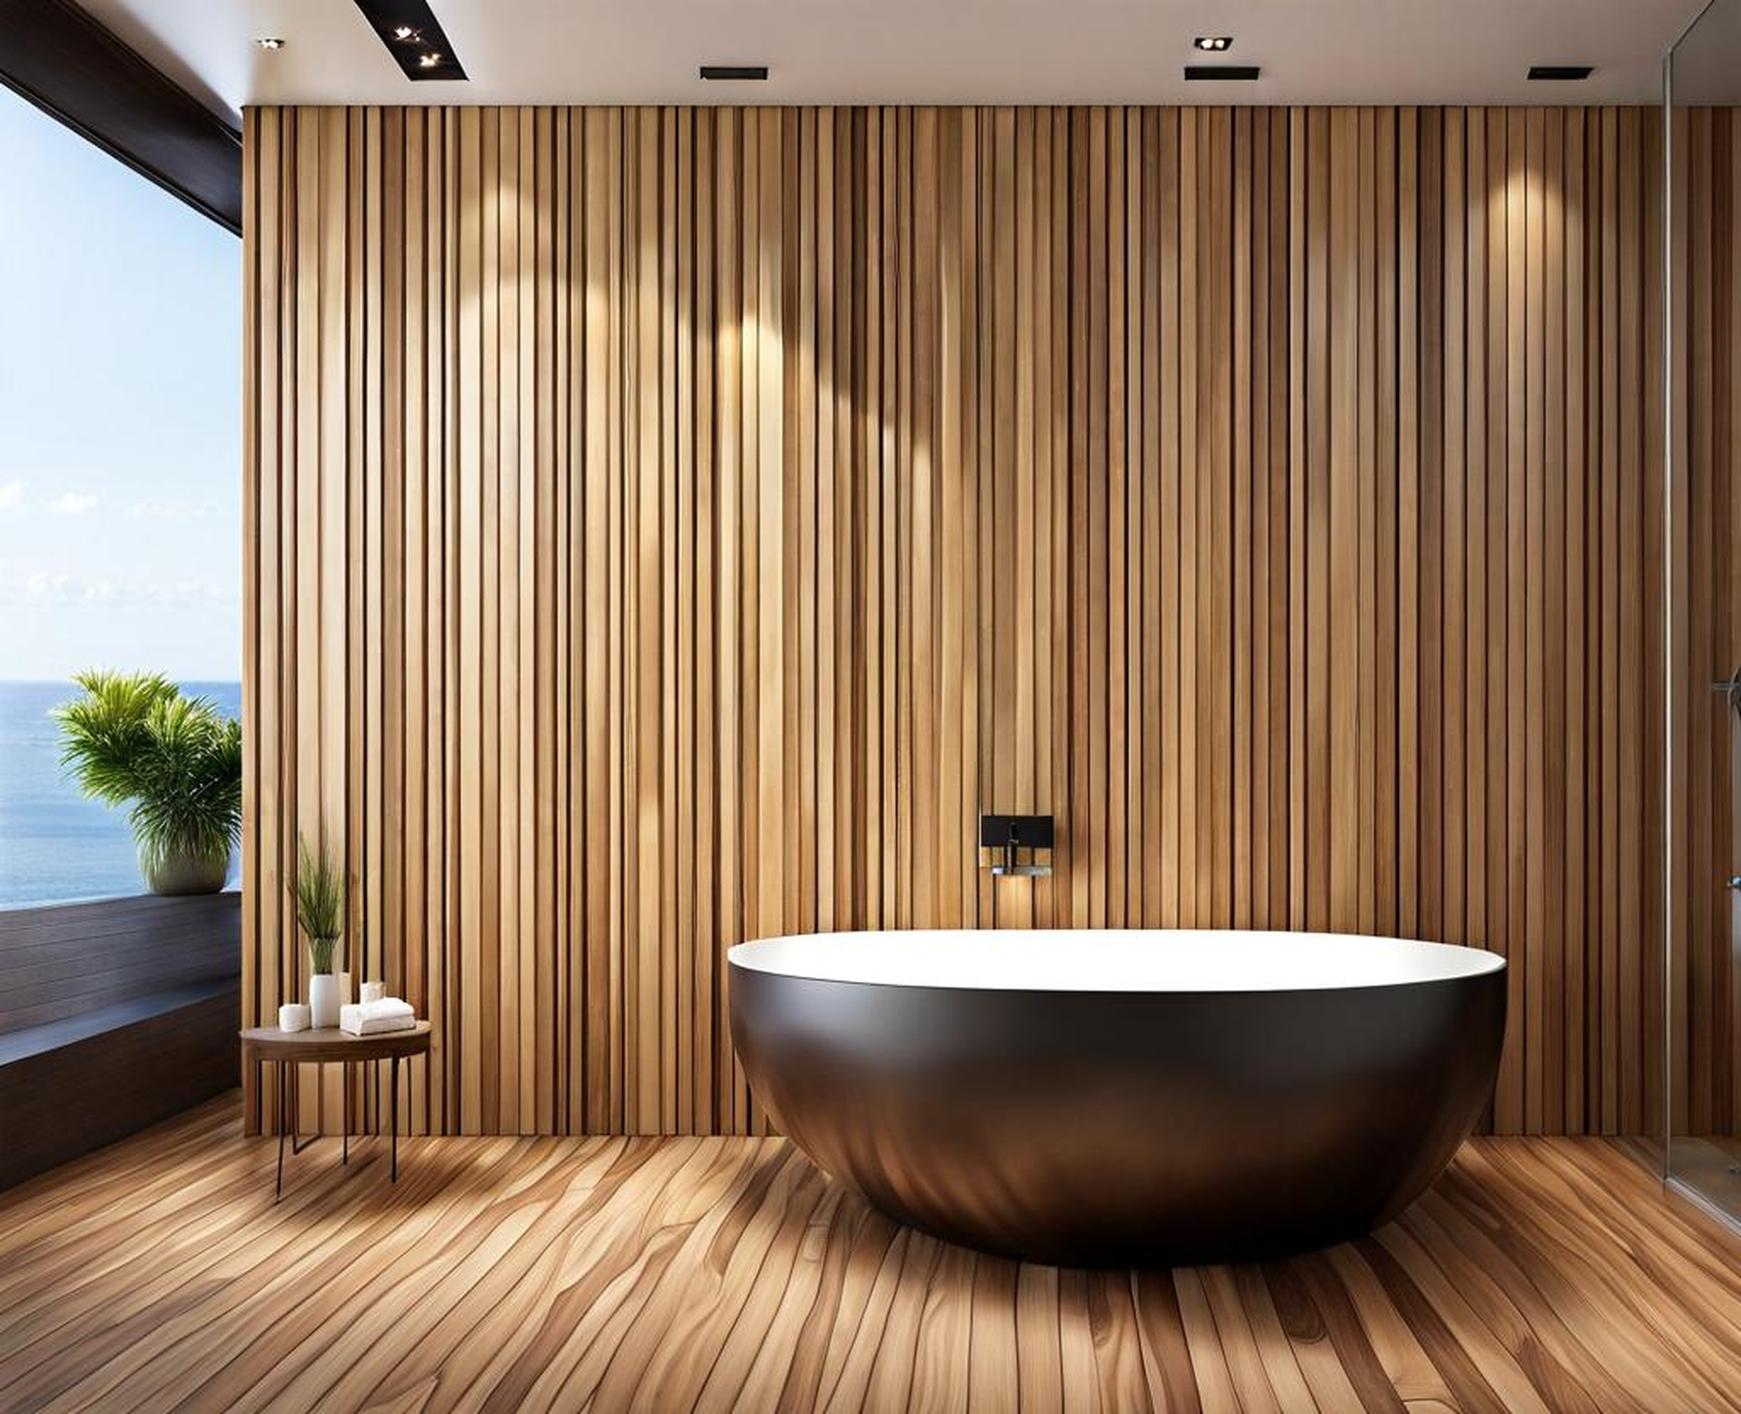
Wood panels offer a warm and inviting look that can transform your bathroom’s aesthetic. With styles ranging from modern to rustic, wood brings natural texture and visual interest to bathrooms. But using real wood in a damp space requires careful selection and protection.
We’ll look at ideal wood types, finishes, installation tips, and maintenance. By the end, you’ll have the knowledge to create a striking and functional wood-paneled bathroom you’ll enjoy for years.
Benefits of Wood Panel Bathroom Walls
Before delving into the specifics, let’s look at why wood panels have become a top choice for bathroom walls:
- Warm and inviting visual appeal. The rich grains and organic patterns of real wood create a welcoming ambiance.
- Acoustic properties. Wood absorbs echo and amplifies pleasant ambient sound like music or running water for a soothing background.
- Textural contrast. The tactile quality contrasts beautifully with sleek surfaces like porcelain or glass tile.
- Design versatility. From modern to farmhouse, wood adapts well to any style.
Applied creatively, wood paneling can complement your bathroom’s existing elements like freestanding tubs or double vanities. The effect draws the eye while introducing natural flair.
Choosing the Right Wood
Not all wood is created equal, especially when it comes to moisture resistance. Carefully choose wood species suitable for the humid, damp conditions of bathrooms.
Ideal factors to look for include:
- Durability. Hardwoods like oak or teak resist scratches and dents.
- Stability. Wood that shrinks or warps easily will suffer in bathrooms.
- Grain pattern. Tighter grains offer moisture protection.
- Color. Consider whether the color fits your design scheme long-term.
With those criteria in mind, these species make excellent bathroom wood wall choices:

Teak
A tropical hardwood, teak possesses natural oils that make it highly water-resistant. Its tight grain and warm brown coloring add beauty and durability.
Cedar
Fragrant red cedar withstands moisture well and provides a knotty, textured appearance. It also has insect-repellent properties.
Cypress
Workable and stable, cypress offers intriguing grain patterns and variations in pink, yellow, and brown tones. It holds up well in wet areas.
Conversely, avoid unprotected softwoods like pine that can easily warp and rot when exposed to moisture. Check that any wood is kiln-dried as this removes excess moisture that causes later problems.
For the eco-conscious, bamboo offers a renewable wood alternative. Or look at reclaimed woods, which give one-of-a-kind character. Just ensure any reclaimed wood was properly cured and treated.
Wood Finishes and Protection
Unfinished wood will quickly deteriorate in bathroom conditions. A protective finish helps create a moisture barrier against damage from humidity and dampness.
Consider these common finishing options:
- Stains – Enhance natural grain while allowing the texture to show through.
- Paints – Opaque coats that fully conceal the wood grain.
- Oils – Penetrate deeply to waterproof but require frequent reapplication.
- Polyurethanes – Varnish-like finishes that seal the wood surface.
Of these, polyurethane provides the best protection in bathrooms. Opt for marine grade polyurethane when possible.
Proper finish application is key. Lightly sand panels to remove mill glaze then thoroughly clean. Apply at least two coats of finish, allowing full drying time between coats. Water-based finishes dry faster than oil-based.
With the right maintenance, a finish can last 3-5 years in bathroom conditions. Expect to reapply every 1-2 years for optimal protection.
Bathroom Considerations and Installation
Meticulous planning and careful installation prevents issues down the road. Keep these tips in mind:
- Measure twice. Account for plumbing, lighting, and fixtures in your measurements.
- Prep the wall. Fill any holes or imperfections; remove wallpaper or old paint.
- Mind the moisture. Leave gaps between panels and faucets, shower edges.
- Ventilate. Install a humidistat-controlled bath fan to manage moisture.
For installation, adhesive offers the most seamless result. Be sure to use construction-grade adhesives formulated for bathrooms. Alternatively, tongue and groove panels simplify connecting panels.
Pre-drill holes to avoid cracking and use a nail gun for the most secure application. Countersink nails and fill over for an invisible look.
Achieving Different Looks
Small design choices make a big impact on the overall aesthetic of your wood bathroom walls. Consider these easy ways to vary the look:
- Go horizontal, vertical, or diagonal with the wood grain orientation.
- Alternate wide and narrow planks.
- Play with contrasting stains or paint colors on separate panels.
- Accent wood with stone, tile, or metallic insets.
- Illuminate with discreet LED strip lighting.
Darker stains or paints downplay nicks and scratches, while light, whitewashed finishes keep the room feeling open and airy.
Mix tongue and groove planks with reclaimed barn wood panels or shiplap. The combinations are endless for crafting your unique wood bathroom wall style.
Maintaining Your Wood Panel Bathroom
Without proper care, wood panel walls lose their luster quickly in humid bathrooms. Follow these maintenance tips:
- Clean occasionally with mild soap and water; avoid abrasives.
- Dry shower walls and wipe moisture after bathing.
- Use bathroom exhaust fans and control humidity.
- Refinish protection when wear shows.
Look for any swelling, scratches, or changes in finish color/consistency and address those areas promptly. With regular upkeep, your wood bathroom walls bring you joy for decades.
Real wood paneling grants bathrooms soulful, textural beauty using natural materials. Choices abound, from plank sizes to finishing techniques to creative display styles.
Follow the tips presented here for selecting suitable wood species, applying protective finishes, installing with care, and maintaining their integrity. Thoughtful design unlocks wood’s potential to provide a striking, spa-like retreat right at home.
