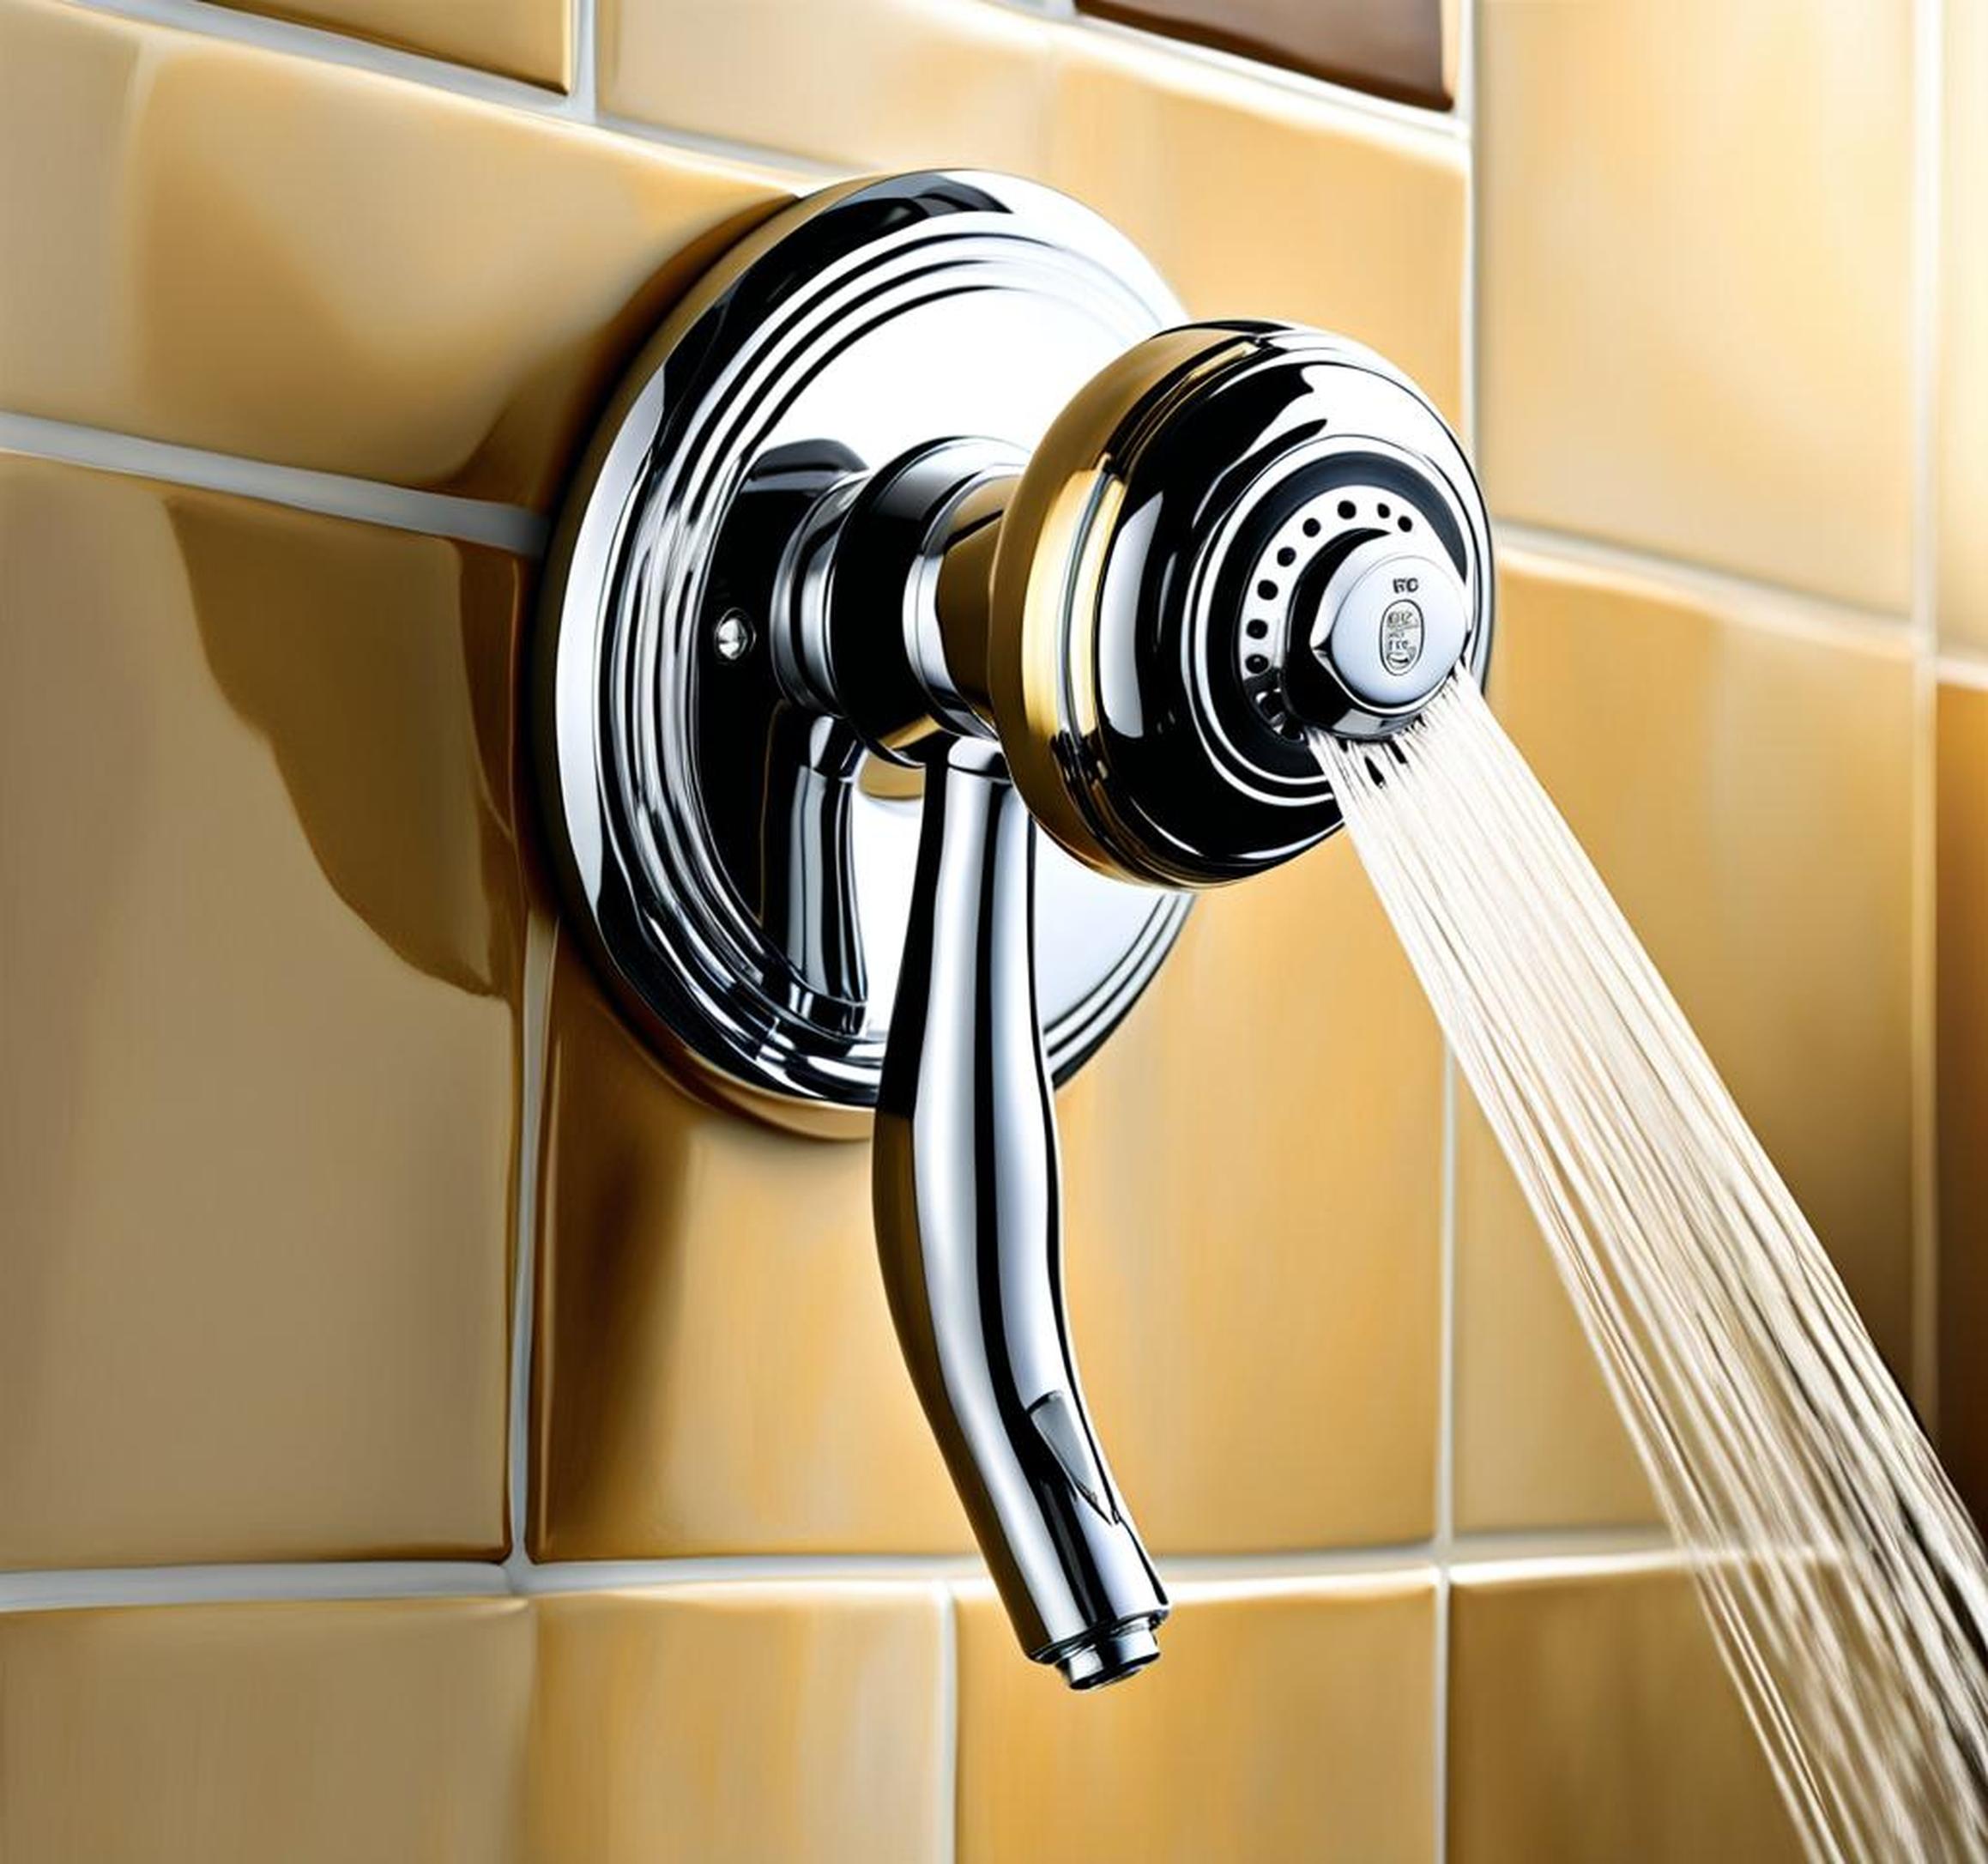
If you’ve noticed your Moen shower handle wiggle or turn freely, it likely means the handle has become loose over time. A loose shower handle can be annoying and make adjusting water temperature difficult. Fortunately, there are a few handy tricks to tighten a loose Moen shower handle quickly and easily.
A loose Moen shower handle is often caused by the retaining screw inside the handle becoming loose, the cartridge wearing out, or screws being stripped. Understanding the common causes of a loose handle will help you pinpoint the best solution. With a few simple tools and steps, you can have your Moen back to working order in no time.
Trick 1: Tighten the Retaining Screw
One of the most common and quickest fixes for a loose Moen shower handle is to tighten the retaining screw located inside the handle. This hex screw secures the outer handle to the inner cartridge and valve components. Over time, vibrations and use can cause this screw to become loose.
Tightening the retaining screw realigns the components and takes up any slack, getting your shower handle firm and wiggle-free once again. Here are the steps to tighten a loose Moen shower handle retaining screw:
Step-by-Step Instructions
- Turn off the water supply to the shower under the sink or at the main shut off valve.
- Remove the outer decorative handle and trim components to expose the retaining screw.
- Locate the retaining screw inside the handle assembly and tighten it with a Phillips or Torx screwdriver, depending on your model.
- Check the handle tightness by reattaching the outer components and testing the handle. The screw should be tight enough so the handle does not wiggle or turn freely.
- Reattach all decorative trim pieces and outer handle once the screw is tightened sufficiently.
Tips for Tightening the Retaining Screw
When tightening the retaining screw, be sure to use the proper sized screwdriver to avoid stripping the screw head. Tighten the screw firmly, but take care not to overtighten, which can damage the plastic components.
You can also use a small amount of non-permanent threadlocker on the screw threads to help keep the retaining screw from loosening over time. This will make sure vibrations from use don’t cause it to wiggle loose repeatedly.
Common Mistakes
Two common mistakes made when tightening the retaining screw are overtightening and undertightening. Overtightening with too much force can cause you to strip or break the screw. Not fully tightening the screw will lead to ongoing handle looseness.
Be sure to tighten the screw properly to eliminate any wiggle without risking stripping. Test the tightness prior to reattaching the outer trim and handle to ensure optimal tightness.
Trick 2: Replace a Worn Out Cartridge
If tightening the retaining screw does not fix a loose Moen shower handle, the likely culprit is a worn out cartridge. The cartridge contains the internal valves and seals that control water flow and mixing. Over years of use, these components can become damaged or slippery, causing handle looseness.
Replacing an old, worn out cartridge with a brand new OEM part can get your Moen back to working like new. Here’s how to determine if cartridge replacement is needed and complete the repair:
Signs Your Cartridge is Worn Out
How can you tell if the cartridge is causing the loose handle? Here are a few signs it may need replacement:
- The handle moves side to side freely and does not stay in position.
- Water flow from the showerhead is greatly reduced.
- Turning the handle does not properly adjust water temperature.
- The handle feels very loose, wiggly, or seems to spin freely.
Cartridge Replacement Steps
Replacing a Moen shower cartridge is a straightforward repair here are the steps:
- Shut off the water supply lines to the shower.
- Remove the shower handle and outer trim components to access the cartridge.
- Use a wrench to loosen and unscrew the cartridge retaining nut.
- Pull the old cartridge out of the shower valve body.
- Install the new replacement cartridge, ensuring correct alignment.
- Tighten the cartridge nut to secure the new cartridge in place.
- Reinstall the trim and shower handle and test for proper operation.
Choosing the Correct Replacement Cartridge
To choose the right replacement cartridge, you will need to locate the Moen model or part number stamped on your existing shower valve. Match the replacement cartridge to that model number for guaranteed compatibility and performance.
Only purchase authentic OEM Moen cartridges, as low-quality aftermarket ones tend to fail quickly. Investing in an official Moen cartridge will provide long-lasting results and a tight, wiggle-free handle.
Trick 3: Replace a Stripped Retaining Screw
In some cases, the retaining screw can become damaged due to stripping or wearing out. Attempting to tighten a stripped screw will lead to frustration as the screwdriver just spins freely without securing the handle.
If tightening attempts fail, replacing the stripped retaining screw is the solution. With a few simple steps, you can remove the stubborn stripped screw and install a new one to remedy handle looseness.
Detecting a Stripped Screw
How can you tell if the retaining screw is stripped? Here are a few signs:
- The screwdriver spins freely in the screw head without gripping.
- The handle feels loose no matter how much you tighten the screw.
- Visual inspection shows heavy wear or rust in the screw head.
Removing a Stubborn Stripped Screw
A stripped retaining screw can be tricky to remove. Try gripping the screw head tightly with pliers or locking pliers and unscrewing. For better grip, place a rubber band between the pliers and screw head.
If pliers fail to get it out, you may need to carefully drill a pilot hole in the center of the screw to use an extractor tool to remove the stripped screw.
Replacing the Stripped Screw
To replace the retaining screw, first determine the diameter and length needed. Purchase a replacement set screw of the same size.
Use a small amount of threadlocker when installing the new screw to prevent loosening. Tighten the fresh screw with care to avoid stripping it.
Dealing with a loose, wiggly shower handle can be frustrating, but is often an easy fix. Tightening the retaining screw, replacing the cartridge, or installing a new retaining screw are three simple tricks to get your Moen working properly again.
A loose handle indicates an underlying issue needs attention. Catching and fixing problems early can prevent more expensive repairs down the road. Following these handy tricks allows you to nip handle looseness in the bud and avoid costly plumber service calls.
In most cases, simply tightening the retaining screw or replacing an old, worn out cartridge will have your Moen back to normal in no time. But for stripped, stubborn screws, a full replacement is the solution for a long-lasting repair.
Be proactive about checking your shower handle tightness and performing preventive maintenance. A few quick periodic inspections coupled with these simple tricks will keep your Moen shower handle tight and keep you enjoying consistent comfortable showers.
Along with periodic inspections and prompt repairs, there are a few preventive measures you can take to prevent a loose shower handle from developing:
- Clean mineral deposits out of the cartridge regularly to prevent sticking and damage.
- Install a pressure regulator if water pressure is excessive, causing premature wear.
- Position the showerhead at a comfortable height, avoiding strain on the handle.
- Use a low-flow showerhead to prevent excessive water pressure at the cartridge.
Taking these simple preventive steps along with acting quickly when you notice a loose handle will keep your Moen in tip-top shape for years of reliable performance.
