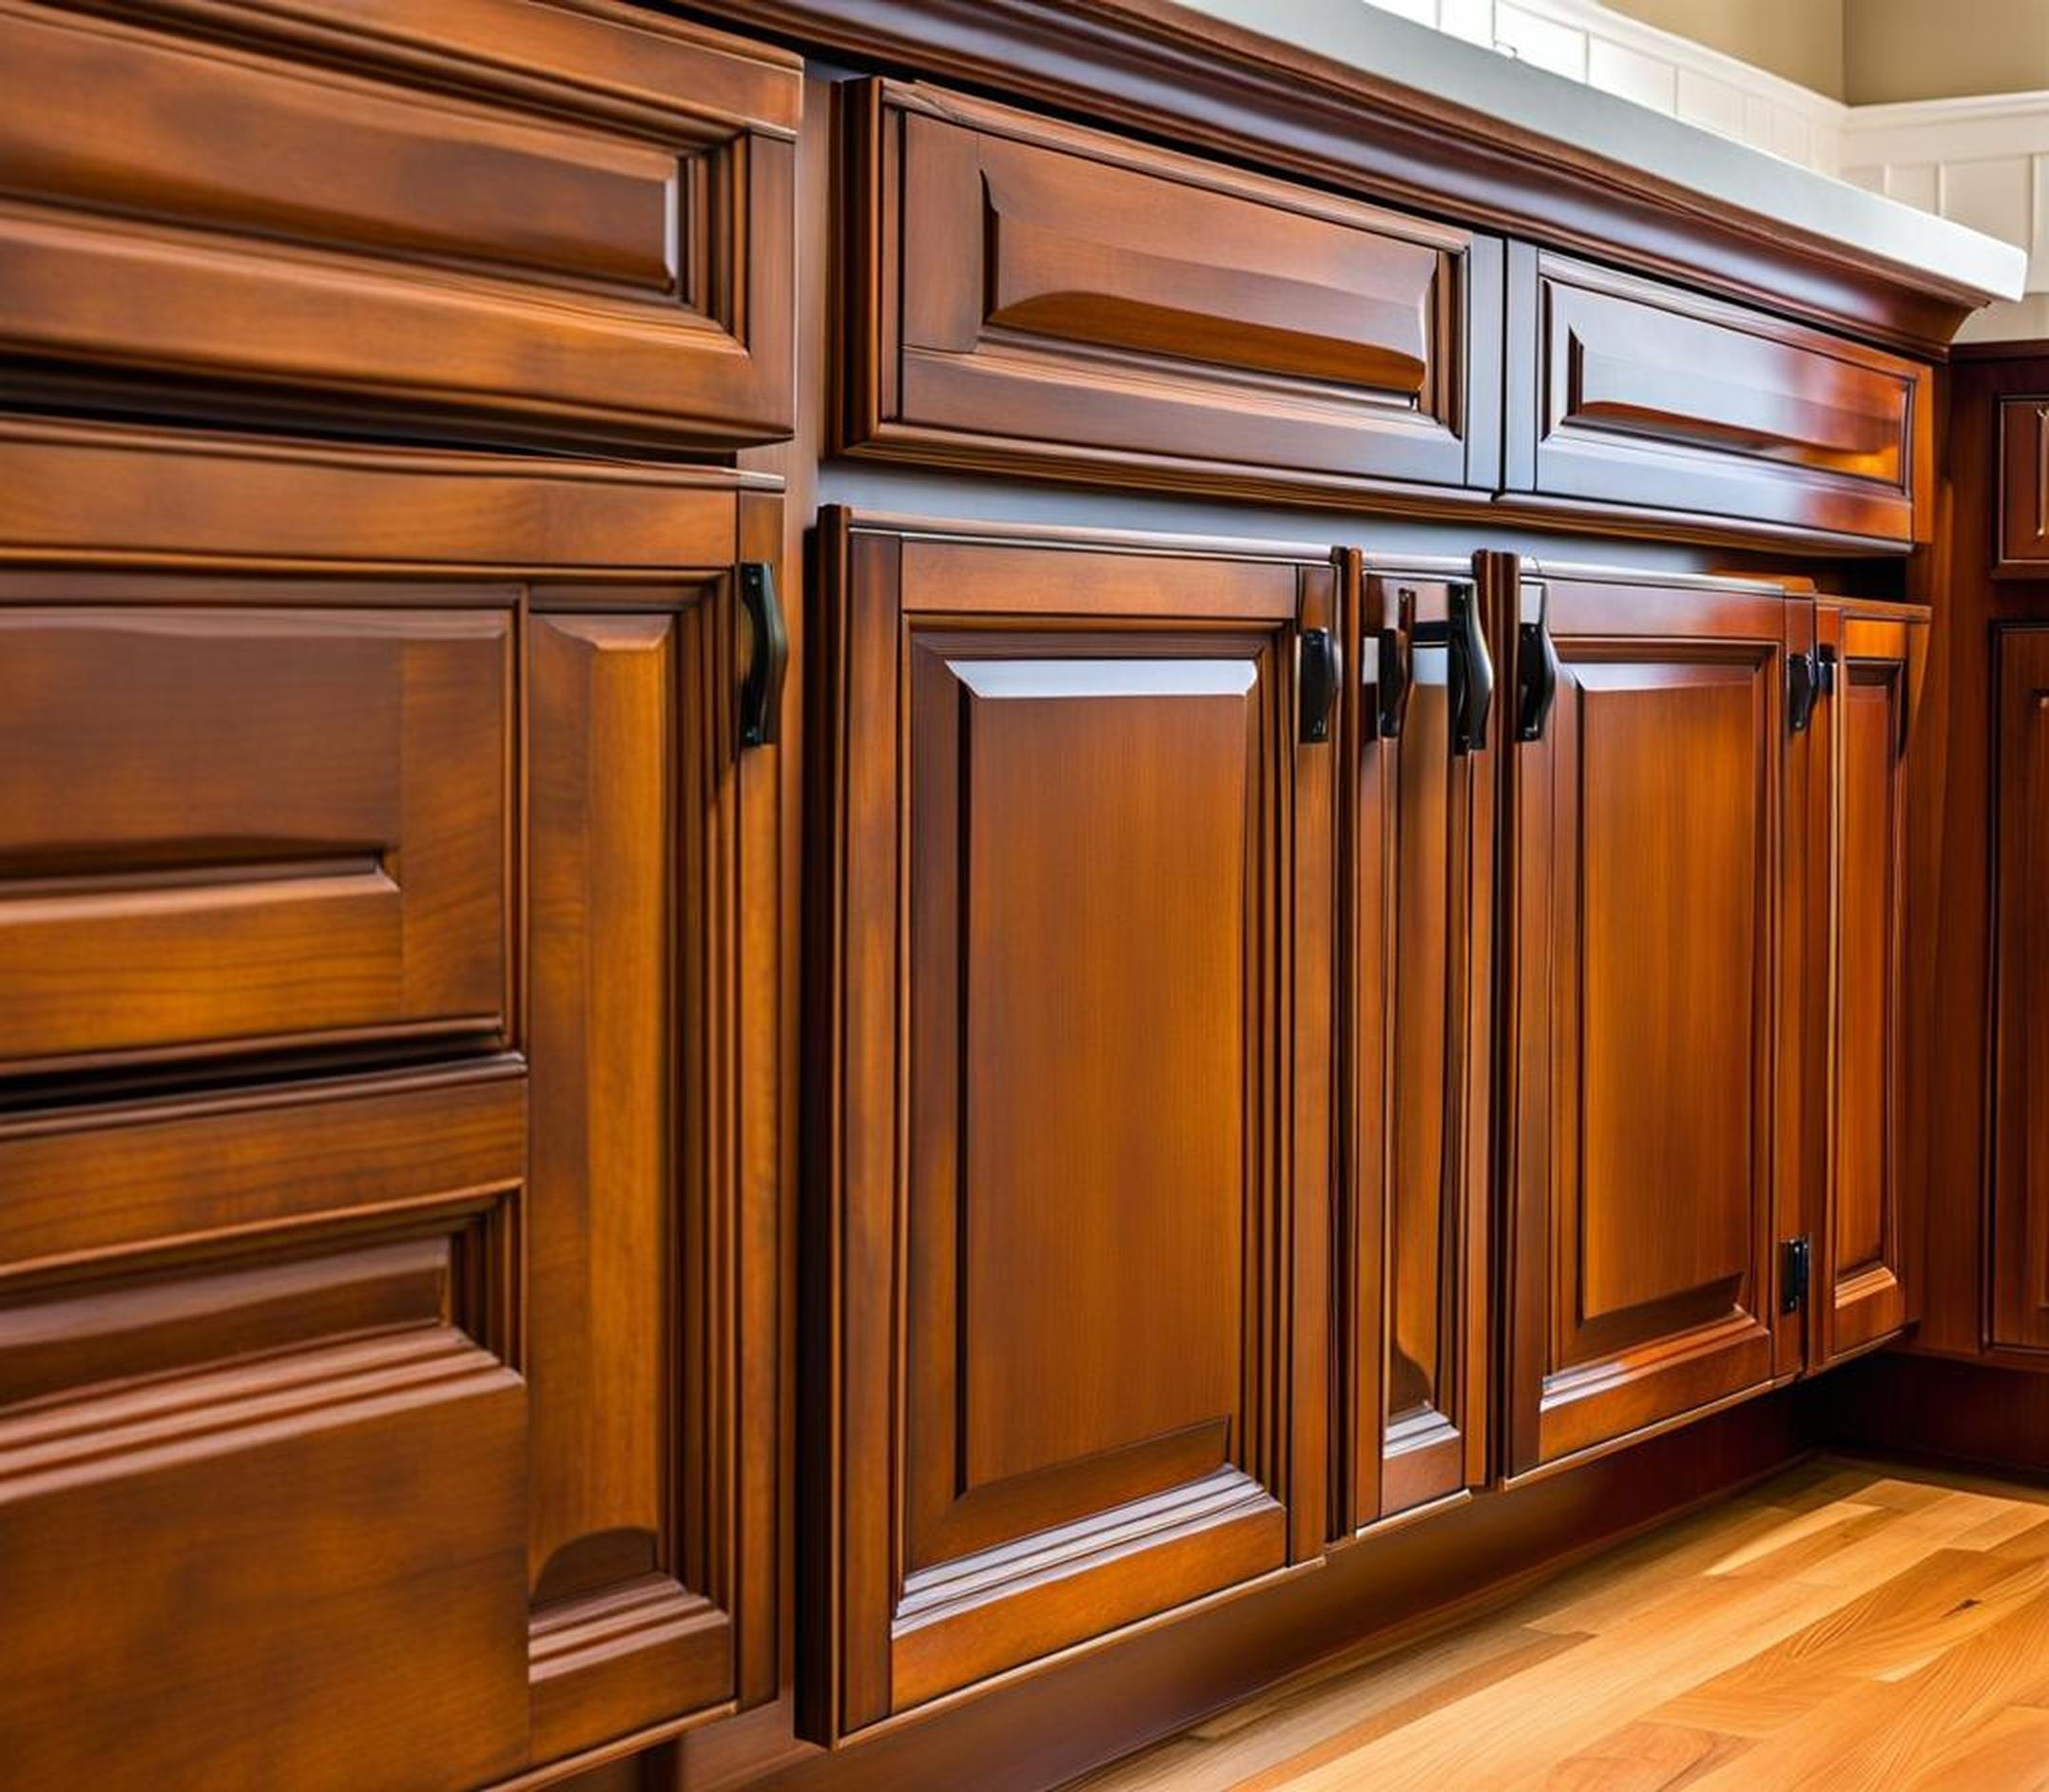
Giving your outdated kitchen cabinets a fresh coat of paint can make a world of difference in brightening up the space. But for the absolute best results when painting cabinets, proper prep work is crucial. And one step that should never be skipped? Sanding down the cabinet surfaces before painting.
Sanding may seem tedious, but it makes all the difference in how well the new paint adheres and how smooth of a finish you’ll achieve. Keep reading to understand why sanding can’t be skipped when painting kitchen cabinets!
Sanding Basics
Sanding involves manually or mechanically smoothing and roughening up a surface using abrasive paper or tools. When prepping to paint cabinets, the goal is to degloss, smooth out imperfections, and give the surface some “tooth” for the primer and paint to grab onto.
For sanding kitchen cabinets, 220 grit sandpaper is ideal. This mid-range grit will lightly scuff the surface to remove any existing sheen or gloss without digging too deep into the wood. Finer grit sandpaper doesn’t abrade enough, while heavier 80 or 100 grit papers will leave behind deep scratches.
There are a few methods for sanding cabinets. For fastest results, lightly hand sanding with 220 grit paper is recommended. This allows you to focus pressure on targeted areas. Power sanders like palm sanders or orbital sanders will work too, but tend to be messier with dust. Always sand in the direction of the wood grain.
The Goal of Sanding Cabinets
Sanding achieves a few important goals in preparing cabinets for new paint:
- Removes any existing glossy sheen or finish
- Roughens up the surface so paint can adhere
- Smooths over minor dents, bumps or wood imperfections
- Removes dirt and grime from cleaning
This prep work ensures the primer and paint bonds tightly for long-lasting results.
Consequences of Skipping the Sanding Step
It may be tempting to skip sanding to save time or avoid the mess when prepping cabinets for a paint makeover. But this shortcut will likely come back to haunt you.
Without proper sanding first, here are some potential issues you’re likely to encounter down the road:
- Poor paint adhesion leading to chipping, peeling or cracking
- Visible brush marks and uneven texture
- Imperfections like dents or repairs showing through the new paint
- Discoloration where paint didn’t properly bond
- Short lifespan of the new paint job before requiring touch-ups
In high-traffic areas like kitchens, skipping sanding before painting cabinets can mean the new paint peels off in sheets in no time. The small time investment upfront prevents far more headaches later.
How Sanding Helps Paint Adhere
There are a few reasons sanding kitchen cabinets prior to painting is so crucial for proper paint adhesion:
Creates a Rough, Textured Surface
The sandpaper scratches away at the cabinet wood, resulting in micro-abrasions and grooves in the surface. This roughness provides the ideal texture for primer and paint to penetrate into for a tight grip.
Removes Glossy Sheen
Sanding completely deglosses the cabinet surface, removing any factory sheen or existing paint finish. Paint adheres much better to a uniform, matte surface than a slick shiny one.
Levels Out Blemishes
In addition to roughening, sanding also has a smoothing effect. Lightly sanding helps even out small dents, bumps, wood repairs or other flaws. This allows for a more uniform painted finish.
Prepares Surface for Priming
After sanding, the cabinets are ready for a coat of high-quality primer. The primer fills in any remaining micro-scratches and creates another layer of adhesion before painting.
Common Sanding Mistakes
While sanding cabinets isn’t complicated, it’s still easy to make some mistakes that will affect the end results:
Using the Wrong Grit Sandpaper
As mentioned, 220 grit is ideal for lightly sanding cabinets. Moving up to a higher grit like 400 or 600 won’t scuff up the surface enough. Lower grits like 80 or 100 will dig in too deep.
Scuffing Too Aggressively
It’s important to sand gently and evenly, not pressing down hard in one area. Uneven sanding can create spots that absorb stain differently.
Not Sanding Enough
On the other hand, a light once-over may not provide enough abrading for paint to properly adhere. Fully sand any glossy or sealed areas.
Sanding Between Coats
While sanding before the first coat of primer or paint is critical, you do not want to sand at all between coats. This can remove layers and compromise adhesion.
DIY Sanding Tips and Tricks
Here are some handy tips for DIYers on how to effectively sand kitchen cabinets before painting:
Hand Sand for Fastest Results
As mentioned, lightly hand sanding with 220 grit paper is the quickest and least messy method for prepping cabinets. No power tools to drag out and contend with.
Work in the Direction of Wood Grain
Always sand in the same direction as the wood grain for the most uniform results. Scratches perpendicular to the grain are more noticeable.
Focus on Cabinet Exteriors
To save time and effort, sanding only the outside surfaces of the cabinets is fine since this is the part that’s visible. Any primer or paint will still penetrate un-sanded interior surfaces.
Thoroughly Clean After Sanding
Before priming or painting, be sure to wipe sanded cabinets to remove all dust. Tack cloth works great for picking up fine particles.
Alternative Sanding Methods
While manual sanding is preferred, there are some alternate options for preparing cabinets for paint:
Liquid Deglossers
Deglossing solutions help clean and etch the surface to improve paint adhesion. However, they don’t have the same abrasive, smoothing effect as sandpaper. Light sanding is still recommended.
Chemical Strippers
Harsh chemical strippers can remove old paint or varnish completely but don’t actually scuff the wood. Use minimally and cautiously due to fumes.
The takeaway is that while products are available to reduce sanding, none fully replicate the results. Lightly abrading by hand is still the best practice.
Hiring a Pro vs. DIY
Is it worth calling in a professional painter for a cabinet makeover versus doing it yourself? Here are some considerations around prep work:
Extensive Repairs
If the cabinets require repairs beyond minor sanding, such as patching holes, replacing doors or drawers, or dealing with water damage, hiring a professional is likely the better call.
Major Transformation
A pro can also be helpful if you’re looking to dramatically alter the color from very dark cabinets to a light white or vice-versa. This often requires applying primer tinted to the new color for ideal coverage.
DIY Quick Refresh
But for a basic, straight-forward update like painting natural wood cabinets white or freshening up existing paint, DIY is very achievable with proper prep!
When preparing your kitchen cabinets for a fresh coat of paint, it can be tempting to cut corners or skip steps to save time. But sanding down the surface is a non-negotiable must for long-lasting, professional results.
The minimal amount of time invested upfront in proper sanding leads to a paint job that will look flawless for years rather than flake or peel after a couple months. Always be sure to lightly sand cabinets first for optimal paint adhesion and a smooth, durable finish!
